Whichever way you look at it, this year’s Perseid meteor shower peak on 12 August is going to be challenging for naked-eye observers.
As with all meteor showers, some years are better than others, but this year, there’s a large bright Moon near the position of the radiant to contend with.
More advice

As a consequence, we have to be adaptable and adjust to conditions when they arise.
There’s not a lot we can do about the weather, but there are ways to get observational results even under difficult conditions like strong moonlight.

Perseid photography and moonlight
While moonlight significantly hampers visual observing, its impact on meteor photography is somewhat different.
Essentially it causes two main issues:
- It over-exposes the area of sky near the Moon
- It limits how long you can expose other areas of the sky if you want to avoid over-exposing those too
However, consider what happens when a meteor trail bright enough to record appears.
The light from the trail traces a line across your camera’s sensor in typically less than a second, and that’s the trail image done.
In theory, at this point, if you were watching the shower and noted the trail, you could stop the exposure immediately to minimise the effect of moonlight on the rest of the image.

Point at the Perseids
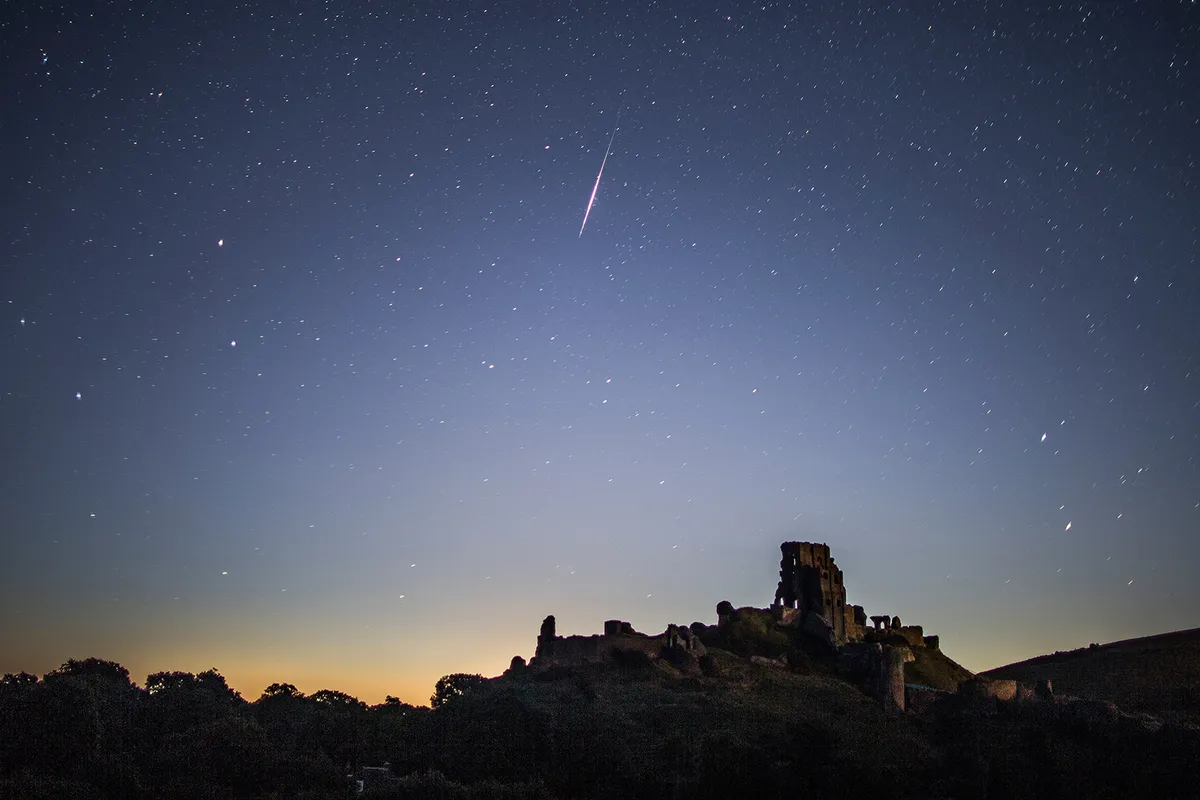
Remember that in meteor photography, you’re not looking to get an attractive image of the background sky.
You’re after a shot of the trail, with perhaps a few bright stars recorded to allow measurements to be taken.
In reality, if you could just take exposures when trails occurred this would be the best option.
You could eliminate star trails and reduce the number of wasted exposures.
Some systems do exist to do this, normally using video capture, where a small, continuous video sequence is held in a camera’s memory, say 10 seconds in length.
If a trail is detected in the sequence, this is sent to archive storage while the sequence block continues.

Keep it simple
In this imaging guide, we’re not going to be so sophisticated – quite the opposite.
Recognising that we need to keep exposures short, we’re going to reduce exposure length to find a point where the sky doesn’t over-expose and simply keep taking photo after photo in the hope we’ll catch something.
Reducing the exposure comes at a price. When you take shots with a DSLR or equivalent, there’s a small delay while the photo is transferred to storage and before the next shot begins.
If you’re taking continuous 30-second shots one after the other, the gap isn’t significant.
Let’s imagine it’s 1 second in length, so every 30-second exposure effectively takes 31 seconds to complete.

Therefore, for every 30 minutes of exposure time, approximately 1 minute would be wasted due to the cumulative gaps.
Imagine shooting the sky for 1 minute with the lens cap on. It would feel like an eternity – and naturally, that’s exactly when the brightest, most spectacular fireball would decide to show up!
Reducing exposure time doesn’t reduce the gap interval; it makes the loss more noticeable.
One way around this is to use two cameras with their shooting sequences out of sync, so the sky is covered at all times.
With a bit of effort, shooting meteors under bright moonlight can be done – and may even yield shots that are a little more exclusive than normal.
Equipment
- DSLR or equivalent
- Wide and fast lens
- Remote shutter control
- Tripod
Step 1
A DSLR, MILC or equivalent camera is ideal for meteor photography. A wide-field, fast lens is normally recommended but the presence of a bright Moon relaxes these considerations somewhat.
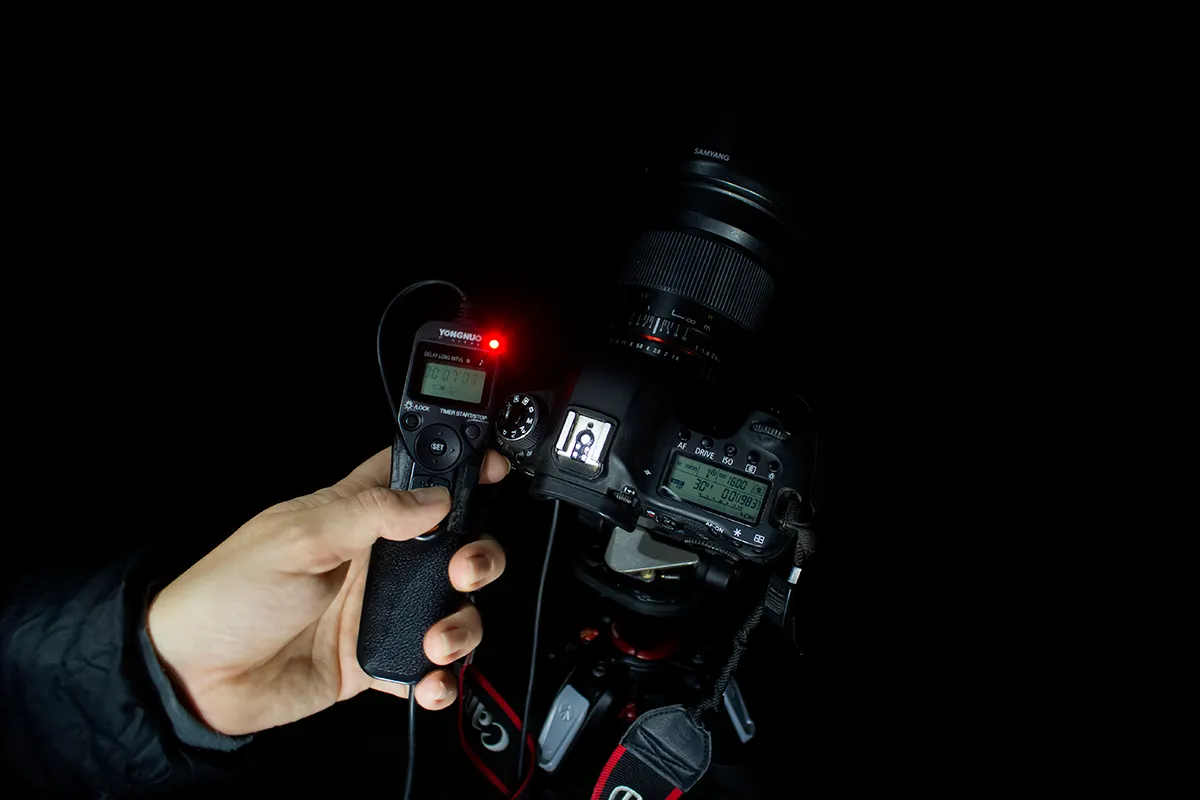
A lockable remote shutter release is necessary for continuous shooting and, of course, you’ll need enough storage cards to store several thousand images.
Step 2

We recommend that you mount your camera on a stable platform, preferably a tripod that will allow the pointing angle to be adjusted.
It’s important to bear in mind that the sky appears to move relative to a fixed pointing angle.
As a result, it’s advisable to adjust where your camera points over the course of the evening, so that the Moon doesn’t wander into the field of view!
Step 3

Adjust the lens to be wide open (lowest f/ number) and pre-focus at infinity. Here, the Moon can actually be useful for getting sharp focus.
Set your camera’s ISO to 1600–3200 but be prepared to lower it if the results in step 4 dictate.
Set exposures for 30 seconds and, again, be prepared to reduce that if necessary.
Step 4

Take a test shot. With such a bright Moon, you’re unlikely to get a dark, star-laden image; more likely is one that’s daylight-blue with stars.
If it comes out white, shorten the exposure, reviewing in between.
Avoid going below 10 seconds; if you reach that, begin lowering the ISO. You want visible stars and no white areas.
Step 5

Point your camera away from the Moon at an altitude of around 60°.
Don’t block the field of view with large foreground objects – they might look artistic, but they only reduce your chances of picking up a meteor trail.
Set your camera to continuous shooting mode, lock the remote shutter button down and let it run.
Step 6

Keep an eye on the lens and clear any dew with a 12V camping hairdryer.
A fit-and-forget solution is to wrap the lens with a band heater, often sold in astro-imaging dew-heater kits; USB versions run from power banks.
Read our guide on how to make your own dew heater.
When the session is over, the fun really begins: looking through each image for meteor trails!
Share your Perseid meteor images with us by emailing contactus@skyatnightmagazine.com
