In this guide we'll show you how to use a DSLR camera, giving beginners the basic skills to understand the settings and controls you need to capture amazing images.
DSLR cameras, or digital single-lens reflex cameras, are brilliantly versatile cameras, and for a wide range of reasons.
Great for beginners, DSLRs are easy to use and can be cheap to buy, depending on the model. Plus, there’s a good secondhand market for entry level cameras.
DSLR cameras have a digital sensor and reflex mirror that directs incoming light onto the viewfinder.
You can attach different lenses to them and they are also more sensitive in low light, which is important.
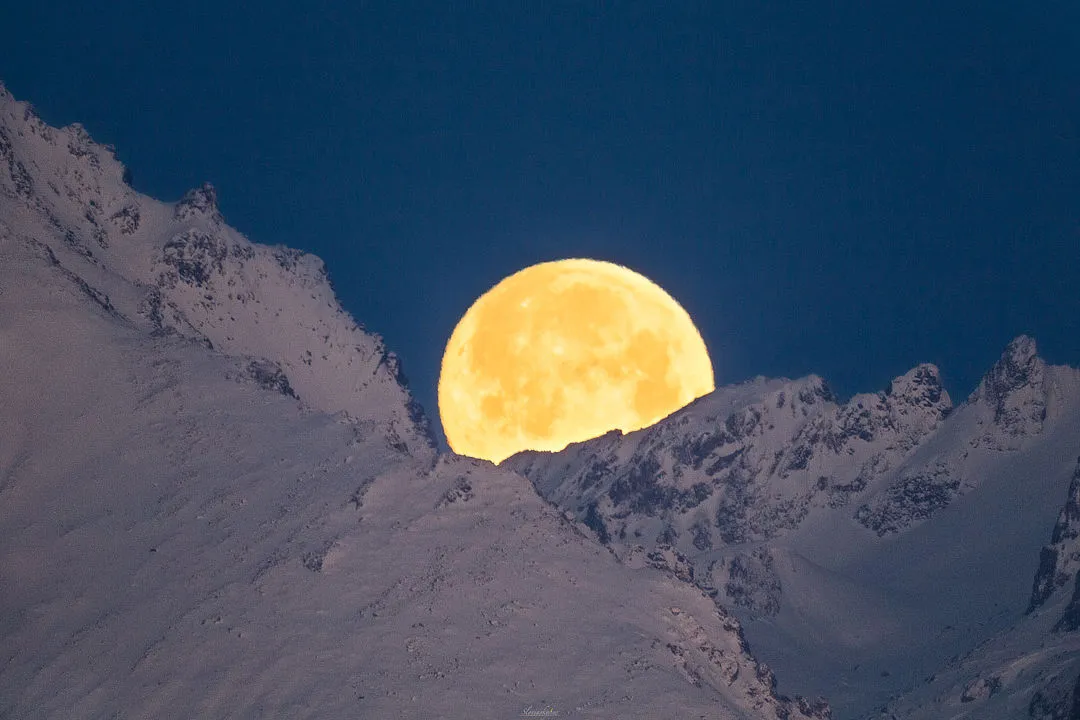
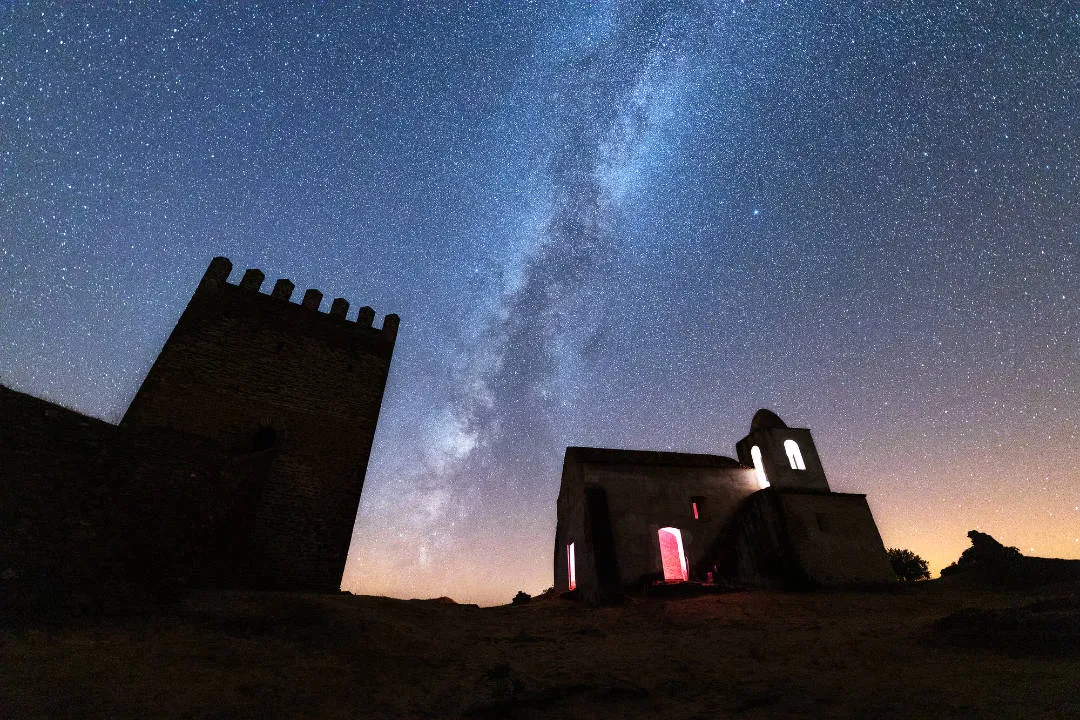
A DSLR camera will perform well for most types astrophotography, including wide-field Milky Way shots, Moon images and deep-sky objects like galaxies and nebulae.
Keep your camera in good condition with our guide How to clean a DSLR camera.
Read our beginner's tutorial to find out which are the best cameras for astrophotography or browse all of our camera reviews.
You can get started in DSLR astrophotography simply with the camera and a tripod, rather than jumping straight into guiding with a mount.
Lenses also provide the ability to shoot at longer focal lengths before buying your first telescope. There are also many social media groups that showcase DSLR astro images and provide support and advice.
In this guide we’ll outline tips for basic DSLR astrophotograpy, including preferred specifications, imaging formats and key settings.
We'll be referring to a variety of Canon DSLRs, but you’ll find that most models have a similarly recognisable array of buttons and screen settings.
Find out how to attach a DSLR camera to a telescope.
DSLR camera types
If you want to know how to use a DSLR camera, it helps to understand the two basic kinds available.
The two main types of DSLR camera are full-frame and crop sensor (APS-C).
Full-frame DSLRs have a larger chip, giving them a wider field of view and greater sensitivity than those with a crop sensor.
Some DSLRs are more suited to astro imaging than others, and the minimum requirements depend on the photos you wish to take.
For example, deep-sky imaging requires a DSLR that has ‘Bulb’ mode.
This allows you to attach a remote shutter control and shoot multiple long exposure frames.
The ability to increase ISO levels is also a must (more on this below).
Meanwhile, if you want to photograph the Moon or photograph planets, you'll benefit most from video, as the high frame rate is better at cutting through Earth’s atmosphere to produce sharp images.
A DSLR with video capability is an advantage, but often a fast exposure time is sufficient.
DSLRs are also great for wide-field views, because you can attach a wide, fast lens (eg f/2.8).
The benefits of Live View
One thing that your DSLR requires is a ‘Live View’ function. This means that instead of looking through a viewfinder, the image is displayed on its digital screen.
This not only helps to line up an image, but means you can achieve sharp focus on stars.
In terms of physical characteristics, this is down to individual preference, but we’ve found that an articulated ‘flip-screen’ can make all types of astro imaging easier.
These allow you to view frames from awkward angles, including objects overhead. This combined with a touch-screen LCD is even better, as it helps prevent you from nudging the camera.
Two rules that apply for all astrophotography are to shoot in ‘Manual,’ and in RAW image format, as this enhances image-editing control.
We’ll now take a look at what DSLR settings and how to use these to produce spectacular photographs.
DSLR settings explained

There are five key settings to consider with a DSLR: ISO, aperture, exposure, white balance and noise reduction.
ISO
ISO changes your DSLR’s sensitivity to light and is one of the most important settings to get used to.
ISO ranges vary between models. Some go from 100 to 12600 and beyond.
The lower the ISO setting, the less sensitive your camera will be to light and vice versa.
However, this sensitivity is also dependant on the exposure setting: a camera on a low ISO setting but long exposure will pick up more detail than one on the same ISO setting, but with a shorter exposure time.
If using a DSLR to photograph the Moon, which is bright, you don’t want a high ISO as it will wash out the image and mean you lose detail.
For Moon images, select your DSLR's lowest level, ISO 100, from the ISO menu.
We don’t tend to use ‘Auto’ functions in astrophotography, instead opting to manually choose the best setting.
Aperture/f-stop number
The f-stop number that your DSLR is set at is another important factor. F-stop affects the depth of field and how ‘wide open’ your camera aperture is.
A low f-stop number means the aperture is wider (and is often referred to as a ‘fast’ setting): the DSLR will receive more light, but the depth of field in the image is shallow.
This isn’t important for lunar imaging, but it becomes apparent in wide-field imaging since a shallow depth of field will affect the focus of the foreground.
We don’t want a low f-stop number to image a bright target like the Moon because not only will it allow light to flood the camera sensor, but it will also limit lens performance.
Every lens is different, however it’s best to start at f/7 and work your way upwards to see what produces the best results, stopping when the image looks sharp.
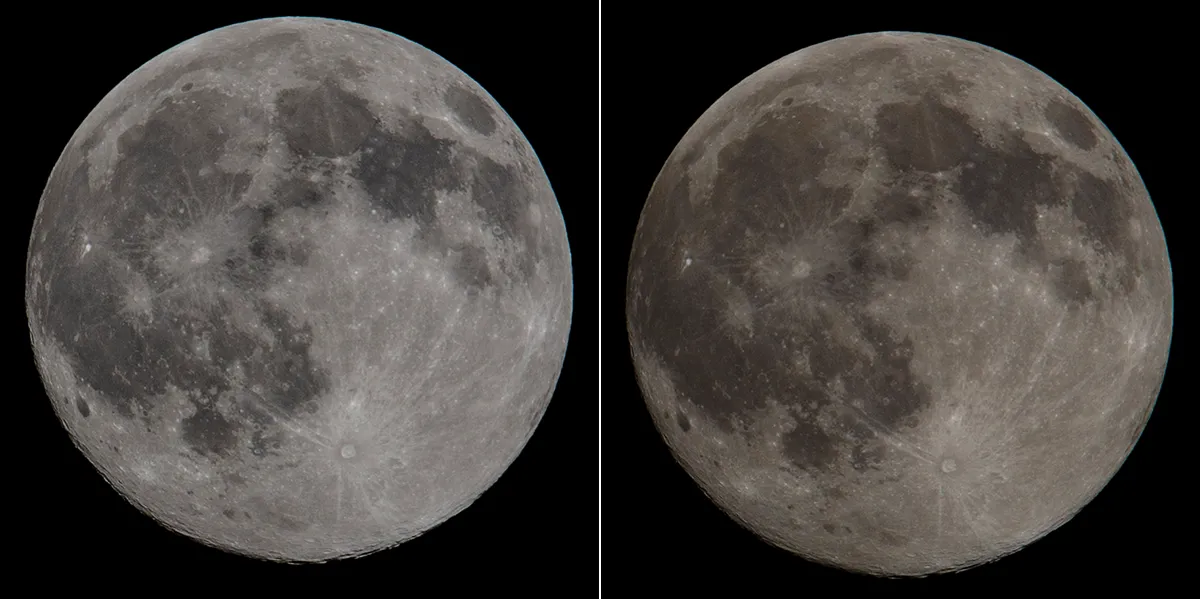
Both images of the Moon below are captured at f/7.1 aperture on a lens of 400mm, f/5.7 focal length.
Exposure
Understanding the effect of exposure time is crucial when learning how to use a DSLR camera.
Depending on the brightness of the object imaged, a longer exposure usually means more detail.
Deep-sky exposures can be up to 15 minutes per frame, though this depends on the camera and its sensor, which can heat up creating image noise.
Because the Moon is so bright, exposures of that length long would completely wash out the image, so this type of photography needs shorter frames.
You want to set a length that captures the detail in darker regions without overexposing lighter areas.
For our lunar image above, we started at 1/200 seconds and found the image too bright. We then tried 1/250 and 1/400 and captured the two images above.
1/400 seconds was a little too fast: the Moon looks dull and less detailed, even after processing.
Of all the images taken, a combination of 1/250 seconds exposure, with an ISO of 100 and and aperture of f/7.1 proved to be best for the DSLR we used, a Canon EOS 700D.
White balance
White balance (WB) is an important factor for daytime photography, but less so for astro imaging because we are shooting in RAW image format.
We do this to give the most control in post-processing, so the white balance of our image can be adjusted later using photo editing software.For this reason, white balance can be left in ‘Auto’ mode, or ‘AWB’.
We can recommend Canon’s ‘Tungsten’ WB setting, however, because it can benefit wide-field images by removing the reddish glow of light pollution.
A custom white balance may be needed for astro-modified cameras. This is because once the infrared (IR) filter is removed all images have a red hue.
This can still be managed in processing, but it’s easier to set up a custom white balance that you can apply from the camera if imaging without filters.

Noise reduction
A common beginner’s mistake is to have the noise reduction setting switched on for astrophotography, in an effort to remove the noise (unwanted artefacts) from frames.
But this setting is counterproductive when imaging at night. If it’s turned on, it effectively takes two photos for every exposure: a normal ‘light’ frame (which is your regular image), and a ‘dark frame’ designed to remove noise.
The camera then subtracts this dark frame from the light frame, meaning each exposure takes twice as long.
It’s best to ensure noise reduction is switched off. On Canon DSLRs, this can be done from the main settings menu.
The best way to remove noise is to take ‘calibration frames’. Dark frames are one type of calibration frame.
Creating and applying calibration frames allows you to remove most forms of noise in post-processing. Find out more in our guide to image processing, or our detailed guide on how to remove noise in astrophotography.
How to use a DSLR camera at night
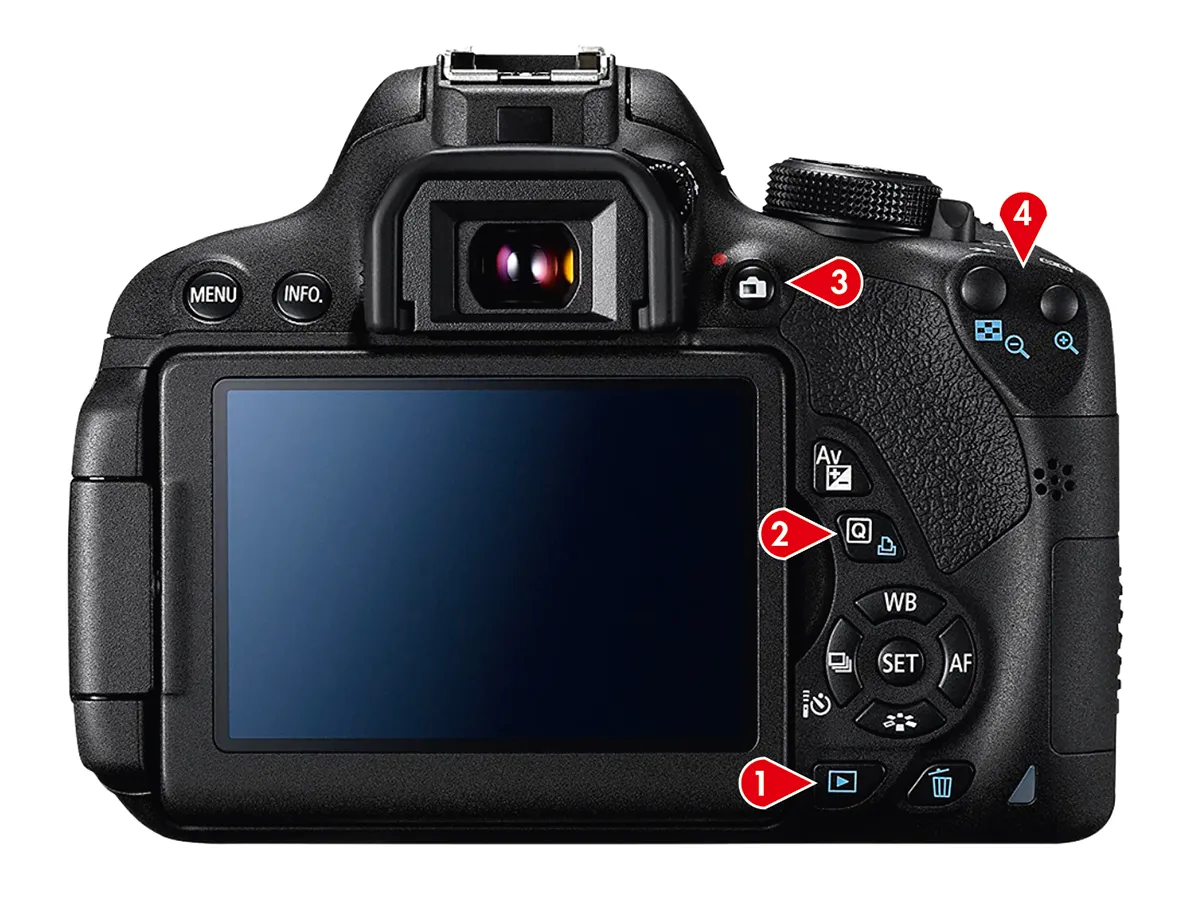
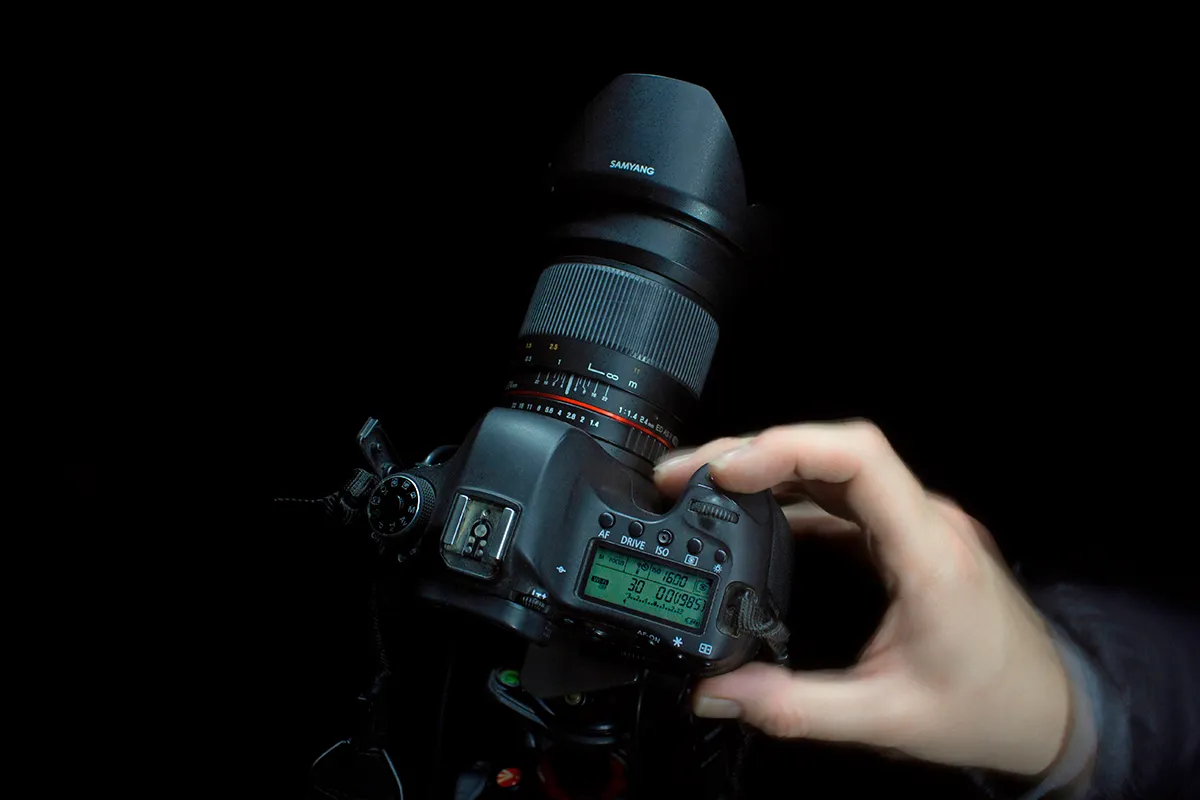
It’s worth getting to know your DSLR in daylight so that you can locate buttons by feel. On a Canon, well-used buttons include ‘Playback’, the ‘Q’ button, and ‘Live View’ and ‘Zoom’ functions.
The location of these buttons varies between models and knowing them will help you to confidently set up your DSLR after sunset.
In our example image above, the ‘Live View’ (3) and ‘Zoom’ (4) buttons help us focus, the ‘Q’ (2) button lets us switch between settings on the LCD display screen and ‘Playback’ (1) shows our test images.
One challenge is focusing your DSLR for sharp stars, and this is where ‘Live View’ and ‘Zoom’ buttons are required.
Before finding your desired target, use ‘Live View’ to find a bright star. Vega, (Alpha (α) Lyrae), Sirius (Alpha (α) Canis Majoris) and Deneb (Alpha (α) Cygni) are popular choices.
Sirius is a particularly popular choice among many astrophotographers because you can take multiple images to photograph the changing colours of a twinkling star.
The DSLR’s ‘Zoom’ buttons allow you to enlarge the star on your LCD screen and ensure your focus is precise.
The 500 rule
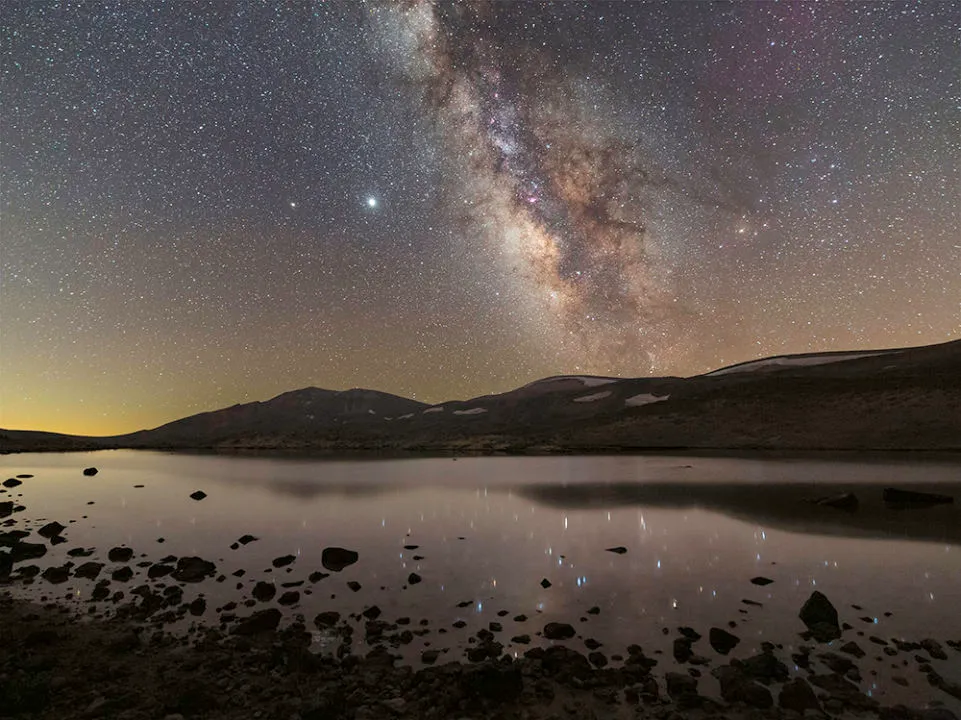
Imaging deep-sky objects requires far longer exposure times than the Moon, and if you are using a regular tripod the ability to capture the Milky Way or nebulae is limited by star trailing.
To keep stars pin-sharp at longer exposures, a tracking mount is needed.
The 500 Rule in astrophotography gives a rough maximum exposure time depending on the focal length of the lens you’re using.The wider your field of view, the longer the exposure time you can apply before you begin to get star trails.
If you are using a full-frame camera you divide 500 by the focal length of your camera lens.
For crop sensors you apply the same rule, but multiply the focal length by 1.5 or 1.6 for Nikon and Canon DSLRs respectively.

If we are using a 14mm lens to shoot a wide-field image with a full-frame DSLR, we’re limited to a maximum of 36 seconds per frame, but at 200mm this exposure time reduces to 3 seconds.
While it’s possible to image the deep sky with a DSLR on a tripod, for the best results you’ll need a tracking mount to keep track of your target as it moves with the rotation of Earth.
Without one, exposure times will be limited and the process of aligning and stacking multiple image files is complicated.
For more info, read our guide on using a star tracker mount for astrophotography. Or capture a deep-sky object yourself with our guide on how to photograph the Orion Nebula and how to photograph the Andromeda Galaxy.
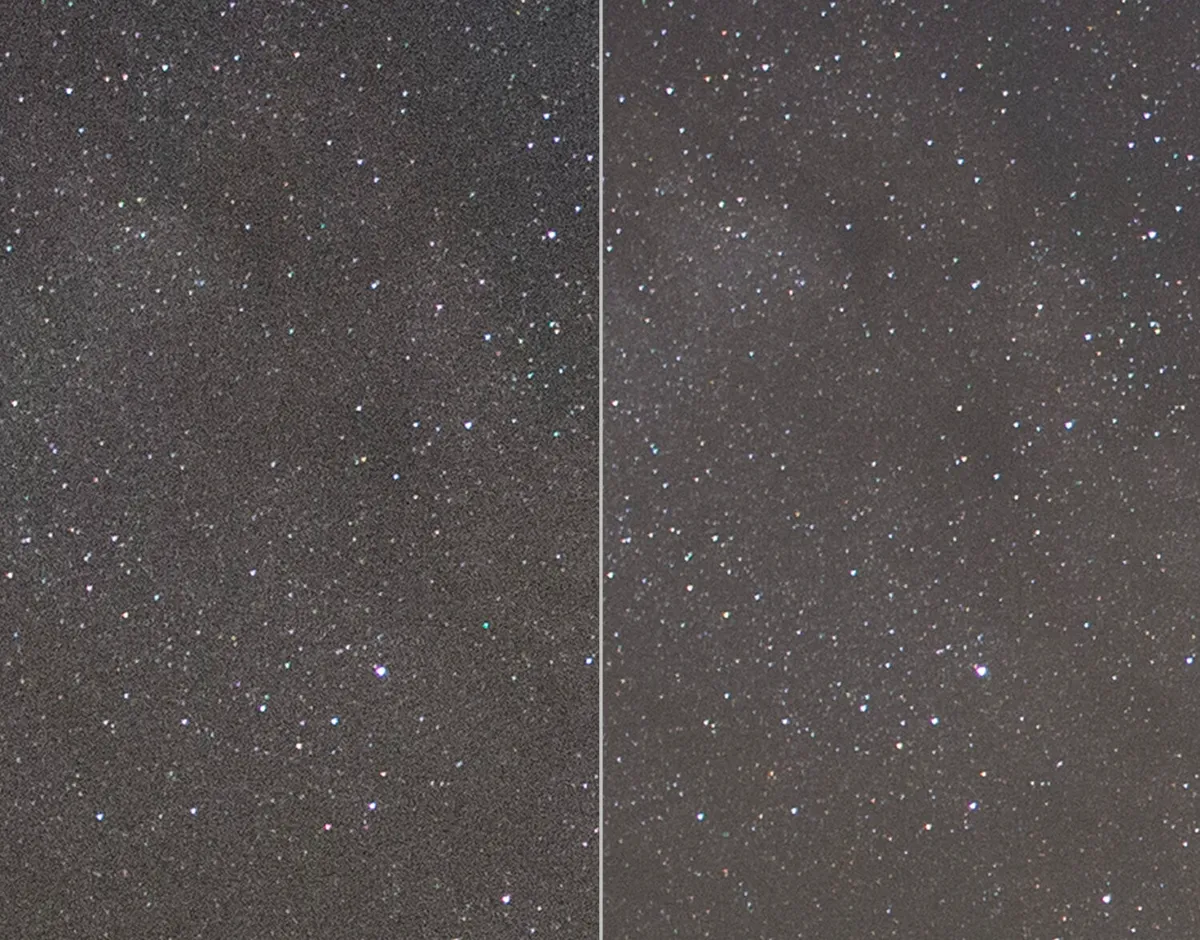
Signal noise
Managing ISO and exposure times is important for deep-sky objects, and both need to be increased for nebulae.
The ‘500 Rule’ gives the longest exposure time on a static tripod and we can increase the ISO to pick up more detail from the exposure.
The best ISO performance will vary from model to model, and it’s important to note that too high an exposure time will make the image noisy with a grainy appearance.
Find your camera’s ‘sweet spot’ where you can push the ISO to boost brightness without getting obvious electronic noise.
When taking your test images there are times when setting a high ISO has its benefits: we often use ISO 6400 to find and position an object before switching to ISO 800 or 1600 for an imaging run.
The process of locating a faint deep-sky object with a DSLR is tricky without a Go-To mount; this will not only do the job for but it will transform your results.
Charlotte Daniels is an amateur astronomer, astrophotographer and journalist. This guide originally appeared in the May 2021 issue of BBC Sky at Night Magazine.


