In this guide we'll reveal how to photograph the planets, including what equipment you'll need, how to get set up, tips, tricks and techniques, and how to use a digital camera to photograph a planet.
Photographing the planets can, even in today’s enlightened times, lead to surprising discoveries. Often the announcement of an impact on Jupiter or storm on Saturn comes from an amateur, having been recorded by a planetary imager.
In this guide we’ll consider how to photograph all of the planets, from Mercury out to Neptune. Some of these planets, such as Mars and Jupiter, appear more dynamic than others, so we’ll concentrate on these to illustrate some of the techniques needed to image the planets.
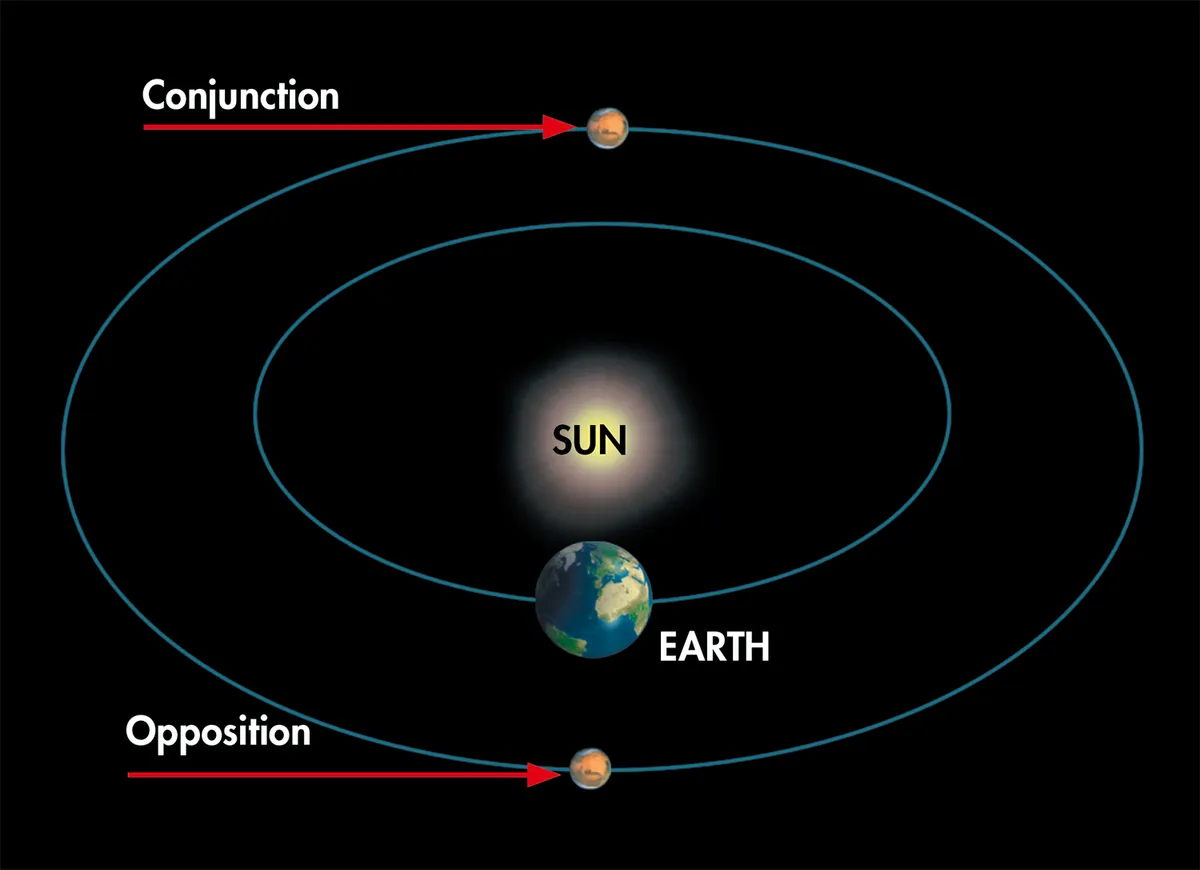
The best time to image a superior planet (one that has an orbit larger than Earth’s) is around opposition. For more on this, read our guide to inferior and superior planets.
Find out how to find the planets in the night sky.
For in-depth tutorials, read our dedicated astrophotography guides or our beginner's guide to astrophotography.
Equipment for photographing the planets
The planets are on our cosmic doorstep, yet you still need a telescope with quite a bit of magnification to see any of their surface details.
To see more detail, you need to increase the magnification or image scale (how big an object appears in the image frame). This is determined by the focal length of your telescope.
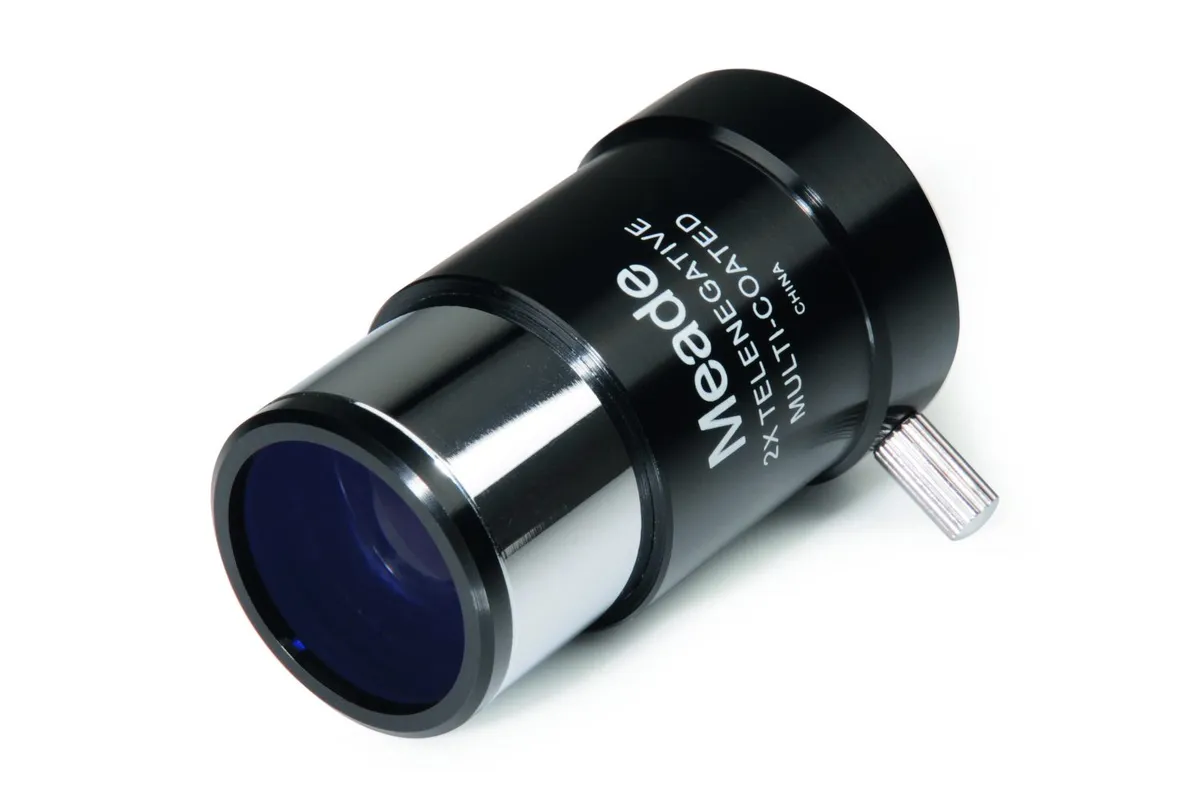
As a telescope’s focal length is fixed, you might think that it can only give one magnification, but this isn’t the case – optical amplifiers such as a Barlow lens or Powermate lens can effectively increase it, while focal reducers effectively lessen it.
Focal ratio (f-ratio) gives an indication of the ‘speed’ of an optical system – the time it takes your telescope to deliver a set amount of light.
As the f-ratio goes up, so the image scale increases: the object appears larger and consequently dimmer.
The f-ratio is defined by dividing your telescope’s focal length by its aperture using the same units.
So if you have a 100mm refractor with a focal length of 900mm, its f-ratio is said to be f/9. Adding a 2x Barlow increases the effective focal length to 1,800mm and doubles the f-ratio to f/18, but there is a limit to how much focal length is useful.
Large values make the image appear dim and require lower frame rates and longer exposures, and beyond a certain value, your telescope won’t be able to deliver any more useful detail.
Under average seeing conditions, figures of f/15-f/25 will probably work best. If you are lucky enough to experience excellent seeing, values in the f/25-f/45 range can be effective. More on seeing below.
A telescope for photographing the planets
Click here for more information about what telescopes are best for observing the planets
A range of optical amplifiers of different magnifications will help you achieve the right value for your setup, but a key skill in planetary imaging is knowing how to select the best image scale for the prevailing conditions.
Apertures of 8 inches or larger are best for high-resolution planetary imaging, and the ideal telescope would be a large aperture, long focal length, colour-corrected (apochromatic) refractor.
This kind of scope is great for providing the unobstructed, high-contrast views necessary to reveal detail on a planet’s disc.

Reflecting telescopes can also be excellent planetary scopes, but to get high image scales you need a long focal length instrument. As aperture increases, such an instrument can become heavy and cumbersome, making it difficult to mount and handle.
One popular design for planetary imaging is the catadioptric scope, which uses both mirrors and lenses. The Schmidt-Cassegrain design balances size and performance with affordable cost.
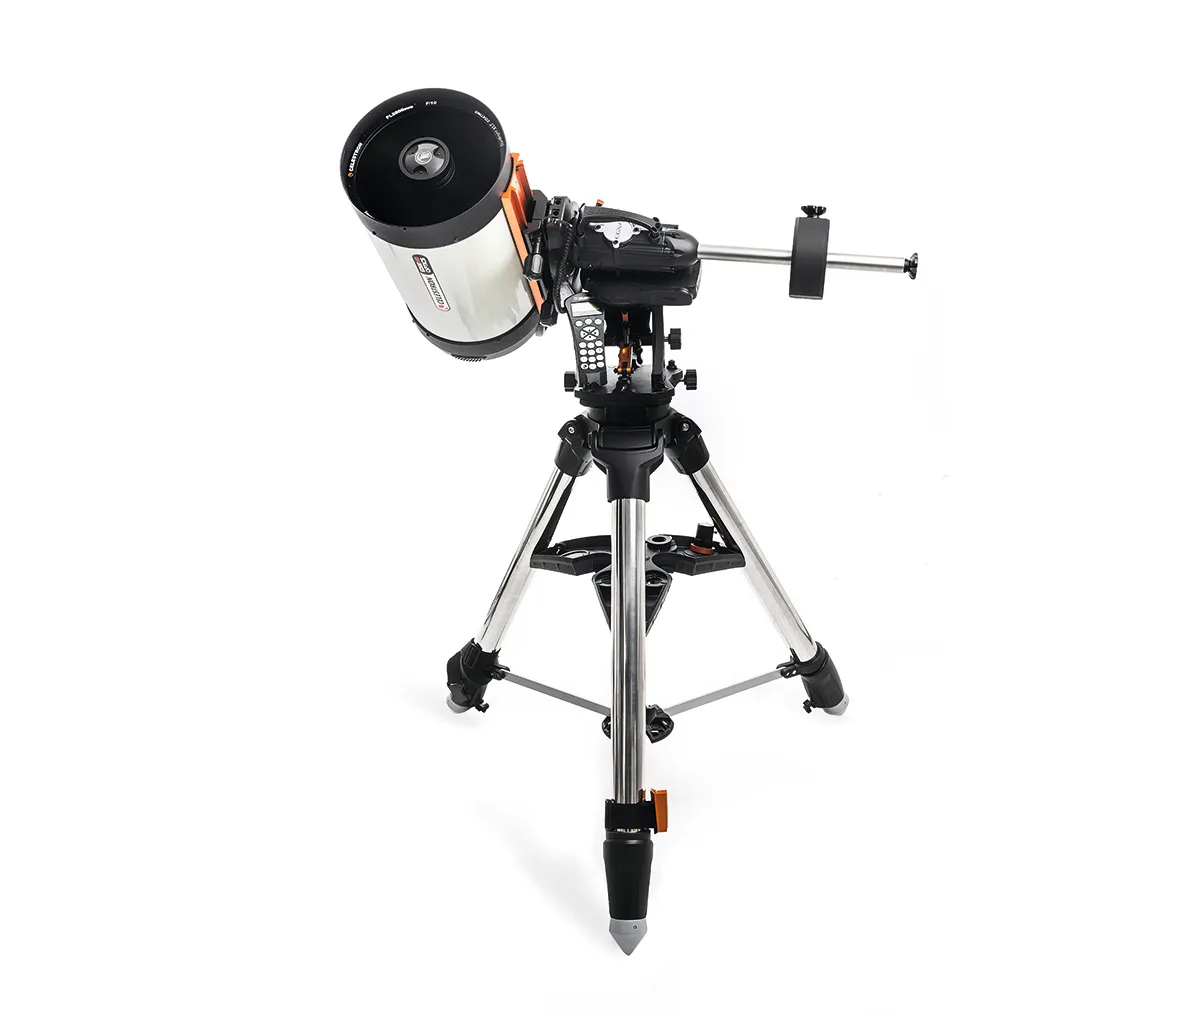
And since the optics of this kind of scope effectively ‘fold’ the light path, a large aperture, long focal length Schmidt-Cassegrain is also fairly easy to handle.
You’ll also need a solid mount for planetary imaging. Ideally an equatorial design, polar aligned with driven right ascension and declination axes.
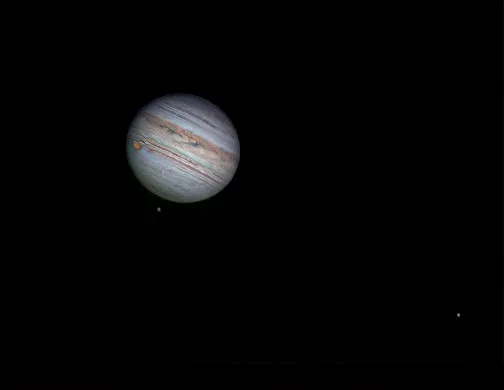
If you have a smaller telescope, don’t worry: telescopes under 8 inches in aperture are capable of capturing some detailed shots under the right conditions.
The key is to keep the image scale realistic for the size of the scope and conditions. A family portrait of Jupiter with its four Galilean moons, for example, can be just as stunning as a close-up.
Find out how to photograph the planets with a Dobsonian.
For more info on telescopes, read our pick of the best telescopes for observing the planets or the best telescopes for astrophotography.
Using filters for planetary imaging
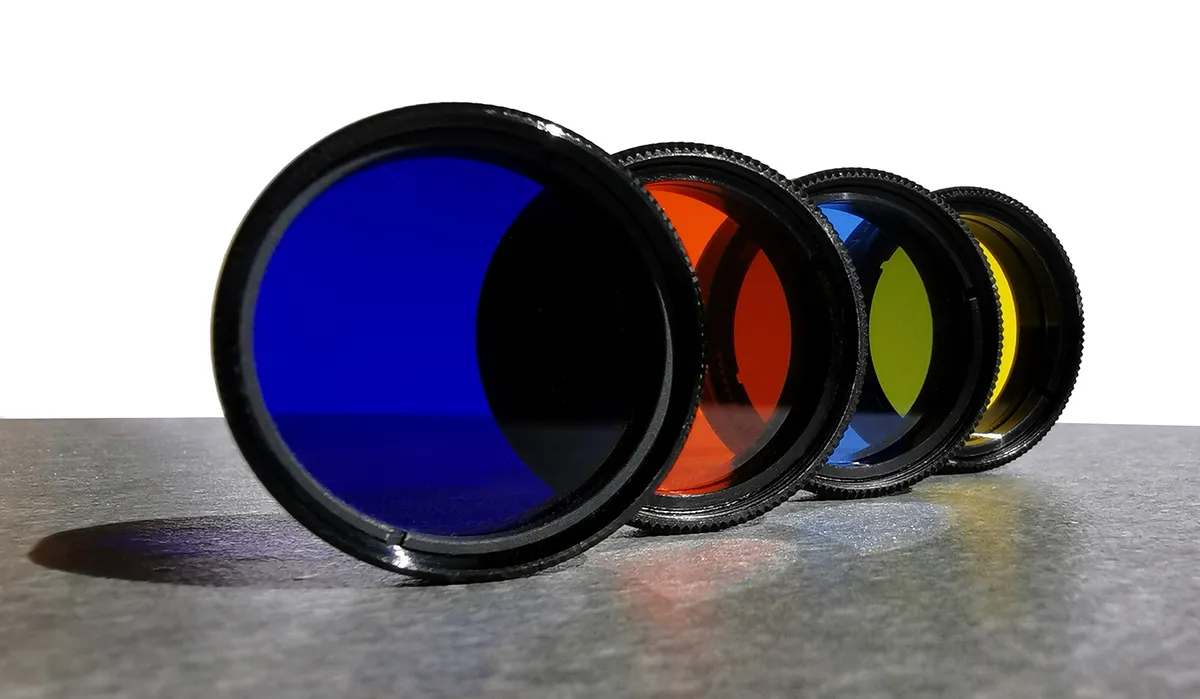
Filters are frequently used in planetary imaging to enhance certain wavelengths, or to prevent some of them from getting to the camera.
Imaging chips are often very sensitive to infrared light; unless checked, this can oversaturate and wash out detail. An inexpensive infrared-blocking filter can prevent this.
Mono cameras can take full-colour images using red, green and blue (RGB) imaging filters placed one at a time in front of the camera’s sensor.
Some of these cameras have an infrared-blocking filter fitted as standard. Other types of filter commonly used are infrared-pass filters such as the popular 742nm ‘planetary filter’.
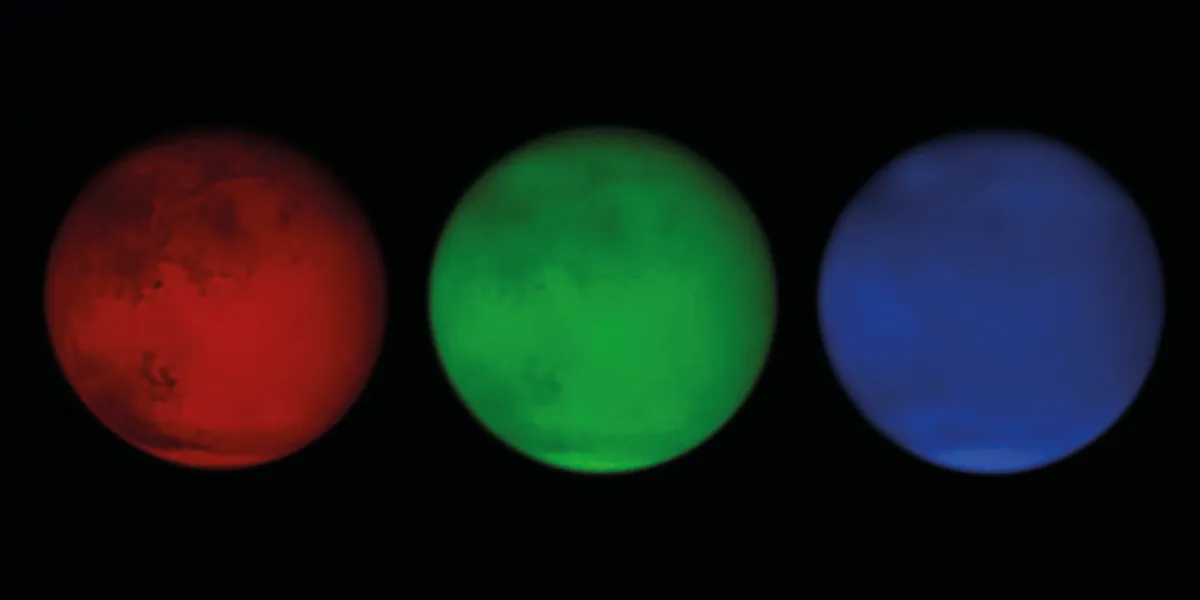
This lets through longer wavelengths of light, which can often appear less prone to atmospheric turbulence, and produces a sharper image.
Specialist filters such as methane-band (CH4) or ultraviolet-pass are also sometimes employed to pick out planetary details that would otherwise be hidden when you photograph the planets.
A camera for photographing the planets
What sort of camera you need for photographing the planets depends on what sort of planetary astrophoto you want to capture.
For more info, read our guide to the best cameras for astrophotography.
Smartphone

Smartphone cameras have advanced to the point where they can take basic shots of planets afocally, through the eyepiece of a telescope. There are also accessories available to attach them the telescope’s eyepiece.
For more on this, read our guide on how to photograph the night sky with your smartphone or our guide to the best smartphone astrophotography gadgets.
Planetary camera

The first step on the multi-frame imaging ladder is a medium frame rate camera such as the Celestron NexImage. Pre-fitted with a 1.25-inch eyepiece adaptor, they often come bundled with good software.
High frame rate camera
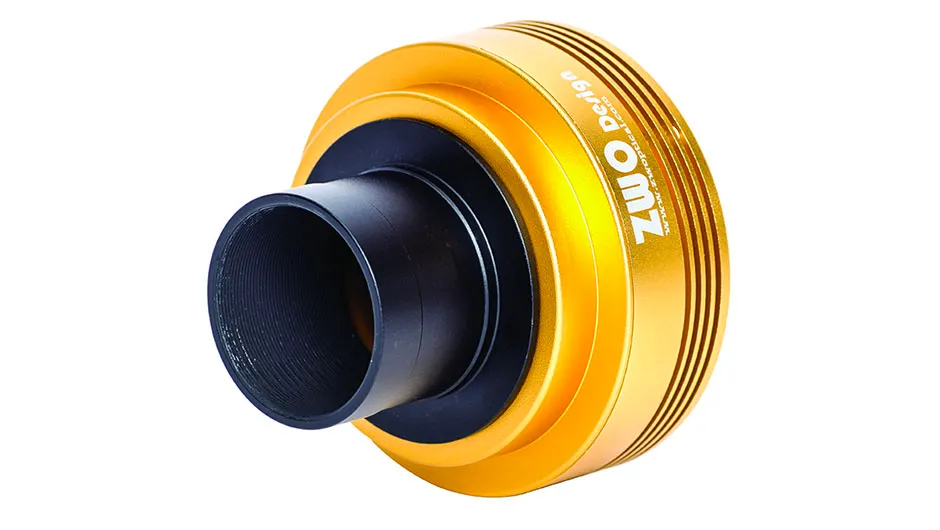
High frame rate Top of the pile are dedicated high frame rate cameras, like those from ZWO, PGR and Lumenera. With high-speed connections such as USB 3.0, rates of several hundred frames per second are common.
How seeing will affect your planet photographs
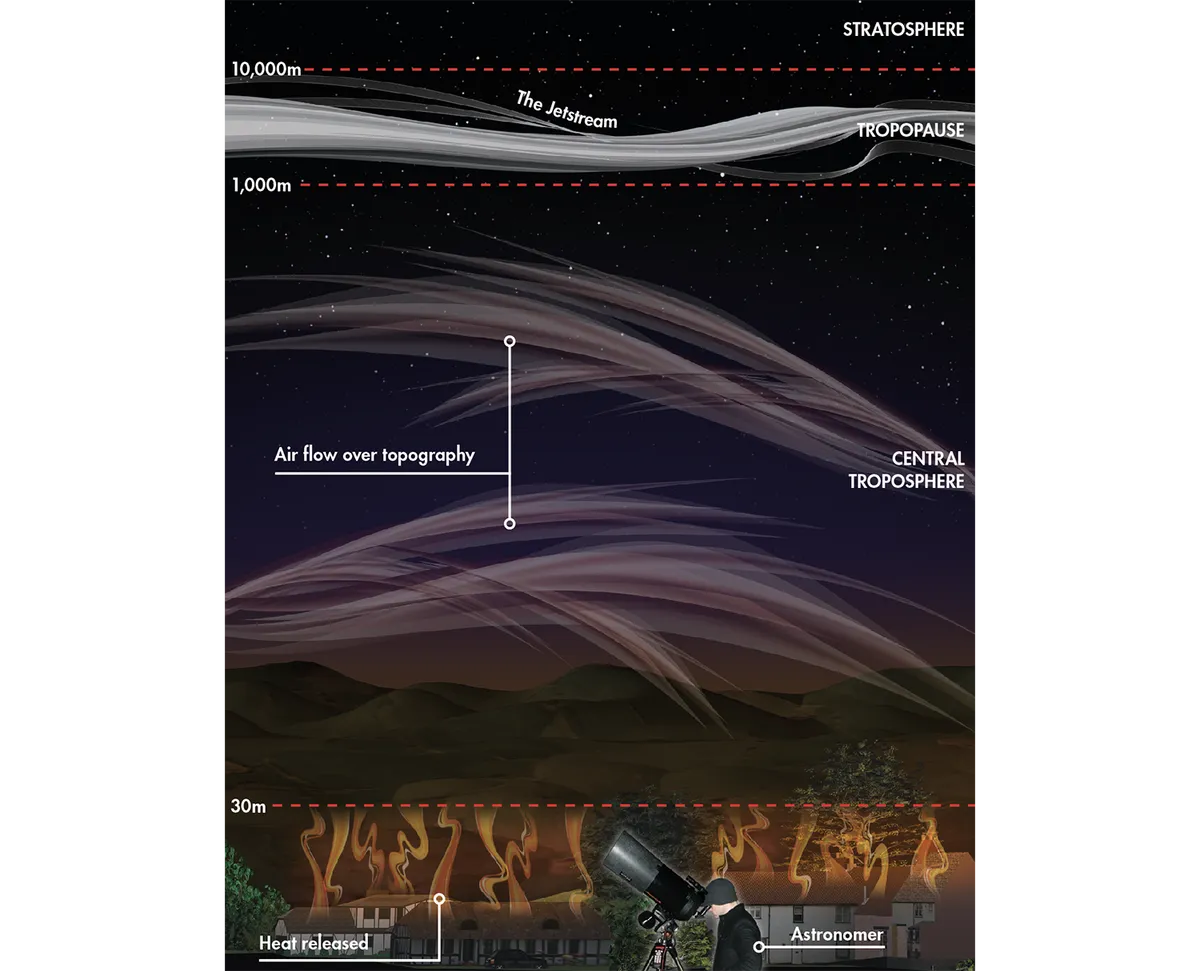
Light from a planet must pass through our atmosphere before it reaches us and as it does pockets of air at different temperatures and densities bend or refract it. This blurs the details that we can see.
The state of the atmosphere and its effect on the appearance of celestial objects is known as ‘seeing’.
Excellent seeing is something of a rarity in the UK. When it does occur, it’s really something to behold, but for the most part we have to make do with average seeing.
For help with this, read our guide to forecasting the weather for astronomy.
An eyepiece view of a planet under average seeing conditions often gives fleeting views where everything looks sharp.
You can appreciate these brief moments when you’re looking through a telescope, but snap a planet with a DSLR camera under average seeing conditions and it’ll look distorted and blurred.
DSLRs are commonly used to take stunning long-exposure astrophotos of deep-sky objects but, in the past, were rarely used for the planets due to Earth’s turbulent atmosphere.
A single exposure of a planet will, unless you’re lucky, record slightly blurred detail, smeared out by the atmosphere. One way around this is to record a video of the planet.
This way you’ll capture lots of poor-quality images, but there should be a few good frames among them. Using specialist software, you can extract these frames and combine them to make a sharp image.
Devices that can do this range from webcams, the latest DSLRs, which can now take video, through to purpose-built planetary cameras with high frame rates, specifically designed for this task.
Keep your DSLR camera in good condition with our guide How to clean a DSLR camera.
Get more out of your camera with our DSLR guide.
As rapid frame rates require short exposures, a high-sensitivity, low-noise imaging chip is also needed and this is why monochrome cameras are preferred.
Despite colour cameras being more convenient for one-shot colour imaging, the fixed Bayer matrix filter they use to create the colour doesn’t permit as high a sensitivity or control as an equivalent unfiltered mono camera.
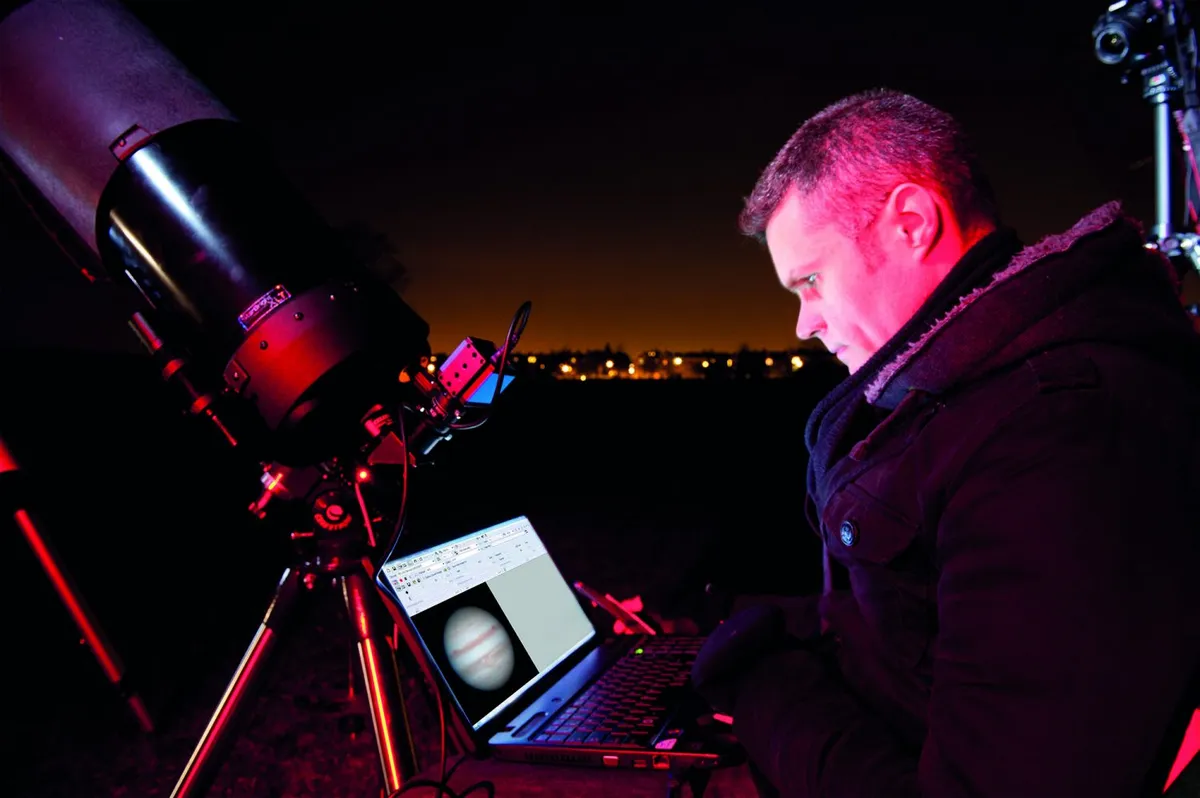
Unlike a DSLR, a high frame rate camera has no controls of its own. A separate computer with an appropriate driver and control software is required to issue commands to the camera.
Photographing the planets: tips, tricks and techniques
Planetary imaging is easy if you know what you’re doing. But it’s important to remember that many of the amazing amateur images you see online have years of practice and experience behind them.
Don’t let that put you off, though, because gaining that experience can be a lot of fun.
For basic planetary imaging you should be using a polar-aligned, equatorially mounted telescope fitted with right ascension (RA) and declination (dec.) drives for ease of repositioning.
You’ll need to place it outside for two to four hours before you start imaging so the instrument can cool down to match its surroundings.
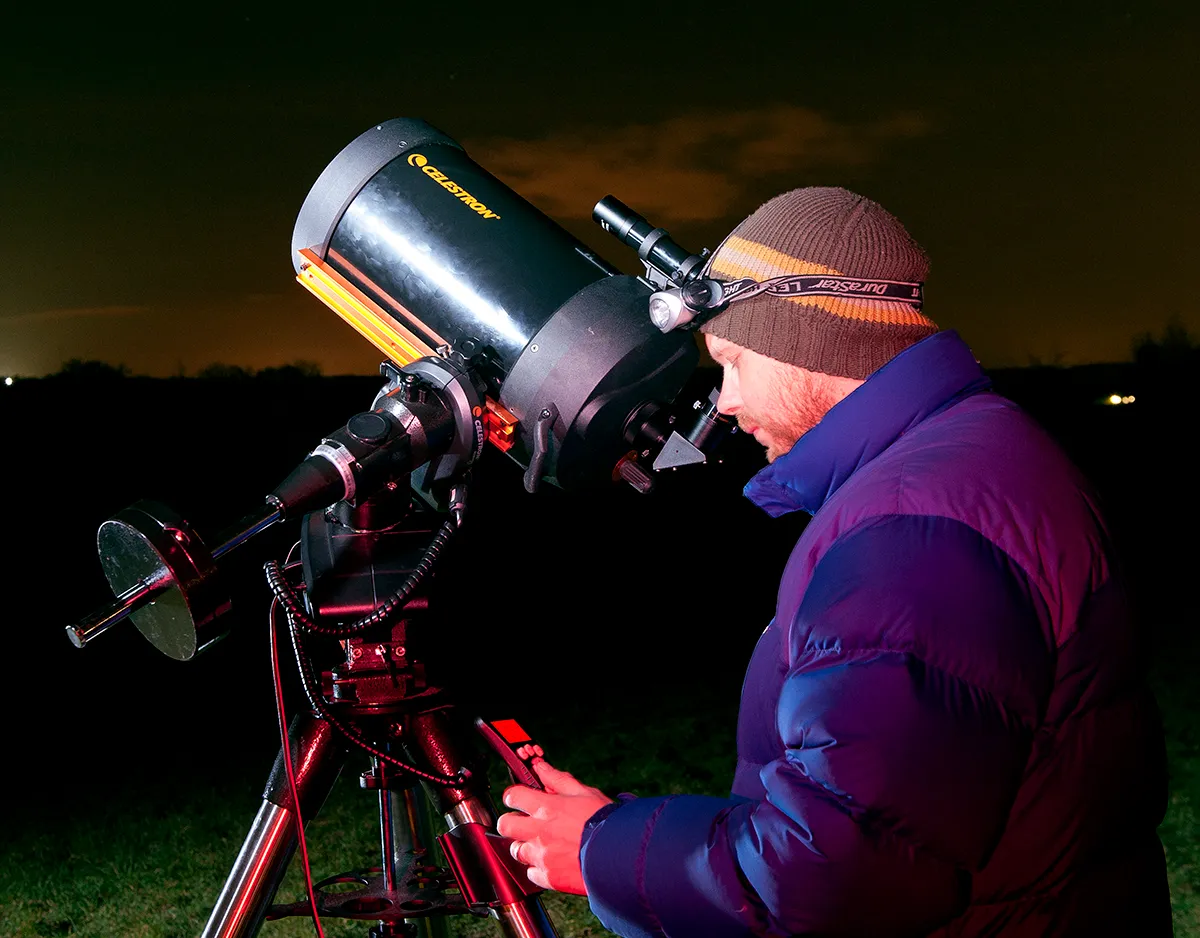
This should be timed so that you can start imaging when your target is close to due south and highest in the sky. Also, your telescope’s optics must be properly collimated (its instruction manual will explain how to do this).
Start by aligning the finderscope to the eyepiece view. Your scope’s RA drive should be on at this stage and, once the planet is centred in the eyepiece, swap in the camera.
Use the control software to select a low or medium frame rate. Increase the gain (the signal amplification) and exposure until the background is slightly brighter than black.
Don’t worry about focus, you’re just looking for a sign of the planet. Gentle pressure to the scope’s tube should reveal it if it’s just outside the frame edge.
Once you’ve found your planet, centre it and re-align the finderscope for future sessions. It’s a good idea to rotate the camera so that the planet moves parallel to the bottom of the frame when the scope is moved in RA.
Make a note of this orientation relative to the mount so you can use it next time.

Next you need to focus and get the camera settings right. Focus as best you can before adjusting the camera’s frame rate, exposure and gain.
Contrast, brightness and, if your camera has it, gamma should be left at their default, unadjusted levels.
The ideal setting would be one with a high frame rate, low gain and short exposure (which also helps the frame rate). Control software, such as FireCapture, will typically offer a range of exposure speeds.
Select the fastest range first, then adjust the exposure and gain so that the signal strength is about 85-95% saturated.
If the gain needs to be almost maxed out to achieve this, select a slower exposure range, and re-adjust the gain and exposure settings to suit. Keep the maximum saturation the same for each filter.
To focus, carefully wind the focuser through the point of focus and out the other side several times. When you’re confident you know what the point of focus looks like, wind to that position.
Record a video of the planets
Now you’re ready to capture a movie sequence. Common formats to save the file in are AVI, SER, Raw or as a sequence of stills.
We’d recommend saving as either AVI or SER. AVI is limited to 8-bit frames (256 tones) while SER can be deeper. The more bits used, the greater the amount of data that must be transferred.
Aim to keep your captures below the time limits listed in the table below. Frame counts of 2,000-3,000 per file are ideal, but you may find slower cameras will struggle to achieve this.
| Planet | Capture limit (less than 10m focal length) | Capture limit (greater than 10m focal length) |
|---|---|---|
| Mercury | Not critical | Not critical |
| Venus | Not critical | Not critical |
| Mars | 2-3min per channel | 1-2min per channel |
| Jupiter | 1min per channel | 30-40sec per channel |
| Saturn | 1-2min per channel | 1min per channel |
| Uranus | Not critical | Not critical |
| Neptune | Not critical | Not critical |
Remember, the values listed in the table are ‘per channel’ (red, green and blue), so with a colour camera you can get away with three times the limit for an individual channel.
Some programs automatically name the files, while others require you to do it manually.
If you name them manually, adopt a standard naming convention for your capture files such as yyyy-mm-dd_hh-mm-ss_filter.avi.

Capture files can be large, so we recommend you have at least 50-100 GB of free space on your hard drive per session.
When capture has been completed, the next step is processing. Use a registration and stacking program such as RegiStax or AutoStakkert to pick out the good frames from your capture files and stack them to produce a polished end result.
Photograph the planets: step-by-step
Cool your kit

Minimise the risk of air currents inside your telescope affecting image quality by letting it cool down outside before you start imaging.
Scopes up to 8 inches in diameter need about two hours to cool. Give larger instruments 3 or 4 hours. Time the cooling to end when your target planet
Check collimation

All of your scope’s optical components need to be collimated (perfectly aligned) to get the best results.
This is especially important with fast scopes that have focal ratios of f/5 or lower, as these are significantly less tolerant of collimation errors.
Refer to your scope’s instructions to find out how to check and collimate it properly, or read our guides on how to collimate a Newtonian and how to collimate a Schmidt-Cassegrain.
Upgrade the focuser

High-resolution imaging requires precision focusing. Long focal lengths will magnify any issues with a focuser, such as image shift and wobbles caused by you touching the focuser knobs.
One solution is to use an in-line electric focuser, which lets you adjust focus remotely and keeps the camera in the same position when it’s in use.
Add a filter wheel

Mono high frame rate cameras are best for imaging planets. They can be used to create full-colour RGB images with the help of filters. Fast-rotating planets need quick changes of filters to avoid motion blur on the captures.
A filter wheel makes swapping filters easy and electronic versions remove the need for any physical contact. is close to its highest point.
Photograph the inner planets
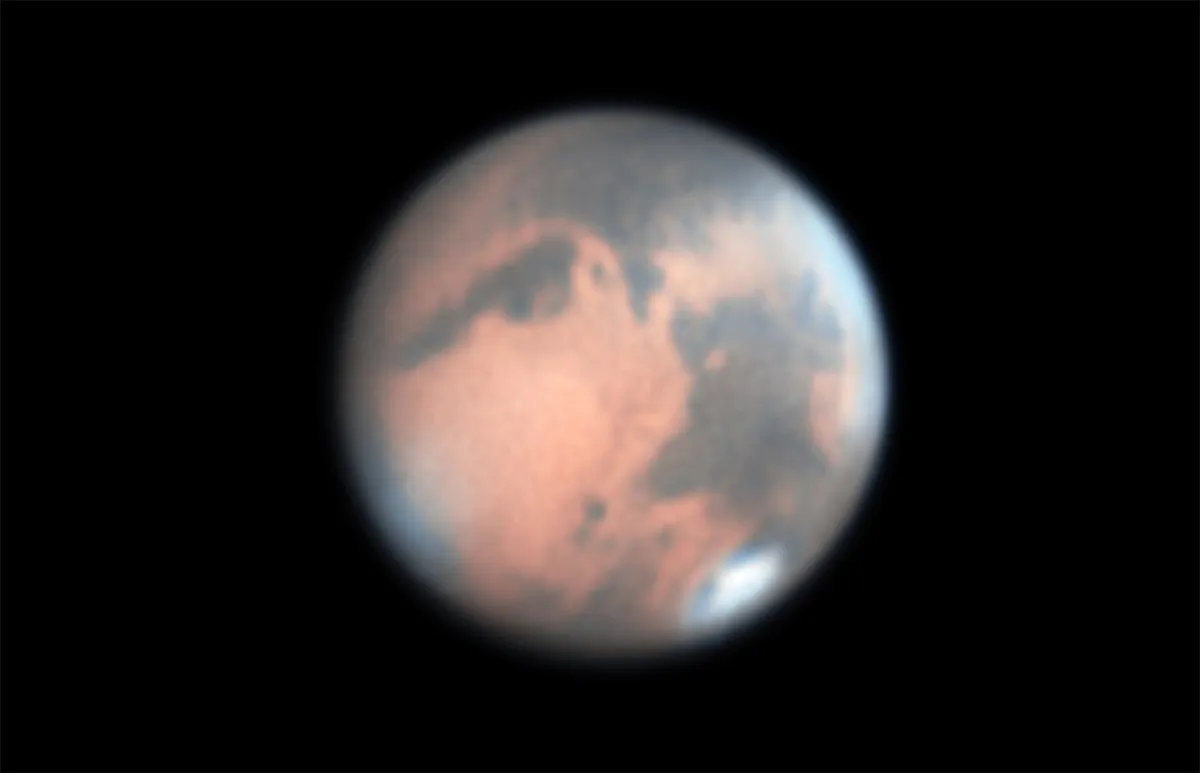
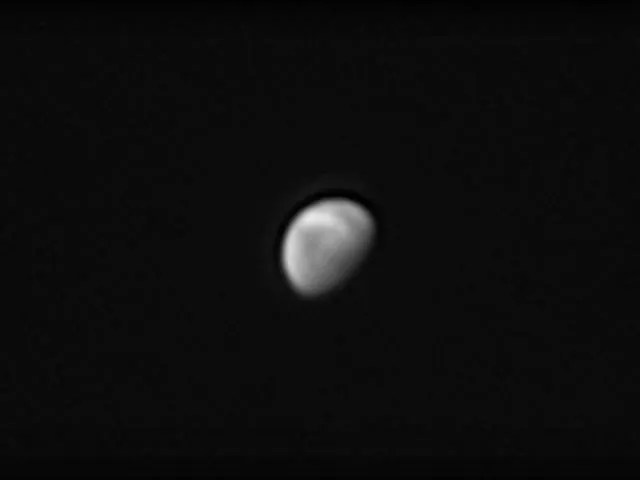
Photograph Mars

Mars comes to opposition every 2.1 years. This is when the planet is best for imaging since it’s opposite the Sun from our point of view and appears at its largest and brightest.
The next Mars oppositions occur in December 2022 and January 2025.
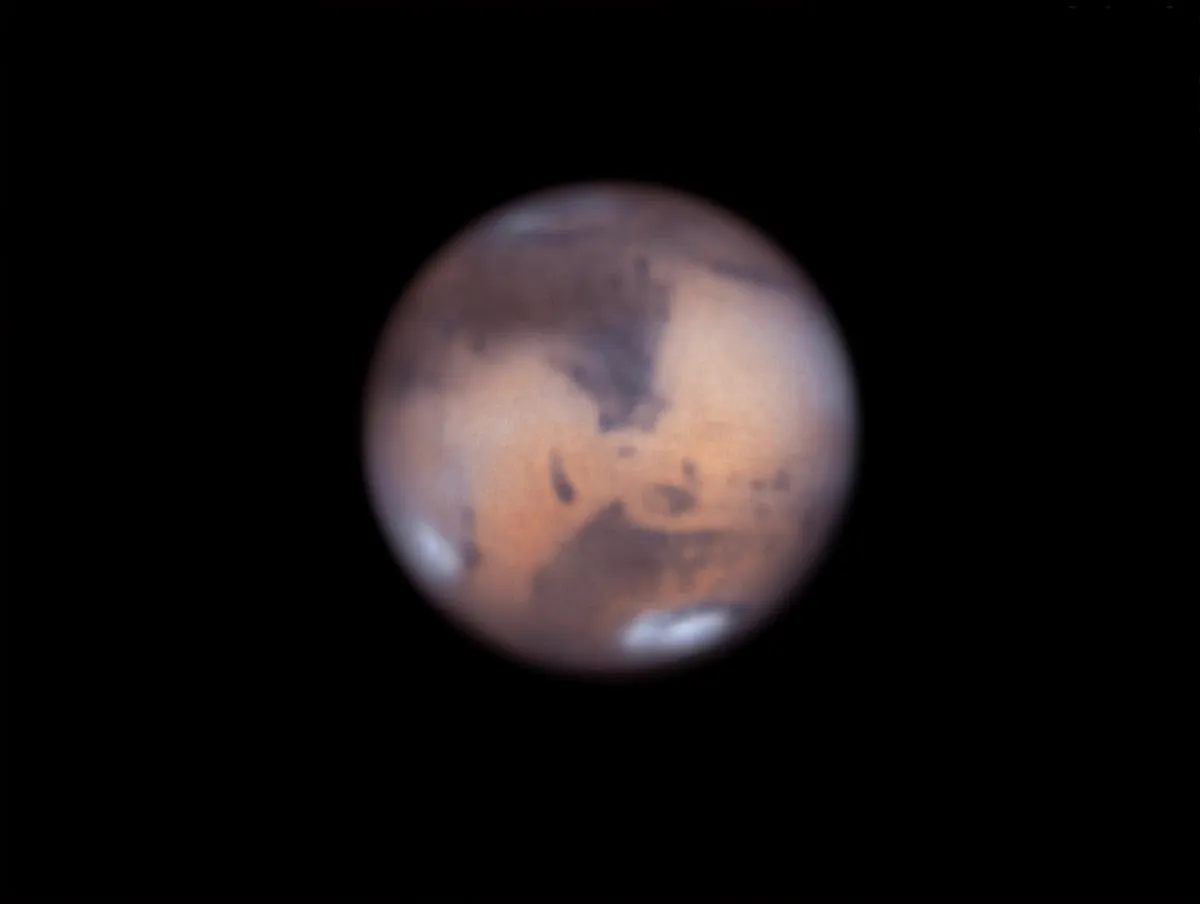
Although a high frame rate camera with filters will produce the best images of Mars, a colour planetary camera helps to keep the capture time to a minimum, which is useful since the planet rotates relatively quickly.
There’s also less equipment to set up and you won’t need to spend as long processing colour into the image after you’ve captured it.
A colour camera works best when Mars reaches a high altitude.
The planet holds up well even under average seeing conditions, so don’t be afraid to pile on the magnification by using an optical amplifier such as a Barlow lens.Aim to keep your scope’s focal ratio in the region of f/25 to f/45.
If your camera has a gamma control option, keep it set at the default level, adjusting exposure and gain to get the level right.
An infrared-blocking filter is essential for good results and some colour cameras have them built in. If yours doesn’t, you can buy one for around £30 that will screw on to your camera.
It can be tricky to get the right colour balance with Mars. If you’ve managed to get a large and bright planetary disc in the frame, try using the camera’s auto colour-balance function before manually adjusting your camera’s colour settings.
If necessary, push the gain up high to get a bright enough signal. This should also alleviate the so-called ‘onion-ring’ effect, which can occur after registration and stacking has been applied.
Under certain seeing conditions you may get a ‘false edge’ effect on processed results; however, you’re at the mercy of the sky.
The capture file will need to be processed with registration and stacking software such as AutoStakkart or RegiStax.
These pick out the best frames, align them, then stack them together automatically to reduce noise. For this to work well, you need a good number of frames to start with, and high frame rate cameras can easily generate several thousand frames during a capture run.
When passing the capture file through stacking software, expect the number of frames in the final stacked image to be just 10-20% of the total.
If you can see colour fringing, this can be corrected by realigning the colour channels – either in a graphics editing program or using the RGB colour-align function some programs have.
Click here for all our best images of the planets to inspire your astrophotography
Photograph Mercury
The innermost planet is tricky to image because it never strays far from the Sun. This makes it hard and quite dangerous to locate when the Sun is above the horizon.
It also keeps the planet’s visibility limited to either before sunrise or after sunset.
The best time to image Mercury is when it’s close to maximum elongation, in the evening sky during the spring months or in the morning sky during the autumn months.
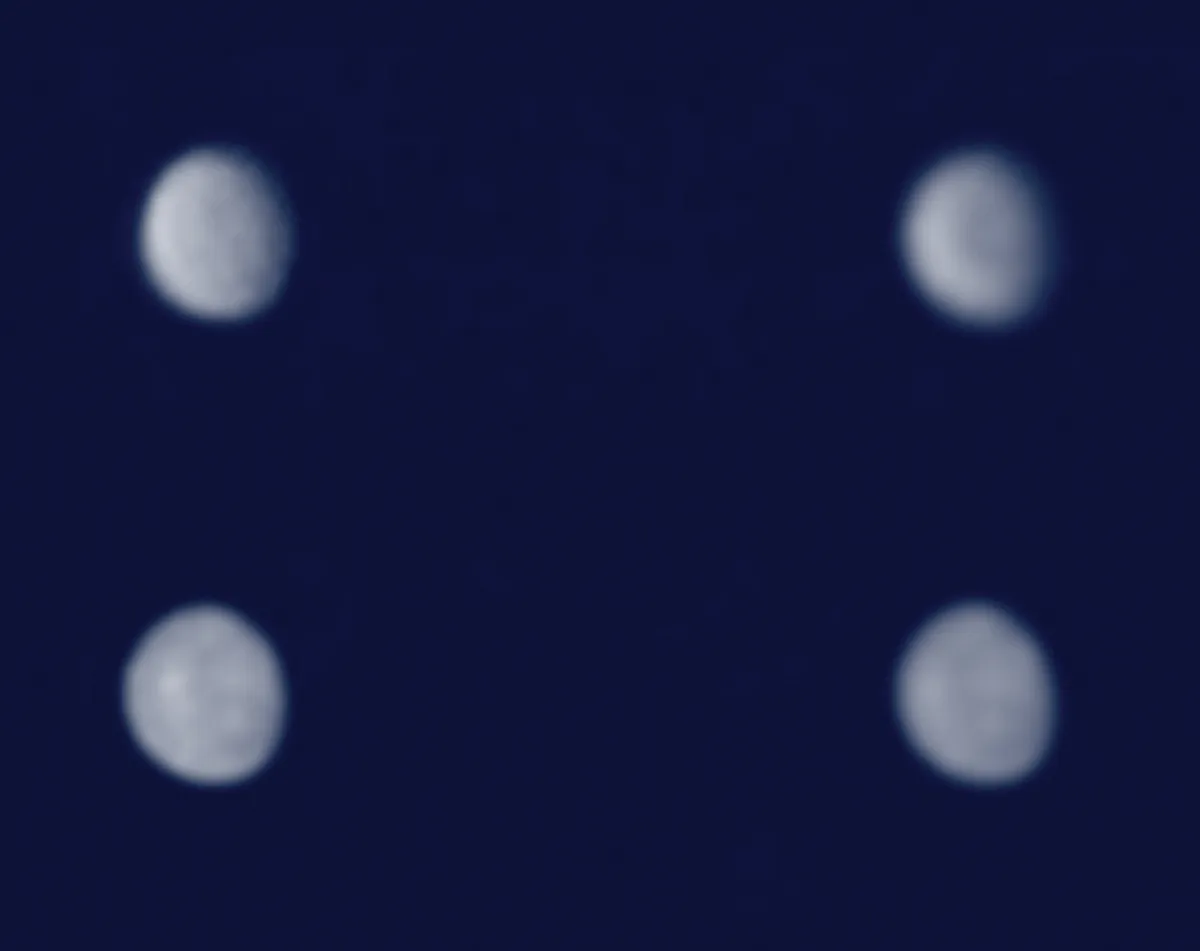
Photograph Venus
Venus shows little detail even in high-resolution images. It has the advantage of being bright and easy to locate, and it strays further from the Sun than Mercury.
The planet shows phases like Mercury, but its apparent size can get much larger. Specialist filters that pass just ultraviolet light, such as the Schüler UV type of filter, can be used to enhance some of the subtle cloud features on the planet.
Photograph the outer planets
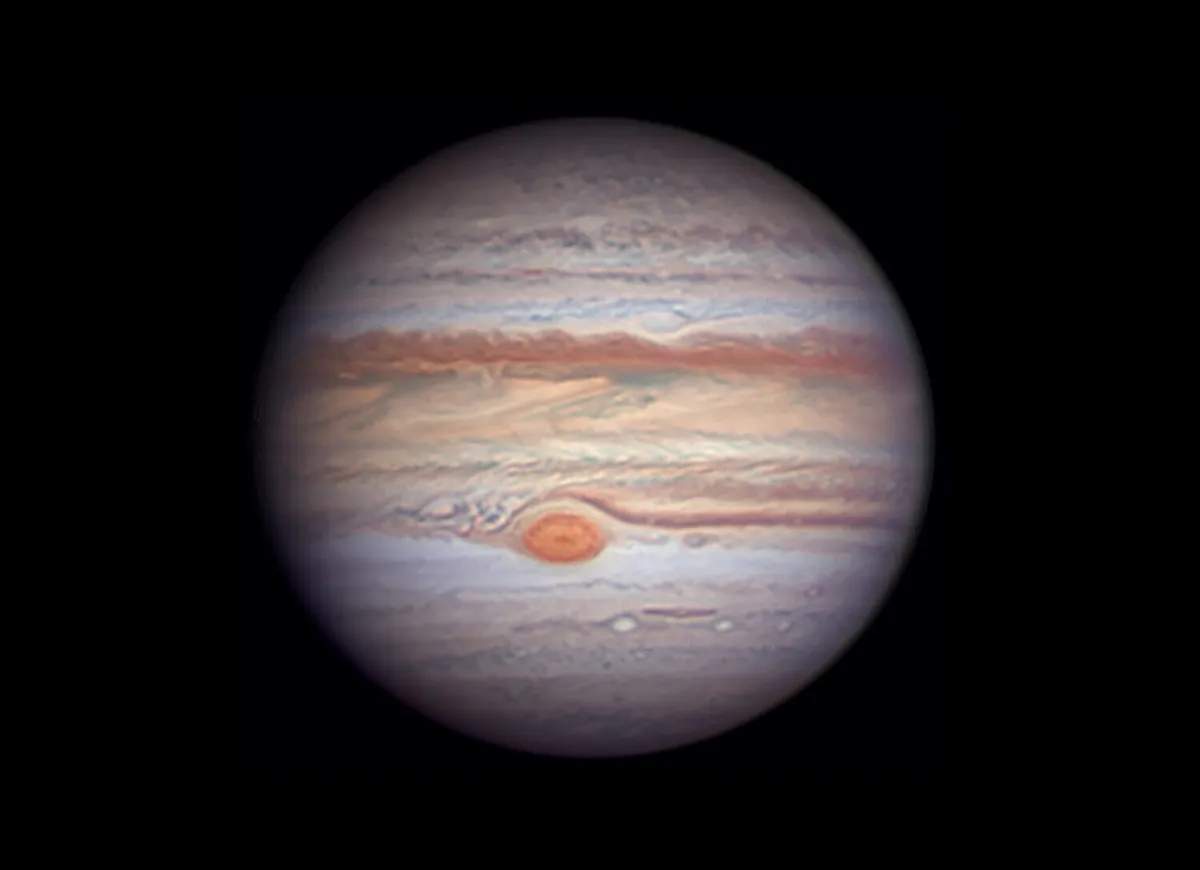
Photograph Jupiter

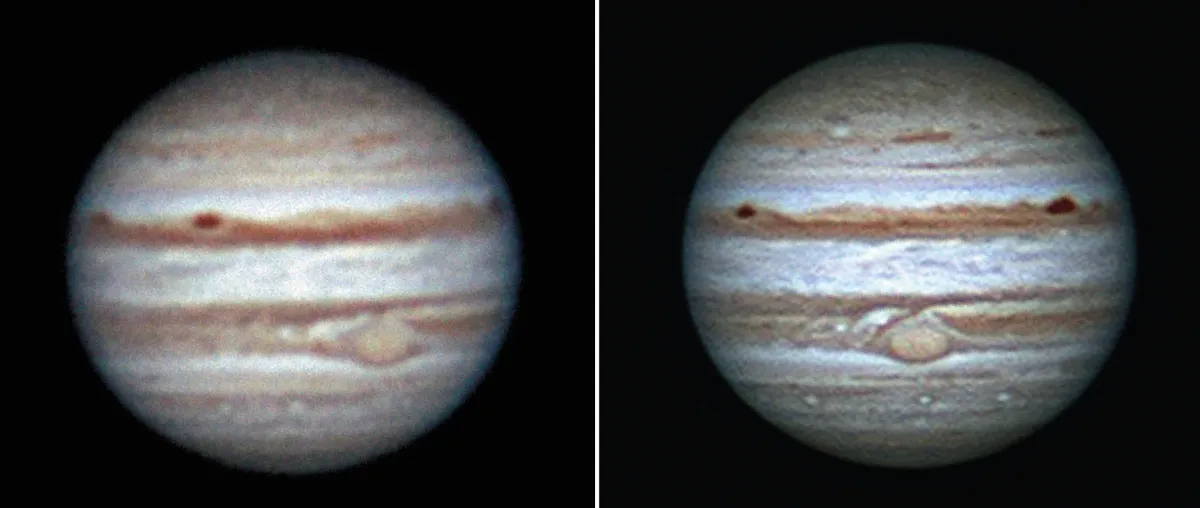
Jupiter is one of the best planets to image because it’s big, bright and has a dynamic atmosphere full of rapidly changing detail. The planet rotates quickly – features take slightly less than 10 hours to go all the way around.
Consequently, if you take too long to image Jupiter you may find its detail is smeared out and lost due to motion blur.
If this does happen, you might be able to fix it with our guide on derotating your planetary images.
Imaging Jupiter with a monochrome camera and colour filters presents some interesting timing issues. You don’t have long to complete each colour channel which is where a filter wheel really comes into its own.
If you’re struggling to get all three RGB channels done in time, creating a synthetic green channel will help you to reduce capture times. Whichever method you use, it’s important to remember to re-focus between filter changes.
Earth’s atmosphere disperses shorter wavelengths more than longer ones, meaning that your red-filtered images will appear sharper than the blue ones.
Similarly, an infrared-pass filter, such as the popular Astronomik IR Pro 742nm, can produce an even more sharply defined result at the long-wavelength end of the spectrum.
This is countered somewhat by the fact that image brightness with an infrared filter is much lower than with a normal red filter.
Although it will distort colour and over-emphasise features to a certain degree, an infrared-pass result can be substituted for the normal R component, giving rise to an IRGB image.
Similarly, the original R or IR channel can be used as a luminance layer to give an RGBR or IR-RGB result.
Again, these techniques produce images that don’t necessarily reflect the real colours or contrast values of the planet; they may, however, help to bring out detail that’s difficult to see.
Once you get into the swing of taking filtered shots, you’ll then need to consider how you’re going to put them together.
A little bit of thought may give you more options than you might initially think. For example, consider a single session where you’ve captured an RGB set – that will give you one image.
But if you take an RGBR set you can, in fact, get two images out of that by sharing the GB between both Rs.
Similarly, if you’re doing synth-green imaging, RBR will give you two completely separate colour results for just three image capture runs.
The basic principles for imaging Jupiter are similar to those for all of the bright planets in the Solar System, although the others tend to be a little more forgiving in terms of capture time limits.
Fortunately, Jupiter’s brightness helps a lot, but this is definitely one area where a high-sensitivity, monochrome, high frame rate camera combined with the quick change capability of a filter wheel comes into its own.
Photograph Saturn
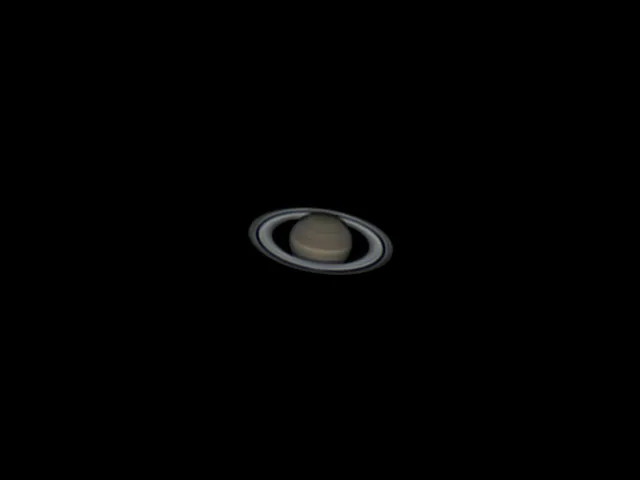
Saturn’s beautiful rings are a big attraction. Surface detail can be subtle with gentle banding and the occasional white spot representing a storm in the planet’s atmosphere.
Saturn is dimmer than Jupiter so exposures typically need to be longer, resulting in reduced frame rates.
An 8-inch or larger scope is recommended for detail, aim for f/15-f/25. Keep an eye the planet’s position and on the seeing, then take advantage when the atmosphere appears stable!
For more info, read our guide on how to photograph Saturn.
Photograph Uranus and Neptune
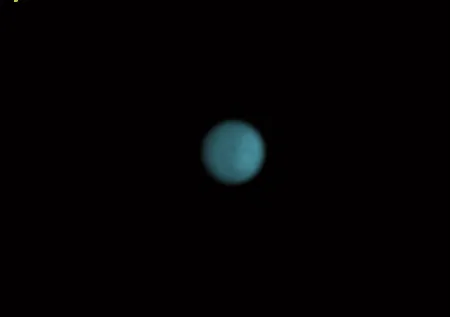
Uranus and Neptune are both large worlds, but their distance makes them appear small and dim. To get a decent image scale you’ll need to use a long focal length, which reduces the image brightness of both planets.
Even so, it is possible to capture them using a high frame rate camera so long as you have a 10-inch or larger scope.
You’ll need to use a low frame rate and ramp up the gain and exposure times. Capture time limits aren’t really an issue here, so you can get a good collection of frames.
For more info, read our guide on how to photograph Uranus and Neptune.
Have you managed to capture a photograph of one of the planets you're really proud of? We'd love to see it! Send it to us by emailing contactus@skyatnightmagazine.com or get in touch via Facebook, Twitter and Instagram.
Pete Lawrence is an astrophotography expert and presenter of The Sky at Night.


