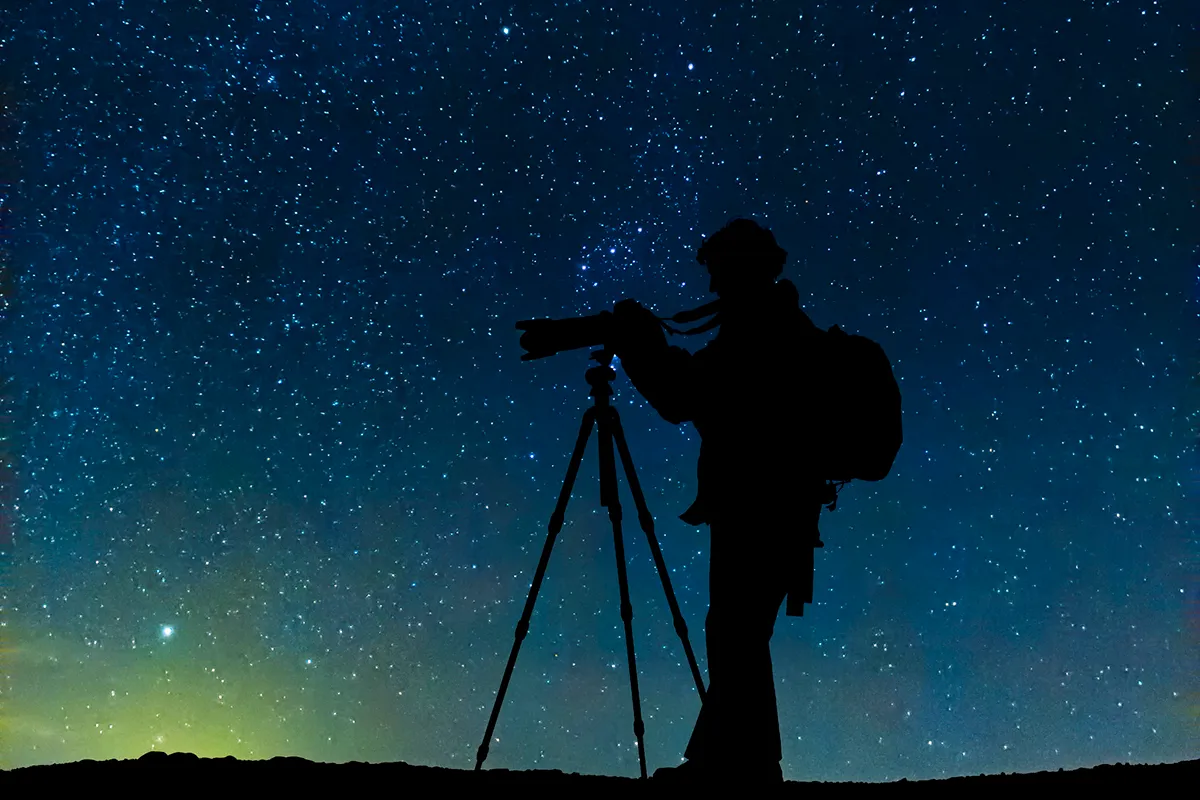
Many of us are inspired into astrophotography through admiring deep-sky images.
Thanks to advances in camera tech, amazing astrophotos are within reach of even relatively modest setups.
Great images can be achieved even with a smartphone or with a DSLR that might otherwise be going unloved.
Both are an excellent gateway into astro imaging. Alternately, you can jump right in with a more specialised camera.
Discover our pick of the best astrophotography cameras
In this guide we'll reveal the different types of astrophotography camera and what they can be used for.
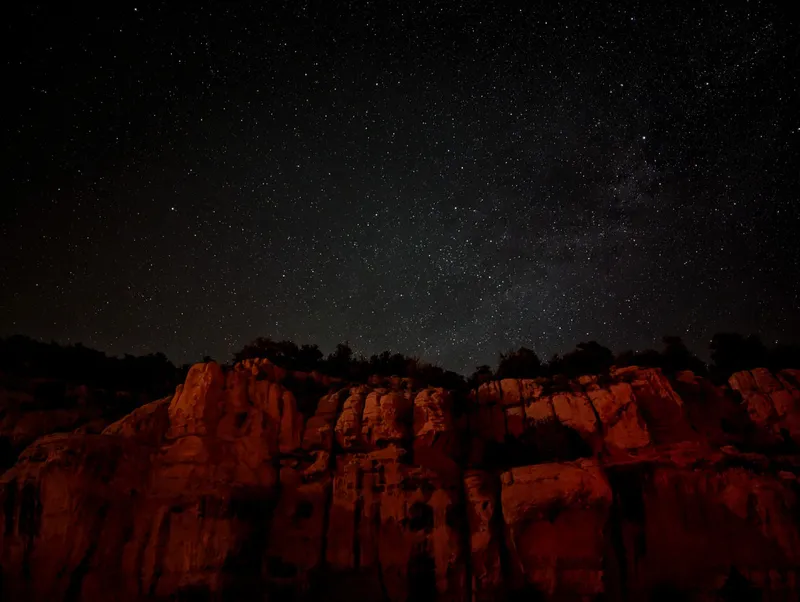
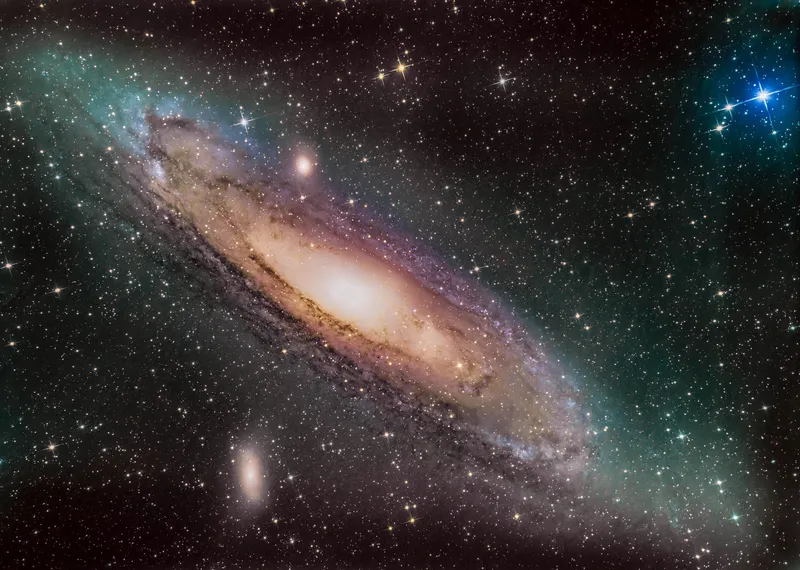
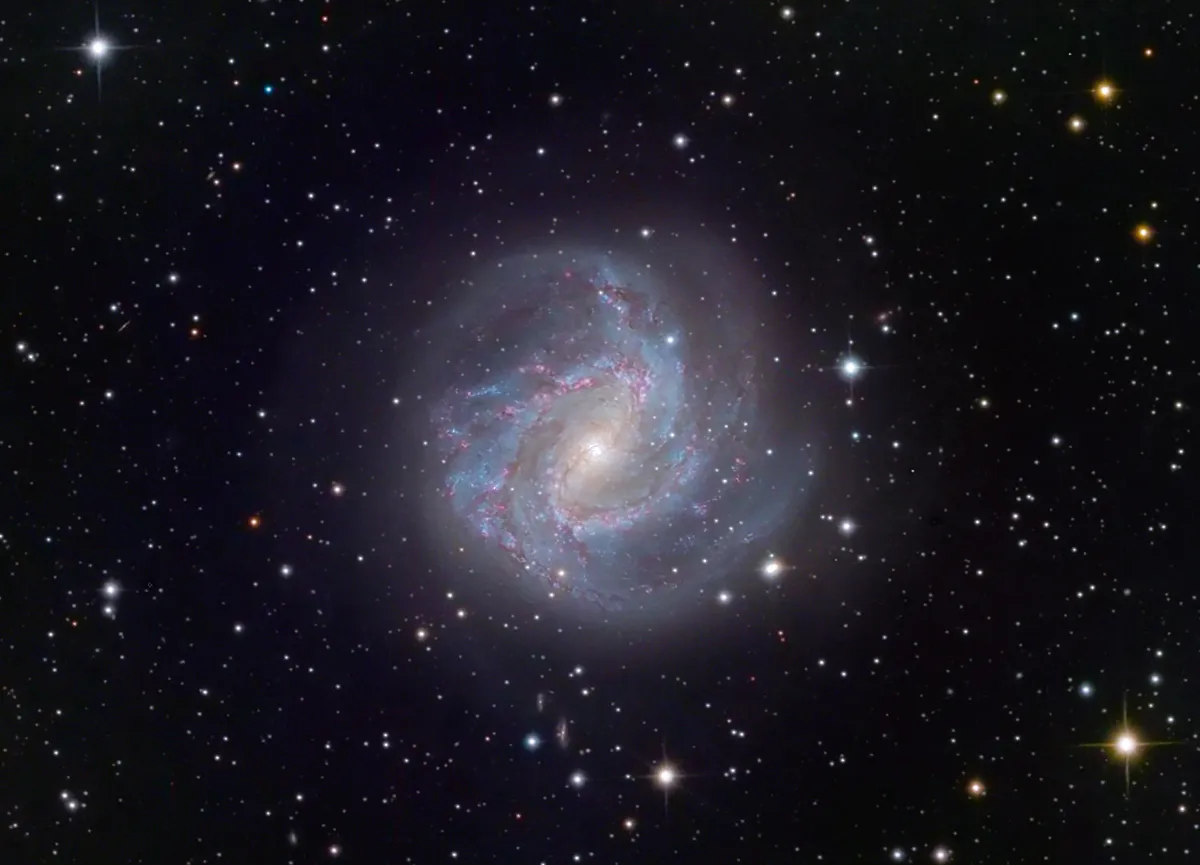
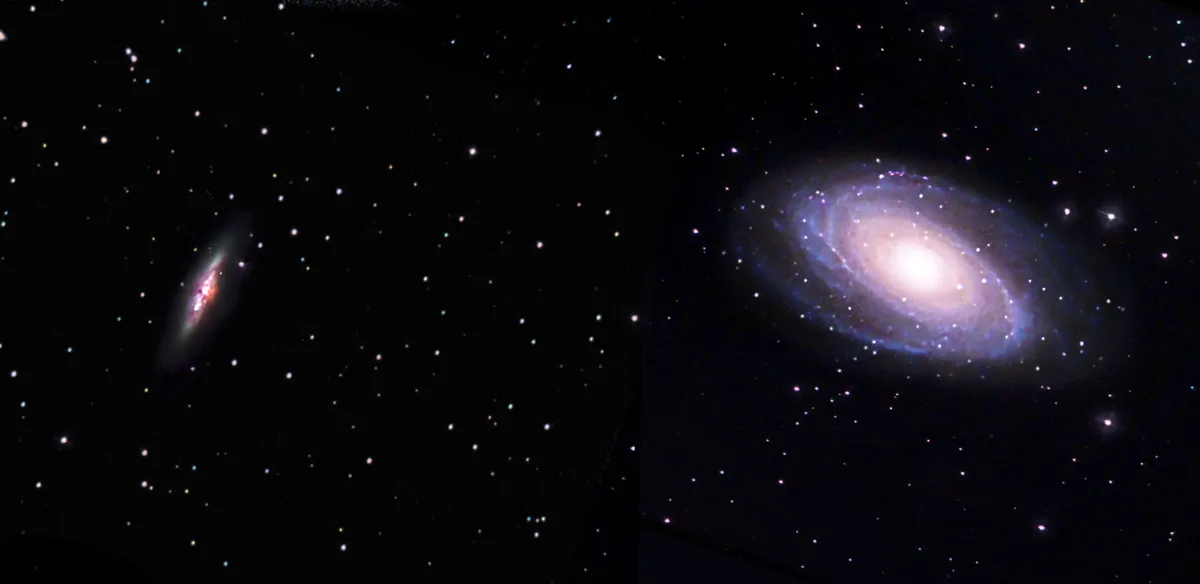
There are many different categories of astrophotography, including widefields of the Milky Way, lunar and planetary imaging, and deep-sky imaging of objects like star clusters, nebulae and galaxies.
Some cameras perform better than others across these categories, so think about what kind of photography you’d most like to do.
Then read on to find out how different cameras can help you reach your night-sky imaging goals.
Smartphone cameras

Camera technology is a key feature of many smartphones today, and their performance in low-light conditions has improved significantly.
Because they’re portable, smartphones are an excellent route into night-sky imaging, although with a fixed lens they don’t offer the flexibility of other cameras.
Depending on the model, smartphones perform best for widefield Milky Way images, some lunar imaging or capturing the Northern Lights.
What type of images can be taken with your smartphone?
It depends on whether it can capture long exposures. Some have this feature built in – often contained in a ‘night mode’ function – meaning it’s possible to take widefield Milky Way images.

The length of night-mode exposures is limited to 30 seconds, which isn’t as long as is possible with a DSLR, but long enough for widefield photography.
Night mode features often allow us to make ISO adjustments, although if your smartphone doesn’t include this there are apps available, including Camera+ 2 for iPhones and Camera FV-5 for Android phones.
Star trails are another type of astrophotography that many smartphones can do, and if your phone doesn’t come with a ‘star trails’ mode, there are also apps that provide this, including NightCap Pro.
Once selected, simply point your phone at the sky and take a photo.
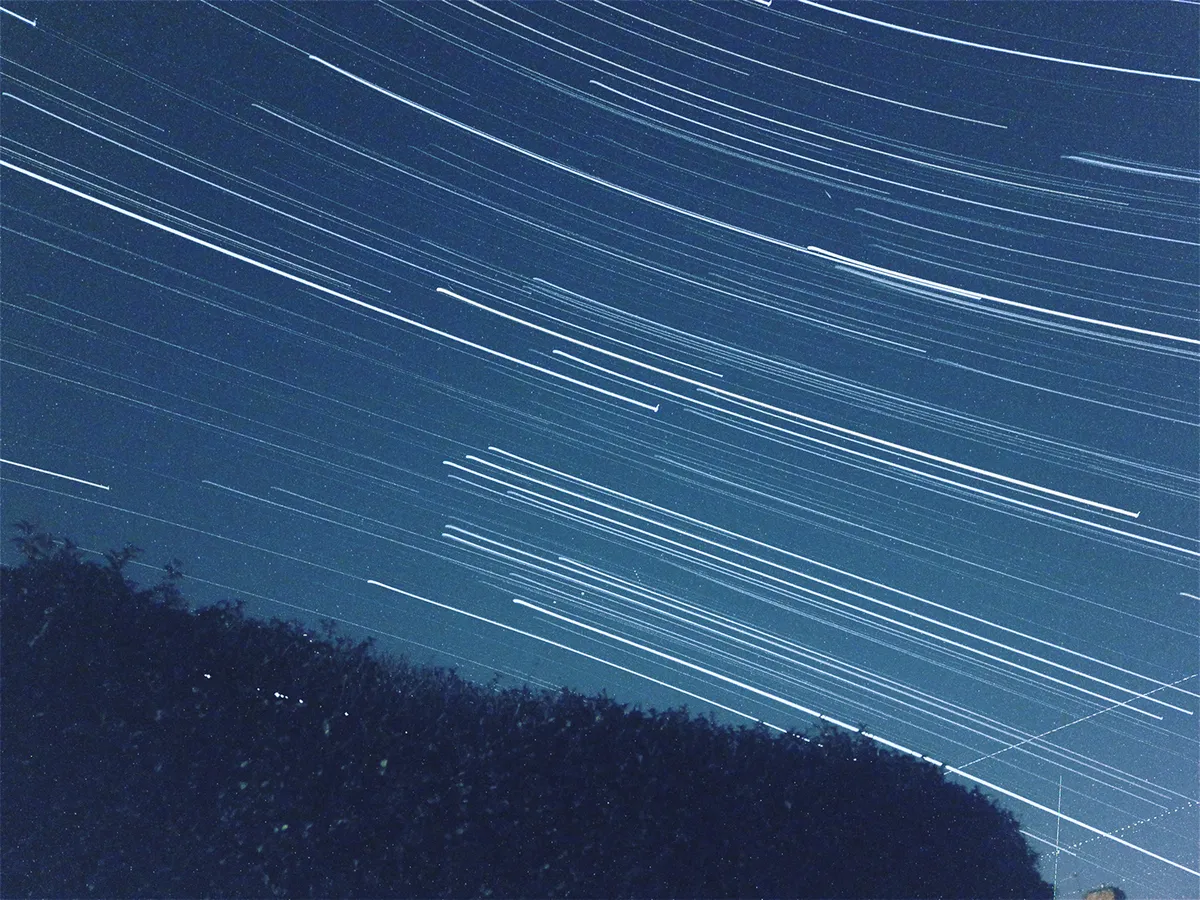
The star trails setting will automatically take a series of images and layer them on top of each other for the trailing effect.
Long exposures require zero movement of the camera, so a smartphone tripod is handy to stabilise your smartphone.
Another useful accessory is a remote-control shutter-release switch, which connects via Bluetooth and allow images to be taken without touching the phone.
Smartphones can also be used with a telescope to take lunar images.
This can be done by holding your smartphone lens over an eyepiece.
However, there are smartphone telescope adapters available that clamp your phone securely over the eyepiece to simplify things.
For more advice, read our guides on how to photograph the night sky with a smartphone and how to photograph the Moon with a smartphone.
Expert's tip
If you don’t have a Bluetooth remote shutter-release switch for your smartphone, the voice assistant facility for Apple or Android phones works well.
That way, you can simply ask your phone to take a photo without having to physically push a button.
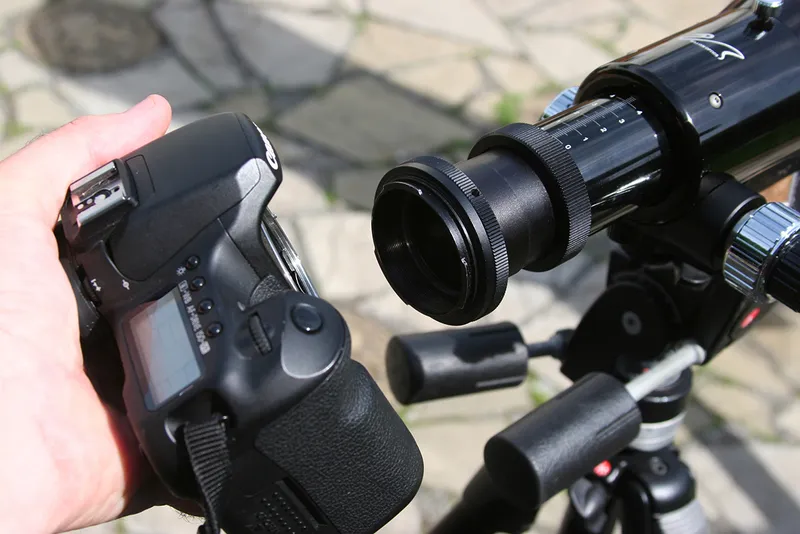
DSLR cameras
DSLRs are astrophotography workhorses.
They can be used on their own (with lenses) or you can connect your DSLR to a telescope via a T-ring and nosepiece.
As a result, DSLRs are the best option for widefield Milky Way images, but also hold their own for deep-sky objects.
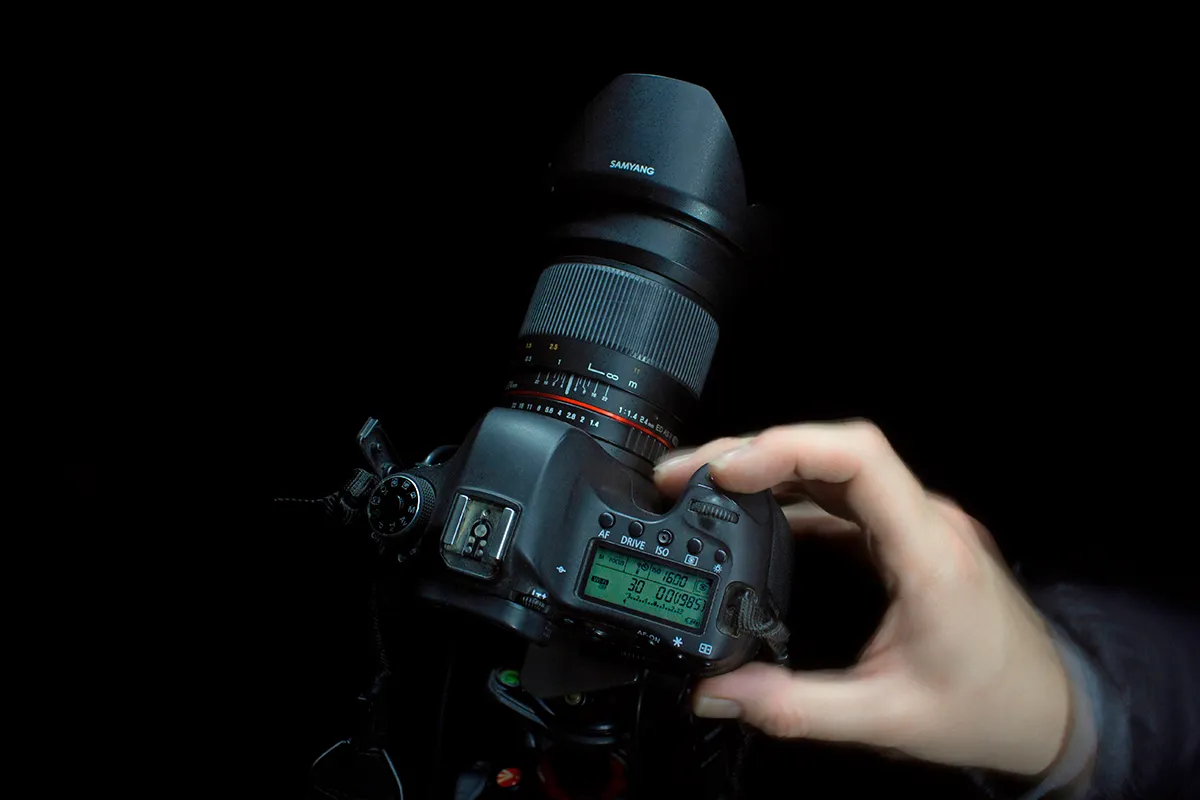
Nevertheless, DSLRs can be challenging to master, because to achieve the best results you’ll need to take full manual control over the settings and grasp what adjustments will work for each object.
DSLRs work best in manual mode for astrophotography, so that’s the first thing to set.
It’s best to shoot in ‘raw’, which keeps all the pixel data so that you can get the most from it during later processing.

You can usually change to raw mode in the image quality settings.
Other settings to adjust are aperture (f/ number), ISO and exposure time.
Aperture sets how much light hits the sensor – a low number means more light.
You want this number to be as low as possible for faint nebulae, to gather as many photons as possible.
However, for the Moon, you don’t want oversaturated images, so increase this number.
Meanwhile, ISO changes sensitivity to light.
A higher ISO means more sensitivity, so is good for galaxies and nebulae, while for the Moon this should be stepped down.

ISO and exposure time dictate the signal-to-noise ratio. You want to boost the signal while keeping the noise low.
Longer exposures increase signal, but also mean more noise.
For deep sky, it’s a delicate balancing act between ISO and exposure time.
This differs between models, so it’s best to experiment, checking your shots until you hit the right balance.
DSLRs with video capability can be used to take lunar images if connected to a telescope, although not as well as a dedicated planetary camera.
Performance depends on their frame rate; the higher, the better.
Note that to use a DSLR at its highest capture rate, you’ll need a high-speed memory card.
The best-quality deep-sky images consist of lots of frames stacked on top of each other.
Free software such as DeepSkyStacker and Sequator will do this.
For videos, software like AutoStakkert! and RegiStax will convert each frame to an image for stacking.
It’s also possible to modify DSLRs to let in hydrogen-alpha – light emitted from nebulae – by removing the red spectrum filter.
This affects the white balance for daytime use, so is best done on DSLRs you only plan on using at night, and only if you’re confident about modifying your camera without damaging it.
Expert's tip
For test images, bump up the ISO so any faint nebulae show up quickly, saving time in setting the field of view.
To focus, slew to the brightest star in the sky and use ‘live view’. Zoom in using the magnification buttons to magnify the star as much as possible and aid focusing.
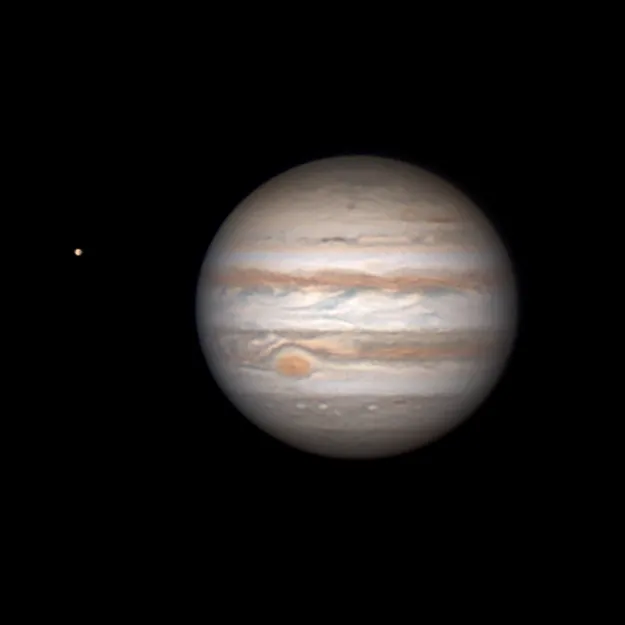
Planetary cameras
If you wish to capture celestial bodies within our own Solar System, there are cameras dedicated to the task.
Planetary cameras are video cameras configured to perform at high frame rates, often hundreds of frames per second.
Planets are the astronomy targets most susceptible to atmospheric ‘seeing’ – conditions caused by weather and pollution.
Poor seeing conditions are obvious; when capturing video or looking through an eyepiece, the planet will wobble and dance around the field of view.
On nights of good seeing, the object is more stable and detailed.
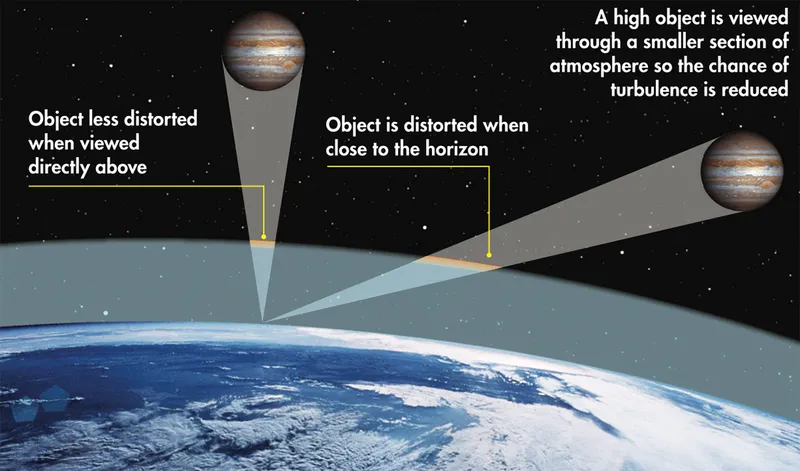
A standard camera’s frame capture will be sluggish for these fast-moving distortions in the atmosphere, and images will be soft or blurry.
High-frame-rate captures, however, cut through the atmospheric disturbance and sharpen planetary images.
For the same reason, they’re great for capturing the Moon.
Planetary cameras can’t be used on their own and must be controlled via software on a computer.
They often come with manufacturer-specific software, but other free examples include SharpCap and FireCapture, which have additional features such as selecting a ‘region of interest’, which allows for quicker capture speeds.
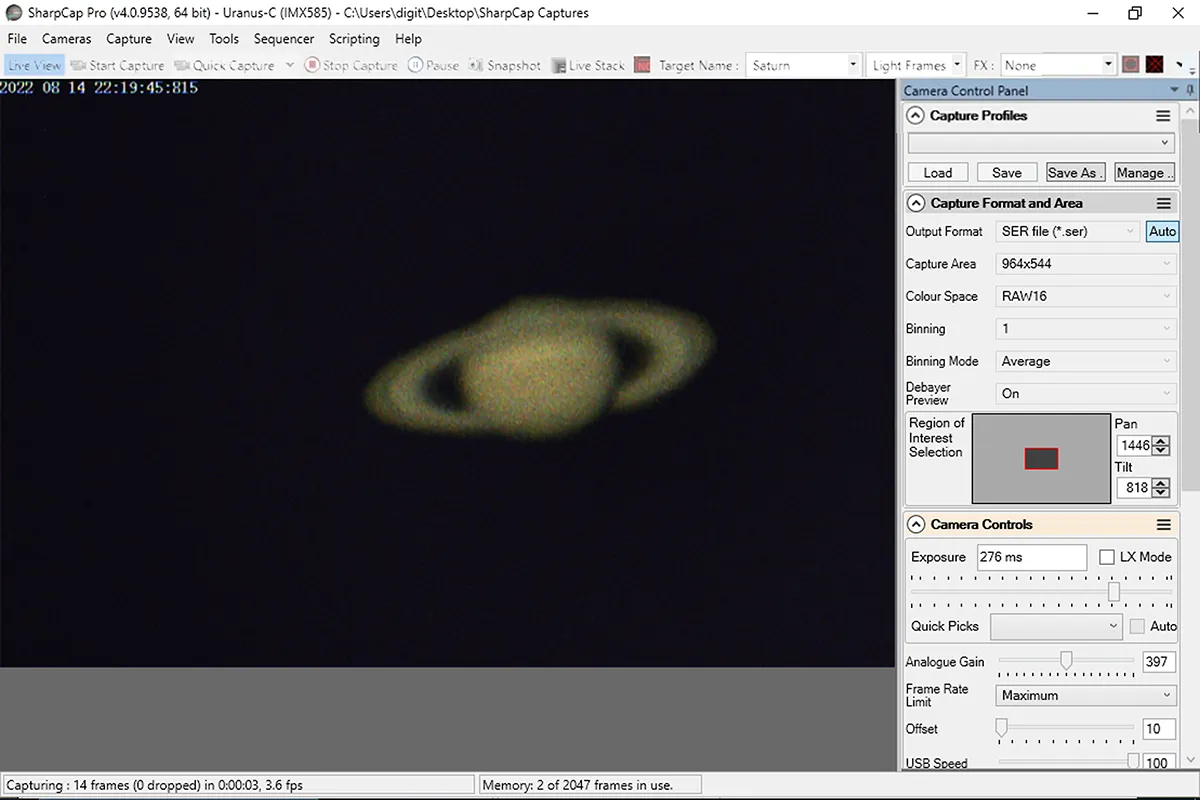
Rather than the hours of long exposures required for deep-sky images, it takes minutes to capture planetary videos, thanks to the high frame rates.
Ten minutes of shooting will provide many thousands of frames, of which some will (hopefully) have cut through seeing at the right time.
AutoStakkert! and RegiStax can stack and process the video into a single image.
Because planets are small, they appear tiny in our field of view, even with long-focal-length telescopes, meaning that a 1.5x or 2x Barlow lens is often required to magnify the planet and provide the best views.
Expert's tip
Live in a light-polluted area? Planetary imaging is a great option!
The Moon and planets appear so bright in the night sky, they aren’t as affected by light pollution as deep-sky objects.
There are also lots of interesting phenomena to capture, such as oppositions, occultations and phases.
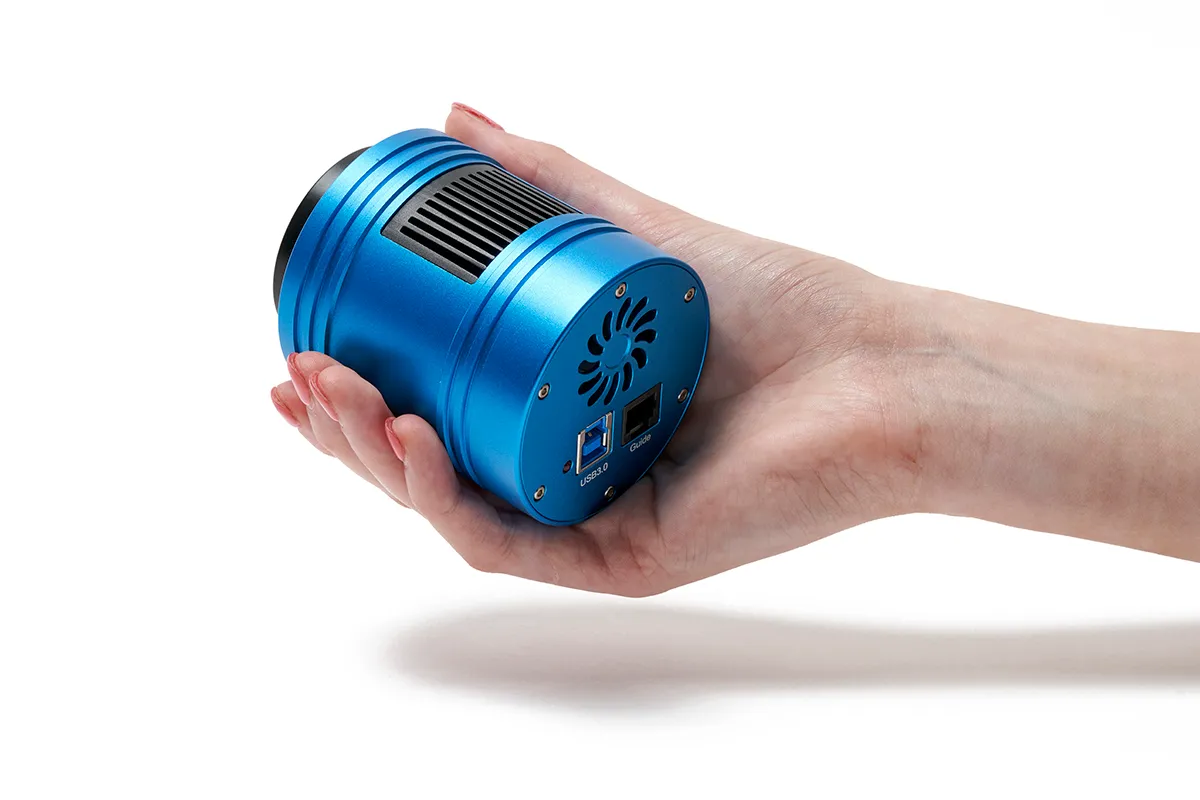
Deep-sky cameras
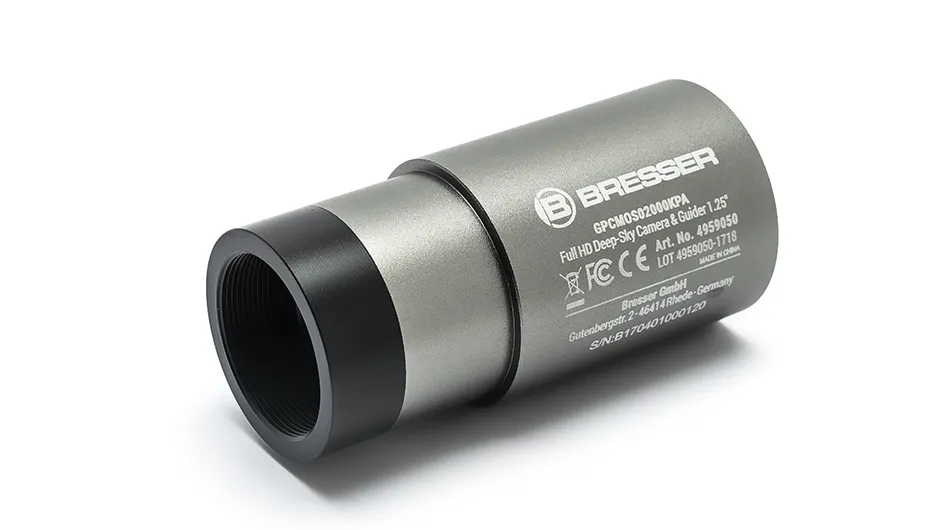
Designated deep-sky cameras are predominantly used for deep-sky imaging, as they create much lower noise on long exposures.
The low sensor noise is achieved by inbuilt cooling systems which are either ‘passive’ (fans) or ‘active’ (Peltier coolers that maintain set temperatures).
Deep-sky cameras have no integrated control systems, so operating them is done via a computer, with software to change settings or set capture sequences.
Each brand comes with its own software, but these can be quite basic.
However, there are alternatives available that are configured for most camera types.
These include Sequence Generator Pro, which offers functions that allow us to control other aspects of our imaging run, including changing filters or adjusting electronic focusers.
Deep-sky cameras come in two types: monochrome and one-shot colour (OSC).
Monochrome cameras require filters to add colour; these can be either red, green and blue (RGB) or narrowband.
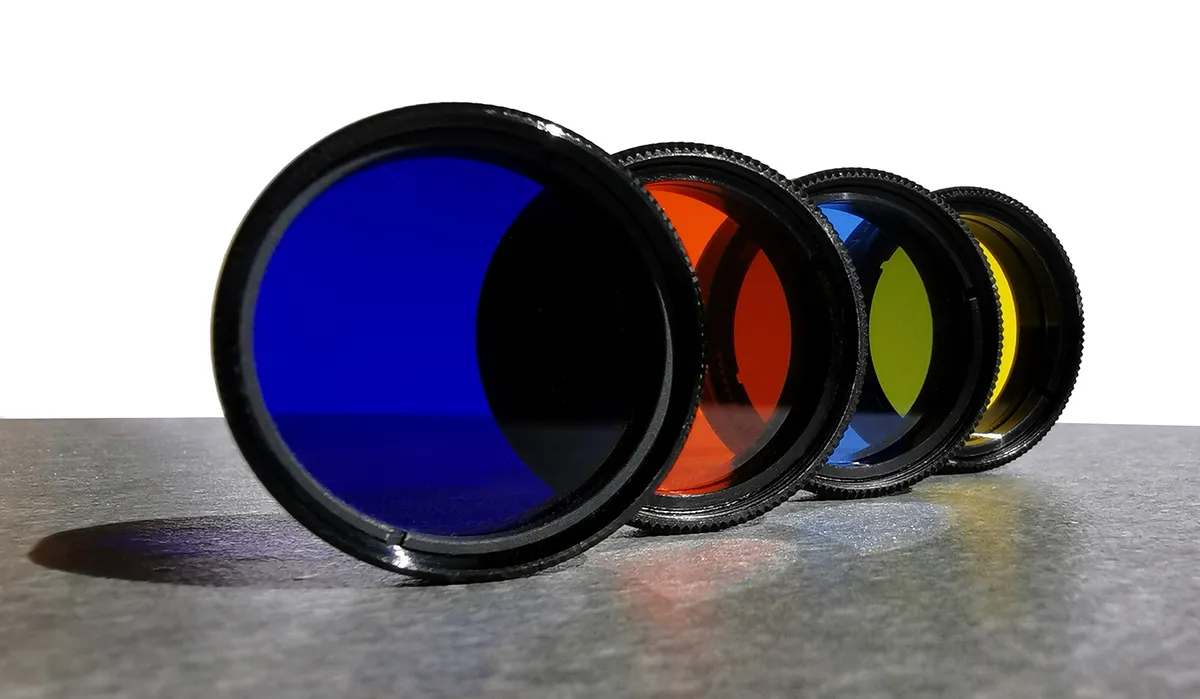
Narrowband filters provide the best contrast for nebulae, as they capture specific wavelengths emitted by these objects, whereas RGB filters are best for galaxies.
OSC cameras do not require either filter type, although light-pollution filters are available.
Deep-sky cameras also come with different sensors: CCD and CMOS.
Each has benefits, though CCDs tend to be recognised as more sensitive – which means that they’re often more expensive – although CMOS technology has caught up in recent years.
Dedicated deep-sky cameras are probably the most complicated kind of cameras to master.
They’re also expensive due to the need for additional software.
Connecting the camera, mount and software is not always straightforward.
We recommend setting everything up indoors during the day-time first to ensure everything connects properly.
Expert's tip
Deep-sky cameras aren’t optimised for all scopes, so compare the focal length of the scope to the pixel size of the camera.
Cheaper cameras will have smaller sensors with larger pixels.
Avoid over- or under-sampling images by using too few or too many pixels on the smallest details the telescope can resolve.
You can find suitability calculators at www.astronomy.tools.
Smart telescopes
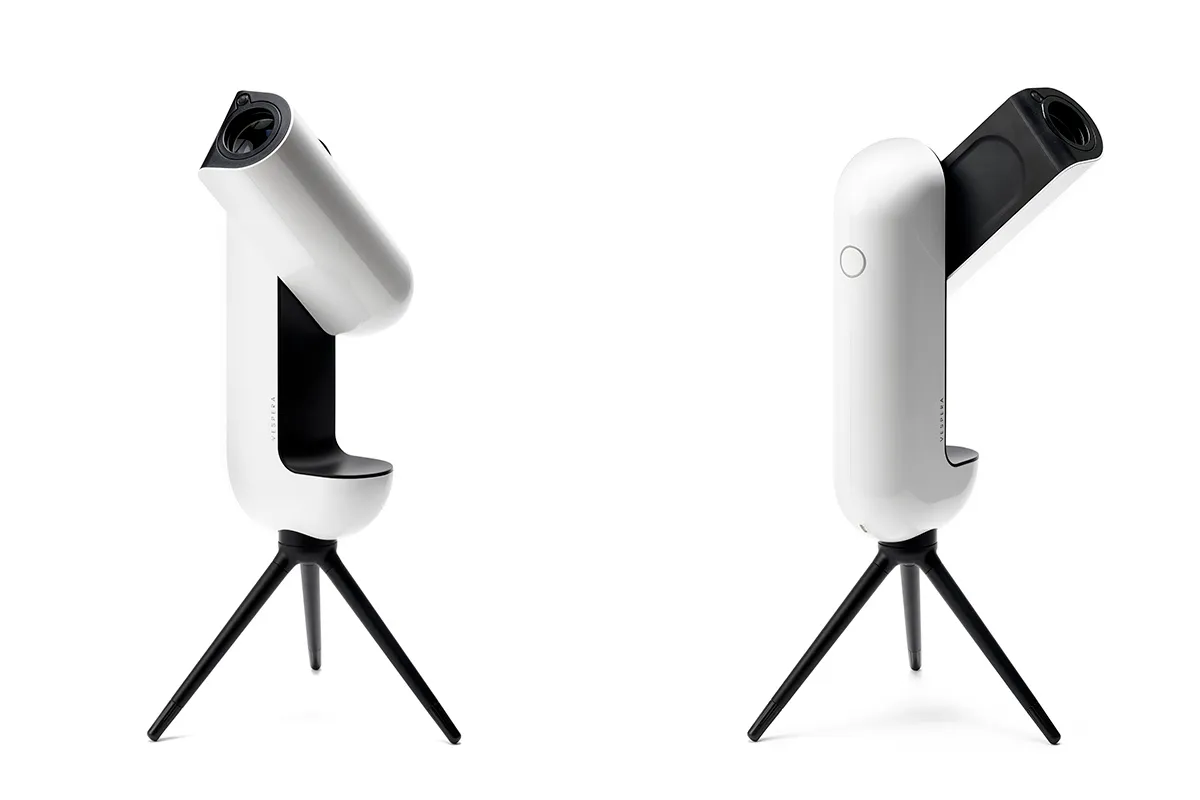
Smart telescopes are a complete system, consisting of a telescope with built-in camera.
They’re pretty portable and can often be carried in a backpack to dark-sky sites, unlike the average mid-sized mount and telescope.
The flip side of this is that they’re designated imaging equipment, meaning you can never use them to look directly through the eyepiece.
In addition, they don’t offer the flexibility of owning a telescope that can be used with different cameras.
Nevertheless, these are built with beginners in mind and can be a (relatively) stress-free introduction to the hobby.
Artificial intelligence (AI) is used to locate deep-sky objects, so it removes the step of needing to align the telescope.
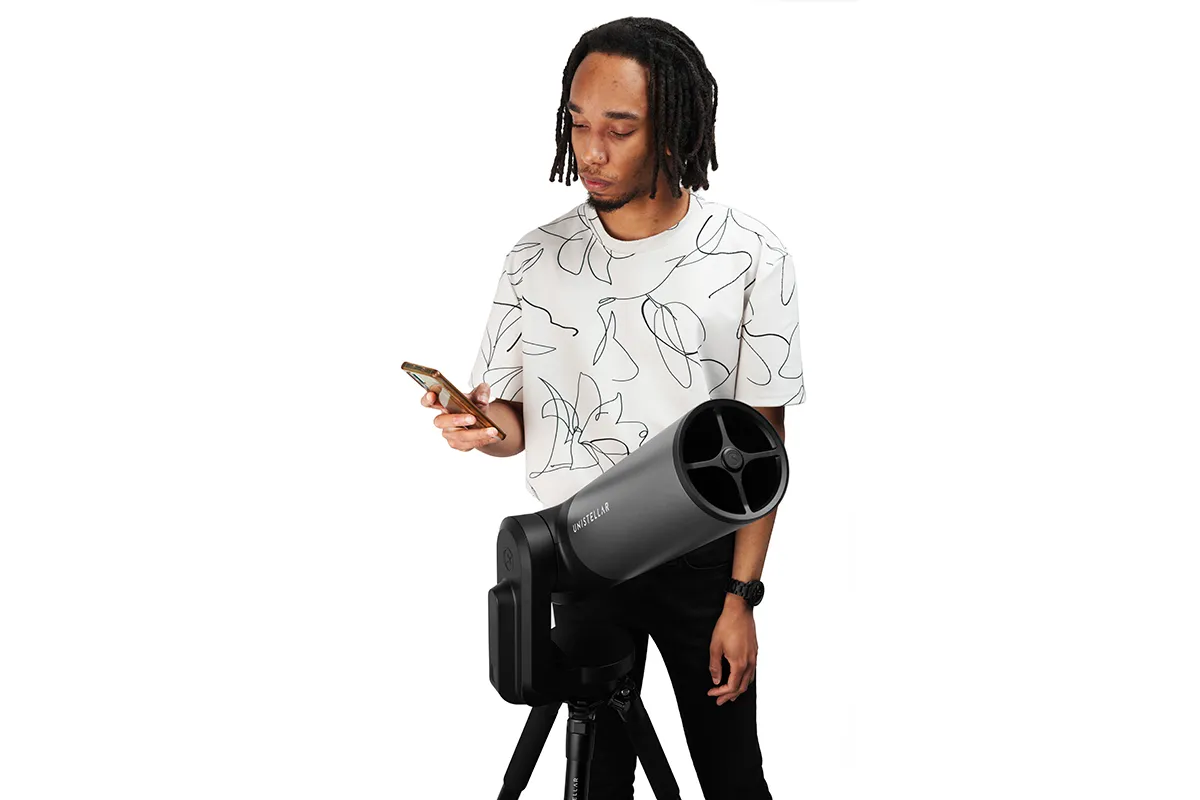
Smart telescopes are controlled via an app on a smartphone or tablet.
They stack frames automatically as they’re captured and even cut out some processing steps.
Do pay attention to the file formats; some will be JPEG or PNG, which is fine unless you want to process extensively, in which case TIFF is better.
It’s worth remembering that they are limited to a fixed focal length and camera sensor.
This is constraining, but usually makes the smart telescope a good fit for large nebulae and photos of the Moon, rather than galaxies.
One thing to be mindful of is the resolution: some provide softer images than others.
They also come in reflector or refractor types, and reflector types will occasionally need collimating.
Expert's tip
The integrated camera means that the field of view won’t change – you can’t swap in a new camera or telescope – so if you’re looking to buy a smart telescope first check out its field of view.
www.astronomy.tools has a field of view calculator – pop in the camera sensor details, focal length and aperture to see what to expect for different objects.
Do you capture photos of the night sky? Don't forget to send us your images.
This guide originally appeared in the January 2024 issue of BBC Sky at Night Magazine