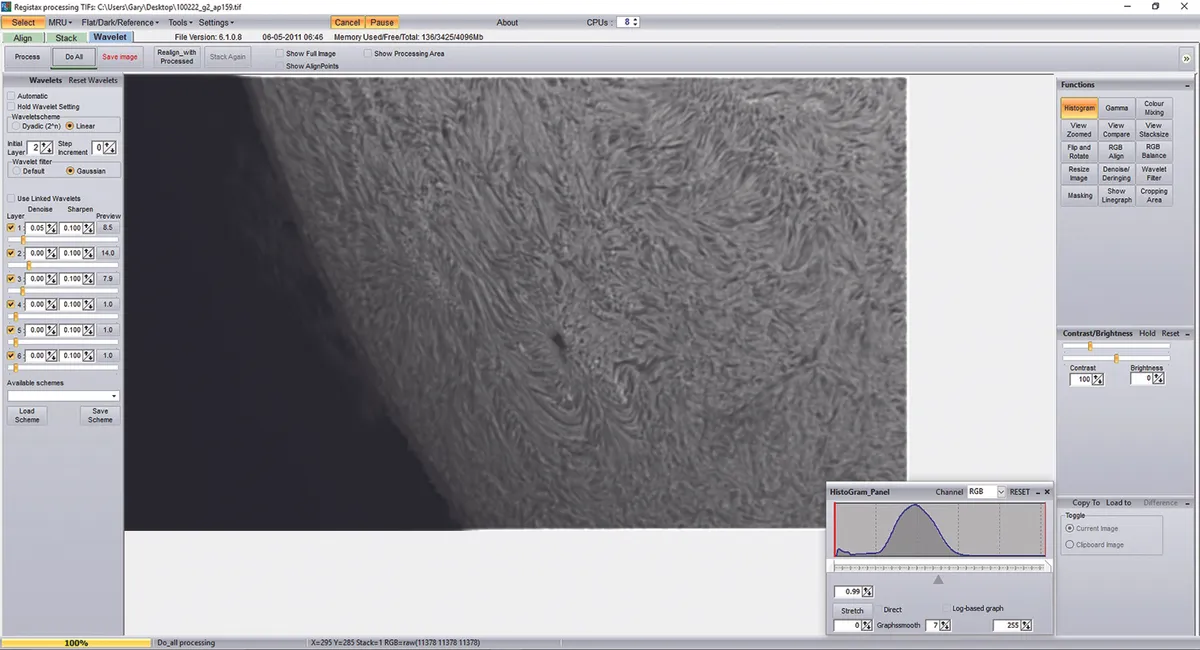
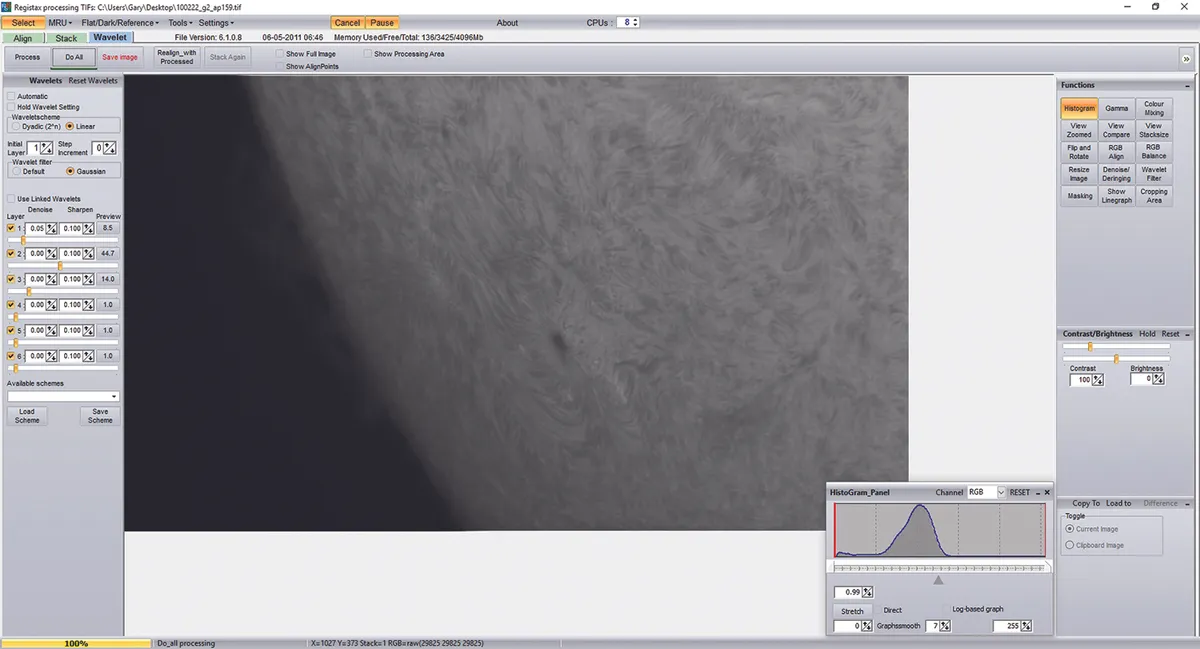
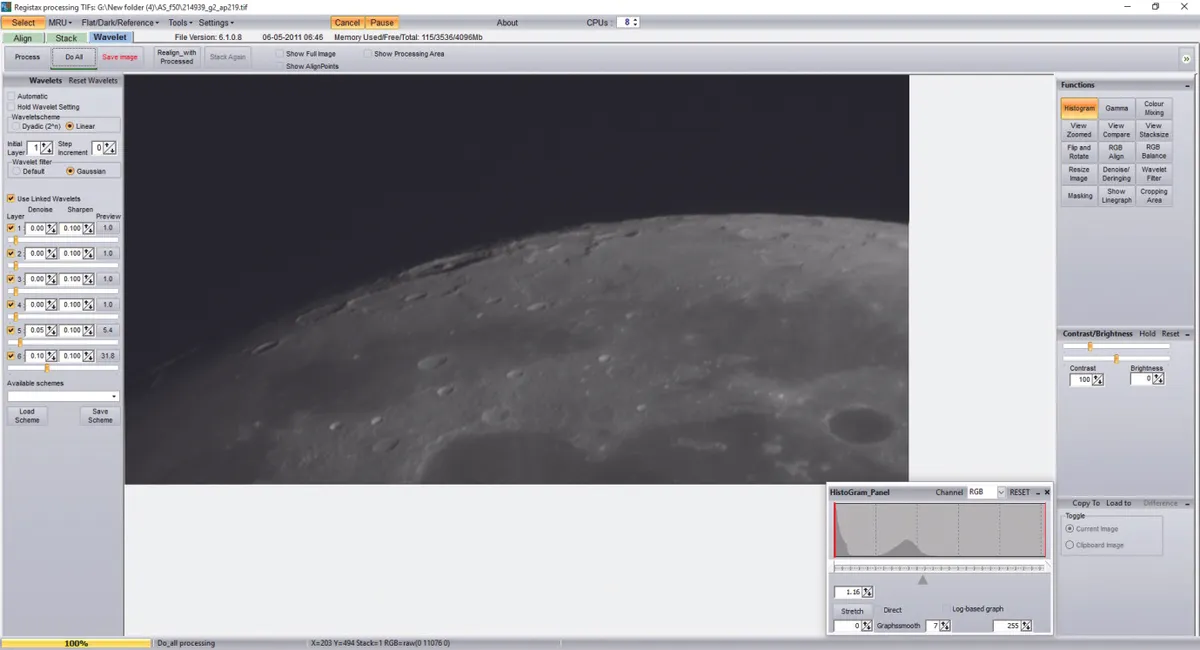
RegiStax has a very powerful wavelet processing section that can help you to reveal lots of hidden data in images after they have been stacked. You don’t have to use RegiStax to stack your frames in the first place, as several stacking programmes that don’t have a wavelets option can send their output directly into it, so long as you already have RegiStax open.
Read more image processing guides from Gary Palmer:
- A guide to CMOS deep-sky astrophotography
- How to colourise astrophotos of the Sun
- How to create a solar mosaic
With the right wavelets processing, you can bring your images alive with stunning detail that otherwise would remain hidden.

The controls for wavelets can look a little confusing to start with, but they are quite easy to use.
Each of the sliders on the left-hand side is a layer of the picture. Imagine that you have six pictures on separate pieces of paper, all on top of each other – this is how the image looks when it is first loaded.
So when we adjust layer two, it would bring detail from the second piece of paper through to the top of the image. For layers farther down, the detail they bring through can be quite coarse.
You need to be quite gentle when adjusting as you can make your image look over processed, or introduce noise to the image and make it look grainy.
This can happen very easily if you are processing a lower-resolution image taken with a small telescope.

The check boxes on the left side will have different effects on all sorts of images.
There is no set rule as it is dependent on a lot of factors, such as seeing conditions at the time of capture and the amount of frames that were stacked. What works for one image might not work for another.
As a general guide, set the Wavelet Scheme to Linear and the Wavelet Filter to Gaussian as this allows greater control over the processing.
Opting for the Default Wavelet Scheme can be used with good results, but allows no control over the amount of noise introduced to the image.
When your image first loads into RegiStax it can look quite bland and blurry.
If your image is a little dark when loaded, look to the Functions tab on the right-hand side of the program and click Histogram.
Adjust the middle slider to the left to brighten the image. This will help you to see what is happening as you make adjustments.

The image may start to look over processed because the tab marked Initial Layer is on number 2.
In short, this doubles the strength of sliders and in most images it is a good idea to have this on 1 to start with. The Step Increment should be set to 0.
Double click over an area of interest in the image. This will activate the adjustment preview to that area.
Layer 1 can add the most noise to an image, so to start click on Layer 2 and drag it to the right. When it is released you will start to see the changes to the image.
You can then do the same with Layer 3. If you see very little change to the image change Initial Layer back to 2 and repeat.
Above the slider for each layer is a box marked Denoise. This can be used to control noise introduced with the wavelet sharpening.
In Layer 1, click the up arrow in the Denoise box so it shows 0.05. Over adjustment may start to make your image look blurred so gentle adjustments are needed.
Linked wavelets can be good for images of the Moon that require fine detail. This technique works by linking all of the layers together.

At the top click the Reset Wavelets tab, then the Linked Wavelet tab on the left above the sliders.
Using the slider in just Layer 1 or Layer 6 will bring out detail from all the layers.
You will only need a gentle adjustment using this, but quite often it will need a Denoise setting of 0.15 in the adjustment layer.
When you are happy click the Do All tab to see the adjustments to the whole image.
This article originally appeared in the October 2015 issue of BBC Sky at Night Magazine. Gary Palmer is an expert solar imager. See more of his shots at www.astrocourses.co.uk.