Make a model of the Milky Way Galaxy

Make a model of our galaxy: a fun how-to project for school or home.

Our special issue The Big Book of DIY Astronomy Projects is out now. Click here to buy
Published: June 28, 2021 at 10:51 am

A highlight of summer nights is seeing the Milky Way stretching across the sky. Its name is a translation of the Latin via lactea, meaning ‘milky road’, which perfectly describes its appearance from Earth.

Over the centuries our knowledge of the Milky Way has changed considerably.

It wasn’t until Galileo pointed his telescope at the Milky Way that we discovered that it’s made up of individual stars.

And it was believed for ages that it contained all the stars in the Universe, with our Sun at its centre.

Next, in the 1920s, the Milky Way was found to be one of many galaxies. Visually, we could see that it must be a flattened disc of stars, but other details were still a mystery.

For more astronomy projects, read our guides to making a model of a comet, making a model of an eclipse or our space projects for kids.
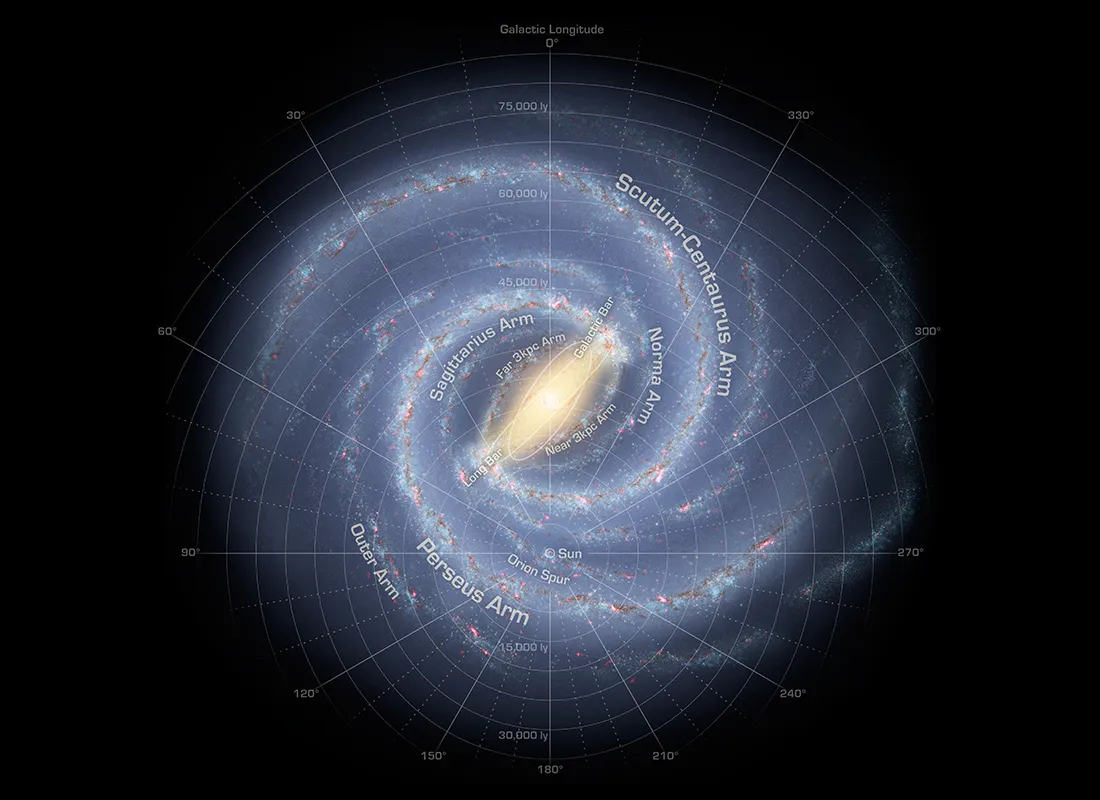
An illustration showing what our Galaxy probably looks like when seen from afar. Our Solar System lies near the Orion Spur. Credit: NASA/JPL-Caltech/R. Hurt (SSC/Caltech)

Astronomers have since studied the Milky Way with techniques encompassing optical, radio, infrared and X-ray wavelengths and we now have a much clearer picture of our home Galaxy.

We believe the Milky Way is a barred spiral galaxy with a diameter around 100,000 lightyears. This size is approximate as there is no fixed outer boundary.

Also, we now know that our Sun is located on a spiral arm – around 25,000–30,000 lightyears from the Milky Way’s middle.

The Milky Way Galaxy itself is made up of a nucleus with a supermassive black hole at the core. Around this is a spherical bulge of stars and globular clusters.

The disc contains stars and gas clouds, and this includes a central bar and spiral arms – and these contain a higher density of stars, star-forming regions and interstellar gas and dust.
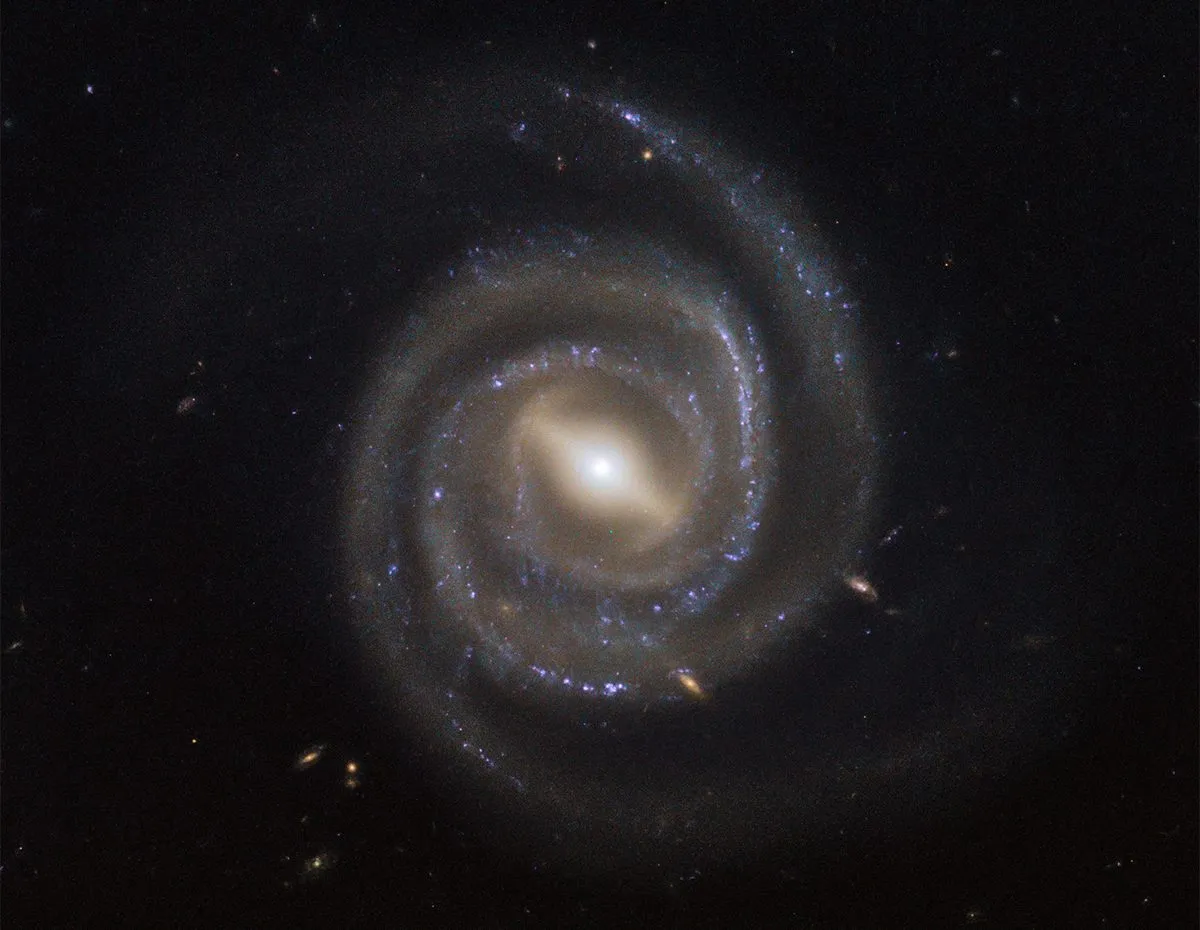
Barred spiral galaxy UGC 6093 is an active galaxy, meaning it has an active galactic nucleus. Material is dragged towards the central supermassive black hole, heating up and causing the galaxy's core to shine brightly. Credit: ESA/Hubble
Barred spiral galaxy UGC 6093. Credit: ESA/Hubble

Make a model of the Milky Way

In this family-friendly project we are making a model of the Milky Way so you can explore our Galaxy from your home.

Each step provides a learning opportunity, and all you need to get started is a good reference photo of the Milky Way (see above) and some basic craft materials.

Making the model larger makes it easier to add fine details, but because A3 black craft foam craft sheets (or cardboard) may be harder to find, we joined two A4 sheets together.

We have a black mini-pompom at the centre for our black hole; you won’t see it in the finished model, but you’ll know it’s there!

To represent the different components of the spiral arms we are using coloured glitter glue plus chalk dust mixed with lustre dust for extra sparkle.

A yellow mini-pompom marks the Sun’s position. (Please don’t wash glitter down the sink where it can pollute our oceans.)

After completing this project, you’ll be much more familiar with our place in relation to our home Galaxy!

Tools and materials

Five A4 black craft foam sheets; we used four sheets for the disc and one to create a display stand.

Cotton wool – this will be used to create the spiral arms and the central bulge of the Galaxy.

Two mini pompoms: a black one (black hole) and a yellow one (Sun).

Different coloured glitter glue to represent the different stars and star-forming regions along the spiral arms. We also used nail varnish with silver and gold particles and lustre-dust used in cake decorating.

A reference picture showing the Milky Way’s spiral arms.
Make your Milky Way model: step-by-step

Step 1

How to make a model of the Milky Way Galaxy for a school or home science project. Credit: Mary McIntyre

Cut two circles with a diameter of about 26cm from the black craft foam. We made each one by joining two A4 pieces together along the long edge using double-sided tape. We then drew around a dinner plate and cut out the circles.

Step 2

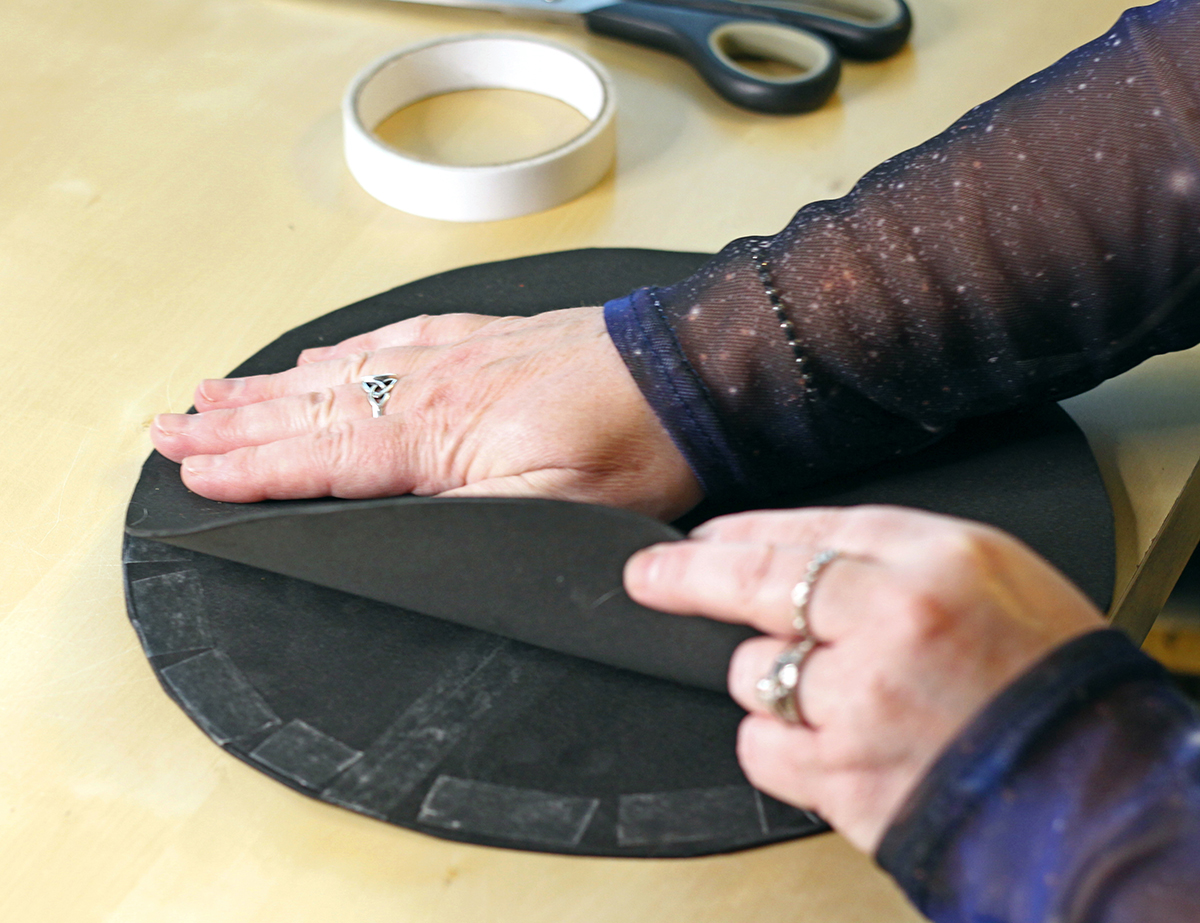
How to make a model of the Milky Way Galaxy for a school or home science project. Credit: Mary McIntyre

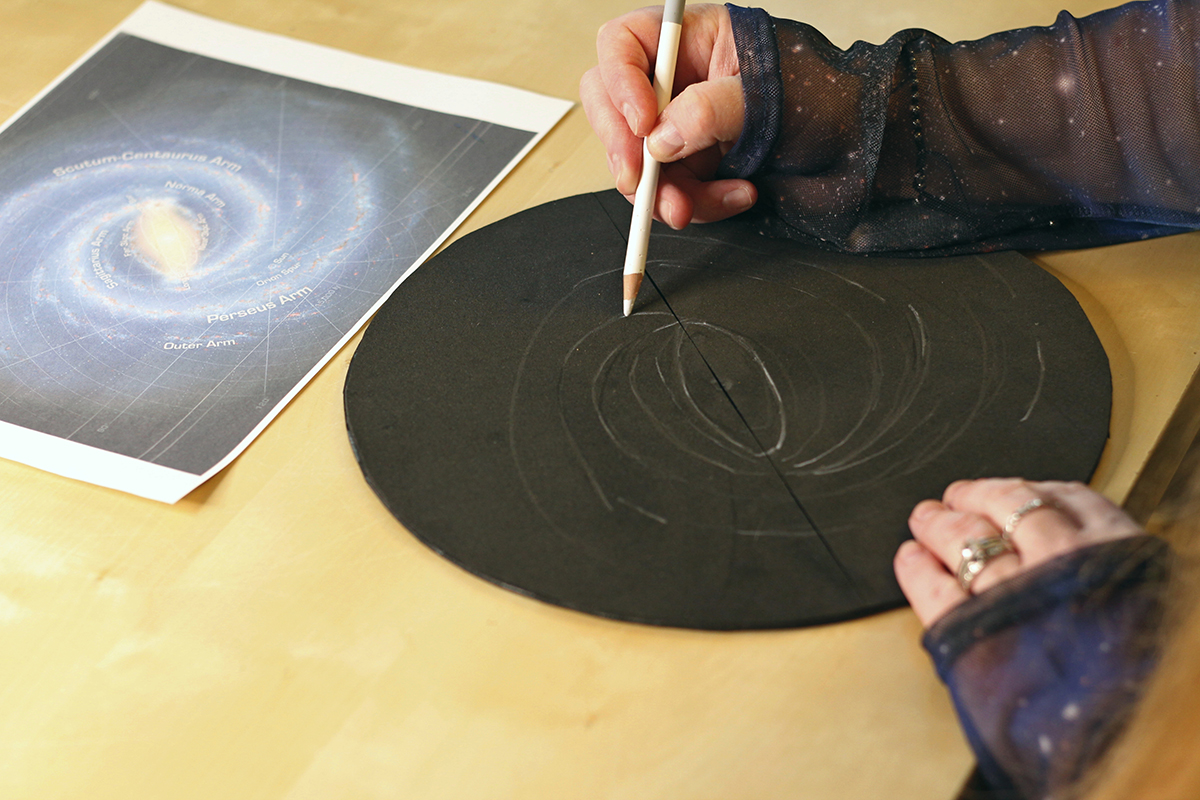
Join the two circles using double-sided tape with the seams at 90° to each other. Then use a chalk or pastel pencil to lightly trace out the shape of the central bar and spiral arms of the Galaxy. Use our downloadable reference picture as a guide.

Step 3

How to make a model of the Milky Way Galaxy for a school or home science project. Credit: Mary McIntyre

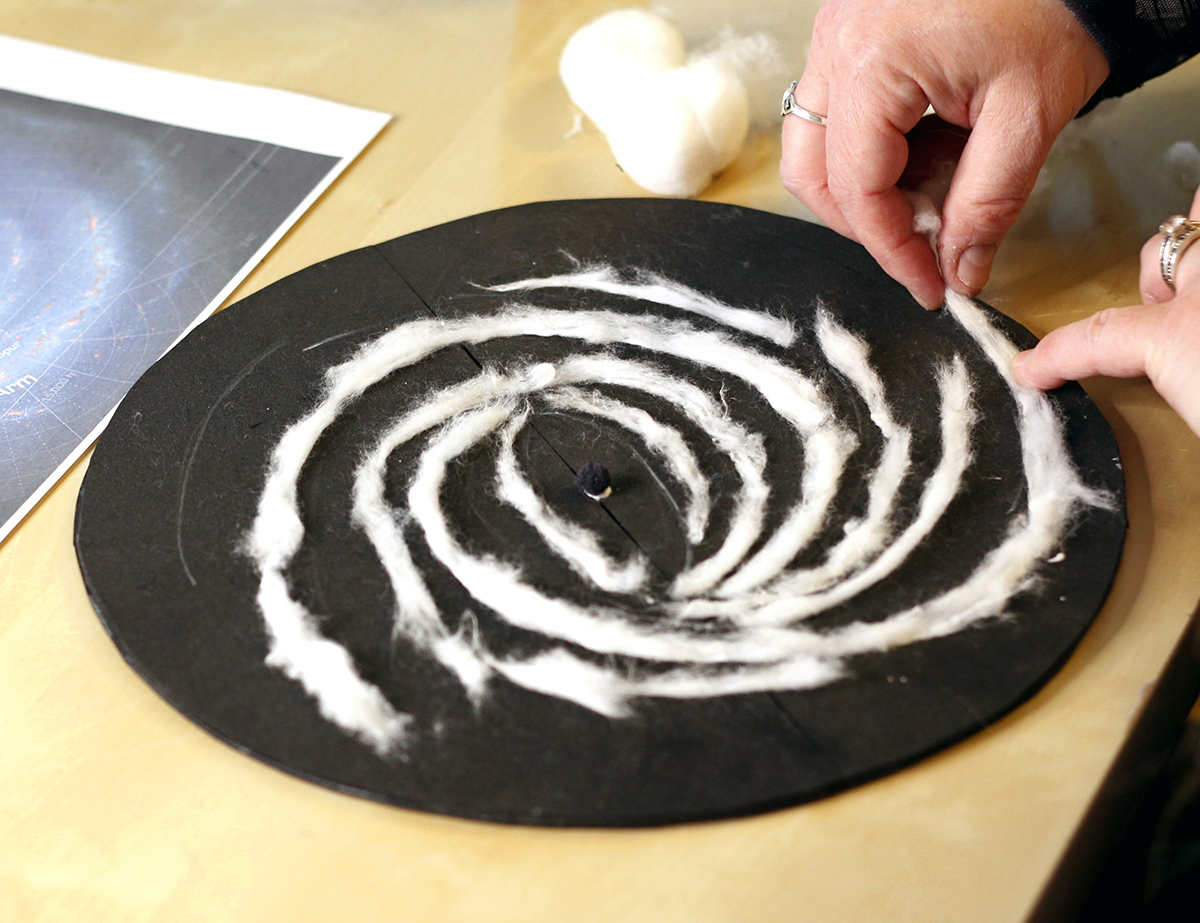
Stick the black hole pompom in the centre of the disc. Tease out the cotton wool into thin strands and glue them along the spiral arms using PVA glue. Next, glue cotton wool over the black hole and along the central bar, adding more to form the central bulge.

Step 4

How to make a model of the Milky Way Galaxy for a school or home science project. Credit: Mary McIntyre

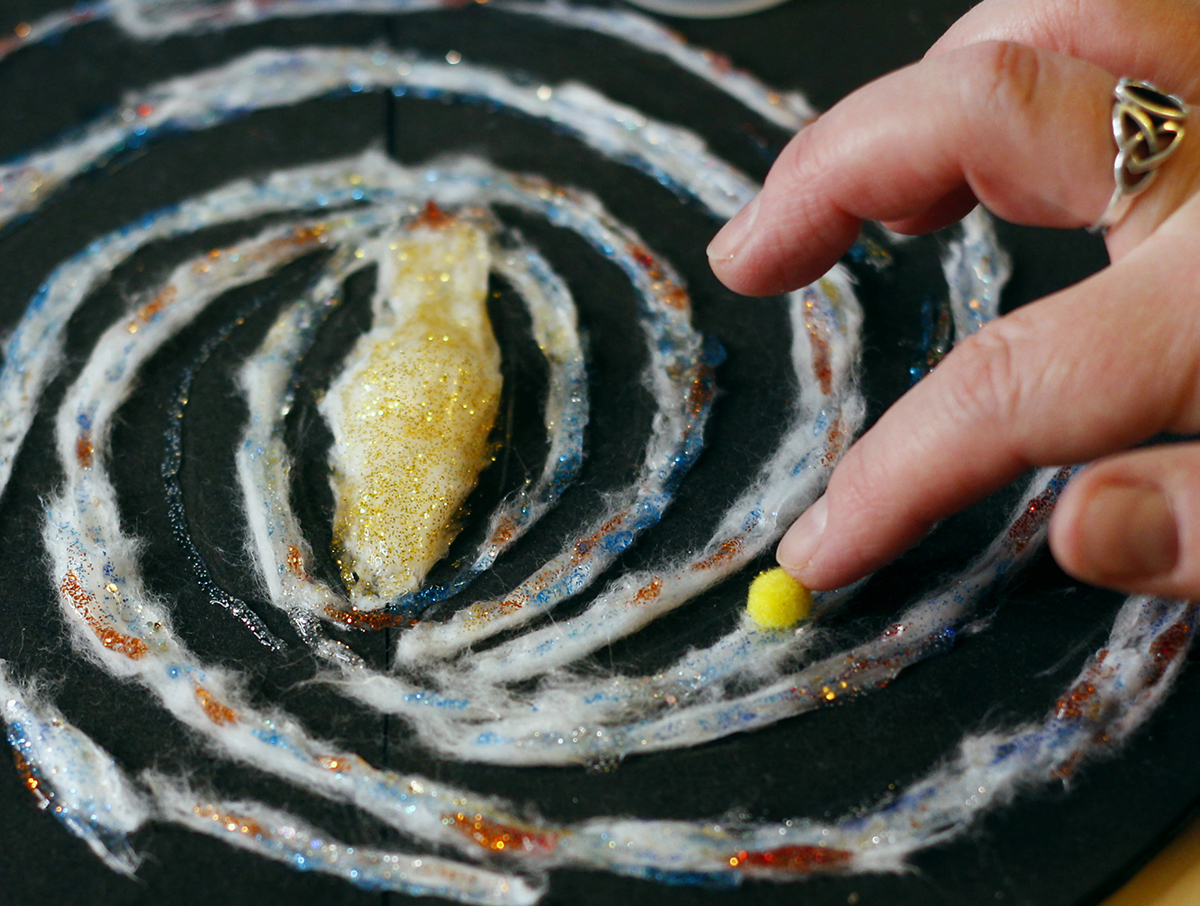
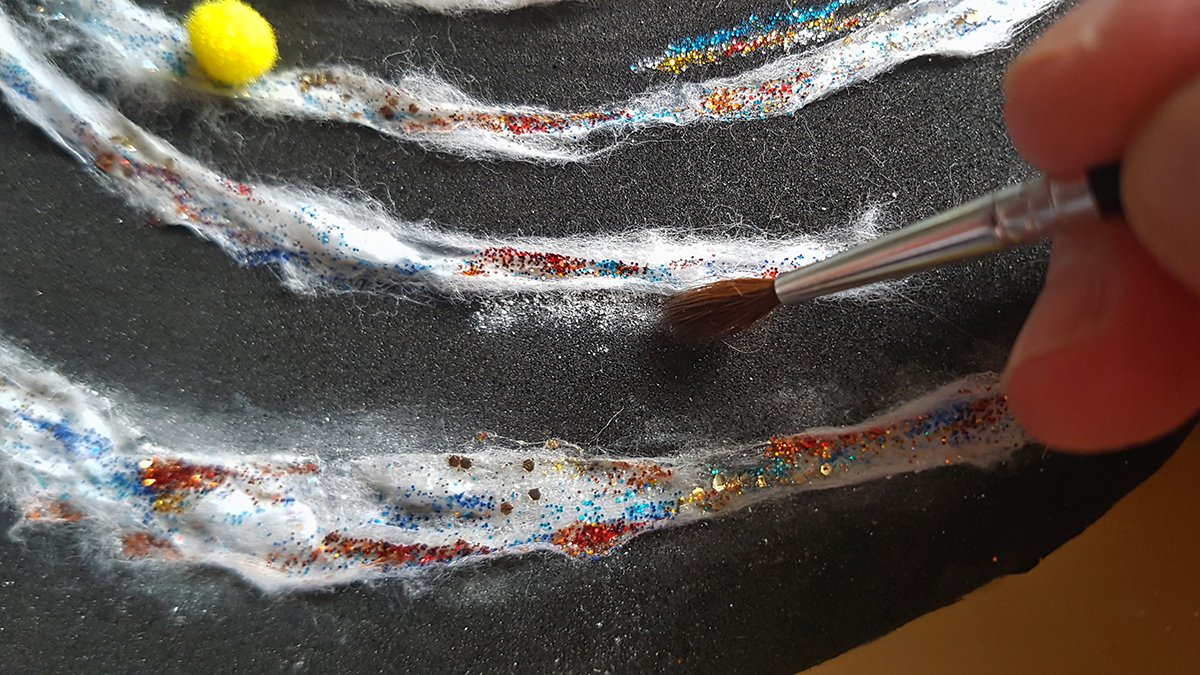
Use different colours of glitter glue and glitter nail polish to recreate the star distribution seen in your downloaded Galaxy reference image, paying attention to the different star colours. Next, glue the yellow Sun pompom in place.

Step 5

How to make a model of the Milky Way Galaxy for a school or home science project. Credit: Mary McIntyre

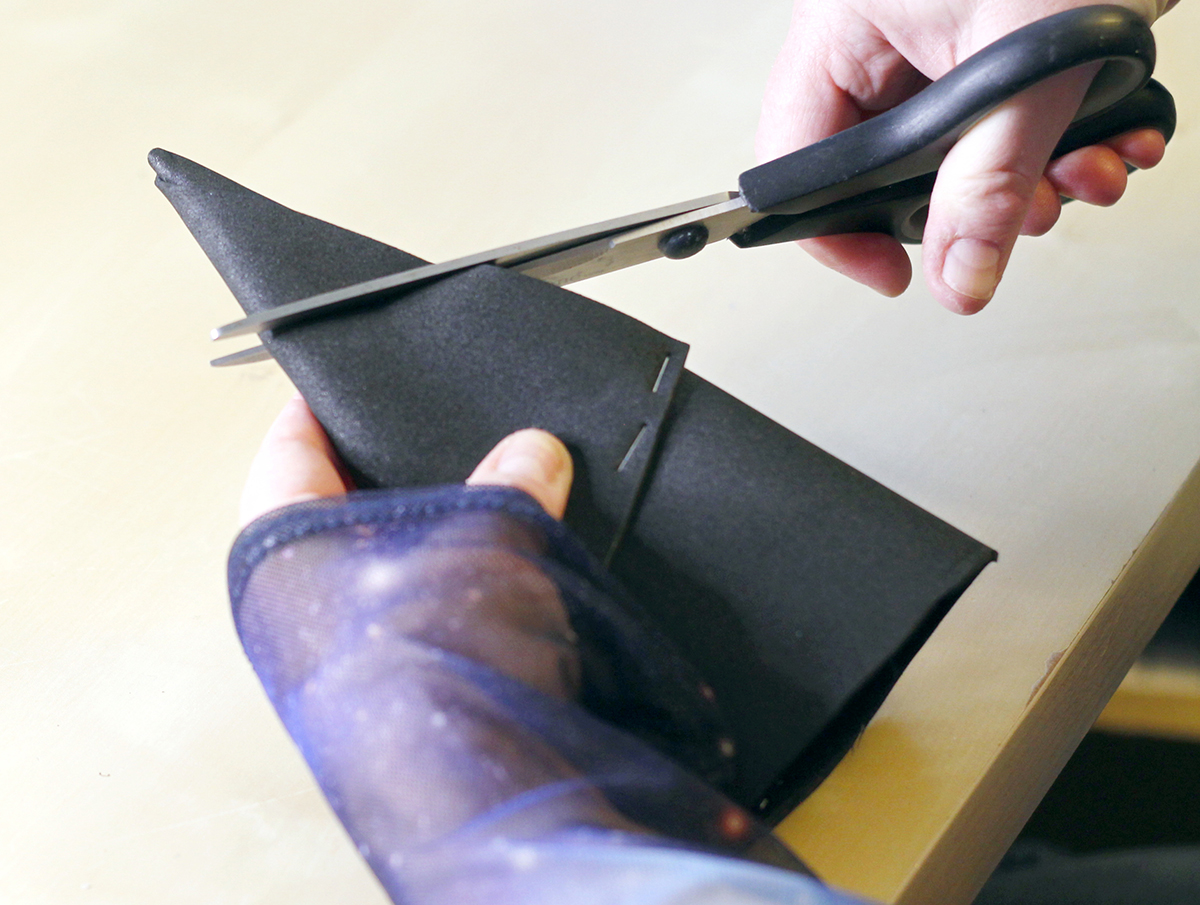
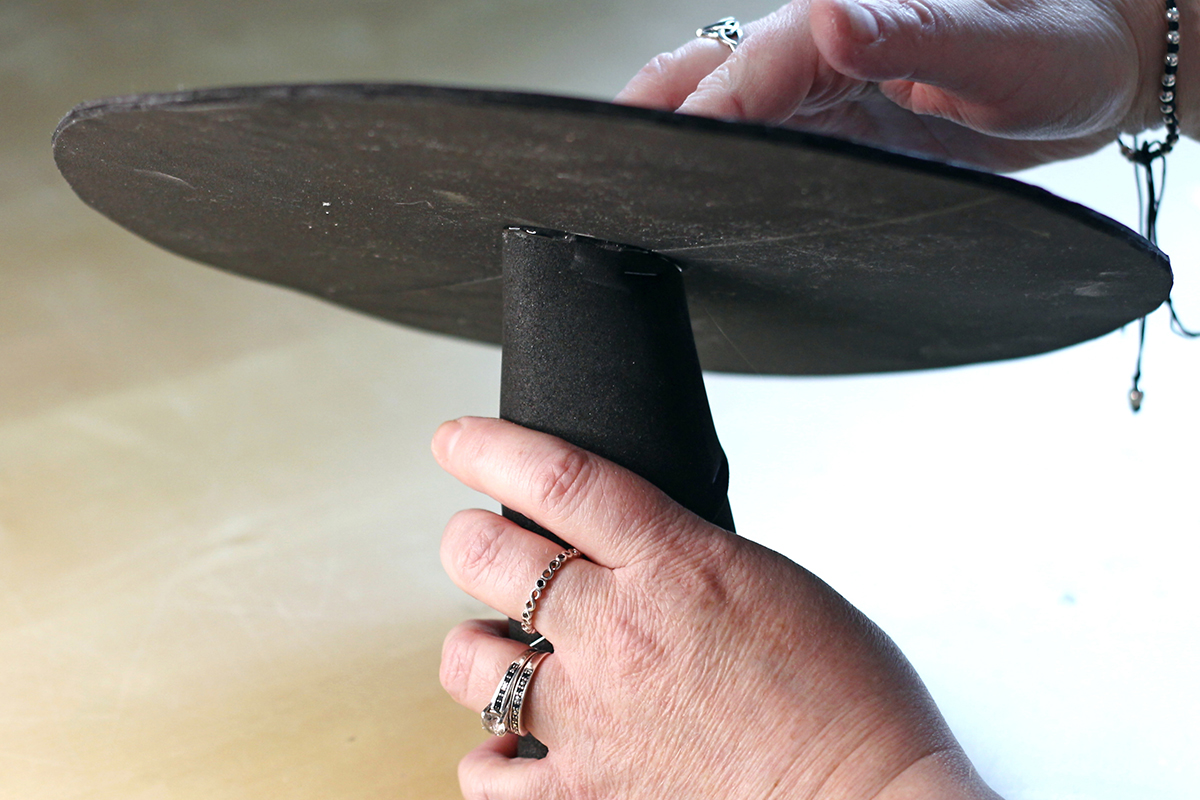
Roll the final foam sheet into a tight cone and stick it in place with double-sided tape and staples.

Trim the base of the cone so it sits flat and cut off the top at an angle.

Step 6

How to make a model of the Milky Way Galaxy for a school or home science project. Credit: Mary McIntyre

Using hot glue, stick the disc onto the base.

Step 7

How to make a model of the Milky Way Galaxy for a school or home science project. Credit: Mary McIntyre

Scrape some chalk dust into a pot and mix in some lustre dust. Use a dry, fluffy brush to dab the dust along the edges of the spiral arms and blend it gently into the foam; this will remove harsh edges and add some extra sparkle.

Mary McIntyre is an outreach astronomer and teacher of astrophotography. This guide originally appeared in the July 2021 issue of BBC Sky at Night Magazine.

This website is owned and published by Our Media Ltd. www.ourmedia.co.uk
© Our Media 2024