The winter solstice and the darkest nights of the year are upon us.If the clouds stay away we have maximum stargazing opportunities and, because it's Christmas, we have maximum star-baking opportunities.
Everyone loves a star at Christmas!Our Christmas tree is a tribute to our love of stars and creativity.
Every year we seem to add new ones using our latest crafting trend.There are stars made from hama beads, threaded beads, origami stars, crochet stars and knitted stars too.
All a tribute to the evolving crafting abilities of Astro Girl and Boy on wet winter days.But the best ones are the ones we can eat!An opportunity to go wild with gingerbread, icing and sweets.
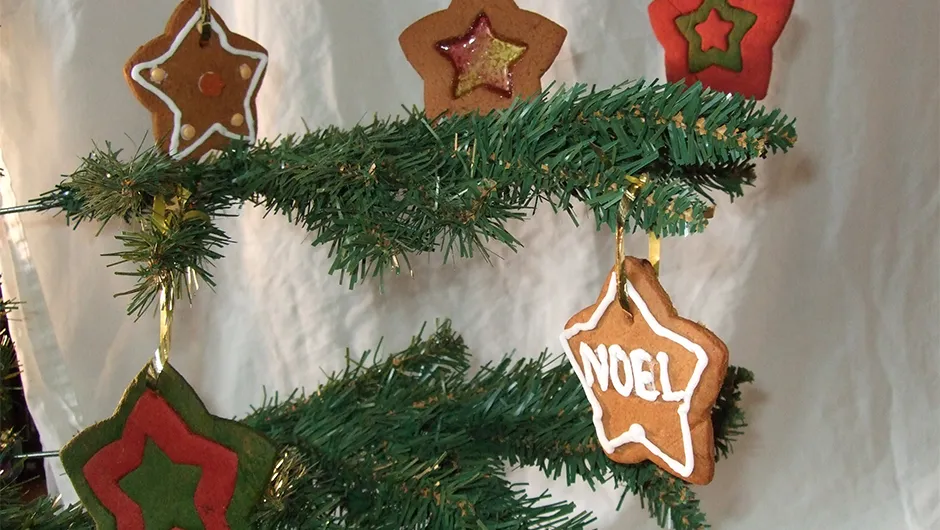
We can add shiny stained glass stars, two-tone stars and write everyone’s name in stars, all from one batch of dough.
This dough is really fun to make; baking and science unites for the bicarbonate of soda explosion.
If you have a go at baking Katharine's Christmas star decorations, be sure to share your pictures with us via Twitter and Facebook.

Ingredients
- 100g light brown sugar
- 75g dark brown sugar
- 85g golden syrup
- 100g salted butter
- 350g plain flour
- 1 tsp bicarbonate of soda
- 1 tsp mixed spice
- 2 tsp ground ginger
- 3 tblsp milk
- Zest of half an orange
- White writing icing
- Boiled sweets and other decorations
- Food colouring (preferably red and green)
- Star-shaped biscuit cutters
Method
1
Melt it down
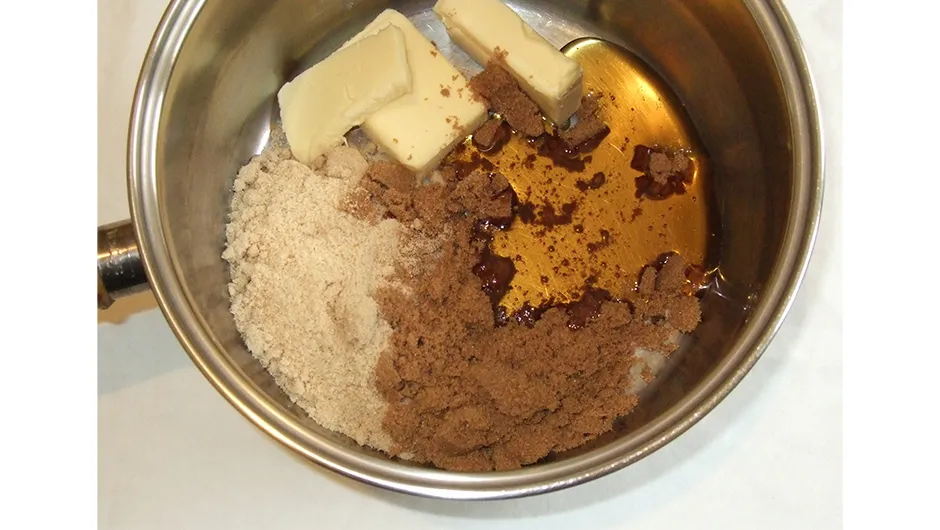
In a heavy based saucepan melt the butter, sugars and syrup.Bring to the boil then simmer for two minutes.
2
Reactions
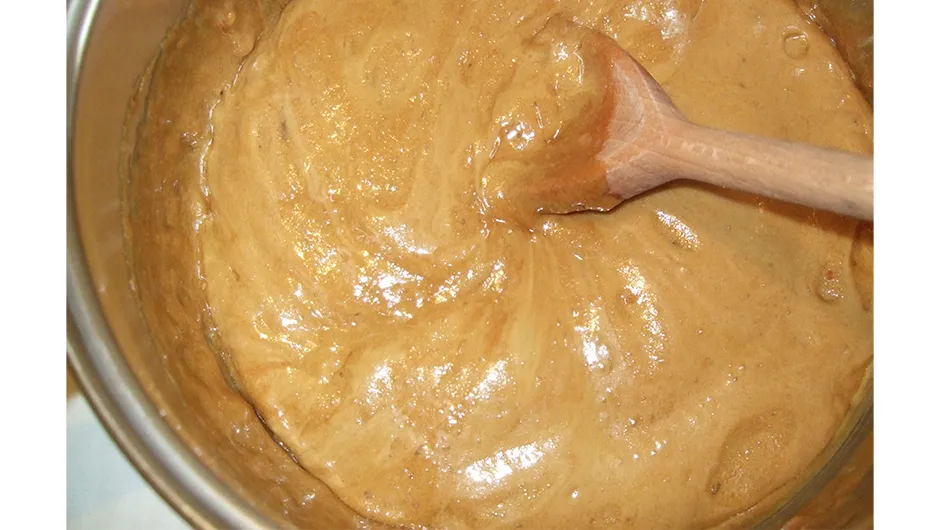
Add the bicarbonate of soda and stir.The mixture will puff up.

Leave to cool for 15 minutes and it will continue reacting.
3
Sift, mix, knead
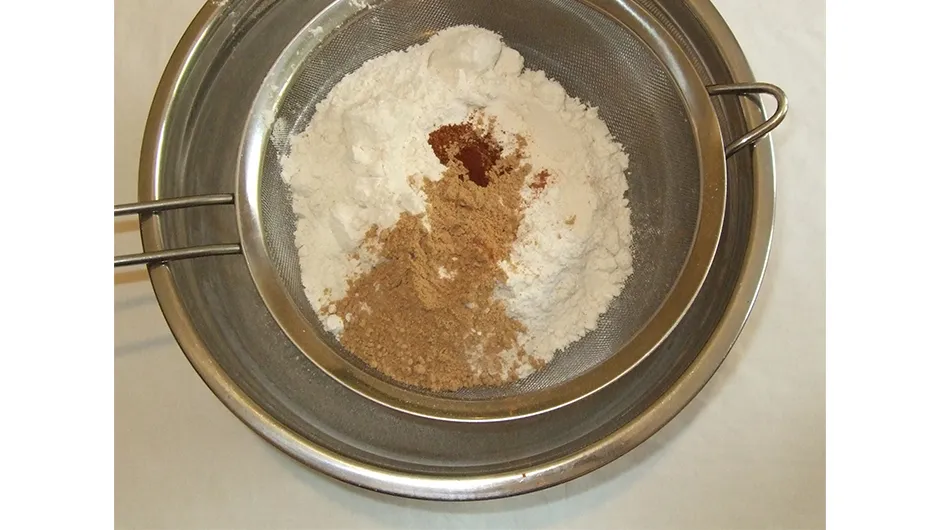
Sift the flour and spices into a bowl, add the syrup mix, milk and orange zest.Mix and knead until smooth.
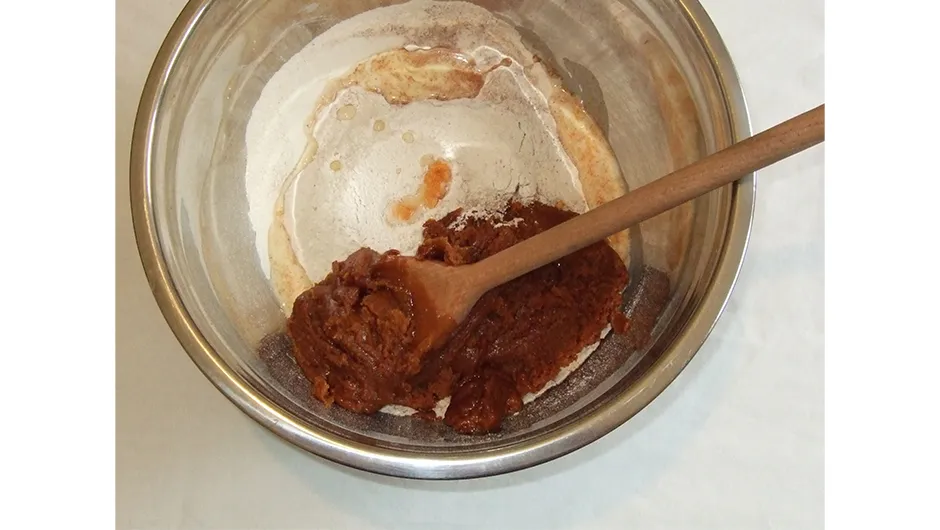
If it is too dry, add a little more milk.Knead it into a ball, wrap it in clingfilm and refrigerate for half an hour.
4
Optional two-tone
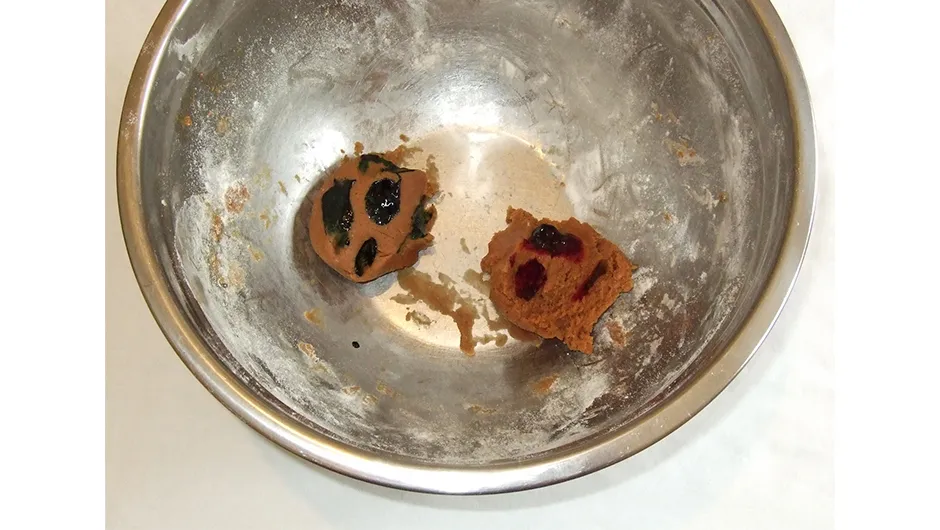
If you want to make two-tone stars, take some of the mixture before wrapping and add two different food colours, such as red and green.
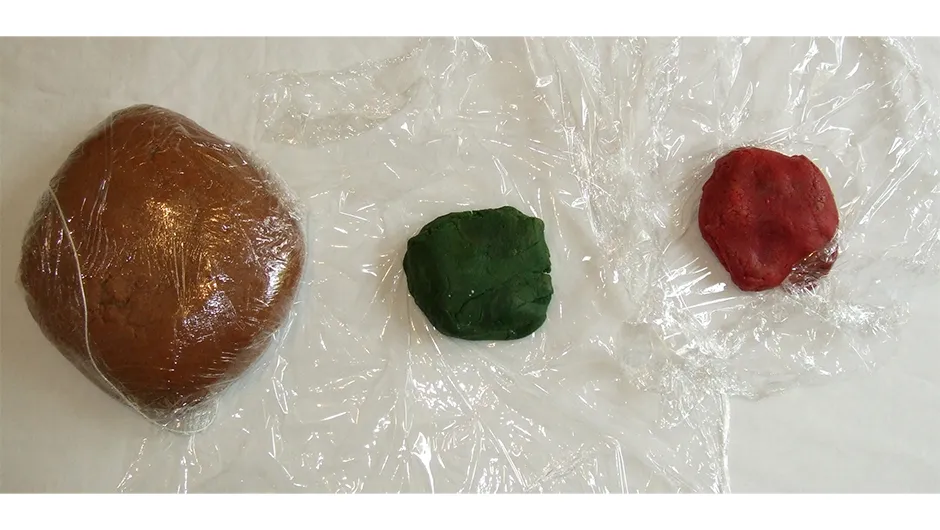
Knead them in until thoroughly mixed, then wrap the different coloured doughs separately.Refrigerate for half an hour.
5
Stars are born
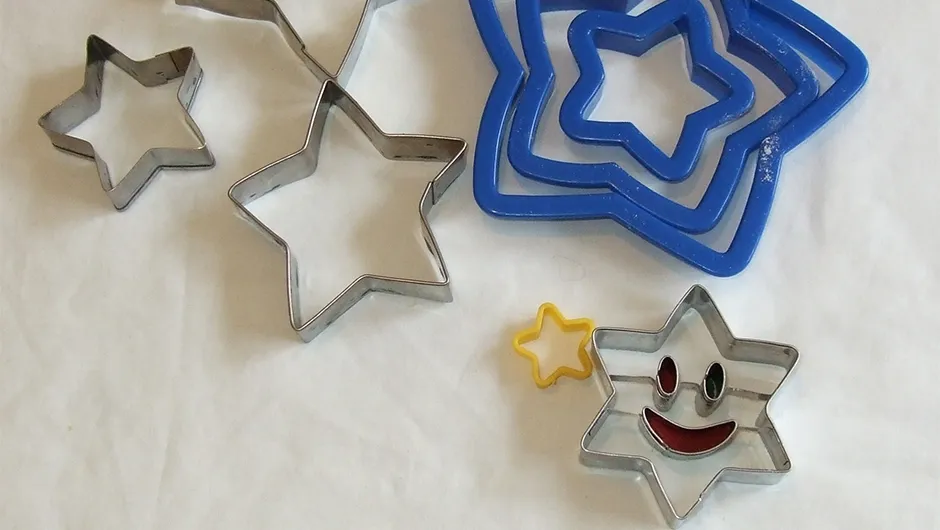
Get out your star cutter collection.This is how I justify the many biscuit cutters I’ve collected over the years!
6
Roll-out
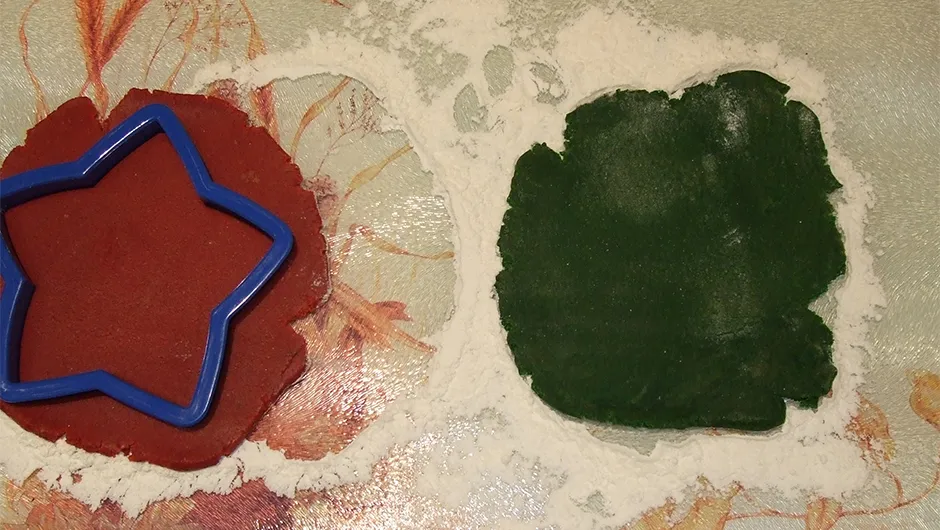
To make two tone stars, roll the two colours out 3mm thick.
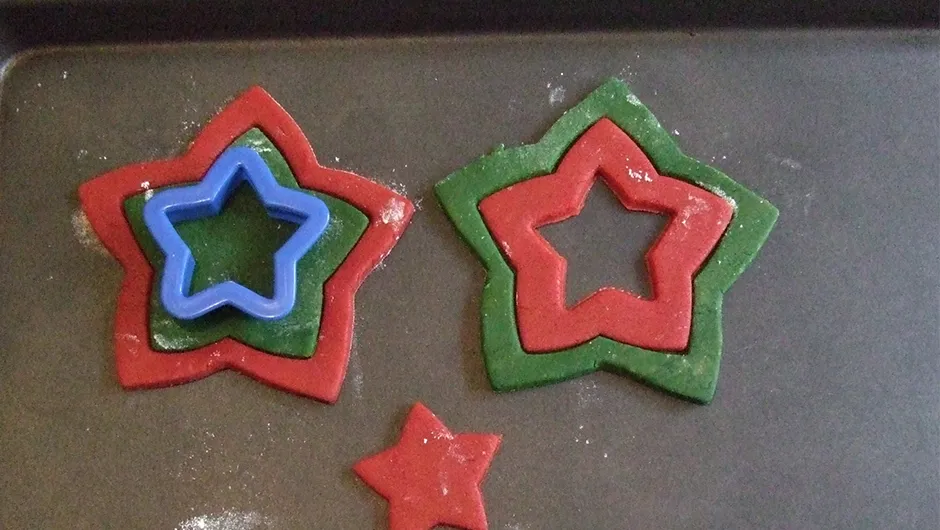
Use a set of star cutters so that you can swap the concentric stars between biscuits.
7
Threading hole
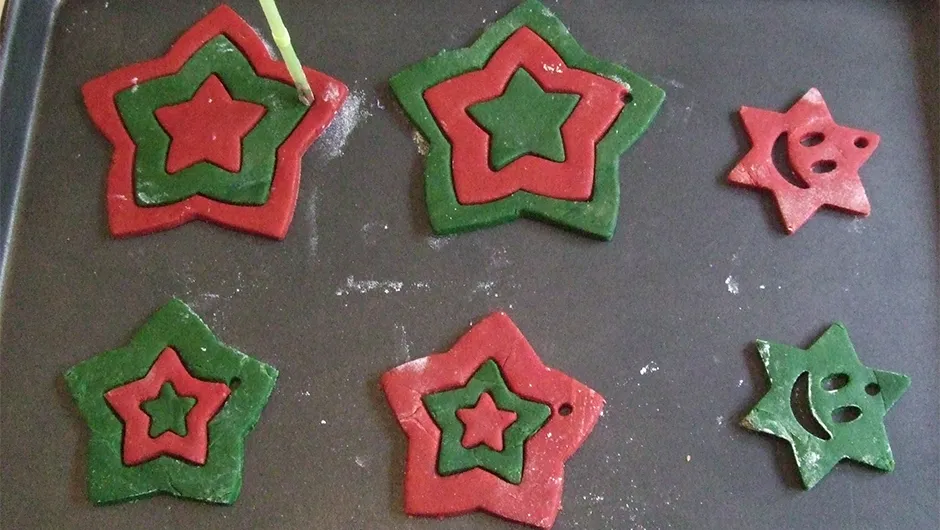
Use a drinking straw to pierce a hole in each biscuit so that a ribbon can be threaded through once they're baked and cooled, for hanging them on the tree later.
8
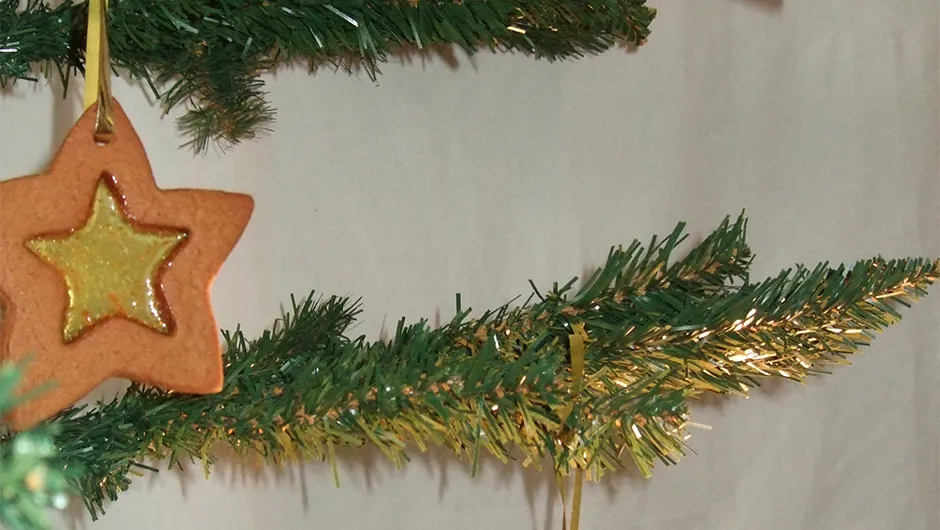
Stained glass effect
To make 'stained glass' stars, line a baking tray with well-oiled greaseproof paper or, better still, use a silicone baking liner.

The sugar in the sweets is going to melt and will stick almost permanently without this.
9
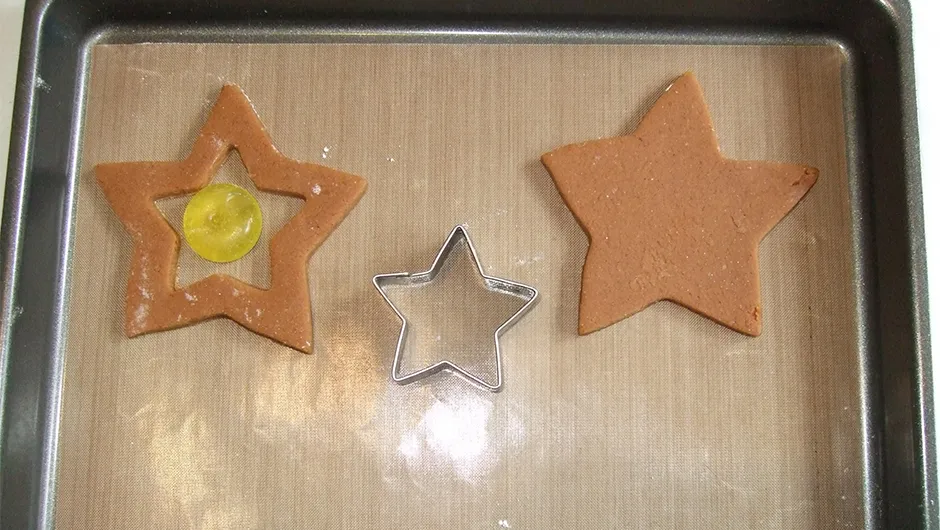
The cosmic heating process

Roll out the plain mixture to 3mm thick.Cut star shapes and place them on the baking tray.Cut smaller stars out of them and place a boiled sweet in the gap.
It will melt in the oven and fill the hole.You can break sweets up and mix the colours too.
For the iced biscuits cut star shapes and place them on a lightly oiled baking tray, there is no need for lining paper.
Use a drinking straw to make hanging holes as above. Bake the biscuits at 180°C for 10 – 15 minutes (depending on size) until they are firm and beginning to brown.
10
Stars cooling down
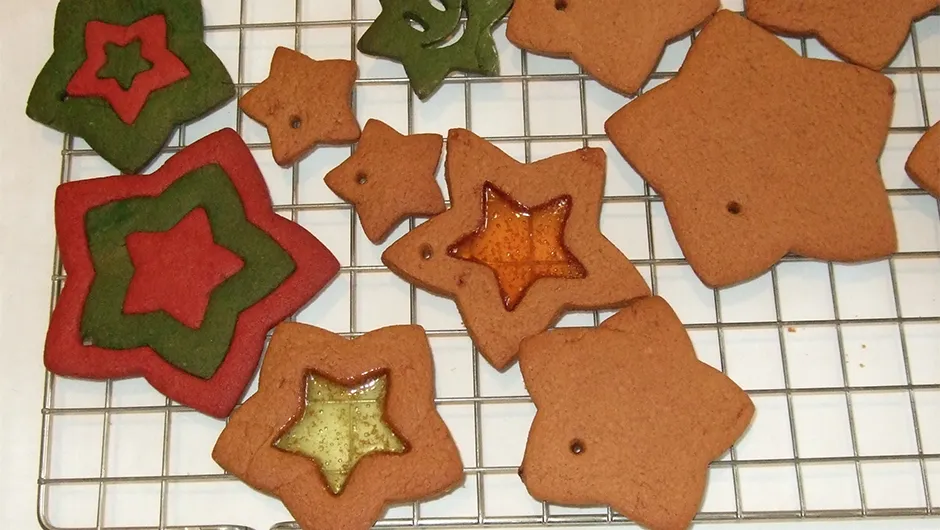
Transfer the biscuits to a wire rack to cool.Remember to allow the stained glass ones to cool on the tray until the sweets have set hard again before removing them from the tray.
11
Ice frosting

Once cooled, use your icing and sweets to decorate the plain biscuits with Christmas messages or names.Allow to dry completely before hanging.
12
Hanging in the cosmos

Thread ribbon through the holes and hang on your Christmas tree.
Try to hang the stained glass ones in front of your tree lights to get the full effect!
13
Pro-tip
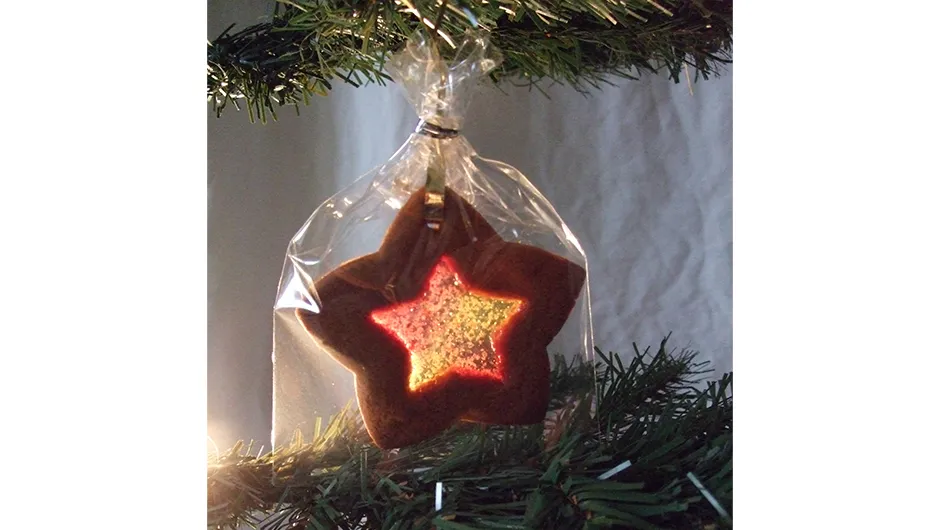
For hygiene reasons, if you plan to hang your biscuits on the tree then eat them, you should wrap them in clingfilm or cellophane gift bags.
Merry Christmas!