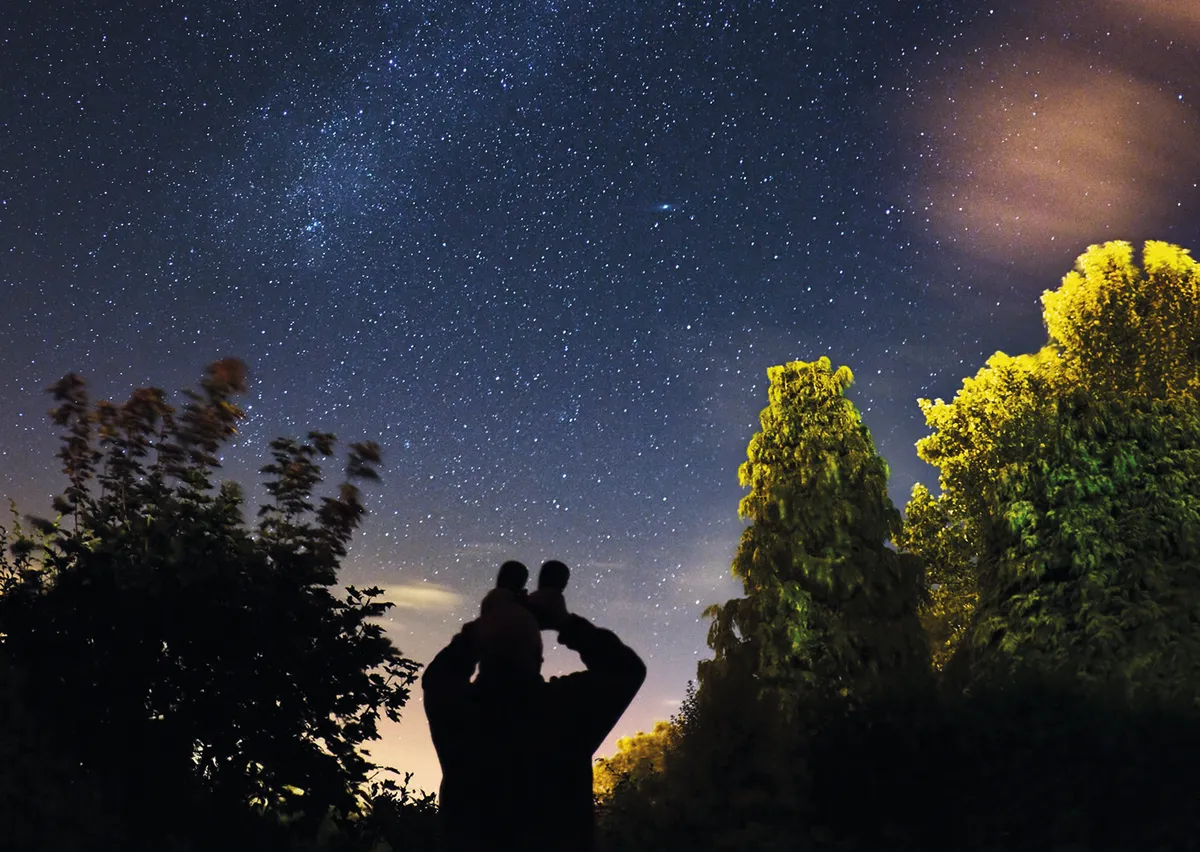
You already know how to stargaze and observe the night sky through a telescope, but what comes next? What are the best ways to improve as an astronomer?
How can you take the next step and get more out of your time under the stars?
One way of addressing this is to ask yourself the question:"How productive am I likely to be as an imager or observer of the night sky?"
The answer to this question is not as simple as it might first appear, but in this article we'll guide you through the things you need to consider as you take your observing to the next level.
For a beginner's guide, find out how to stargaze or read our article on astronomy for beginners.
How often can you do astronomy?
Astronomers and stargazers viewing the night sky through a telescope eyepiece observers can expect 4 or 5 good viewing sessions a month, if they’re not too bothered about moonlight.
For astro imagers, there are big differences depending on your setup. Remote imaging can be done on any relatively Moon-free night, or about 148 nights per year.
But, if like me, you enjoy hands-on time with your own equipment then a local permanent or portable setup may be a better, if less productive, choice.
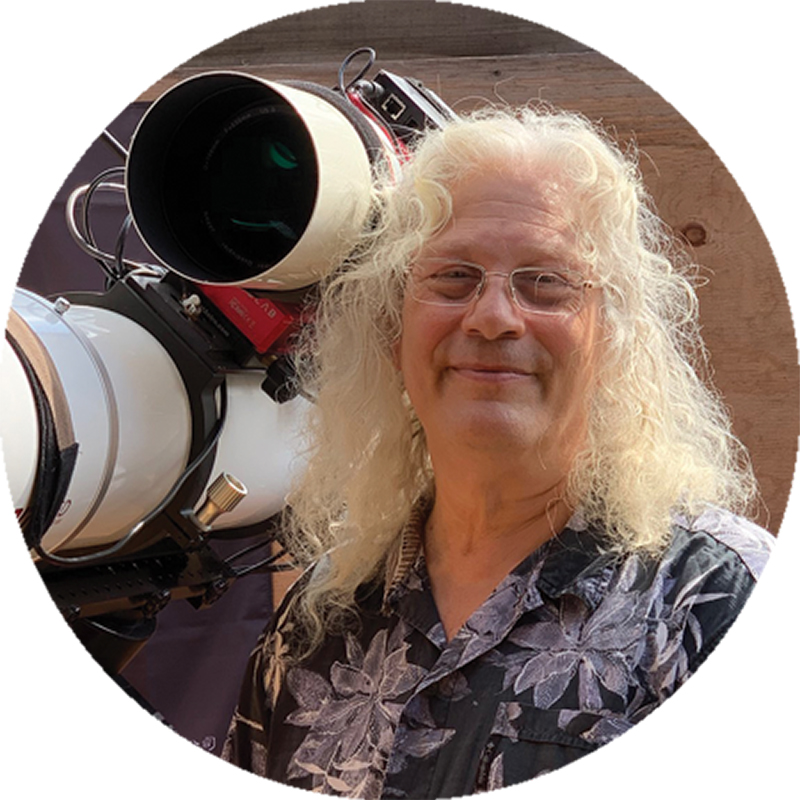
My productivity increased about threefold when I transitioned from a portable setup to a home observatory for imaging.
I also observe with a portable setup, and sometimes access southern skies via remote observatories; truly the best of all worlds.
For moonrise times, Moon phases and observing advice delivered directly to your email inbox every week, sign up to the BBC Sky at Night Magazine e-newsletter.
7 ways to become a more productive astronomer
In this guide we've identified 7 factors that can affect an astronomer’s productivity.
Some are well within your control, while others are just a fact of life (your life).
But their impacts on backyard astronomy can nevertheless be minimised.
Read on to discover our top tips for becoming a better astronomer. These tips can also be used for imaging the night sky, if you want to become a better astrophotographer.
1
Manage the weather
The number of nights in a year is beyond your control. Similarly, the Moon is up and interferes with deep-sky observing and imaging about half the time, between first and last quarter.
Visual observers and planetary and lunar imagers are less bothered by moonlight – they may even relish it.
Imagers with narrowband filters can still image in moonlight, so a narrowband approach can increase overall productivity.
You only need to practise astronomy for a short time to conclude that you can’t control the weather, and that is true: manipulating local cloud cover is, of course, still beyond our grasp.
However, other aspects of the weather – like intense cold, stifling heat and humidity – can be mitigated.
Visual observers and portable imagers are more affected by weather than those who use permanent setups, whether local or remote.
For more advice, read our guide on weather forecasting for astronomy.
2
Dress appropriately
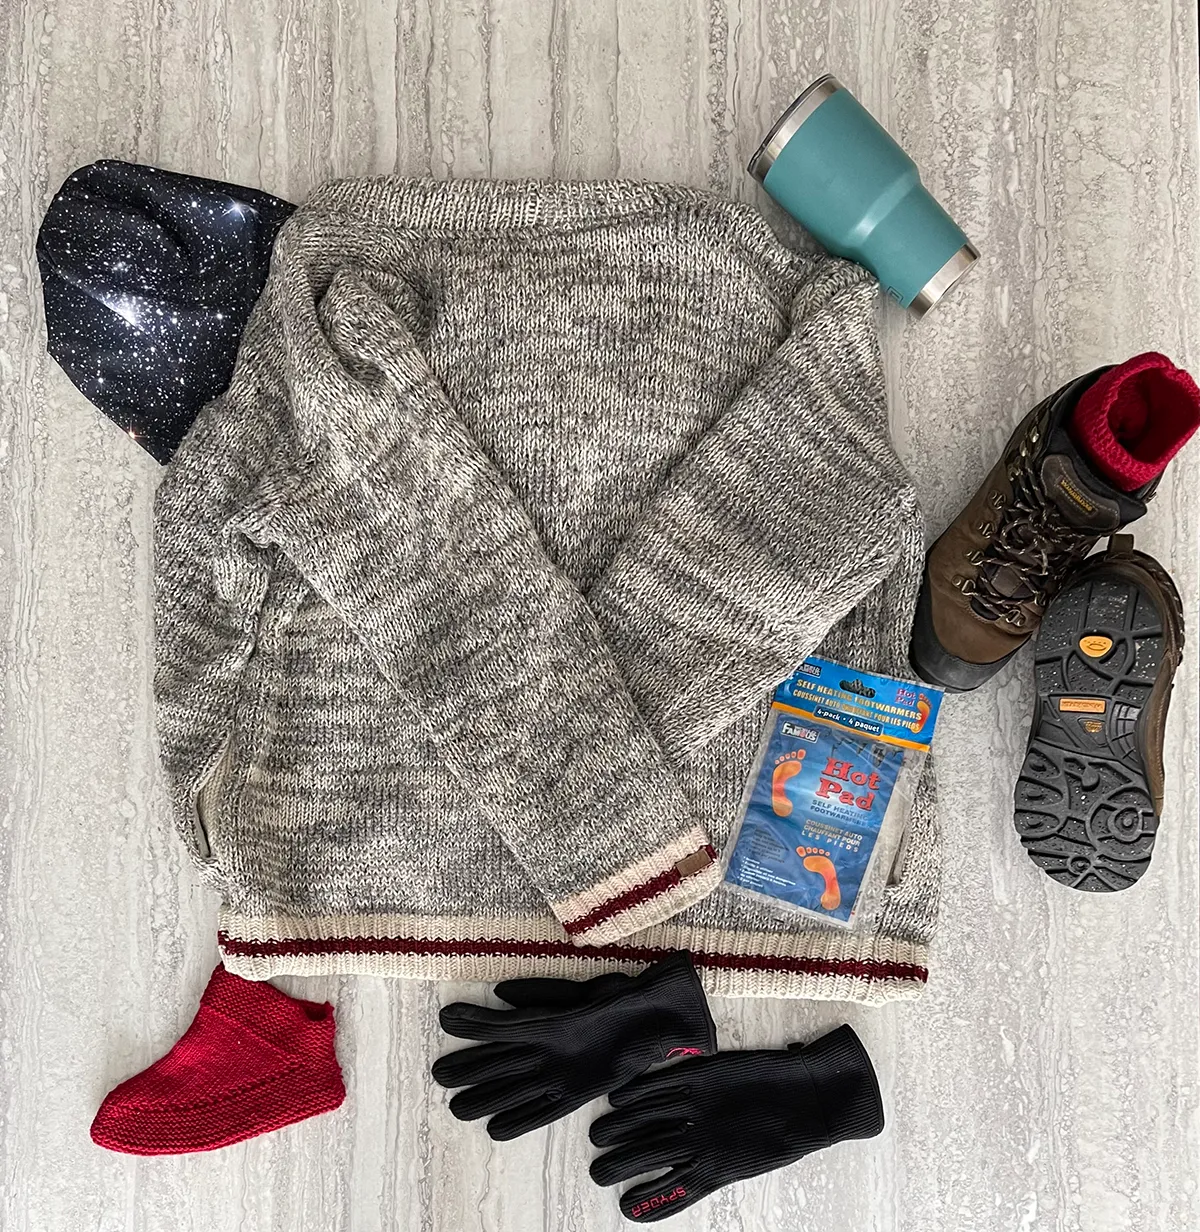
On clear nights, our bodies radiate heat away into space, so dress for a temperature that is about 10–15°C cooler than the thermometer says it is.
Warm socks, boots, gloves and a hat will keep your extremities warm.
On the coldest nights (about –28°C for me) I use disposable chemical heater packs in gloves and boots, and an extra heater in my pocket to defrost the eyepiece.
It’s also a good idea to have somewhere warm for battery-powered accessories like a red torch or a laser pointer.
Lastly, an insulated mug containing a piping-hot drink can help extend your observing or imaging session.
At the other extreme, summer nights can be warm and humid, and with them can come a plague of biting insects.
I wear lightweight long-sleeved clothes and trousers, and spray my clothes with bug repellant, avoiding getting any on my hands or around my eyes.
I have heard also heard that bug repellant can damage optical coatings on telescopes.
If there’s no breeze, a small fan can help keep you cool, too.
3
Anticipate and manage the wind
Wind is an important determining factor – not only for comfort, but also productivity, particularly when it comes to imaging.
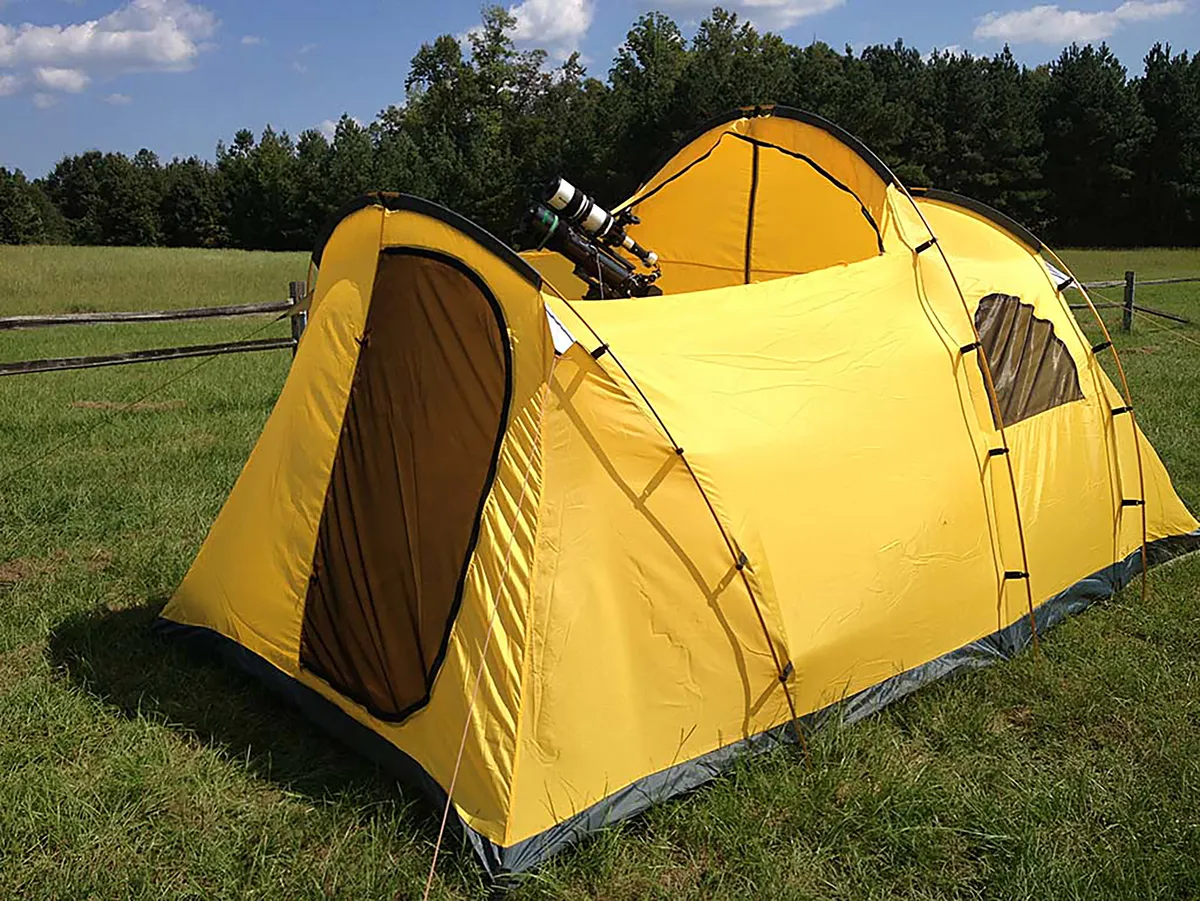
The more solidly mounted your telescope, the less you’ll be affected by wind. An observing tent can help to mitigate the impact of any breezes on portable visual or photographic observing.
Even better is a permanent setup with walls to block the wind; I’ve never had to interrupt an imaging session from my Doghouse Observatory because of wind.
Indeed, it might be worth considering building your own home observatory.
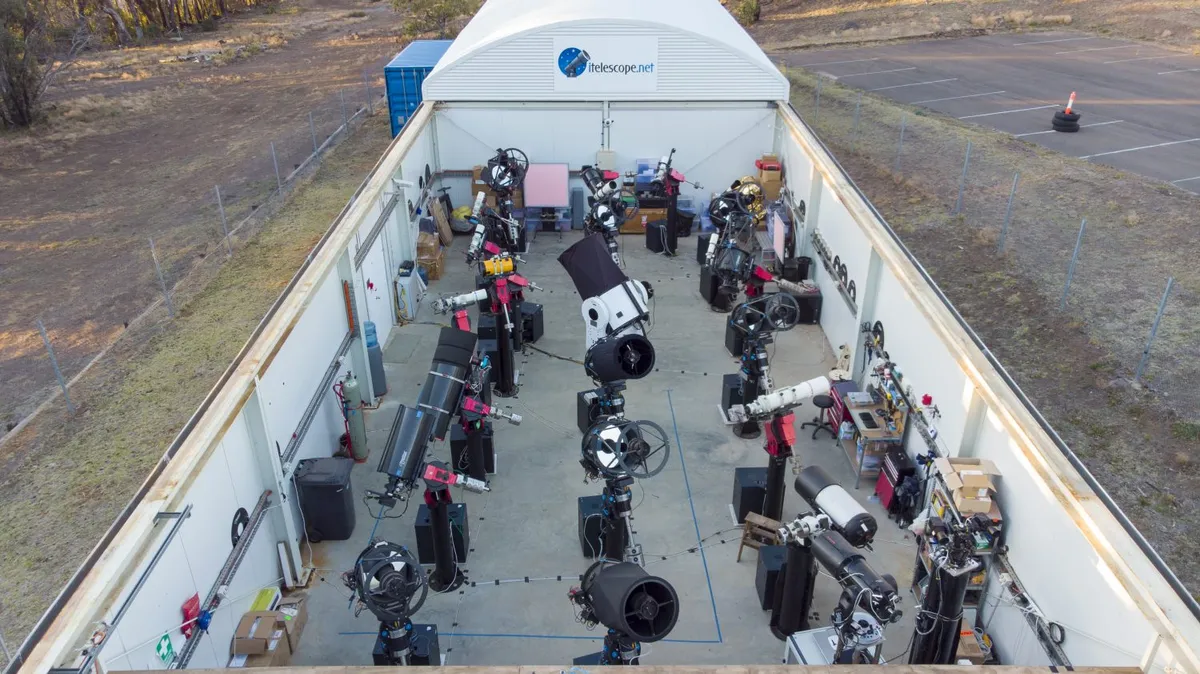
Astrophotographers who purchase time or host their equipment at a remote observatory may have the best experiences with weather. After all, it’s always clear somewhere.
Commercial remote observatories are situated under some of the best skies in both hemispheres, including the southern United States, Chile, Spain and Australia.
They’re still affected by moonlight, of course, but you don’t need to worry about temperature, wind or biting insects.
For more on this, read our guide to remote astronomy.
4
Get good at setting up your equipment
The key to good astronomy gear is to do as much setting up, maintenance and testing as possible outside of prime imaging or observing time.
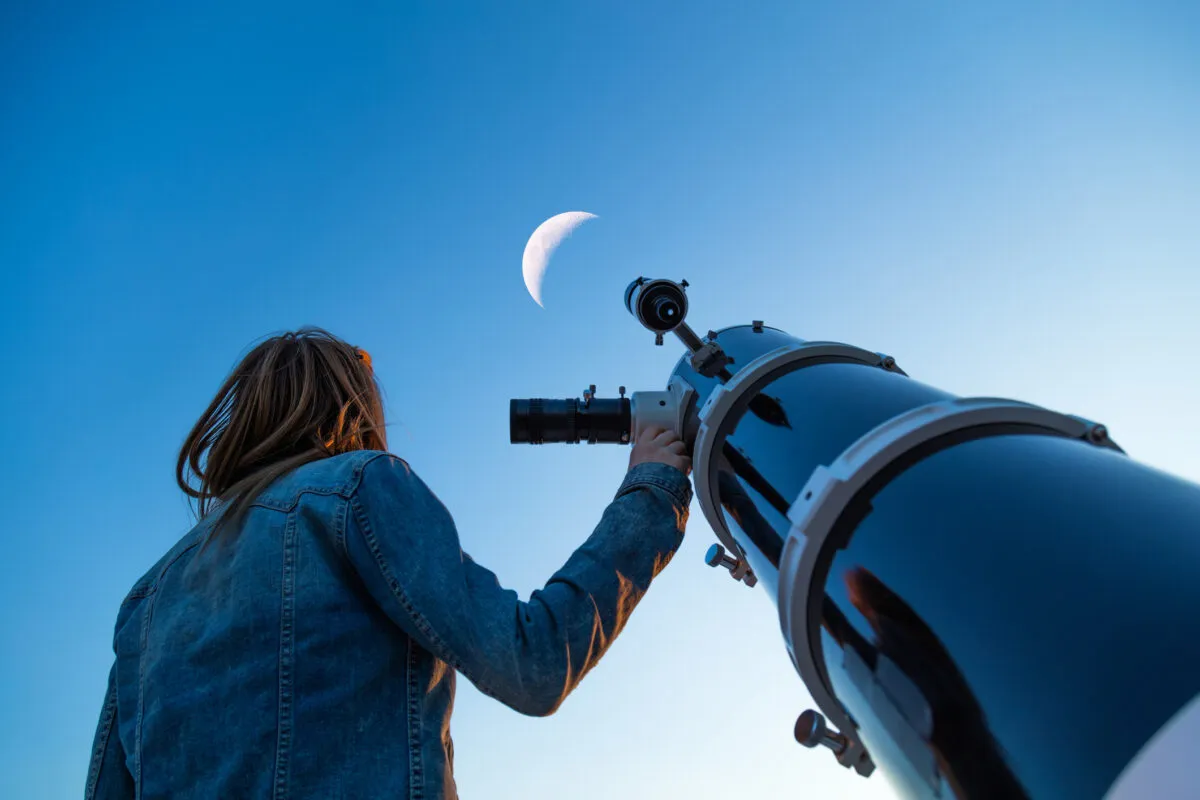
For visual observers, this means becoming efficient at setting up and taking down equipment.
With a little practice, tasks like collimation or aligning your finderscope can be performed quickly, before it’s dark enough for serious viewing.
Portable gear needs to be set up and taken down for every imaging session.
This process usually involves waiting until you can see enough stars to polar align, troubleshooting equipment issues along the way and then having to take down the gear when clouds roll in, only to start over again the next clear night.
Anything you can do to increase the amount of imaging vs setting up time is helpful here. It might be worth getting a good travel telescope that's easy to transport and set up.
Practise getting efficient and accurate at setting up your equipment so that you’re ready to go at dusk.
If you can safely leave all or part of your portable rig fully set up to use over multiple nights, that will reduce the set up and take down time.
It will also make imaging or observing much more productive, assuming the weather cooperates.
If you are using permanent setups for imaging or observing, these take almost no time to get up and running, provided conditions are good, and all the equipment is working.
When it comes to portability, the best solution for visual observers is a pair of binoculars.
These require virtually no set up time and can hugely increase the number of evenings you can spend at least a few moments stargazing.
Sometimes a few minutes of binocular astronomy therapy between broken clouds can help tide you over until the next clear, moonless night.
5
Maintain astronomy hardware, software and drivers
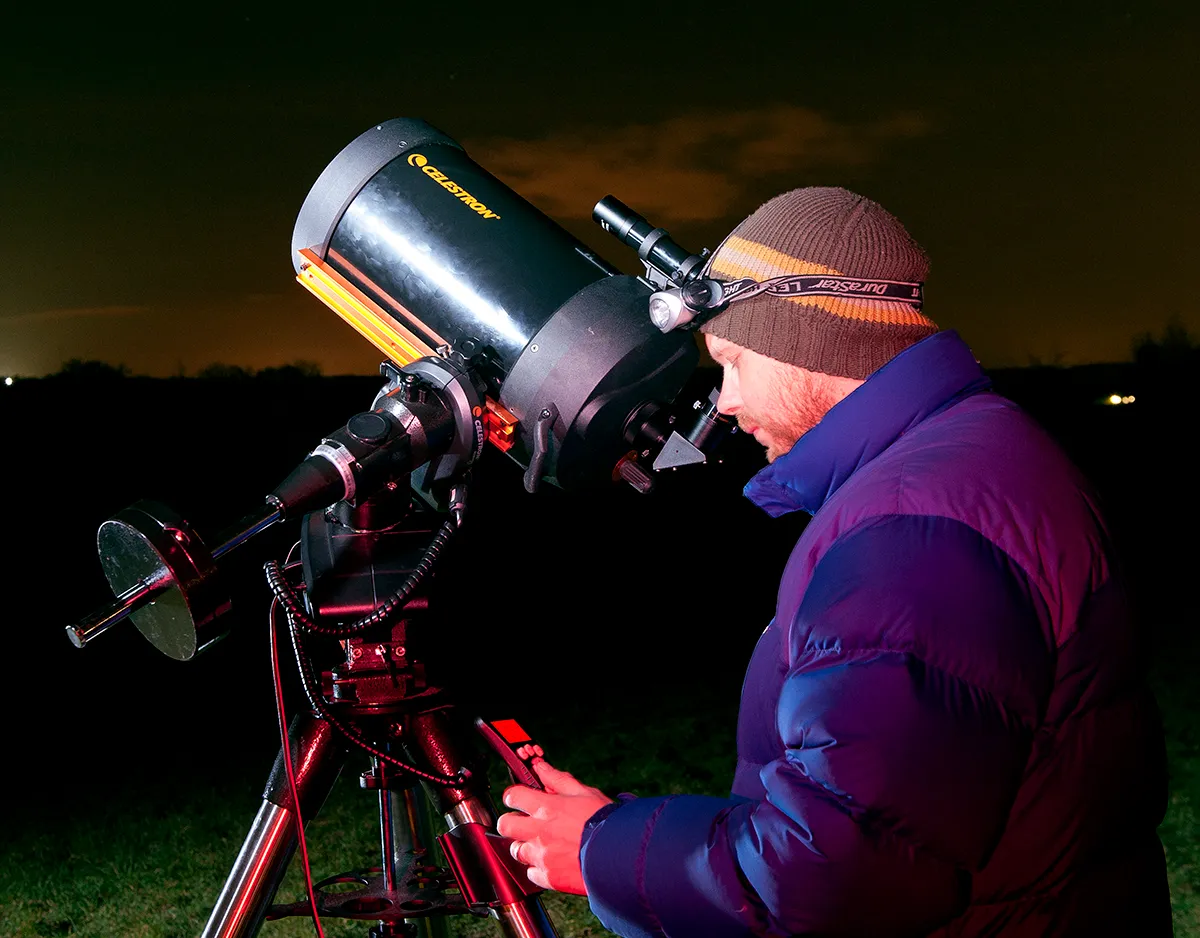
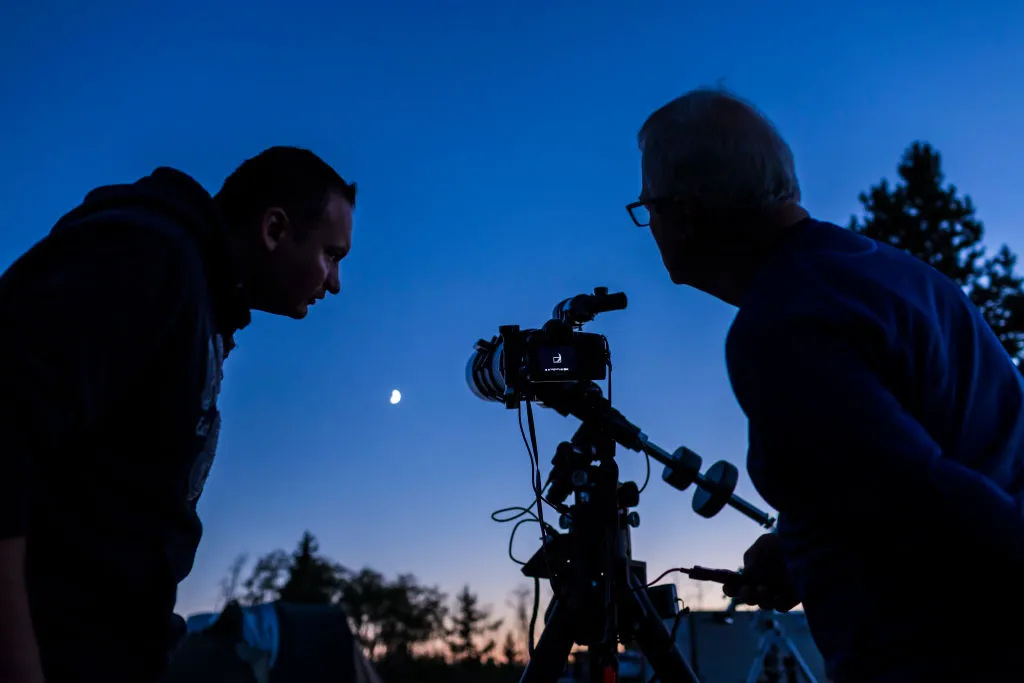
If you use a computerised or Go-To mount for observing, learn how it works during the day and practise using it on mediocre nights.
That will make those prime sessions more rewarding, because you won’t be fiddling with any kit.
Compared to visual observing setups, imaging setups contain a lot more components.
While I use an electronics-free 10- or 20-inch Dobsonian-mounted reflector – along with a red flashlight and a map – for most of my visual observing, my imaging rig is much more complicated.
It includes a heavy-duty mount carrying two telescopes, each with a cooled camera, an electronic filter wheel and an electronic focuser.
There’s also a guide camera, a couple of dew heaters and a PC to control all the imaging equipment.
Problems with the operation of any piece of equipment, such as its ability to connect to the computer (via its driver) or a software problem, can all end a night of imaging.
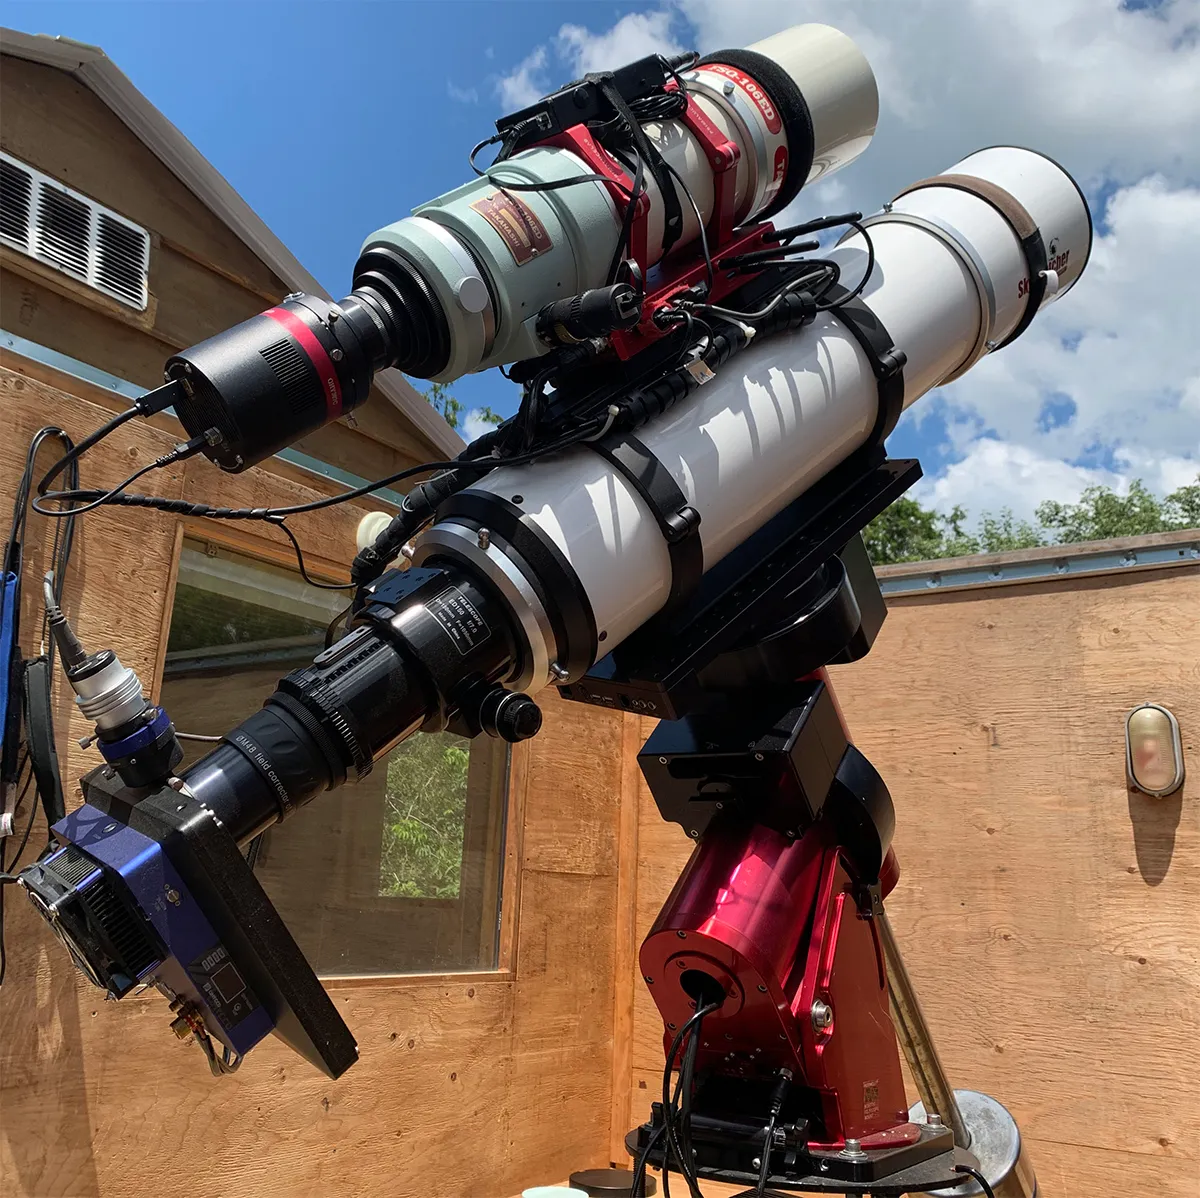
And little things like cables hanging off your scope can cause big problems. Balance can change as the mount tracks, or worse, a cable can snag and cause damage to equipment.
Astrophotographers can practise the same good habits mentioned above for visual observers.
Permanent setups should have their polar alignment checked periodically (mine changes slightly when the ground freezes or thaws).
In addition, it is important to keep software and equipment drivers up to date.
Note, however, that it is never necessary to do this right before a prime night of imaging, or during an expected stretch of good weather.
Instead, do it when the forecast is poor if you can. I regularly back up my PC so I can easily switch back to a setup that worked, if needed.
An advantage of imaging remotely is that there’s little you need to do, as the observatory host is expected to keep all the equipment running smoothly.
6
Mitigate computer shutdowns

If you use a computer for astronomy, you have probably experienced an unexpected shutdown.
Operating system (OS) updates that automatically reboot the computer will stop an imaging run in its tracks.
Fortunately, this is often easily solved by disabling automatic updates. If you can’t disable these, you may be able to specify that they only occur during the day, when you aren’t imaging.
Applications (apps, programs) can crash, too. Again, testing during non-prime time will expose any problems, giving you a chance to fix them before your next session.
Visual observers usually don’t need to worry about unplanned shutdowns due to electronics. But they can have other unplanned issues, such as dew on the optics.
A dew shield and/or electric dew heaters are a must in dew-prone locations. I keep a sock over my red-dot finder to stop the front glass fogging up; without it, I can’t find my visual targets.
7
Plan your astronomy session carefully
Many of us come to astronomy in middle age or later. By this time in our lives, we usually have a lot of responsibilities, whether family, work or both.
It can be hard to make time for astronomy.
And it’s not just acquiring imaging data that takes time, we also need time for other things, like planning an observing session, or processing raw data to make stunning photos.
How can we maximise productivity for that little bit of free time when the stars align in a clear, moonless sky?
The obstacles amateur astronomers must surmount can see overwhelming.
Fortunately, there are practical ways to adapt to our own unique circumstances and interests to maximise productivity.
As in most things, success usually boils down to being well-prepared when opportunities present themselves and being able to recognise problems and implement solutions quickly.
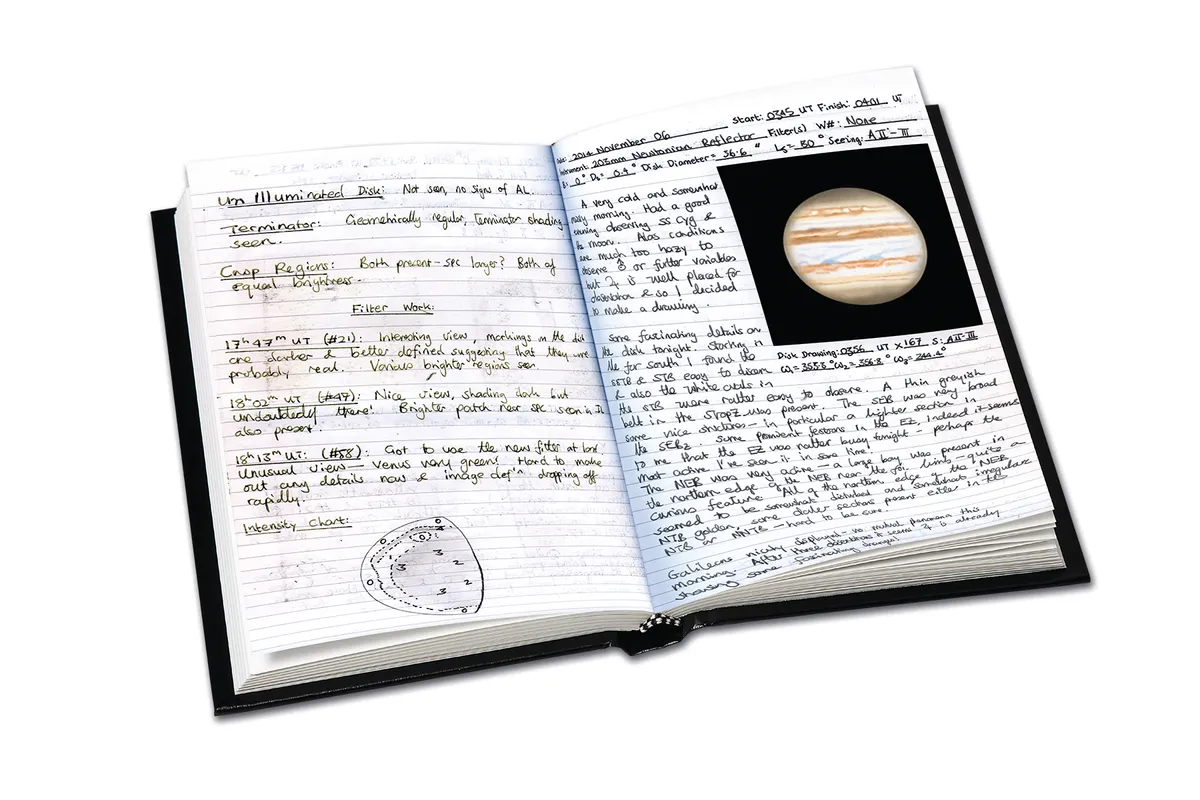
Keep an astronomy logbook so you have a record of your best observing sessions and can see what worked well, and what didn't.
For me, the beauty of the sky, through both the eyepiece and through the camera, makes it all worthwhile.
To paraphrase the singer Miley Cyrus, astronomy’s a climb, but the view is great. Enjoy the view as often as you can!
This guide originally appeared in the March 2022 issue of BBC Sky at Night Magazine.