Bring out the colours of stars in your night-sky photography

From reds to yellows to blues, here’s how to reveal the subtle tones of stars in your images.

Try out a subscription to BBC Sky At Night Magazine and pay just £9.99 for 6 issues today!
Published: October 6, 2023 at 8:07 am

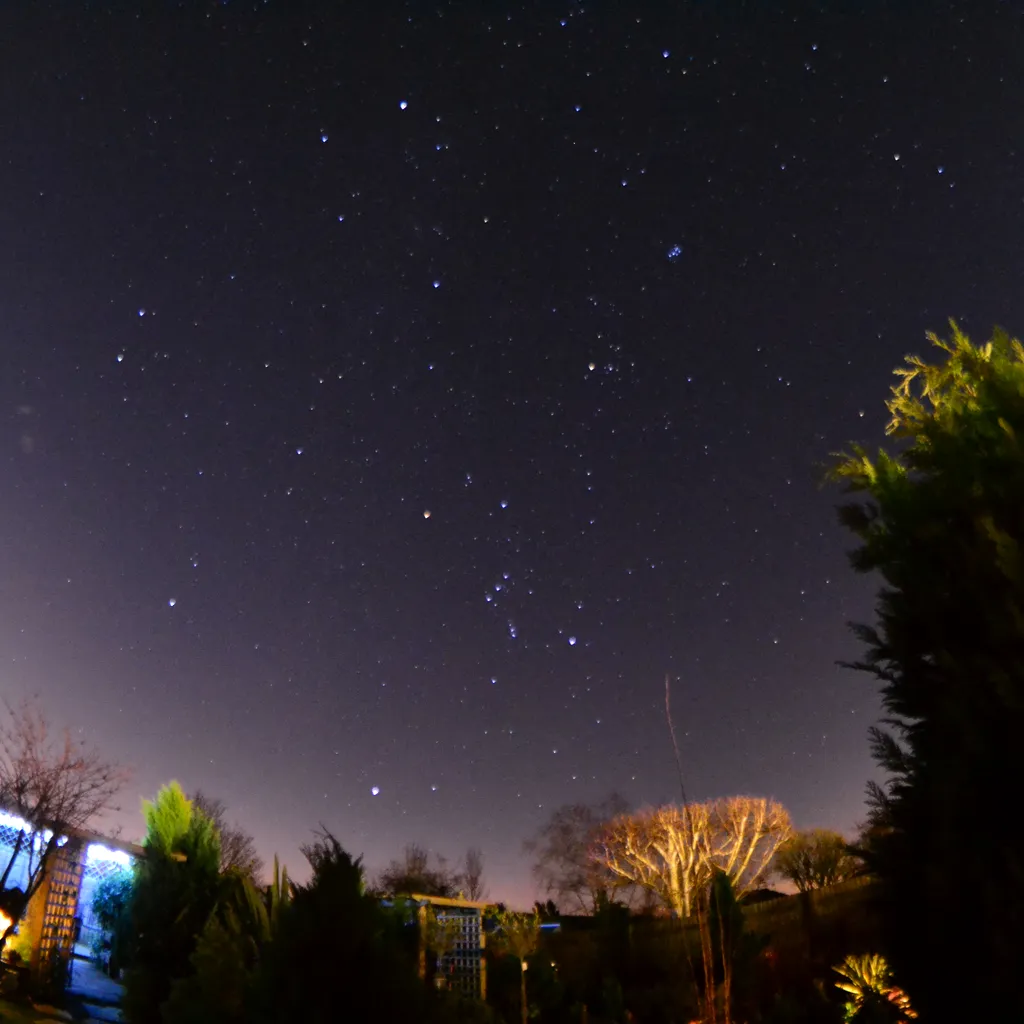
Star colour is often mentioned when we describe the night sky. From the red of Betelgeuse, to the yellow hues of Capella and steely blue-white of Vega, colour descriptors often promise more than the visual or photographic view shows.

There are several reasons for this. For one, when we describe a star as red it may conjure up the image of a bright pure red object shining against the blackness of space, but in reality the colour will appear far more subtle than this, often as a hint of orange.

Betelgeuse and Aldebaran are fine examples in the winter sky.

The red giant star Betelgeuse (the prominent orange-red star above centre in this image), as it appears in the constellation of Orion. Credit: Rolf Löhr / CCDGuide.com

Although the colours may not appear strong visually, what about photographically?

Here, although the view is similar, there are things that can be done to reveal colour in a more demonstrable way.

There are also things that can be done to completely destroy the depth and quality of star colour, so it pays to be aware of these in order to improve your chances of revealing the stars in all their glory.

Check your camera settings

One of the common ways to ruin colour with a DSLR, or equivalent camera, is to opt for a high ISO setting.

Although this may give the impression that your camera has enhanced sensitivity, it also reduces the tonal quality of your images, with washed out colours.

When you take a photo of a star, the target will be over-exposed.

If you’re new to astrophotography and just getting used to taking longer exposures to gather as much light as possible, this may sound like an odd statement.

Stars are point sources of light and when you take a long exposure of them the core of the point source over-exposes to white.

It’s the narrow region between the over-exposed star core and the surrounding space which is properly exposed and contains the star’s colour.

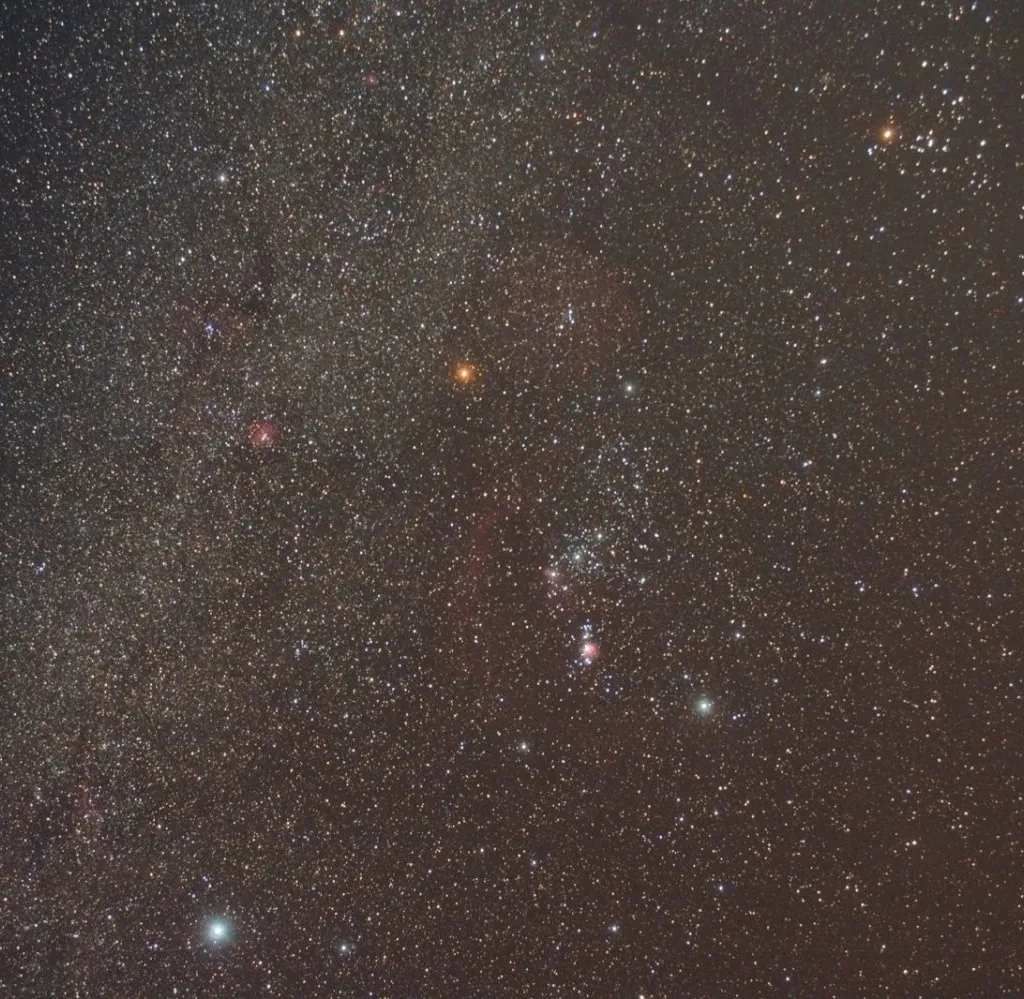
Defocusing an image of a star will spread its light over a larger area, and with the correct exposure you can avoid the over-exposed central point which turns to white.

Orion and Betelgeuse Rising by Fred Connell, Huntley, Gloucestershire, UK. Equipment: Nikon D3100 DSLR, 8mm fisheye.

A photo of Orion taken with a defocused camera reveals the main star colours.

A popular trick which takes a steady hand control or good compositing skills, is to take a long exposure shot of a constellation and alter the focus of the lens at set intervals during the exposure.

This creates the appearance of concentric, or possibly offset, discs of colour overlaid on one another.

If you don’t think you can pull this off in a single shot without ruining the effect, take separate shots, defocusing a little more each time and combine them in a graphics editor.

Another way to show star colour is to lower camera sensitivity by reducing ISO and shutting down the lens aperture.

Trails of Dartmoor by Martin Syms, Burrator Reservoir, Dartmoor National Park, UK. Equipment: Nikon DSLR, 18-55mm lens set at 18mm, Remote shutter release and tripod.

Placing the camera on a fixed platform and taking a long exposure will then record the correctly exposed colour of the stars in frame, smeared into lines as colourful star trails.

This is a really impressive way to show strong star colour.

Below are some ideas to help you reveal star colour in your shots. The next time it’s clear and dark, give them a go to reveal the true, not so subtle colourful beauty of the heavens.

You'll need a DLSR or equivalent camera attached to a telescope.

Tips and tricks for bringing out star colour in your astrophotos

Step 1

star colours in astrophotos 01

The best cameras for star colour are those that offer good manual control, such as DSLRs or MILCs. Most lenses will work, or consider attaching the camera to a telescope. The extra light-gathering power also helps to emphasise colour. You can also use a remote shutter release to avoid camera shake. 

Step 2

star colours in astrophotos 02

If you intend to take longer exposures, consider using a tracking mount to keep the stars sharp. This is true of a camera attached to a scope unless you intend to capture trails. However, this isn’t essential for capturing star colour, a fixed tripod being ideal for star trails. A tripod also works well for defocused star images.

Step 3

star colours in astrophotos 03

A correctly focused star will typically show an over-exposed inner core region which appears pure white. Magnify the star and you should be able to see a ring of pixels around the edge of the white core where the true colour has been recorded. The size of the core and colour fringe are affected by atmospheric seeing.

Step 4

star colours in astrophotos 04

One way to bring out star colour is to deliberately de-focus the image. This can be done by a small amount to maintain the approximate appearance of stars in the shot. Or you can go for broke and defocus a lot. When you do this, the star’s light is spread over a bigger sensor area and over-exposure is less likely. 

Step 5

star colours in astrophotos 05

Starlight can also be spread linearly, into star trails. What you’re trying to do here is to avoid allowing a star to over-expose. Setting a low sensitivity (a slow ISO and stopped-down aperture) will help avoid this. The nature of trail captures depends on image scale and your own setup, but try exposures in the 5–15 minutes range.

Step 6

star colours in astrophotos 06

It’s easy to submit to the attraction of shorter exposures by increasing ISO, but this is an amplification gain setting that makes a big difference to colour. High values reduce the dynamic range, reducing colour tones and introducing blotched patches of unwanted colour, so lower values, of 200-400, are preferable.  

Are you a keen astrophotographer? Send us your images – we’d love to see them. This guide originally appeared in the February 2023 issue of BBC Sky at Night Magazine.
This website is owned and published by Our Media Ltd. www.ourmedia.co.uk
© Our Media 2024