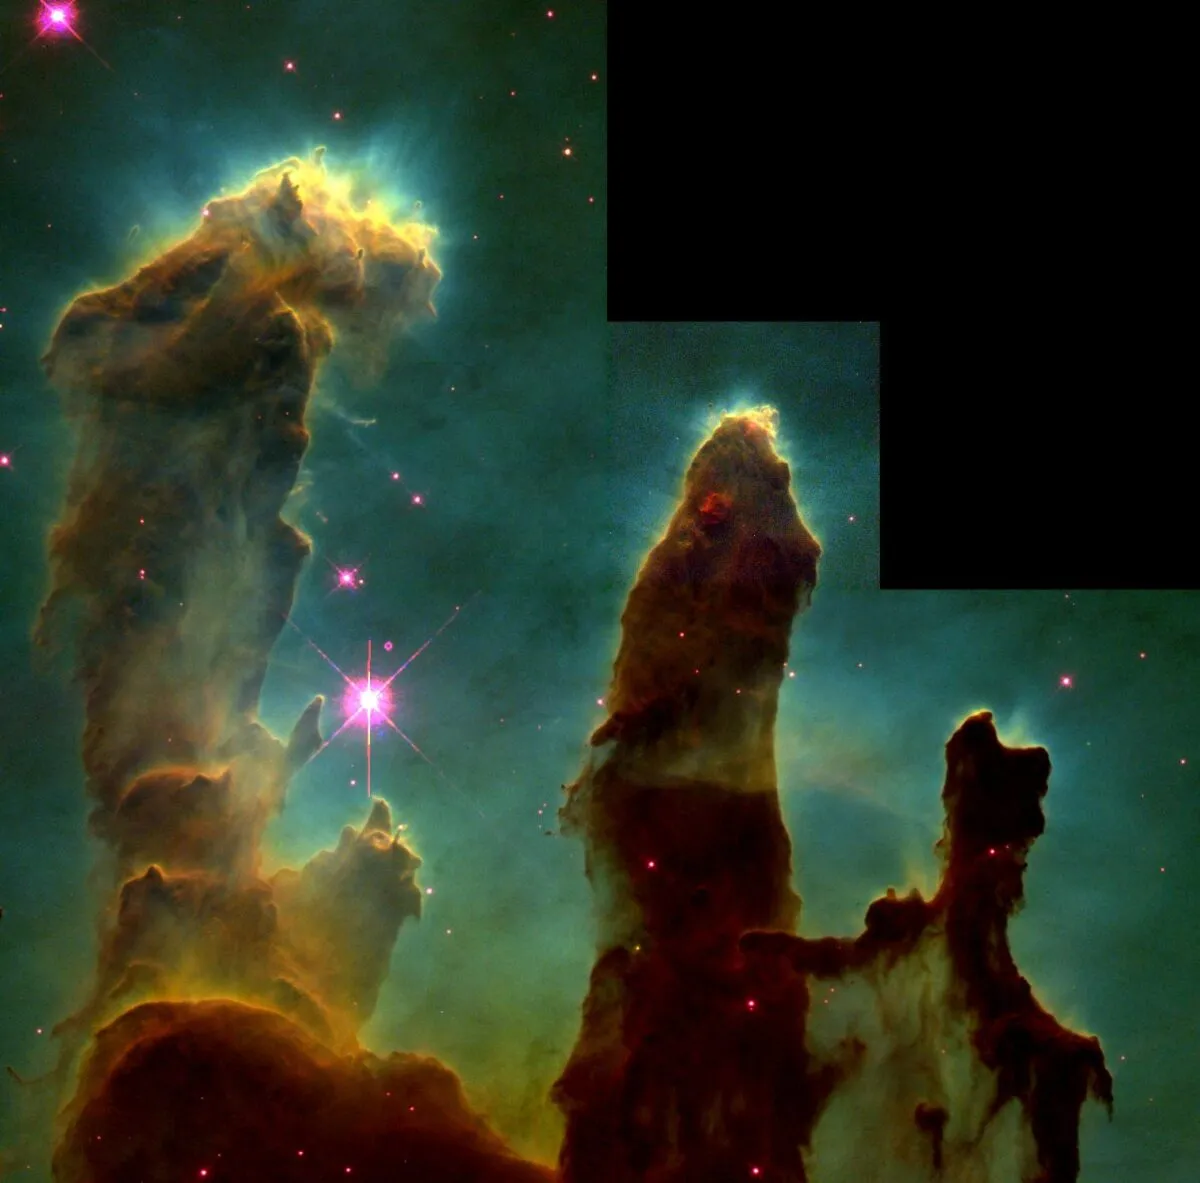
The Hubble Palette is easily recognisable, thanks to the iconic Hubble Space Telescope image of the ‘Pillars of Creation’, originally from 1995.
While this showed the pillars in never-before-seen detail, it also showcased a colour palette that many emulate.
The Hubble Palette is created by using narrowband filters and assigning the data captured with each narrowband-filtered channel to one of the red, green or blue colours in an RGB image.
In this guide we'll reveal how to produce your own Hubble Palette astrophotography images using software called Astro Pixel Processor.
Read more image processing guides:
- Use PixInsight to enhance a galaxy's brightness
- Remove the effects of twilight from your planetary photos
- How to use DeepSkyStacker
We start producing our Hubble Palette astrophotography image having calibrated, integrated and registered our data in Astro Pixel Processor (APP).
We're left with three individual images, one for each narrowband filter: Hydrogen-alpha (Ha), Sulphur II (SII) and Oxygen III (OIII).
These images are currently monochrome and we need to combine them into appropriate colour channels in order to make a start on the Hubble Palette.
Firstly, open APP and go to ‘9) Tools tab’. Click on this and then click on ‘Combine RGB’ (see Stage 1, above).
Click ‘Add’ and this will bring up a central box for you to assign the filtered images to the RGB channels. The traditional Hubble Palette assigns Sulphur II to the red channel (R) (see Stage 2, below).
Continue with this step again and assign the Hydrogen-alpha image to the green channel (G) and the Oxygen III image to the blue channel (B).
Make sure that you are combining FITS files as these are not going to deteriorate in quality at all and so will help your image as you progress further along the steps of image-processing.
Click ‘Calculate’ and you will get your first combined image (Stage 3, below).
You can see in our example of the Monkey Head Nebula that the colours need a lot of work; the overall nebula is green and the background is magenta.
In the box on the left of the above image each filter is assigned its colour channel and the sliders show the 100% combination of each filter into each channel.
After calibration and integration of your narrowband data, it can be difficult to tease the colours out because it is almost always predominantly green.
This green tint is because the hydrogen-alpha data is almost always so much stronger than the other narrowband data.
We need to tone down the green and increase the strength of the other two colours. Astro Pixel Processor (APP) has a process that, while not specifically for this purpose, can be used to get a good starting point for subsequent processing.
Now we look at the sliders related to each channel. We are going to lower the x value of the G channel to 0.2 and increase the x value of B and R channels to 1.100.
This is going to get the more traditional colours, although the stars will tend to be magenta after this colour shift.
These x figures work well with this data. It is worth noting that as each target has different strengths of Ha, SII and OIII data, these figures will not always give the same results – there is a degree of experimentation.
But the theory is the same, you should decrease the strength of the G channel and increase the intensity of the B and R channels (Stage 4 above).
3 quick tips:
- Remove magenta stars in PixInsight with PixelMath or online actions.
- On the right of the screen in APP tick ‘Stretch’ and press ‘Save’, this saves the image you have on your screen.
- Add a luminance layer to improve your image. Desaturate your Hubble Palette image and process it as a monochrome luminance image. You can then add this later.
With regards the magenta stars (see final image below), some are happy to leave them as it is a natural colour shift of the process we have done, but others would rather get rid of the colour and would prefer to either make them a more natural colour or whiten them.
If a white colour is preferred, then normal RGB data will be required. These will only need to be short exposures as you are only after star colour in the data.
As an alternative, you could process a two-colour image using Ha and OIII data to get a more natural star colour, which you could then add to your Hubble Palette data at a later stage.
These two methods can be very difficult to add successfully. To get whiter stars, we prefer to remove the magenta tint in Photoshop, use Filter>Noise>Reduce noise.
Ensure ‘Reduce colour noise’ is set to 100% and repeat this a couple of times to reduce the magenta stars.
From this point on you have the great beginnings of a Hubble Palette image. You can save it as a FITS or TIFF image and then use your preferred software to continue processing it.
Sara Wager is an astrophotographer who images from Spain. Follow her on Twitter at @swag_astro. This article originally appeared in the February 2020 issue of BBC Sky at Night Magazine.