
In this guide we'll show you how to photograph the night sky with a fisheye lens.
The night sky can be breathtaking, especially when it contains bright views of the Milky Way from a dark-sky location.
But what?s the best way to photograph the entire stretch of the night sky?
There are several methods, but as ever compromises have to be made. In this guide we'll run through some of the options and then show you how to photograph the night sky with fisheye or wide-angle lens.
We've included a step-by-step guide to walk you through the process, too.
Read our guides on how to photograph the Milky Way and astrophotography for beginners.
Options for shooting the night sky
A camera with an interchangeable lens system such as a DSLR or mirrorless camera gives you the best of all worlds, allowing you to go wide-angle or mid-angle.
Read our guides on how to use a DSLR camera and DSLR astrophotography for advice.
A wide-angle lens has a focal length of 17mm or less, a mid-angle is 18-40mm. Anything over this is getting in too close to the subject to be considered all-encompassing.
If you choose a mid-angle focal length, you?ll be able to cover a decent portion of the Milky Way, but you?ll need to consider mosaicking shots together to cover all of it.
However, seemingly perfect shots can then reveal issues such as lens distortion and edge vignetting, so be prepared to put significant time into a Milky Way mosaic in order to get something that looks natural.
For help with this, read our guide on how to create a Milky Way mosaic.
Using wide angle and fisheye lenses
 The Northern Lights and the Milky Way, captured with a fisheye lens. Credit: Zhuoren Xu / Getty Images
An alternative for photographing the night sky is to use a wide-angle lens, essentially capturing most of the visible part of the Milky Way in one fell swoop.
Photographing the night sky using a fisheye lens seems an obvious choice to reduce workload, but wide-angle lenses have drawbacks of their own.
As with photographing a meteor shower, using a wide-angle lens may seem the ideal route.
Catching a trail is down to luck, but the narrower the field of view, the less chance of success.
So it seems a no-brainer to choose a lens that covers the entire sky in one go.
However, unless you?re lucky enough to grab a bright fireball tracking over most of the sky, a typical meteor trail will appear rather puny and unimpressive.
 A fireball captured over Belgium by UK Fireball Network cameras stationed in the UK. Credit: UK Fireball Network and the Global Fireball Observatory.
In addition, extreme wide-angle or fisheye lenses have a tendency to distort around the edge of frame both spatially and in terms of image finesse.
By spatially we mean the angular scale at the centre of the frame will be different to that at the edge.
Finesse refers to the quality of the image towards the frame edge and affects things like the tightness of stars and whether they actually look like stars!
Another wide-angle compromise is the amount of sensor utilised.
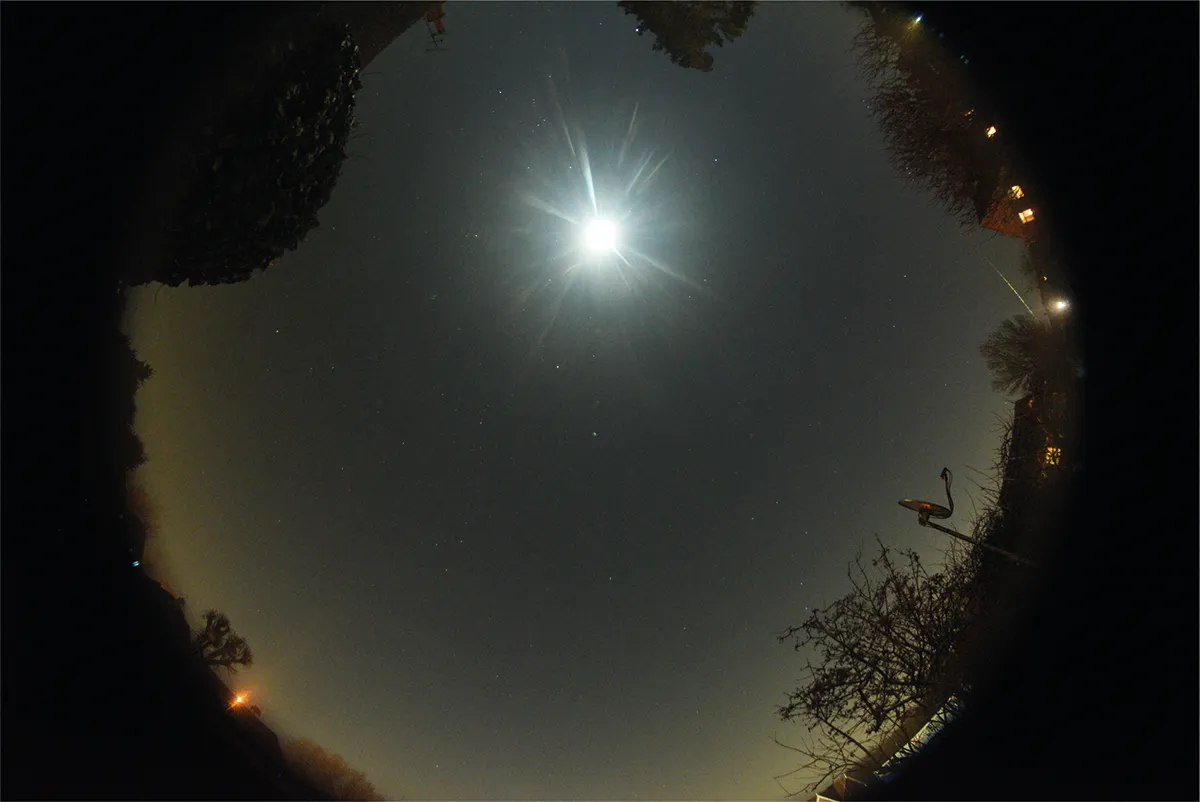
 The Milky Way with a fisheye lens. Credit: Nori Yuasa / Getty
True fisheye lenses deliver a circular image. This either fits and underutilises the whole sensor area or does fill the sensor by cutting off part of the fisheye?s image.
Typically, an 8?10mm focal-length lens produces an image that fits circularly on a full-frame sensor. A 12?18mm will fill the sensor frame while cropping a bit of the fisheye?s image.
A long session outside with a fisheye lens requires careful placement of any dew-reduction kit, whether this is a passive lens dew shield or an active dew heater strap.
If you don?t pay attention to where you put these, it?s easy for them to end up as a pseudo false horizon.
Equipment
- DSLR or equivalent
- Wide-angle lens
- Driven equatorial mount
Step-by-step
Step 1

Look to balance sensor vs fisheye coverage:
- Whole sensor used, but fisheye heavily cropped
- Sensor corners unused, fisheye cropped
- Sensor corners unused, fisheye fully utilised in one axis
- Sensor and fisheye underutilised
- Fisheye fully used, sensor underutilised
- Poor use of sensor and fisheye
Step 2

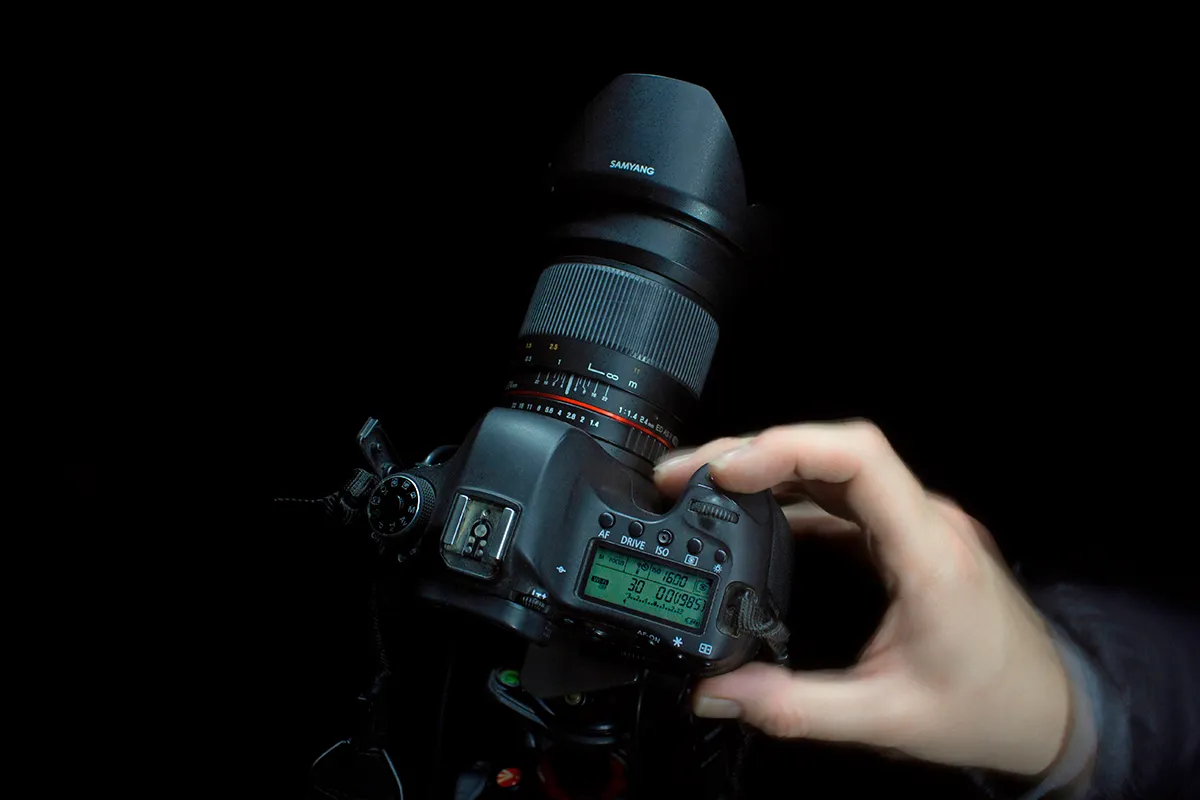
Mount the camera on a tripod; there?s no need for star tracking with a fisheye.
Fully open the lens, focus accurately and carefully point at the zenith.
This part can be tricky ? any offset may cause less sky and too much horizon to show.
The camera?s live view option is useful, although the screen position will be awkward!
Step 3

If you?re considering dew prevention with a dew shield or dew heater band, place them carefully so they don?t appear in the field of view.
Take a test shot and examine any signs that the lens is picking up something it shouldn?t.
If it is, remove the dew shield or move the heater band back towards the camera body.
Step 4

Set a low to mid ISO and take a test exposure.
To minimise star trailing, adhere to the ?500 rule?, which states that the longest exposure you can take without star trails becoming obvious is equal to 500 divided by the focal length of your lens.
For example, for a 14mm lens, 500/14 = 36 seconds.
Step 5

Examine a test exposure.
A bright but not overexposed sky is acceptable, but if you feel it?s too bright, look at the quality of the edge stars.
If they look seriously out of focus or an odd shape, close the lens by a stop or two.
If the quality is fine, reduce ISO.
If necessary, consider reducing the exposure time as well.
Step 6

Edit your resulting photo as you would any deep-sky image.
Creating a basic S-curve using a curves tool can work wonders.
You can apply corrections if your images appear heavily distorted.
Programs such as Photoshop and GIMP (freeware)offer lens correction filters to adjust this.
Have you captured a fisheye image of the night sky? Don't forget to send us your images!
This guide originally appeared in the August 2023 issue of BBC Sky at Night Magazine.

