You might be one of many astrophotographers who enjoy capturing images of the night sky - star-trails, constellations, the Milky Way, planetary conjunctions, a meteor shower - with your trusty DSLR mounted on a tripod.
Are you feeling like you’re taking the same photos again and again? Have you, your DSLR and its tripod have reached the end of your journey together?
Sign up for our latest online astrophotography Masterclass
Find out more about the BBC Sky at Night Magazine DSLR Astro Imaging Masterclass.

The solution is surprisingly simple: get a star tracker mount and take your astrophotography to the next step.
Get more out of your DSLR camera with our DSLR guide or find out how to attach a DSLR camera to a telescope.
By adding a star tracker to your astrophotography arsenal you’ll be able to take images far beyond the ability of just a DSLR on a tripod.
It’s like having a whole new night sky to photograph, and you’ll soon be taking images of feathery comet tails, the constellations and the star-frothed Milky Way to be proud of.
What is a star tracker mount?
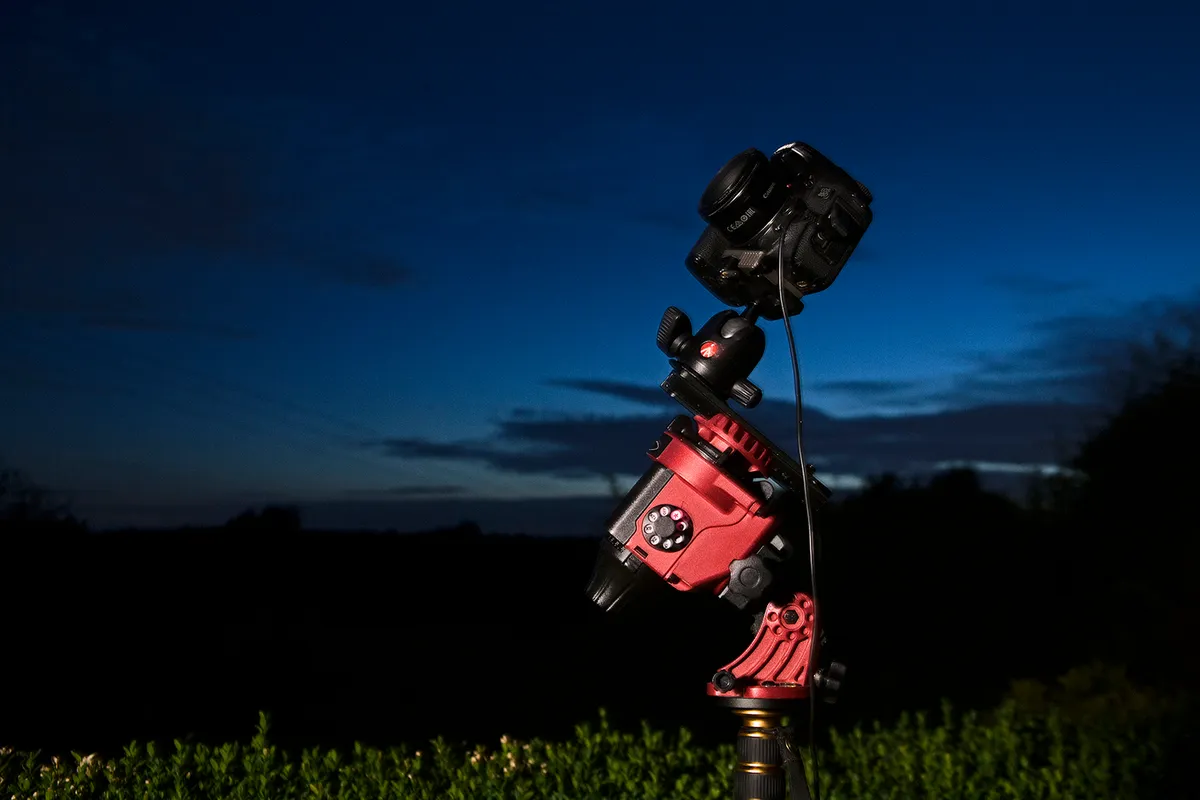
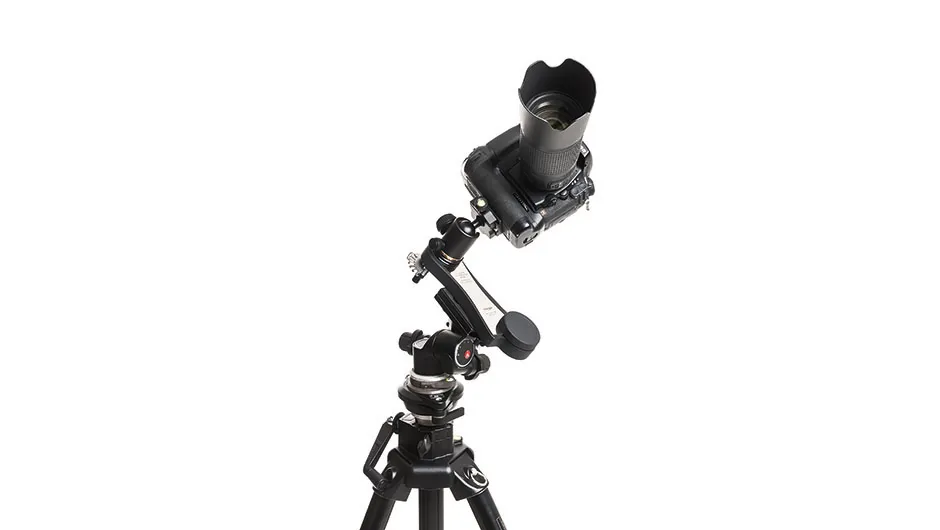
A star tracker is a motorised, equatorial mount that fits on top of a tripod and allows a camera to follow the stars (or a planet, a comet, or anything else) as they are carried across the sky by the rotation of Earth.
There are many different models of star tracker available for a range of prices, but essentially they are the same thing.
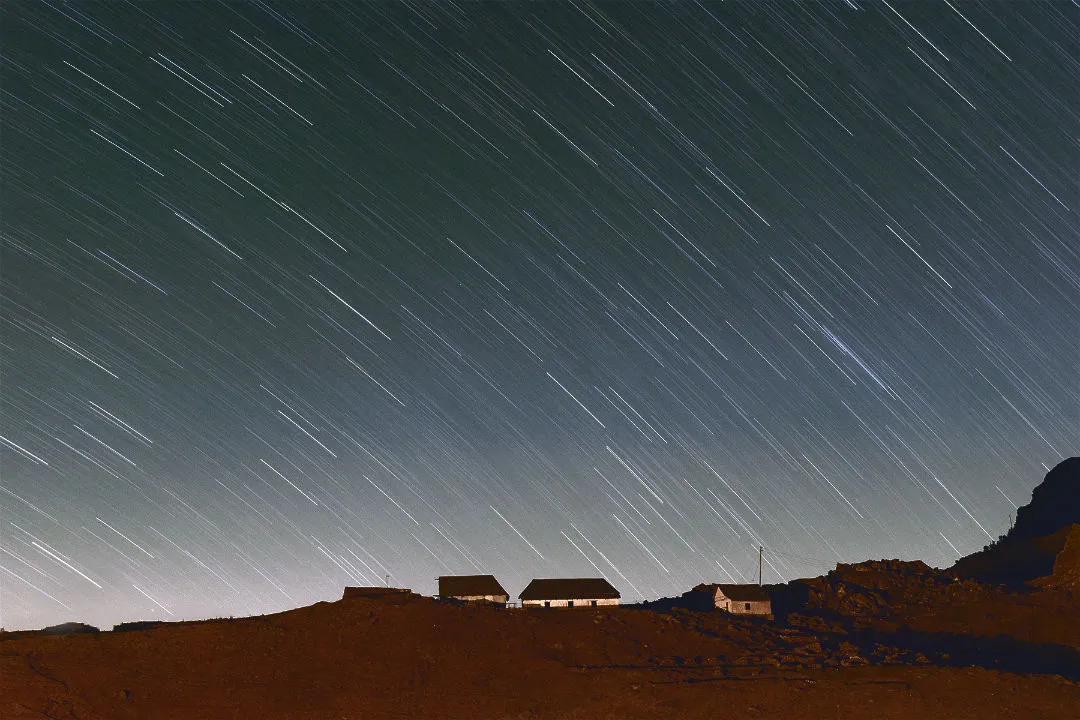
Why are star trackers such a good choice for astrophotography? A camera and tripod can only take exposures of a few seconds before Earth's rotation causes objects in the sky to produce star trails.
Sometimes these are desirable, such as when creating star trails photographs, but otherwise they're a nuisance. You want to take exposures that are minutes long, with no trailing, thus producing much more detailed and colourful images.
What can a star tracker do?
By using a star tracker and a standard or wide-angle lens fitted to your camera you’ll be able to photograph a constellation showing the faintest stars, not just the bright naked-eye ones.
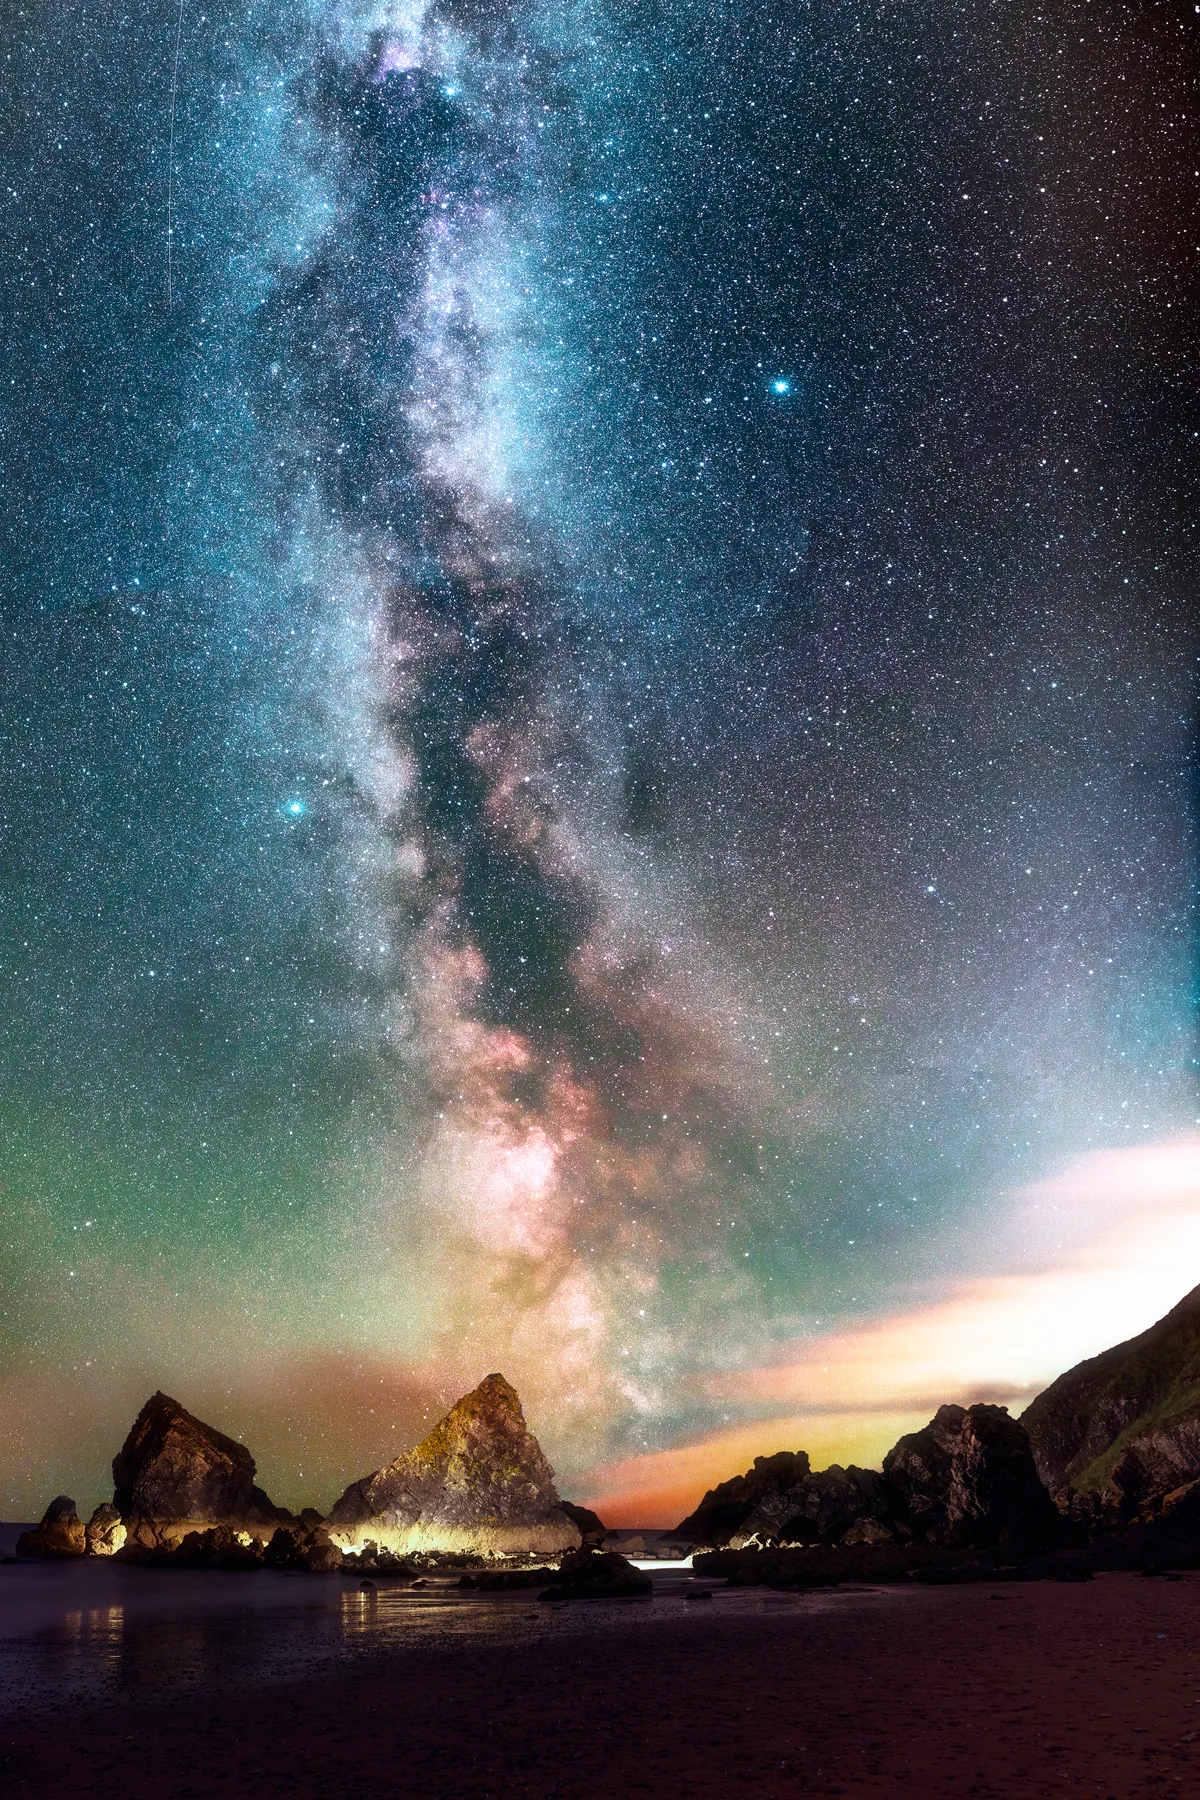
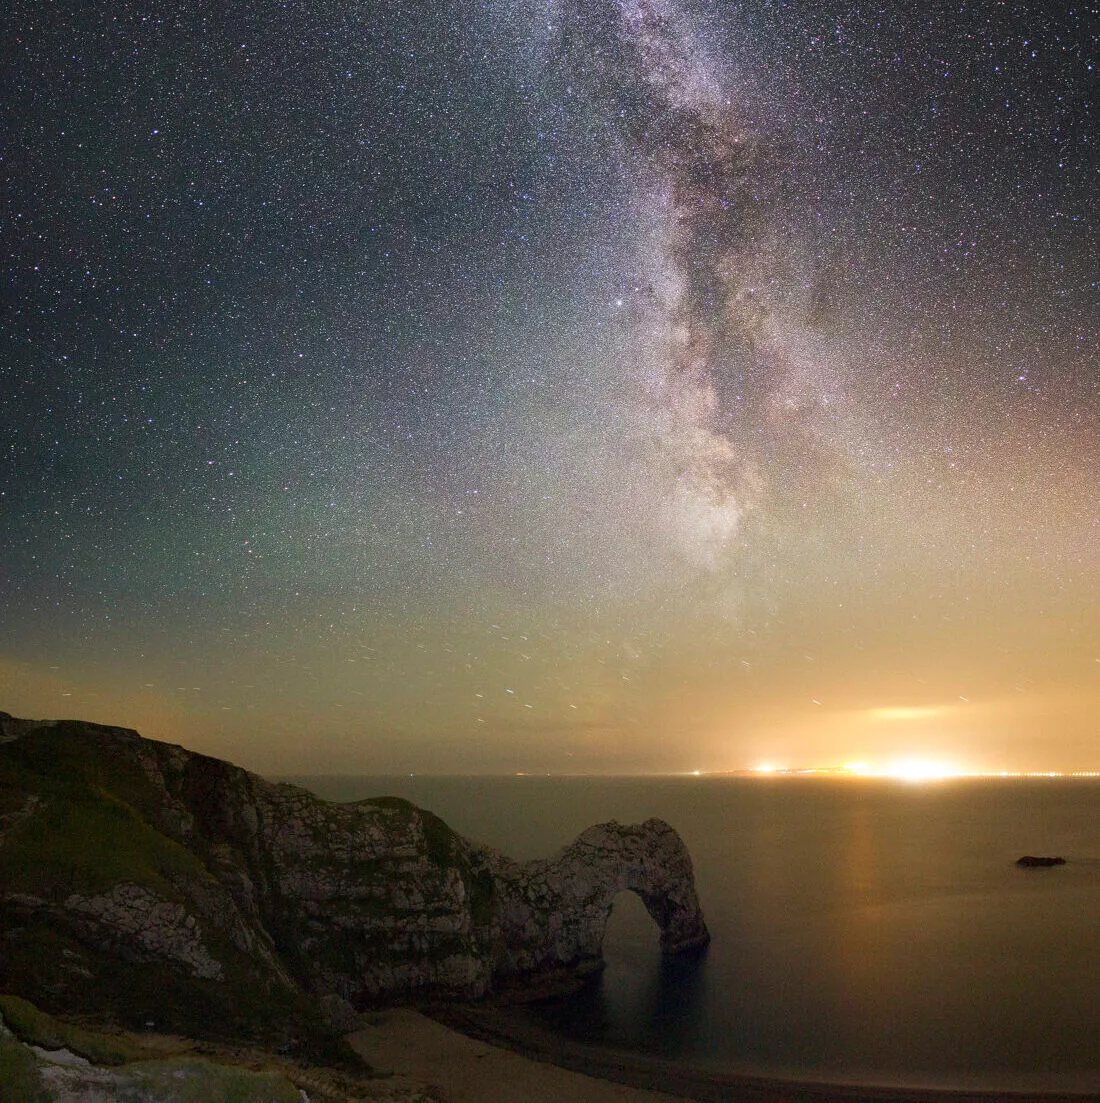
When photographing the Milky Way, your images will show details and features in its star clouds and dust lanes not obvious to the naked eye.
With a longer lens, you’ll be able to take beautifully detailed, close up images of comets and deep-sky objects such as galaxies, nebulae and star clusters too.
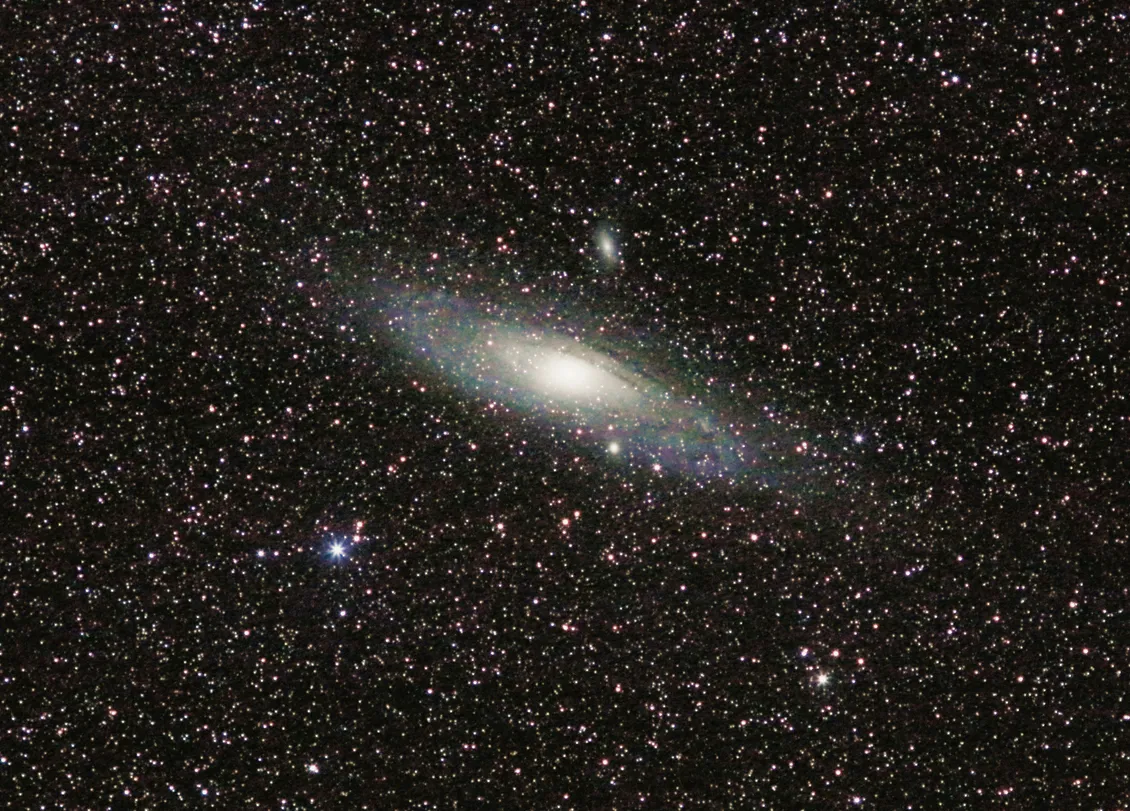
But perhaps the main benefit of a star tracker is that it will allow you to take multiple, identical images of the same object, which you can then sandwich or integrate together in free image-processing software to make a single image with incredible resolution and detail: a sorcerous process called stacking.
This can be done with short exposures on a ‘static’ DSLR too, but better results are achieved with longer, tracked exposures.
For more astrophotography guides, read our tutorials on how to photograph the stars and how to photograph the planets.
Which star tracker is best for astrophotography?
So which star tracker should you buy? We’ve provided a guide to some of the most popular models below, but make sure you do some research and choose one that fits your needs and budget, bearing in mind they all basically do the same job.
For more, browse all our telescope mount reviews.
5 star tracker mounts
1
Bresser StarTracker Astronomical Photo Mount Kit
Price £439
The Bresser StarTracker Astronomical Photo Mount Kit is a portable mount and accessories package that's great for wide-field astrophotography.
Read our full Bresser StarTracker review.
2
Vixen Polarie Star Tracker
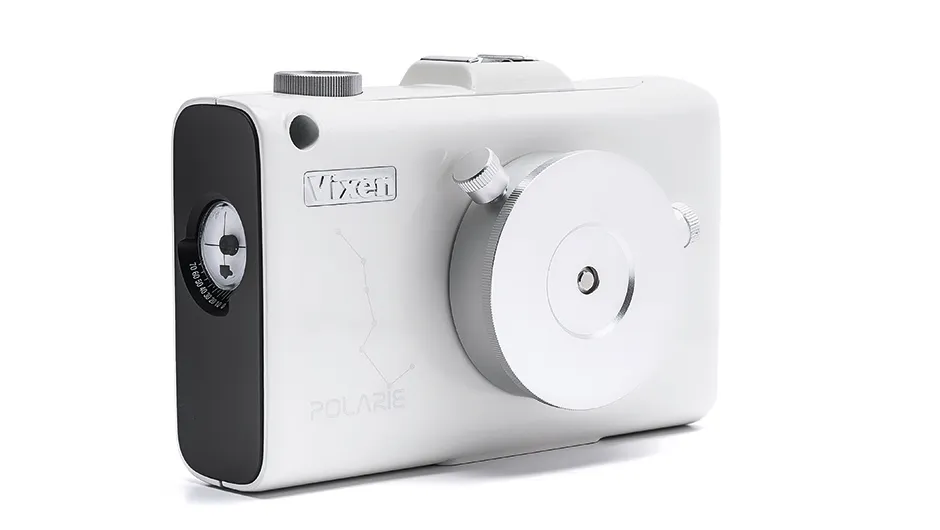
Price £1,039
The Vixen Polarie Star Tracker mount is a tiny equatorial tracking platform that can carry long lenses and scopes.
Read our full Vixen Polarie Star Tracker review.
SQUIRREL_13052920
3
iOptron SkyGuider tracker mount
Price £539
The iOptron SkyGuider tracker mount is a lightweight, portable device that’s ideal for astrophotographers on the move.
Read our full iOptron SkyGuider review.
4
Omegon MiniTrack LX2 tracking mount
Price £109
The power to track stars is in your own hands - literally, with this clockwork device, the Omegon MiniTrack LX2 tracking mount.
Read our full Omegon MiniTrack LX2 review.
5
Sky-Watcher Star Adventurer DSLR mount
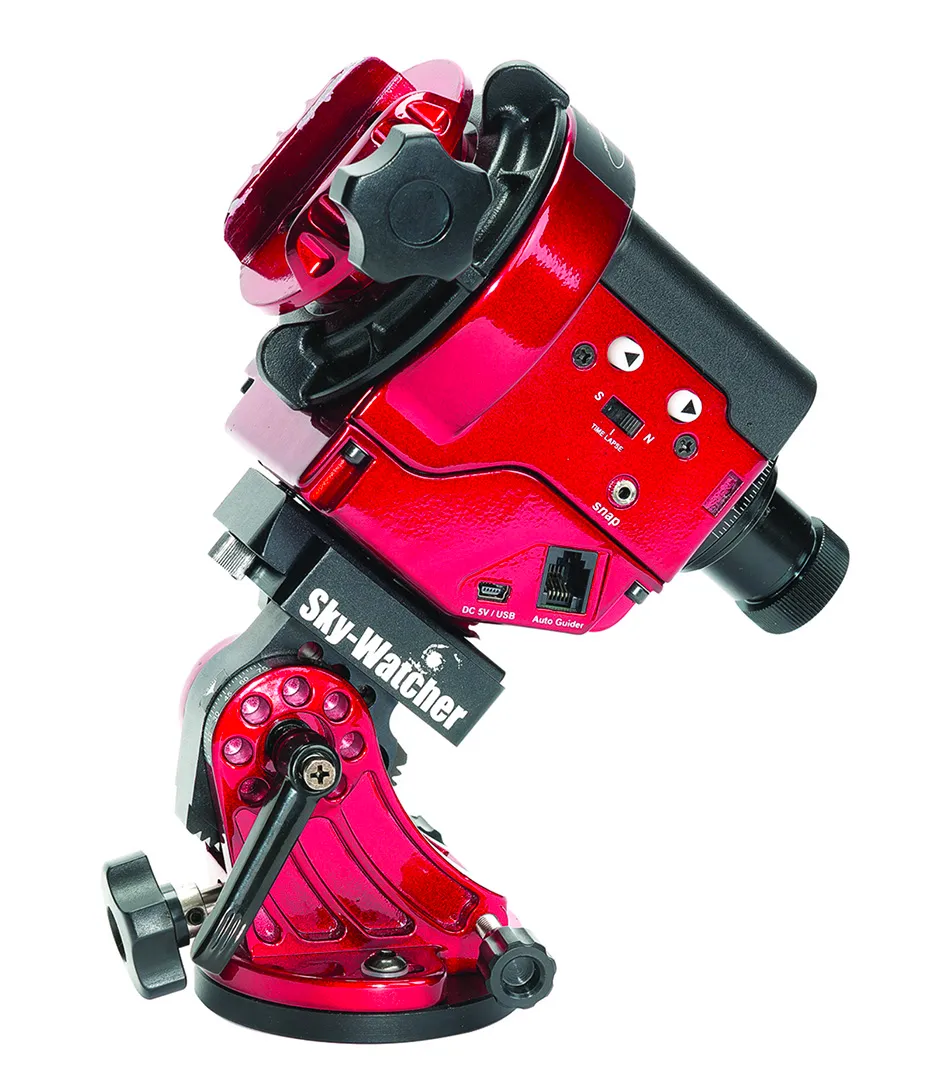
Price £299
The Sky-Watcher Star Adventurer DSLR mount is a portable tracking mount that offers flexibility as well as accuracy.
Read our full Sky-Watcher Star Adventurer review.
Whichever tracker you buy you’ll need a tripod to mount it on, and this might mean some extra expense because the light, clickety tripod you’ve been using with your DSLR until now will almost certainly not be sturdy enough to support the weight of a tracker.
If the cost of a brand new heavy tripod is prohibitive, try looking for a secondhand one. For more help with this, read our guide on buying a secondhand telescope.
SQUIRREL_13054327
How to set up a star tracker
Before you’ve even screwed your tracker onto its tripod there’s some work to do.
- Start by fitting your standard 50mm lens to your camera – don’t reach for your longest zoom lens right away.
- Next, fit a cable release to your camera, to avoid vibrations when beginning your exposures.
- Make sure there’s plenty of room on your camera’s memory card – you’ll be amazed how quickly it will fill up once you start taking photos.
- Make sure your camera’s battery is full too. Always have at least one spare.
- With your camera prepared and fitted to your tracker it’s time to mount the tracker on its tripod.
- Make sure it is level and that all the legs are fully extended and then set it up on as even a surface as you can find.
- Once you have your tracker on its tripod and your camera fitted to it, there’s still a little bit more work to do before you can start taking photos.
- Set the tracker to your latitude, usually using a knob or a wheel to adjust its angle of tilt.
- Then you have to align it with the Pole Star as accurately as possible: the more accurate this ‘polar alignment’, the better your images will be
- Most trackers have a small finderscope – or at least a ‘peep hole’ – you use to line them up with the Pole Star, which will give you an alignment that’s good enough for taking images, but you can now use various phone apps to help you achieve much more accurate alignment.
- Once your tracker is aligned, make sure everything is tightened up properly.
- Any loose knobs etc. will mean the tracker will slip during your long exposures, resulting in exactly what you wanted to avoid – trailed images.
Setting up, step-by-step
Mount your tracker on a sturdy tripod that’s able to hold its weight without sagging, then level it and set it to your latitude. Make sure everything is tightened up with no slippage.
Using its finderscope or device, align the tracker on the Pole Star. You can use a phone app to help you polar align even more accurately, which will give sharper images.
With your target selected and focused sharply, set your camera to take a sequence of images and begin the exposures using a cable release to reduce vibrations.
Review your images – if any are trailed check your tracker is level and aligned properly. Keep checking your camera lens has not misted over in between exposures too.
Test your star tracker with sample shots
Now you can finally start taking images! Set the lens aperture wide and the ISO number (what we used to call ‘film speed’ and many of us still do), and focus on your chosen subject as sharply as you can, using your camera’s ‘Live View’ feature if it has one.
Set the exposure time, just for half a dozen seconds or so for your first test shot so you can quickly see if everything is set up properly.
Begin the exposure by clicking your cable release… and wait. If the stars on your test image are trailed then something is loose or you are not polar-aligned accurately enough – or you haven’t turned the tracker on (an easy mistake!)
Once you have taken a short exposure that shows everything clear and sharp it’s time to allow yourself an expectant smile, and see what your new tracker can do.
Keeping the same ISO, set your next exposure for longer, say 20 seconds or so.
When you look at the image on the back of your camera you’ll be amazed how many more stars there are on it than on your short-exposure test shot.
But having a tracker doesn’t mean you can suddenly start taking hour-long exposures like you’ve got your very own Hubble Space Telescope.You’ll still have to keep exposures quite short to avoid inaccuracies with tracking.
If you have everything tightened up and aligned properly then, in my experience, a 50mm lens can comfortably take 120-second exposures; a 135mm lens 60-second exposures; a 300mm lens 30-second exposures, and wide-angle lenses up to two or even 2.5-minute long exposures before some trailing is evident.

Having said that I’ve managed almost 4 minutes with my favourite 135mm lens, but only when everything was set up absolutely perfectly.
Whichever lens you use it’s important you keep checking your images after taking them.
It’s easy to assume everything is working perfectly as your camera clicks away on your whirring tracker, and tempting to check your phone or even walk away from the camera and just let it do its thing, but trust me, if you’re not paying attention during a photo session your lens can lose focus or become dewed-over (beat the dew with our DIY camera lens dew heater), your tracker’s polar alignment can slip or, worst of all, its batteries can fail and you’ll find you’ve just spent two hours taking star trails instead of pin-sharp tracked images.
In other words, make sure you check everything and, with a little trial and error you'll be capturing beautiful astrophotos that you never thought possible in no time.
For more information on mounts and what they can do, read our beginners' guide to telescope mounts.
This guide originally appeared in the April 2021 issue of BBC Sky at Night Magazine.