Milky Way photography is a great way to begin your journey into astrophotography and start capturing the night sky.
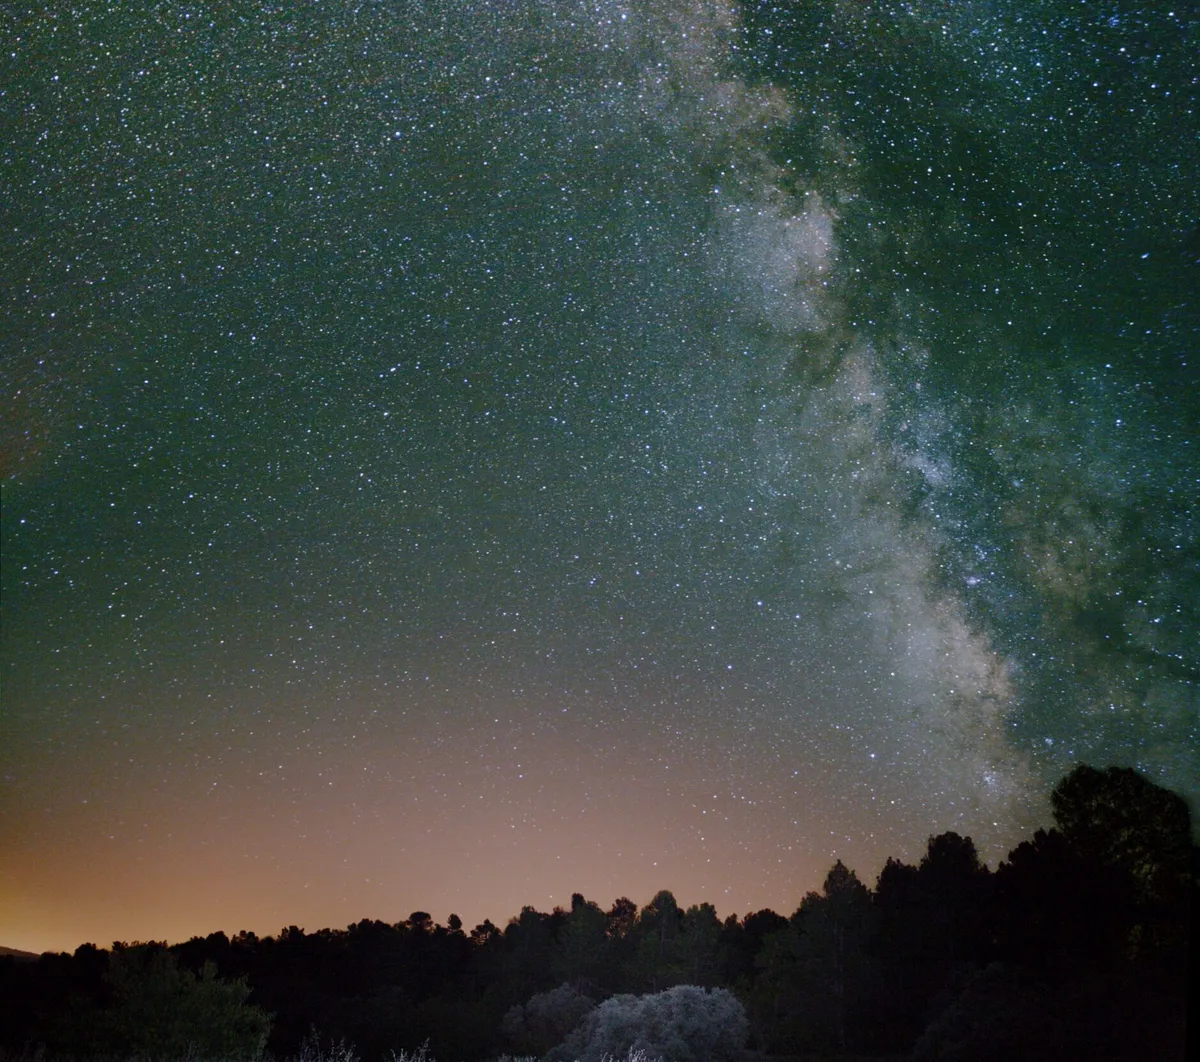
The Milky Way represents the plane of our home Galaxy. Its diffuse glow is caused by the light of billions of stars too distant to be seen individually with the naked eye.
As our Galaxy is shaped like two fried eggs back-to-back, and the Sun sits within the ‘whites’, two-thirds of the way from the centre, the mistiness appears like a path in the sky; the plane where all the stars are found.
The path isn’t uniform, something very evident during summer months from a dark sky site.
How to find the Milky Way
From the UK, the Milky Way brightens as it passes south through the Northern Cross asterism.
It’s made more dramatic by a dark dust cloud blocking some of the Milky Way’s light, known as the Cygnus Rift.
During summer, if your skies are good and dark, it’s obvious that as the Milky Way passes out of the southern end of Cygnus, interesting things are happening.
However, from the UK, its low altitude makes seeing this quite difficult.
Passing down into Sagittarius, we reach the bright core of our Galaxy. Here atmospheric extinction reduces its appearance but a camera can help restore at least some of its impact.
As it flows south through Cygnus, one portion meanders towards the northeast corner of Ophiuchus where it comes to an end.
The main thread passes down through Aquila and into Scutum where there’s a bright feature, the Scutum Star Cloud.
It then appears to widen, an effect caused by the core bulge.
From locations further south where the core is able to climb high in the sky, it can be impressive, even casting blurry shadows under the right conditions.
From the UK, its low altitude means we see it through a thick layer of atmospheric haze.
For more help, read our guide on how to see the Milky Way.
Prepare to capture your Milky Way photograph
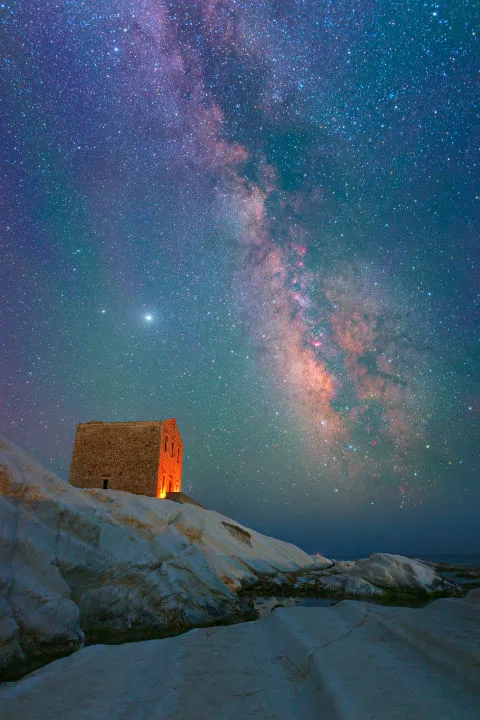
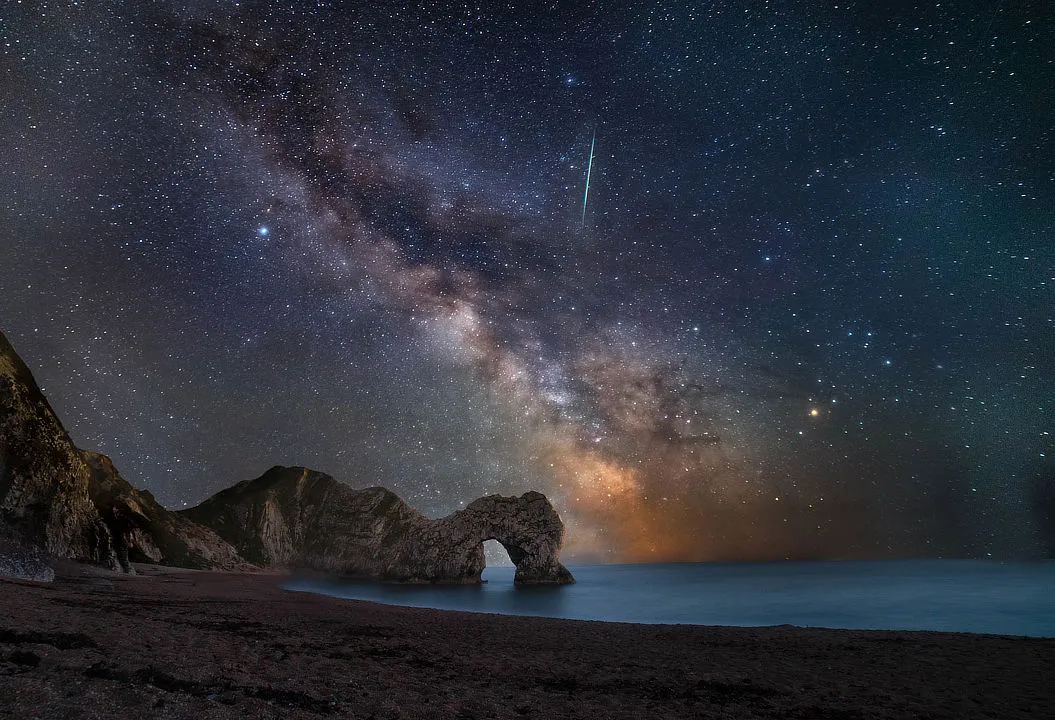
For the best views of the Milky Way, you will need a location that's dark and free of light pollution.A flat southern horizon is highly recommended.
These conditions are often met by south-facing coasts, though they can be achieved inland. Have a read of our guide to astronomy by the coast for more advice.
Choose a moonless night, and time your session for when the Milky Way’s core region is high in the sky.
The last week of July until 4 August and 20 August until the end of the month are good in 2022.
You can get Moon phases and times sent directly to your email inbox by signing up to receive the BBC Sky at Night Magazine e-newsletter.
The core can be photographed using a camera on a static mount, and even certain smartphones.
However, when photographing the Milky Way the best results will come from a DSLR/MILC camera with a medium- to wide-angle lens on a tracking mount.
You’ll need to do some image processing to get the best out of the results, and you need to consider shooting at low to mid-low ISO values.
Go too high and the amplification nature of ISO will work against you, delivering shots that will degrade rapidly when pushed.
For more help with this, read our guide on how to use a DSLR camera.
However you do it, July and August are great months to capture the beauty of our Galaxy. Once you've captured a good image, try your hand at making a Milky Way mosaic.
Equipment
- To photograph the Milky Way, you will need:
- Tripod or tracking mount
- DSLR, MILC or night-sky capable smartphone
- Remote release


