Making a Christmas constellation using fairylights or Christmas tree lights is a great festive craft project, but also serves as a teaching moment for beginner stargazers and kids.
One of the first steps for any new astronomer is to learn to recognise star patterns.
These light-up displays are a simple-to-make astronomy-themed Christmas decoration that will help you to become more familiar with your favourite constellations.
They also look so stylish that you’ll want to keep them up all year.
Our Christmas fairylights constellation would make a great nightlight in a child’s bedroom, and a great science project for school or at home.
For more like this, follow our space and astronomy projects for kids or our simple astronomy experiments.
Materials for your Christmas fairylights constellation
The materials you need for our fairly-light constellation project are readily available at budget craft stores or online.
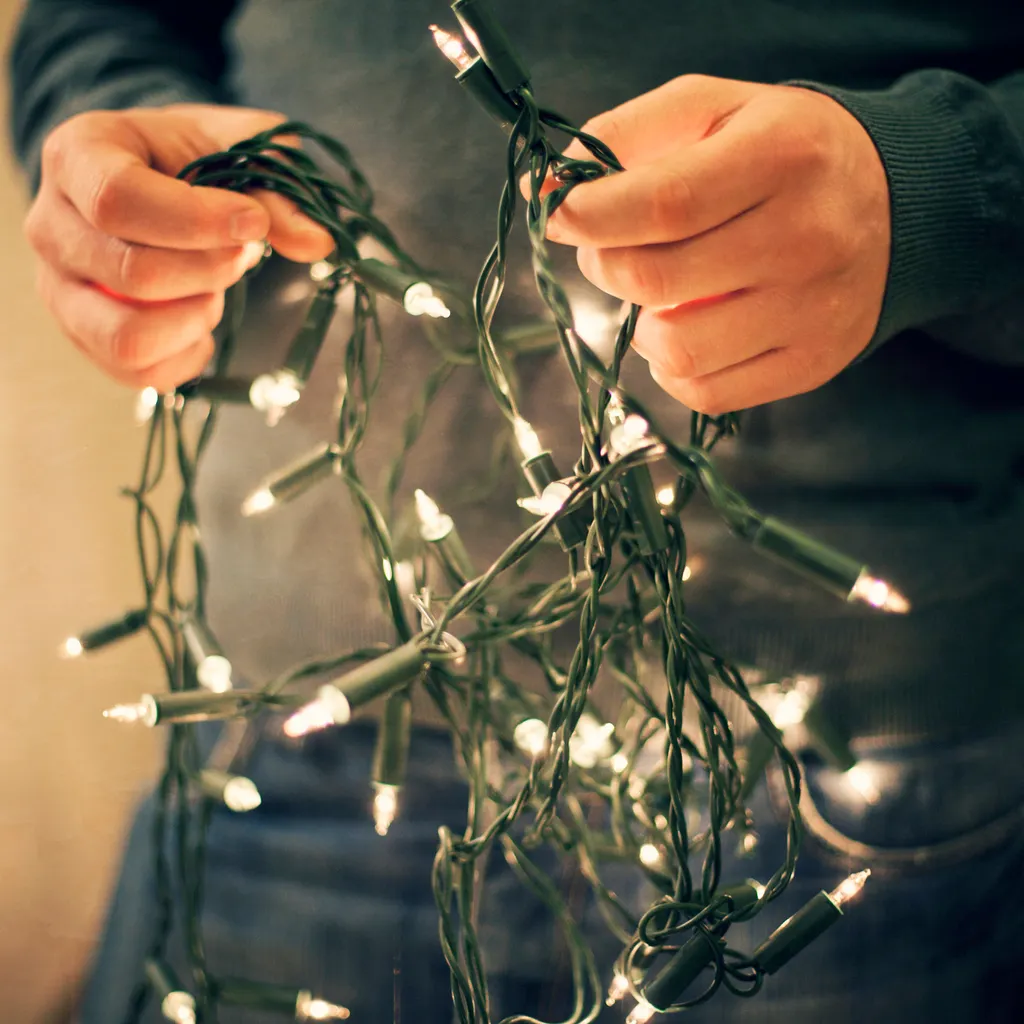
We chose battery-operated lights to avoid untidy trailing cables.
Our lights had a remote control, but the design allows easy access to the battery pack so they can be turned on and off from there.
It works better if your lights have small protruding bulbs because it is easier to poke them through the holes and secure them there.
We held the lights in place with hot glue.
Blue-rich white LED lights can disrupt your natural sleep hormones, so better to opt for warm white lights, especially if the display is going to be on a bedroom wall.
Creating this project offers great learning opportunities for younger family members, but an adult will be needed to help with some of the steps.
We chose the constellation of Orion, but you can pick whichever constellation you prefer.
Take a look at our pick of the best constellations and best winter constellations for inspiration.
Marking out the stars will introduce you to the star patterns and seeing it daily will help you memorise it.
Adding colour
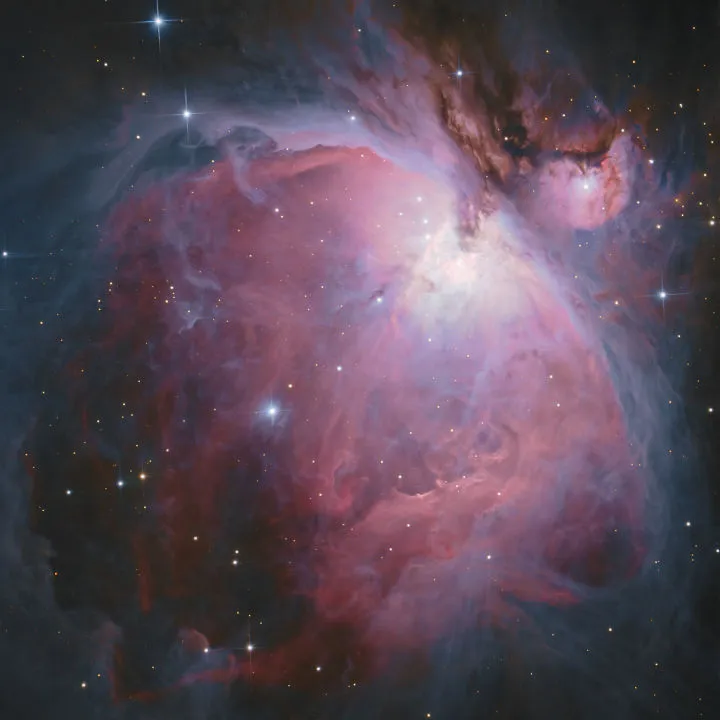
For the background, you could just paint the canvas black, but you could also look at long-exposure photos to find any areas of nebulosity and paint those on too.
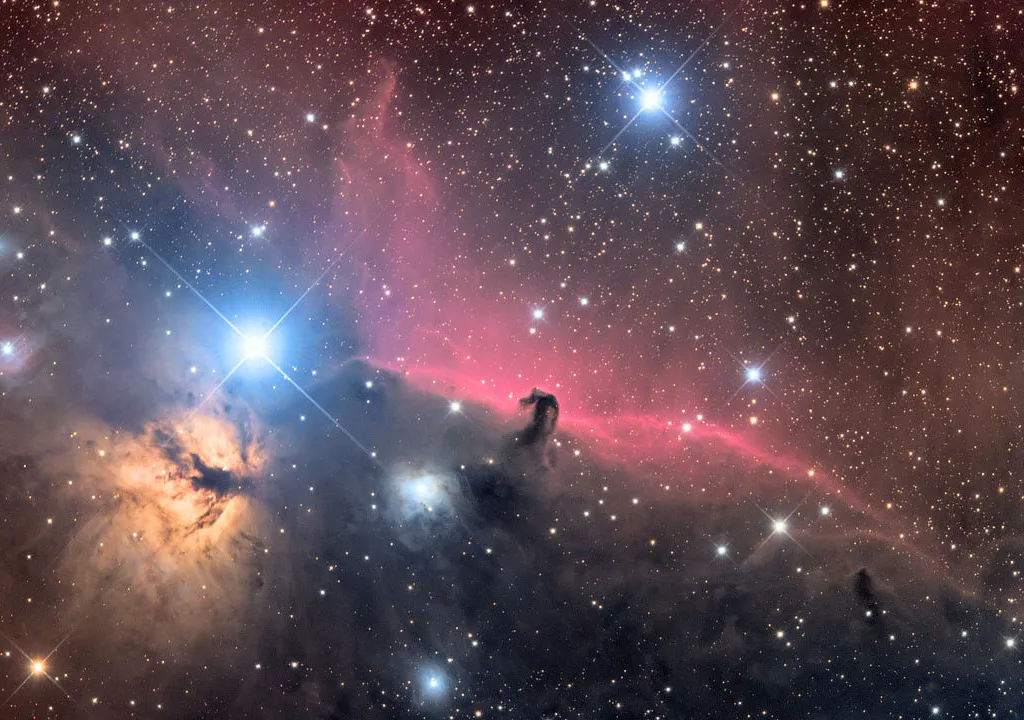
Orion is full of beautiful features like M42, the Orion Nebula, as well as the Horsehead Nebula and Flame Nebula.
Also Barnard’s Loop, a beautiful ribbon of nebulosity that snakes through the constellation.
Including these offers an additional learning opportunity, a chance to incorporate colour.
And it will help you remember where these deep-sky objects are located within the constellation.
It could also be a chance to teach younger family members about molecular clouds and star-forming regions.
Nebulosity painted on the background makes the canvas look beautiful even when the lights are turned off.
We made one constellation board in this DIY project, but you could create a whole series of wall art pieces of all your favourite constellations.
Want to transform even more of your walls into a star show? Take a look at our list of the best home planetariums and star projectors.
Tools and materials
- A set of battery-operated LED fairy lights. Ours was a string of 50 lights.
- An art canvas deep enough to accommodate the lights’ battery pack. Ours measured 30.4cm x 40.6cm x 3.6cm (12 x 16 x 1.5 inches).
- Black acrylic paint, plus colours for any nebulae. A white acrylic pen.
- An awl, hot-glue gun and tape to fix the fairy lights to the canvas.
- A sheet of black card about 1cm smaller than the canvas to cover the back and the fairy light wires. Ours was A3 size.
- Velcro, a staple gun and a piece of string.