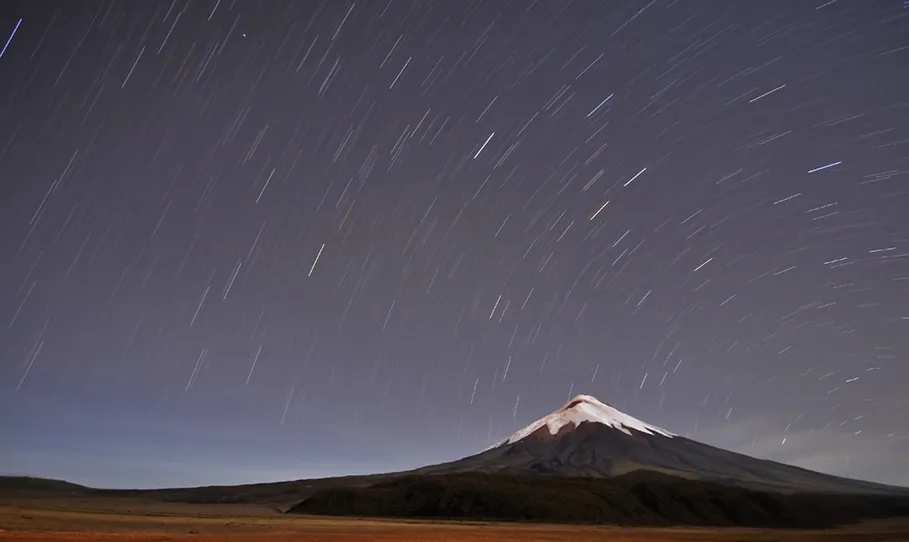
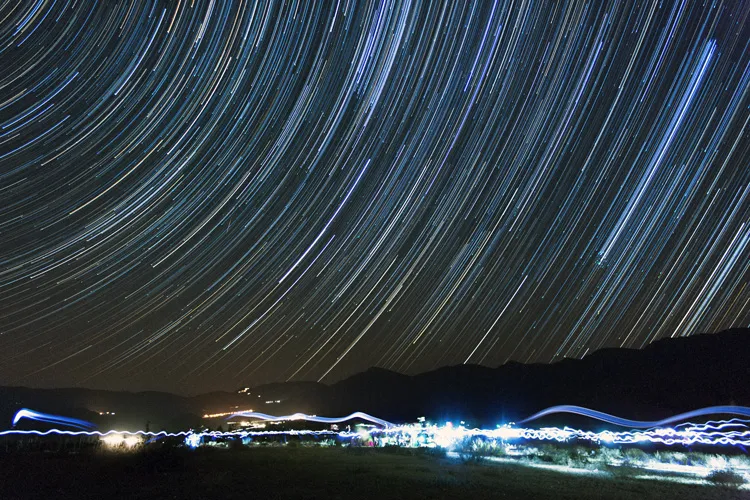
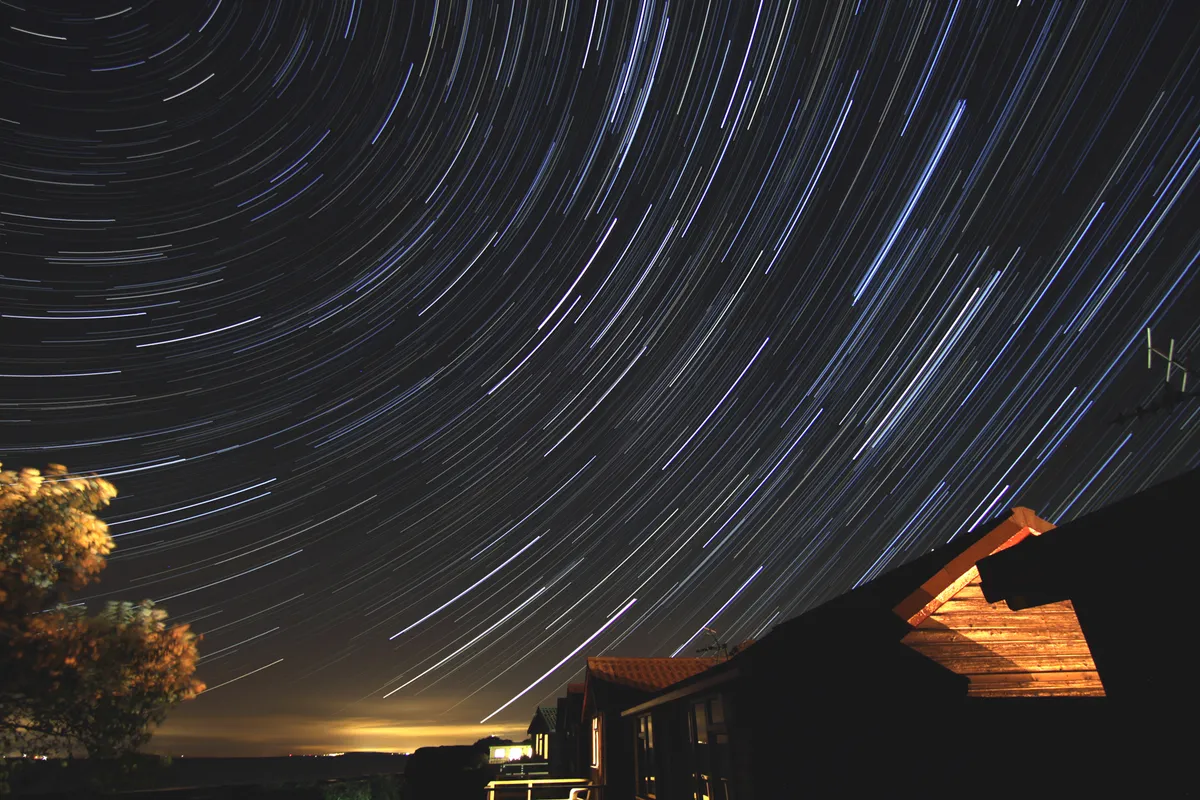
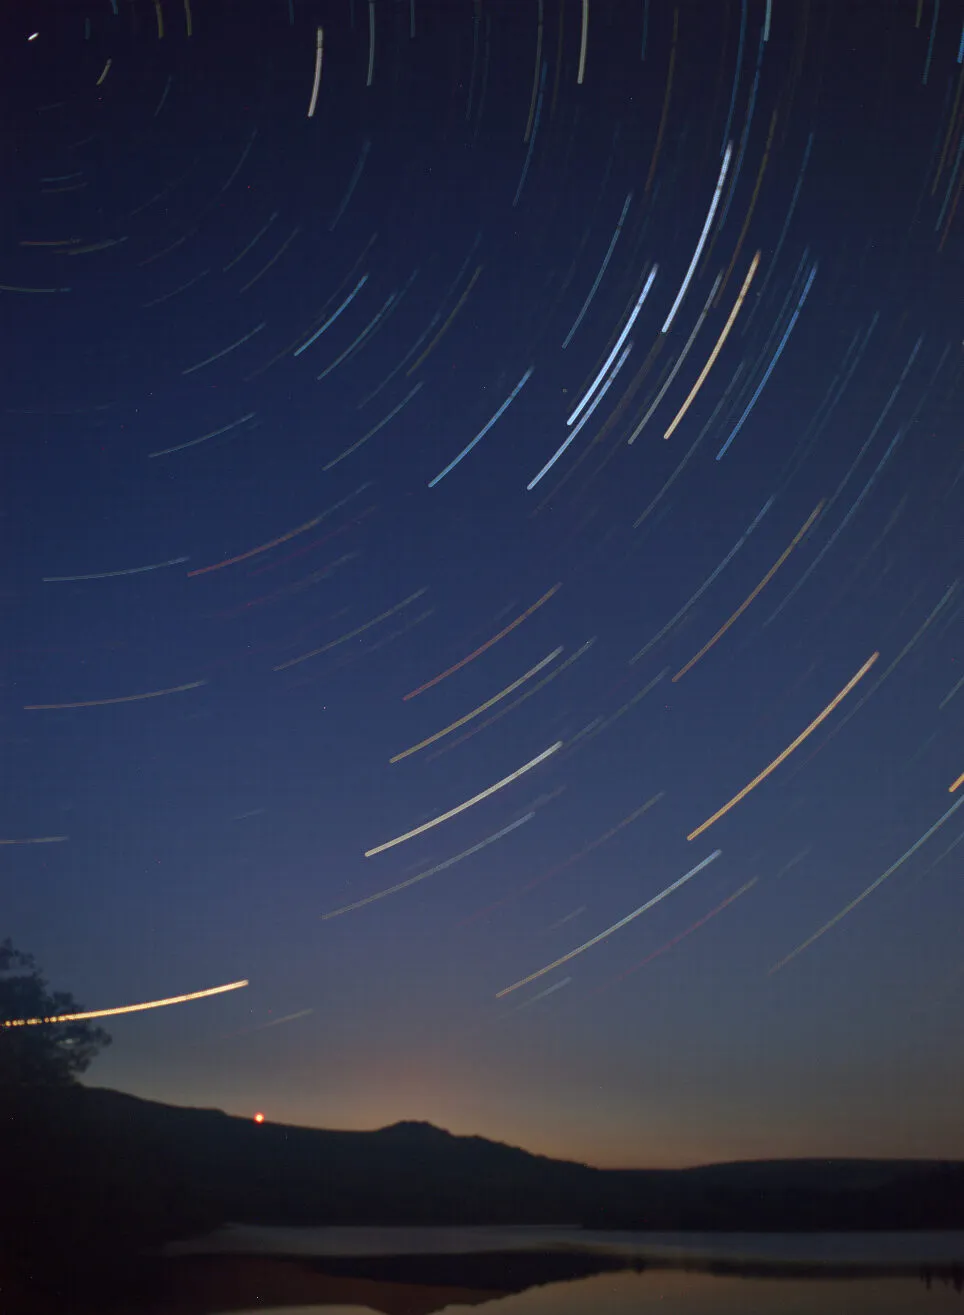
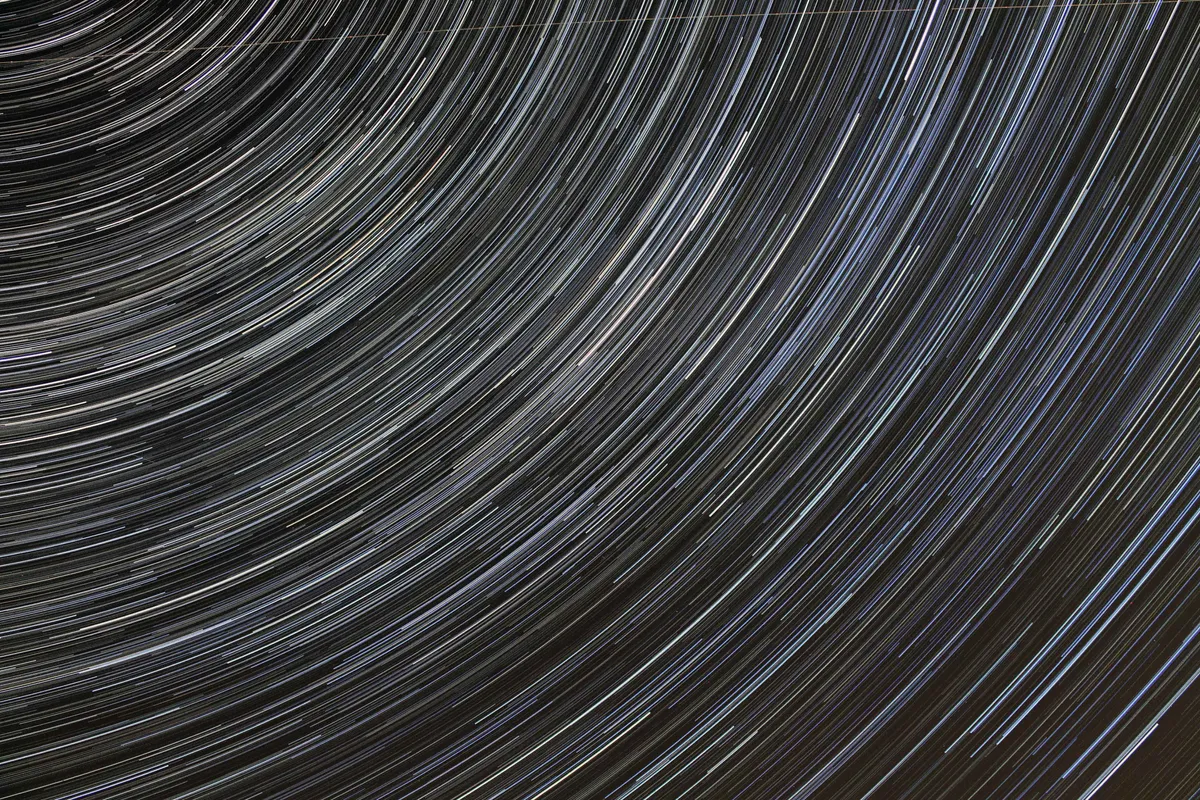
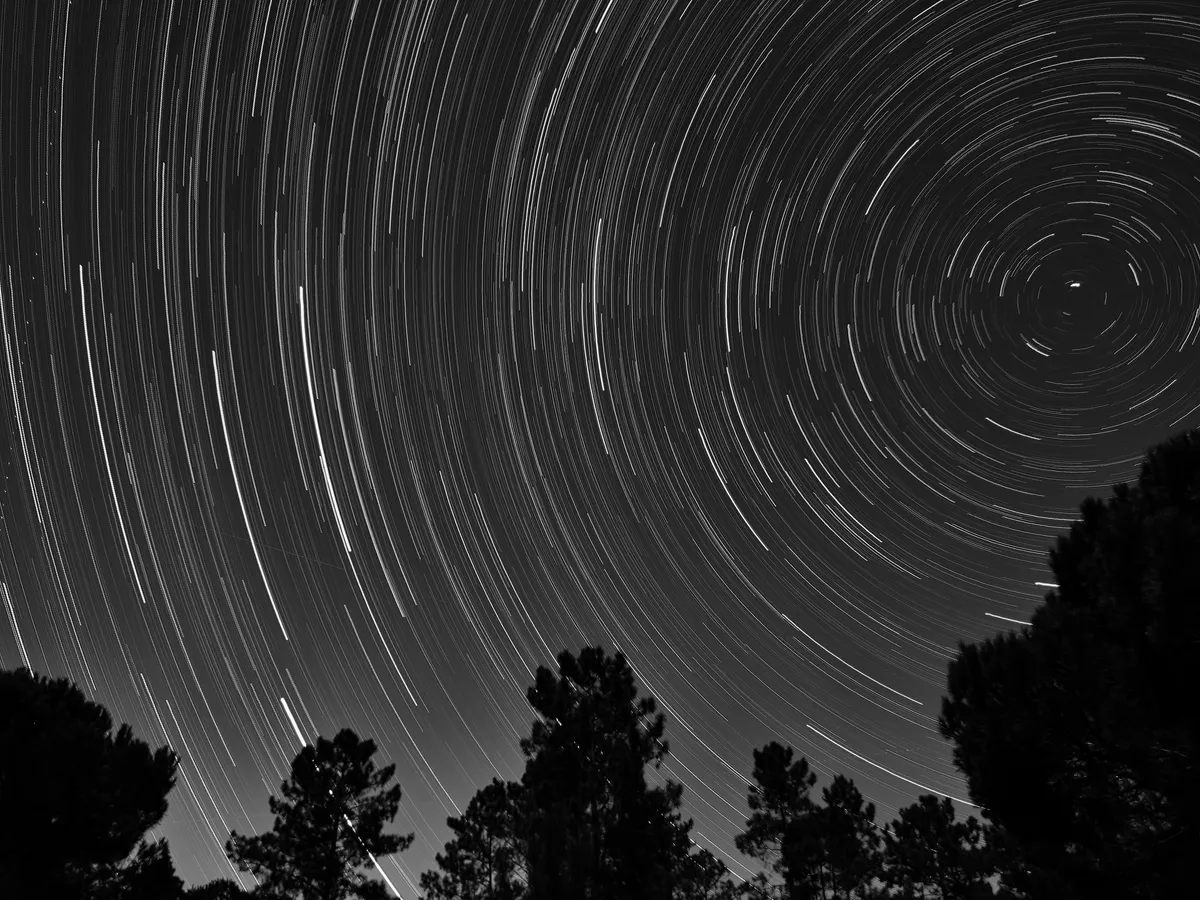
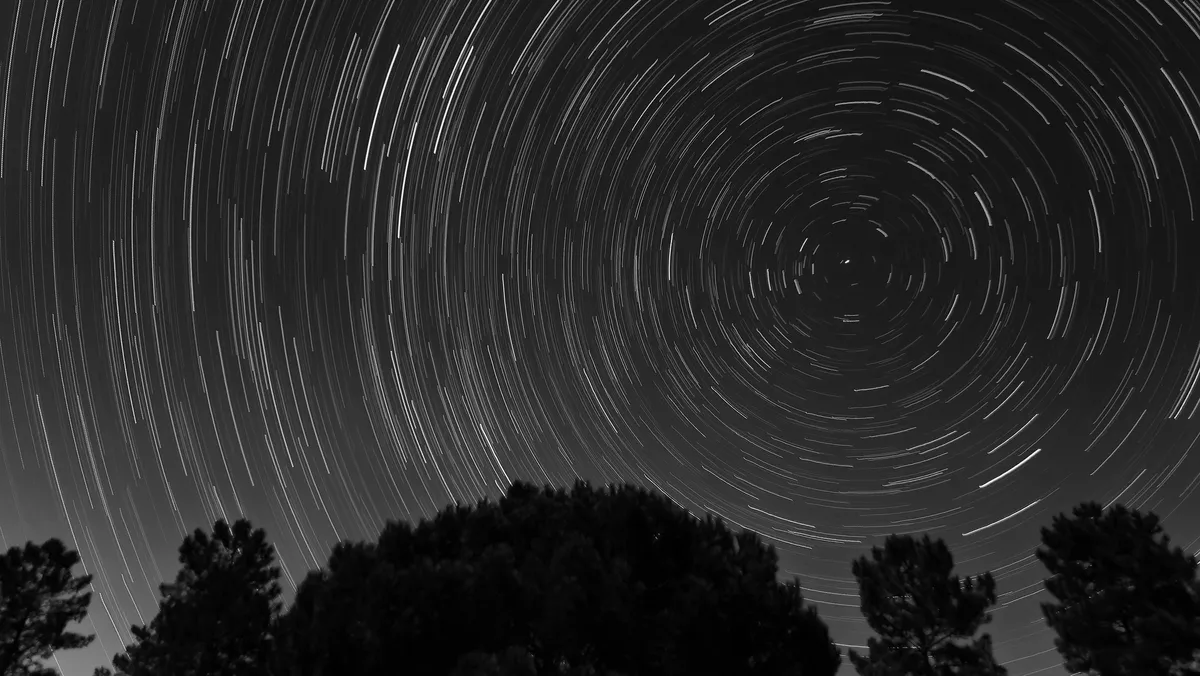
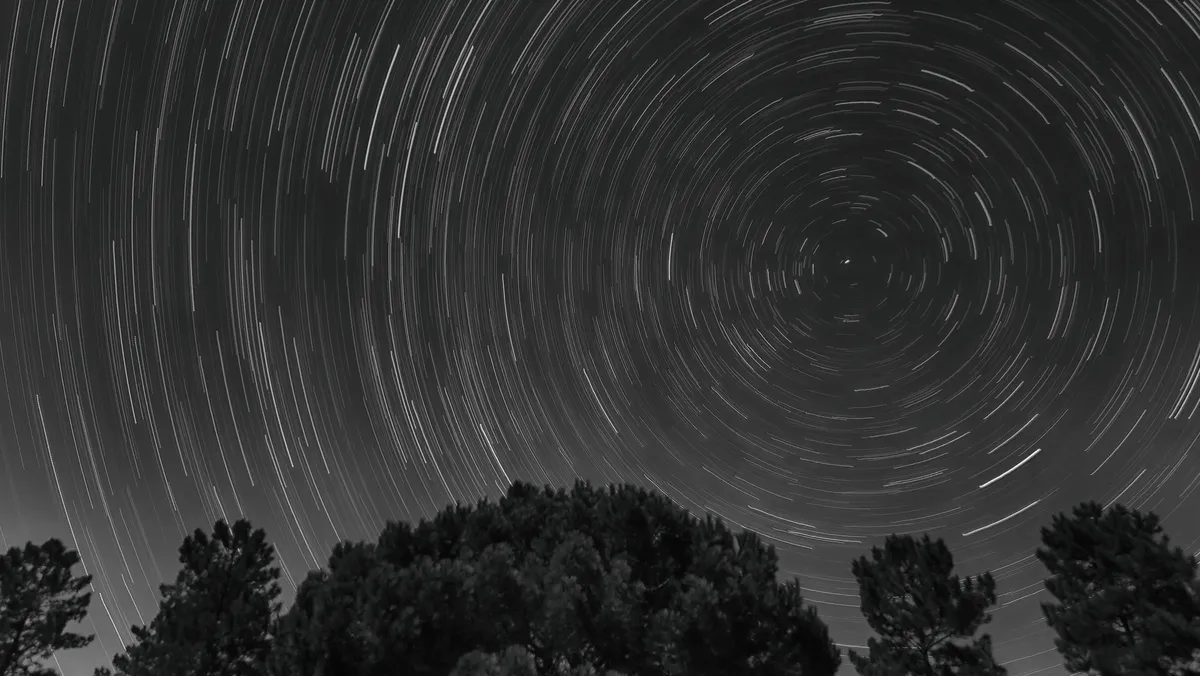
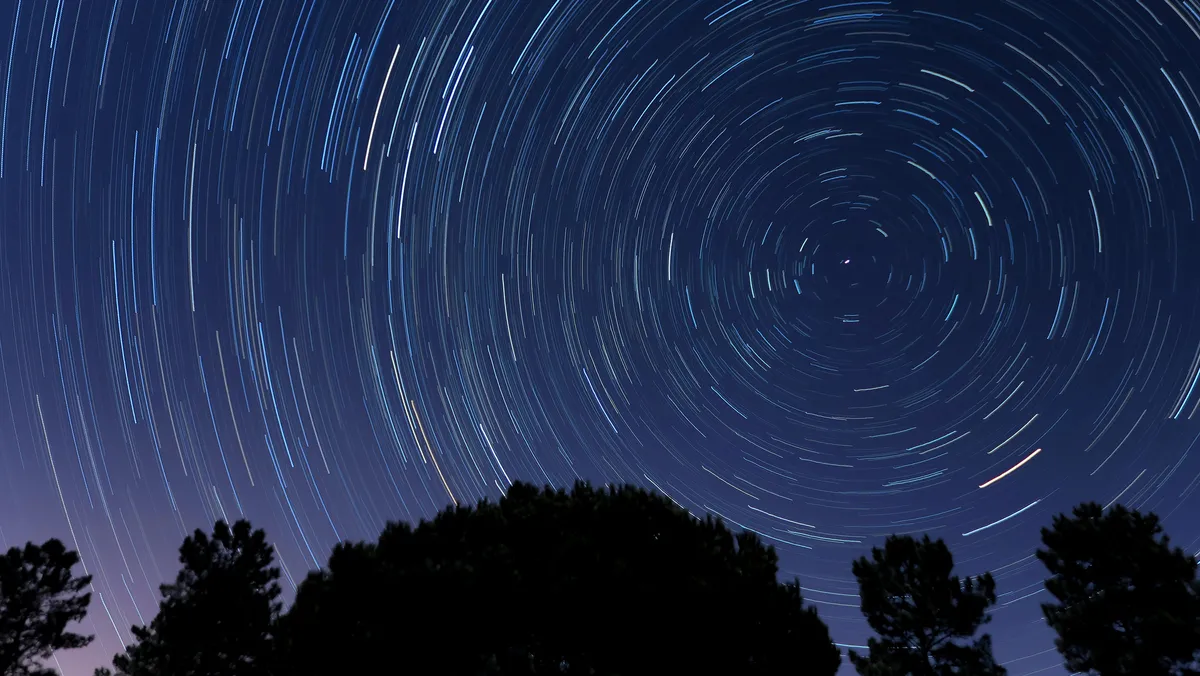
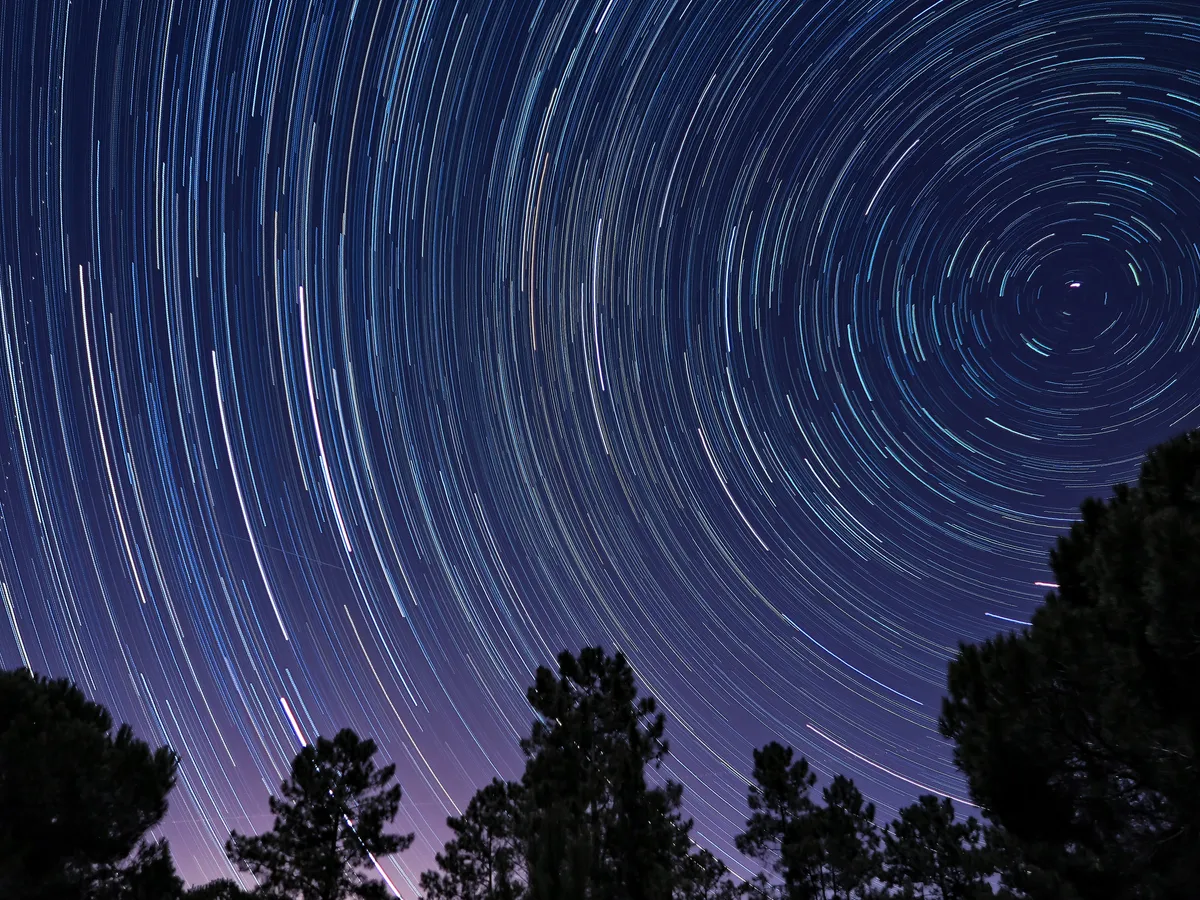
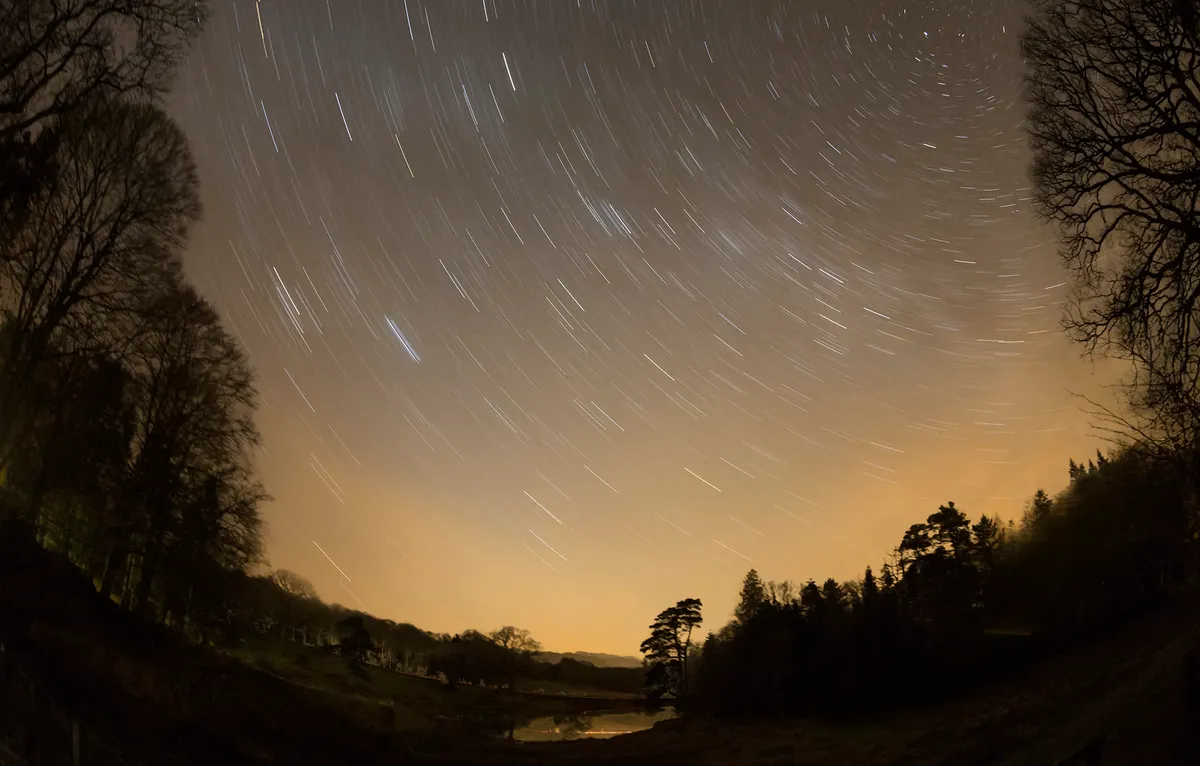
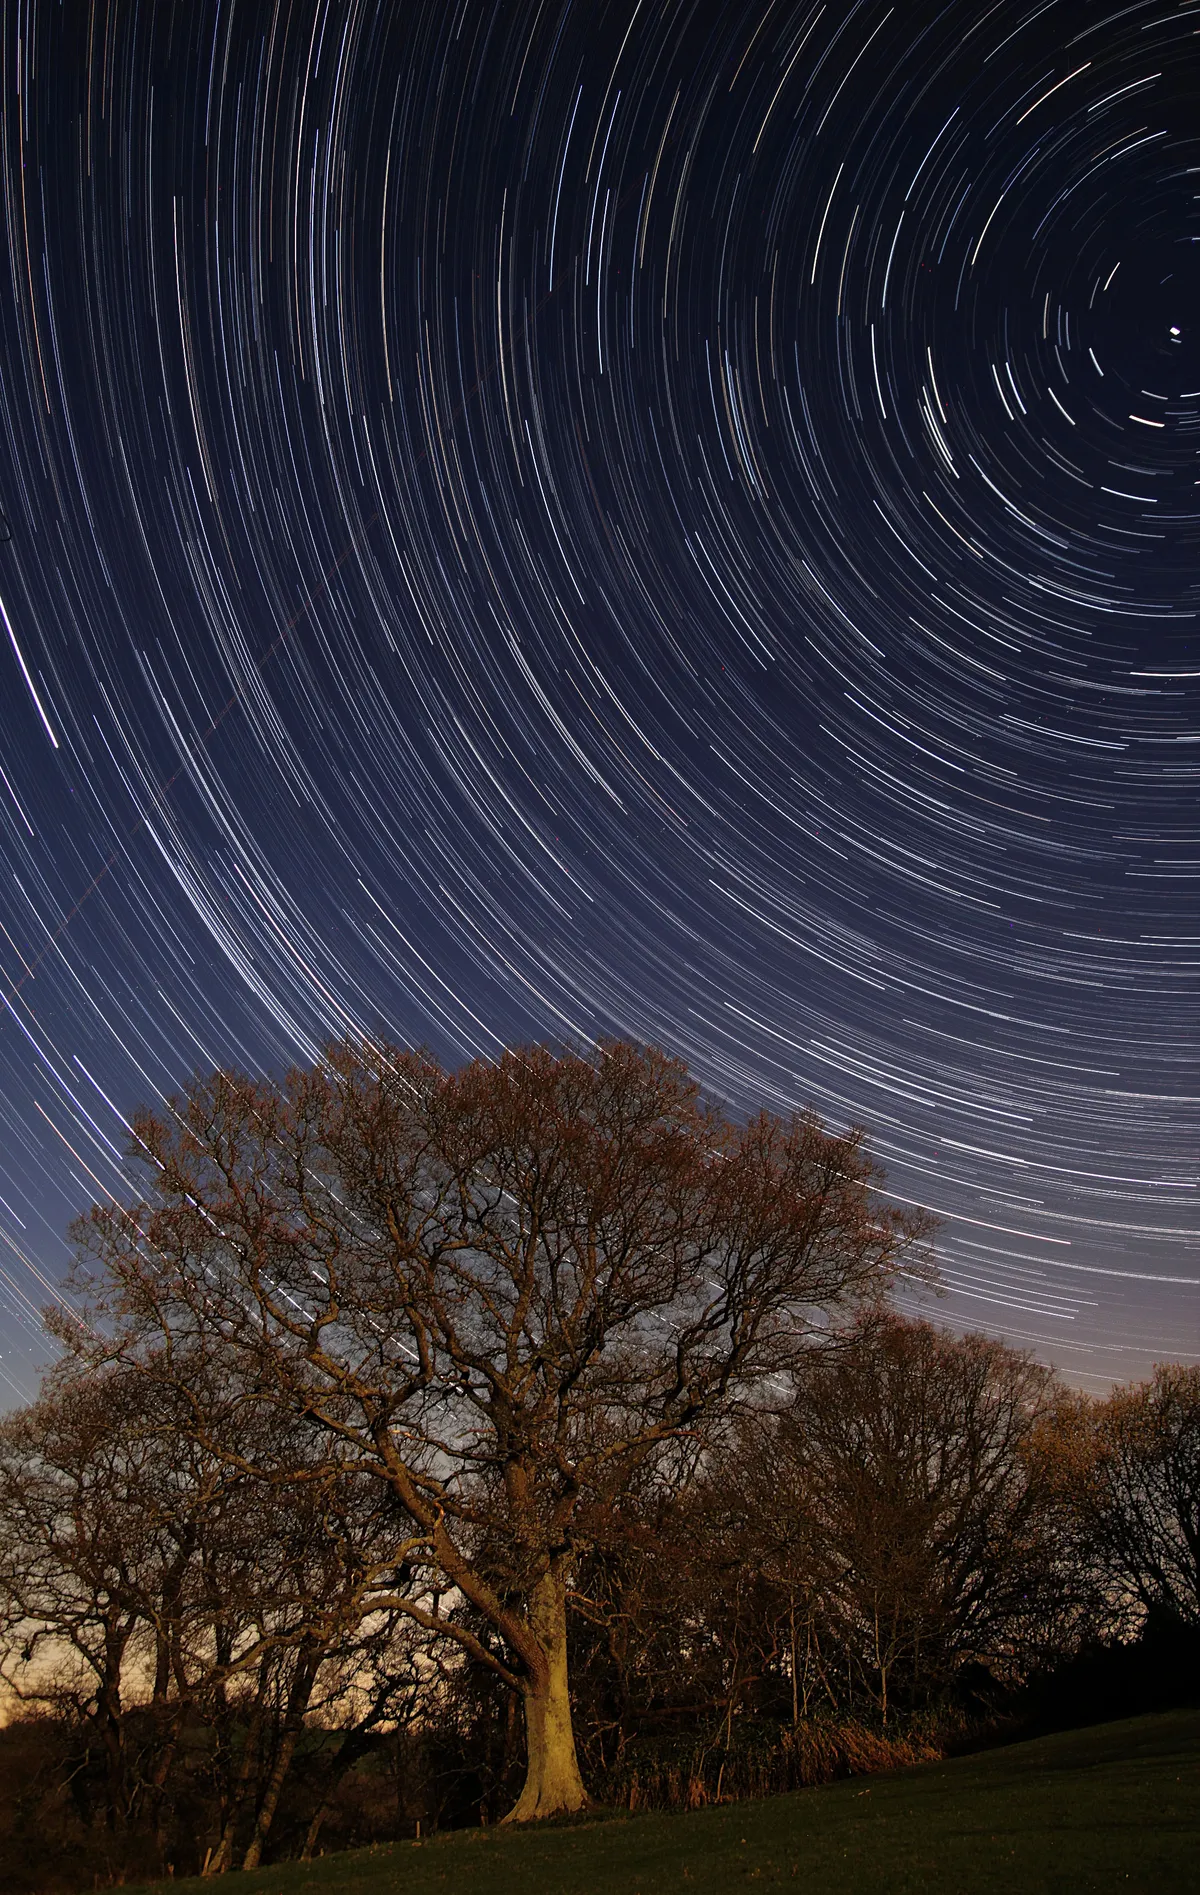
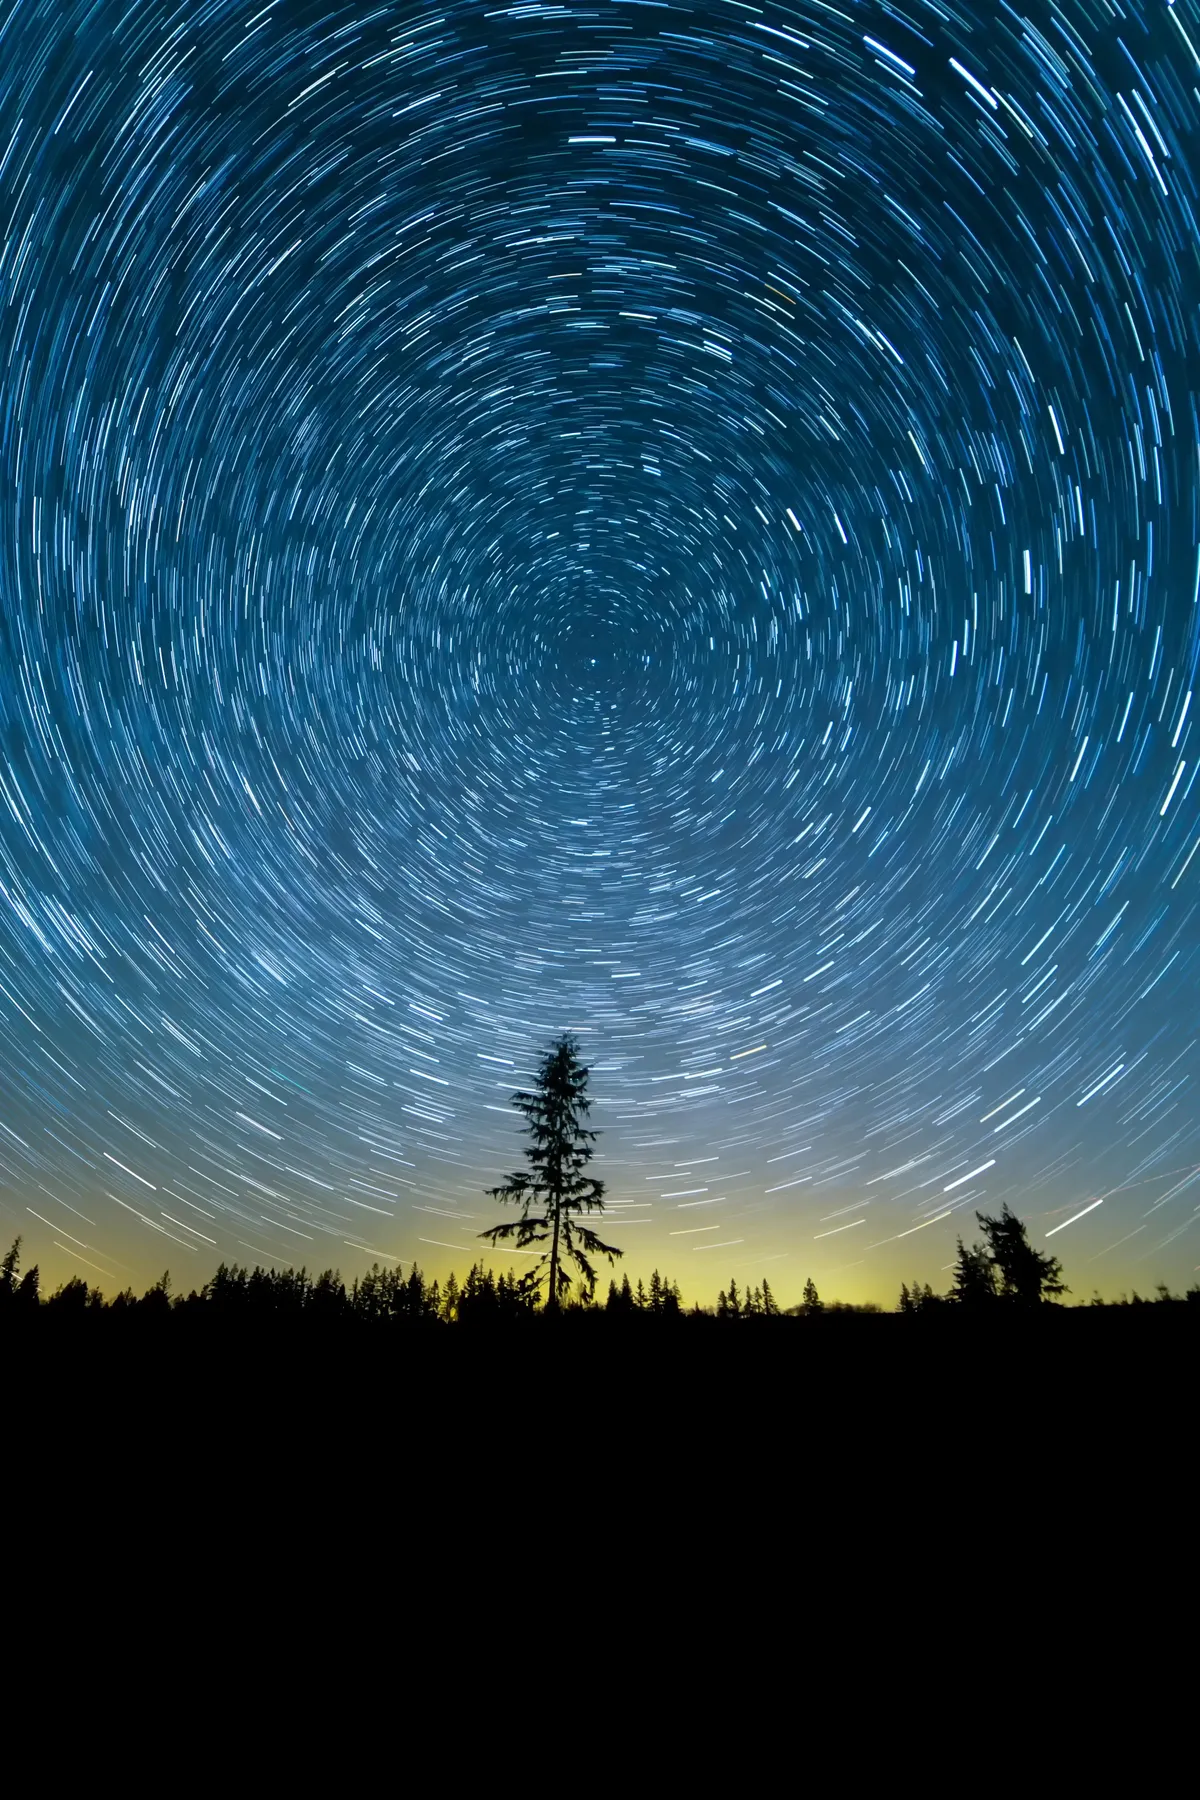
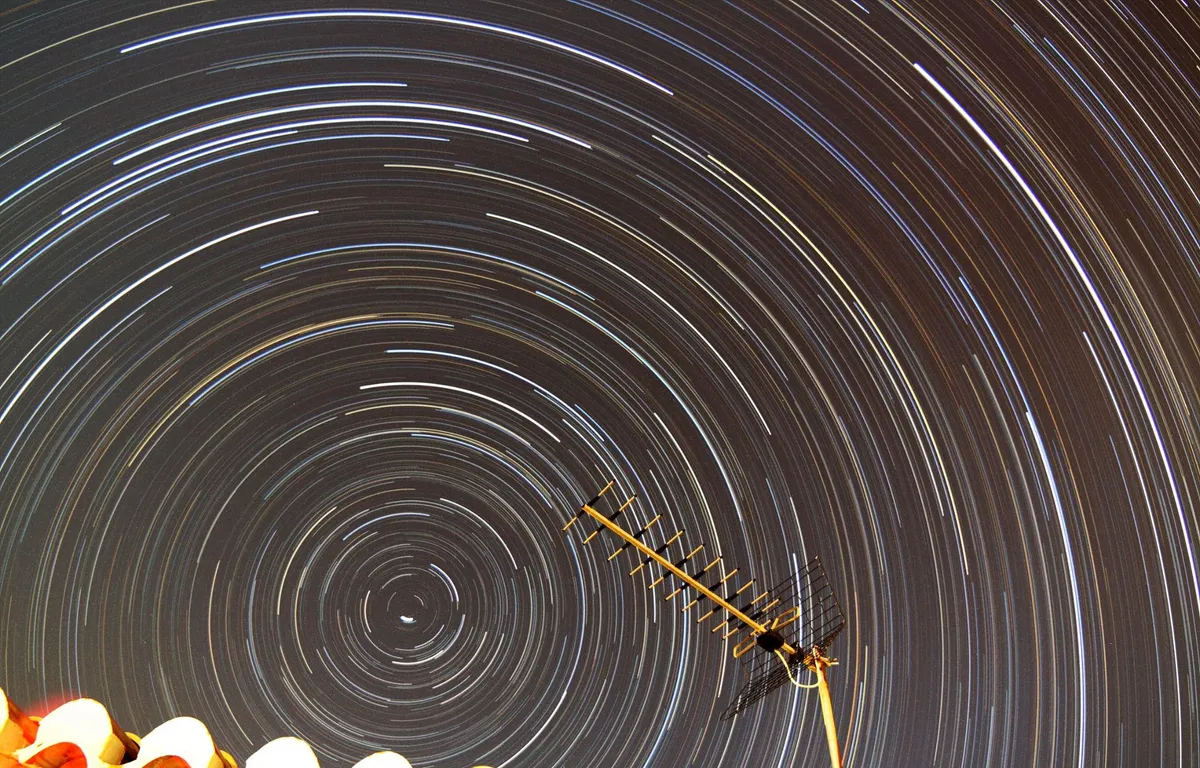
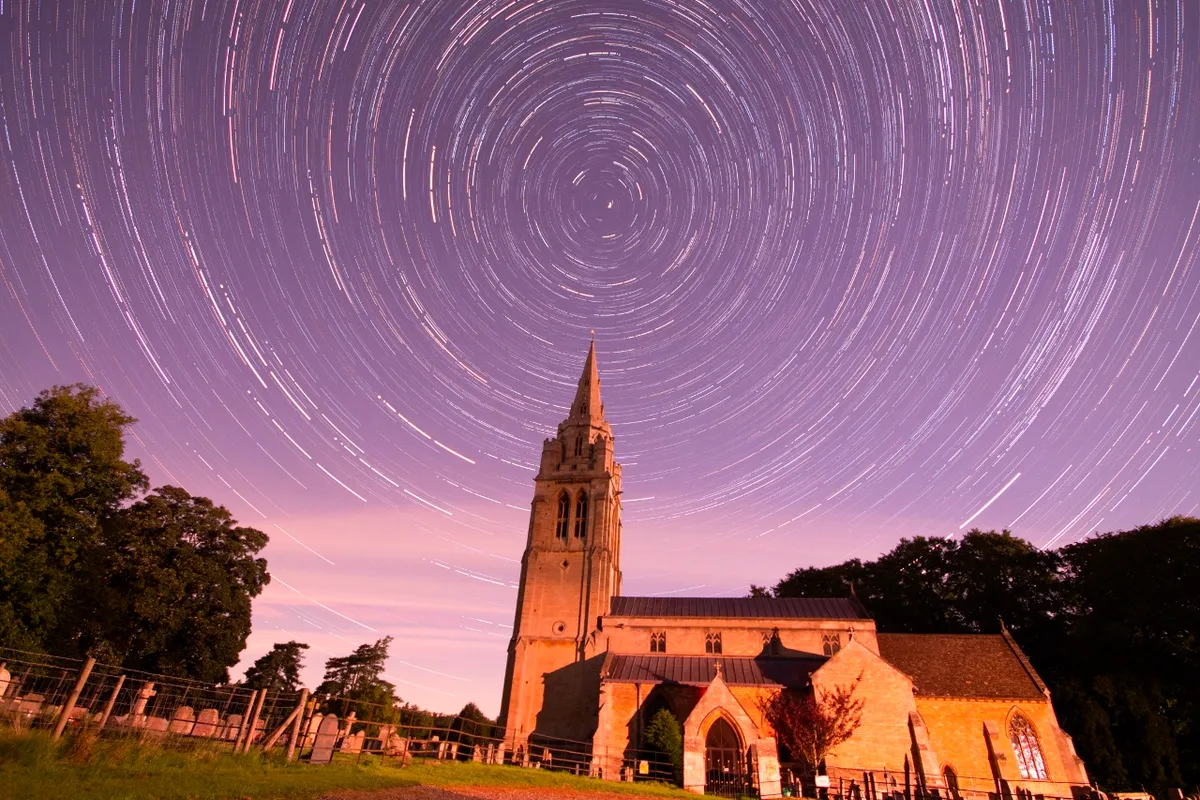
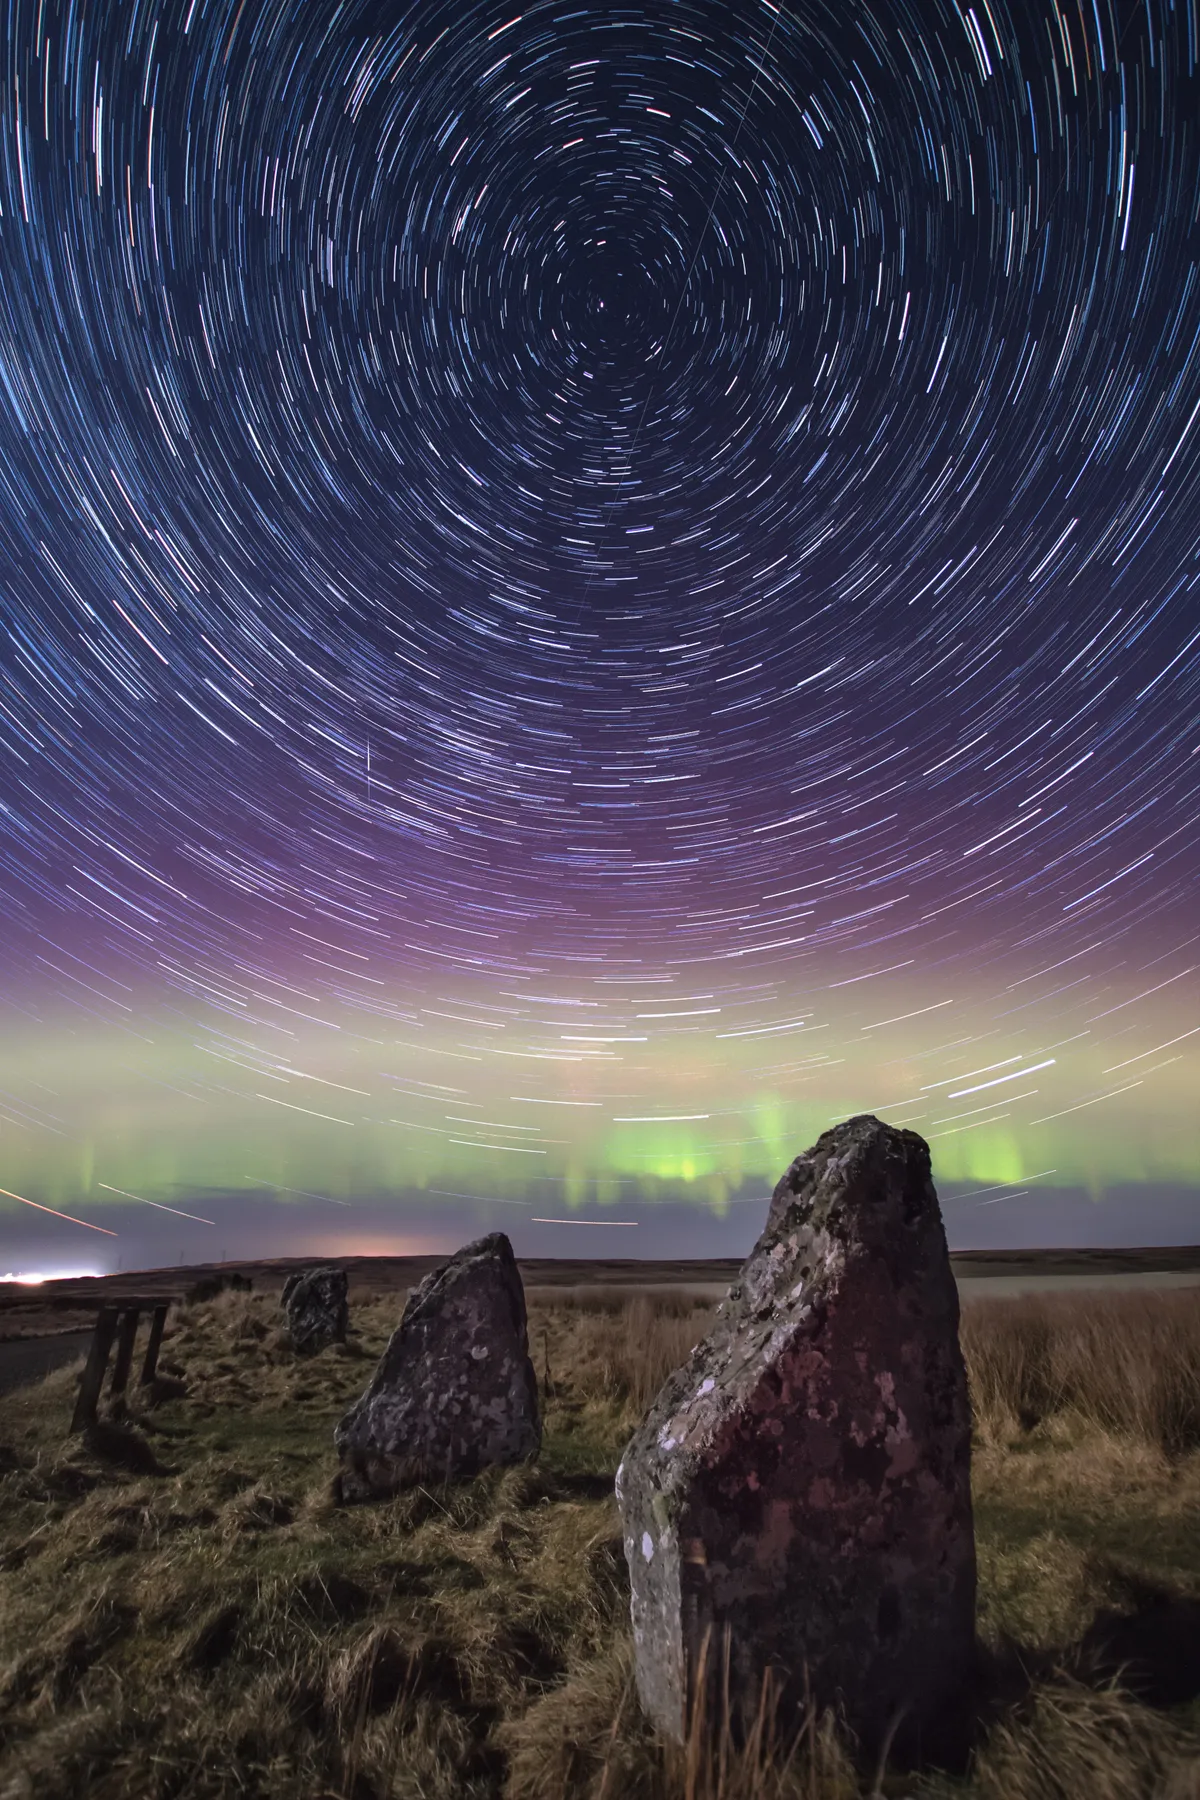
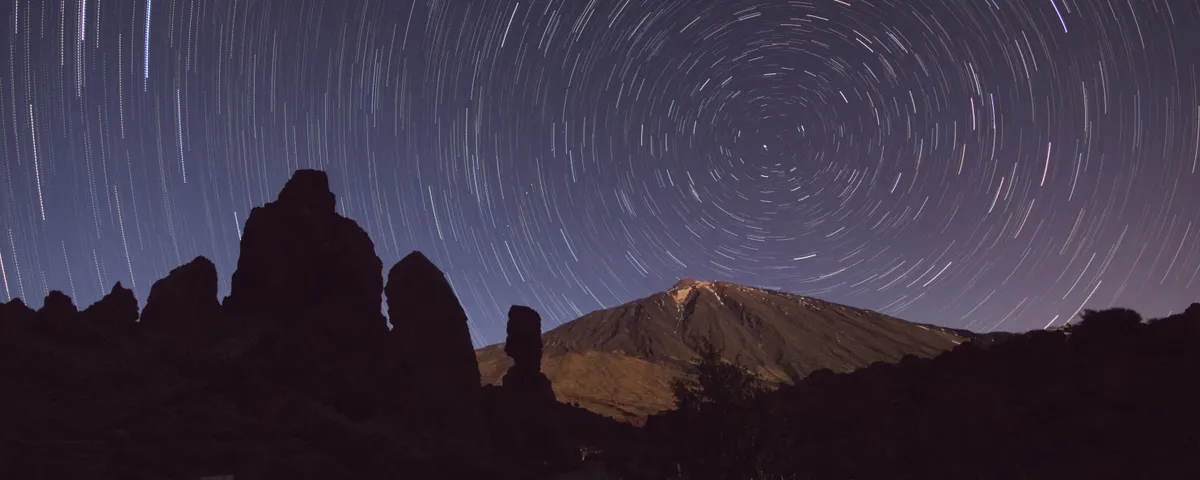
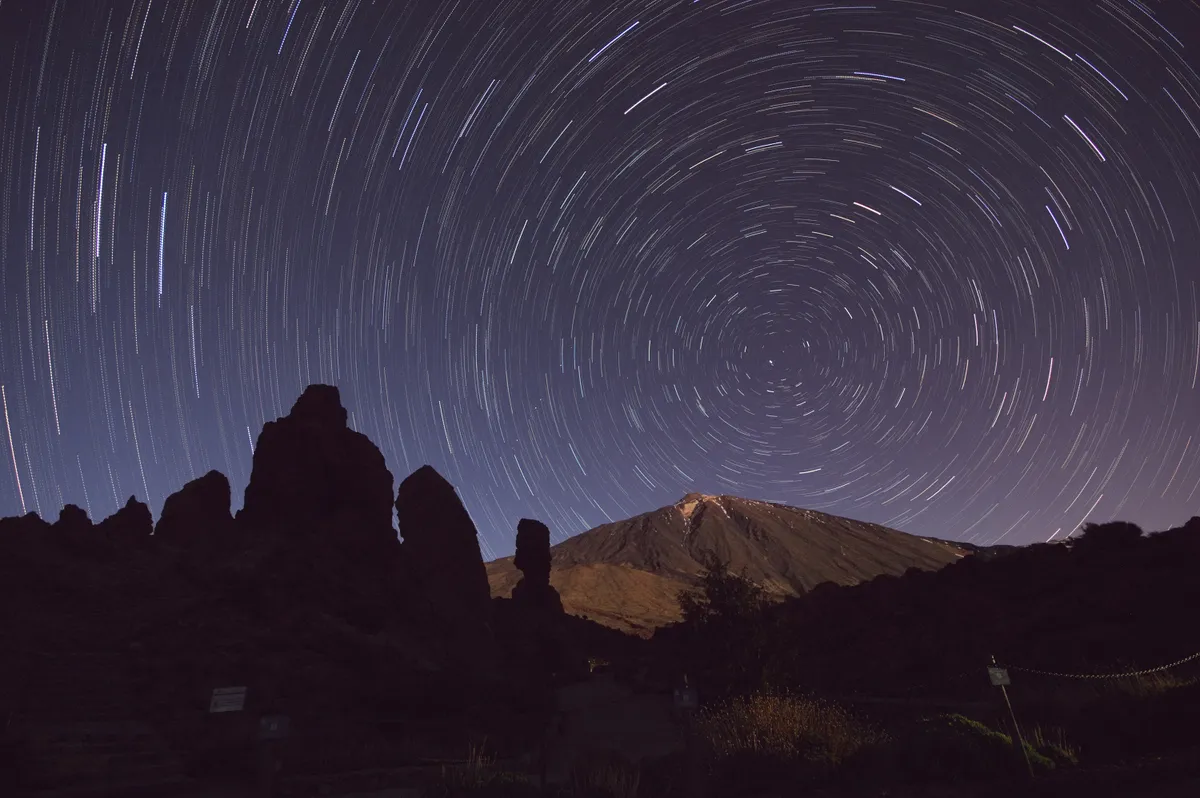
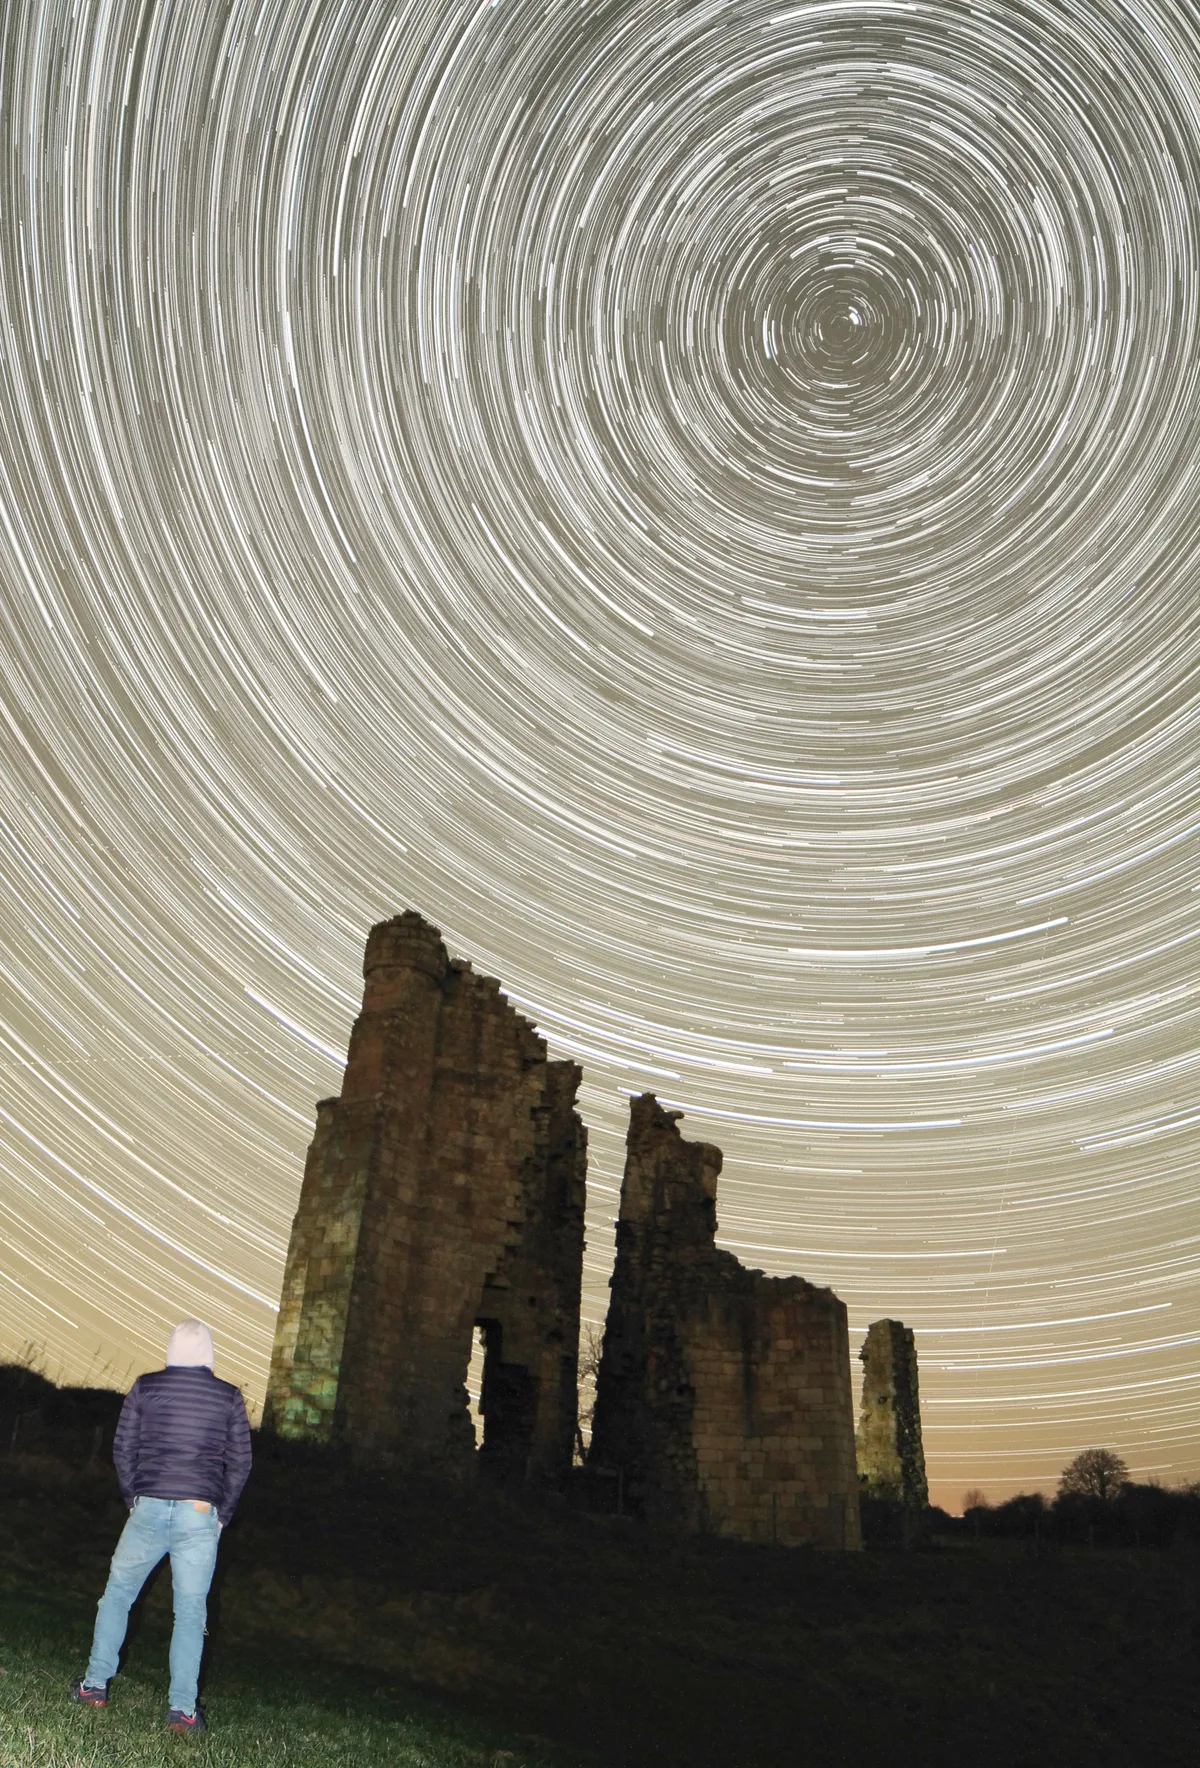
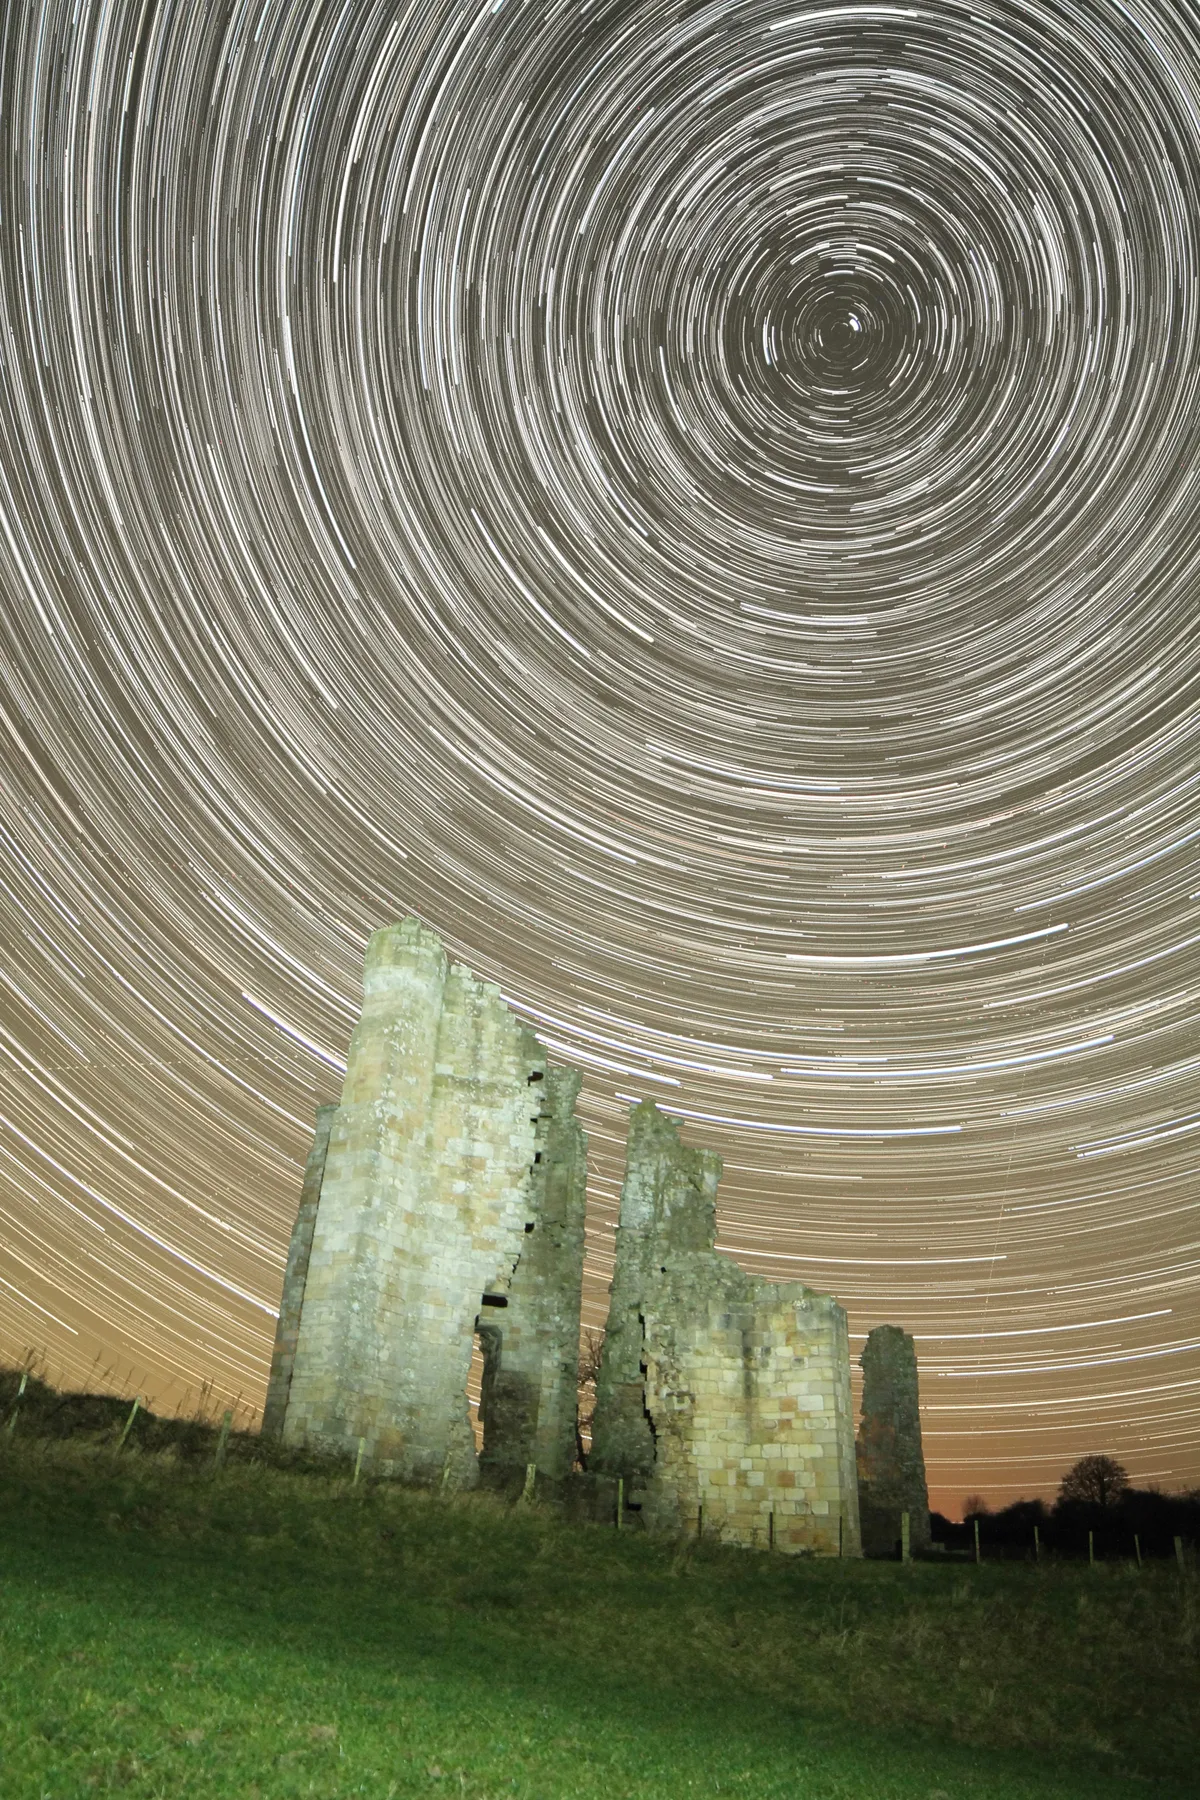
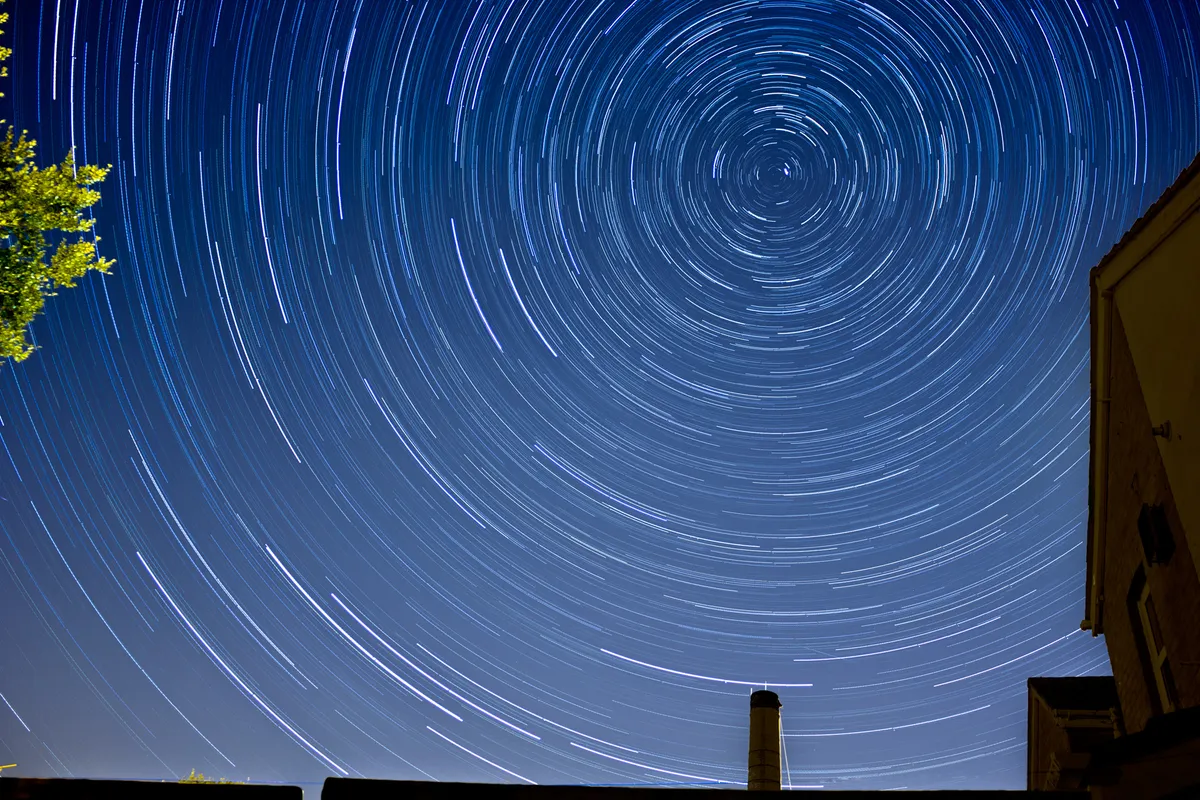
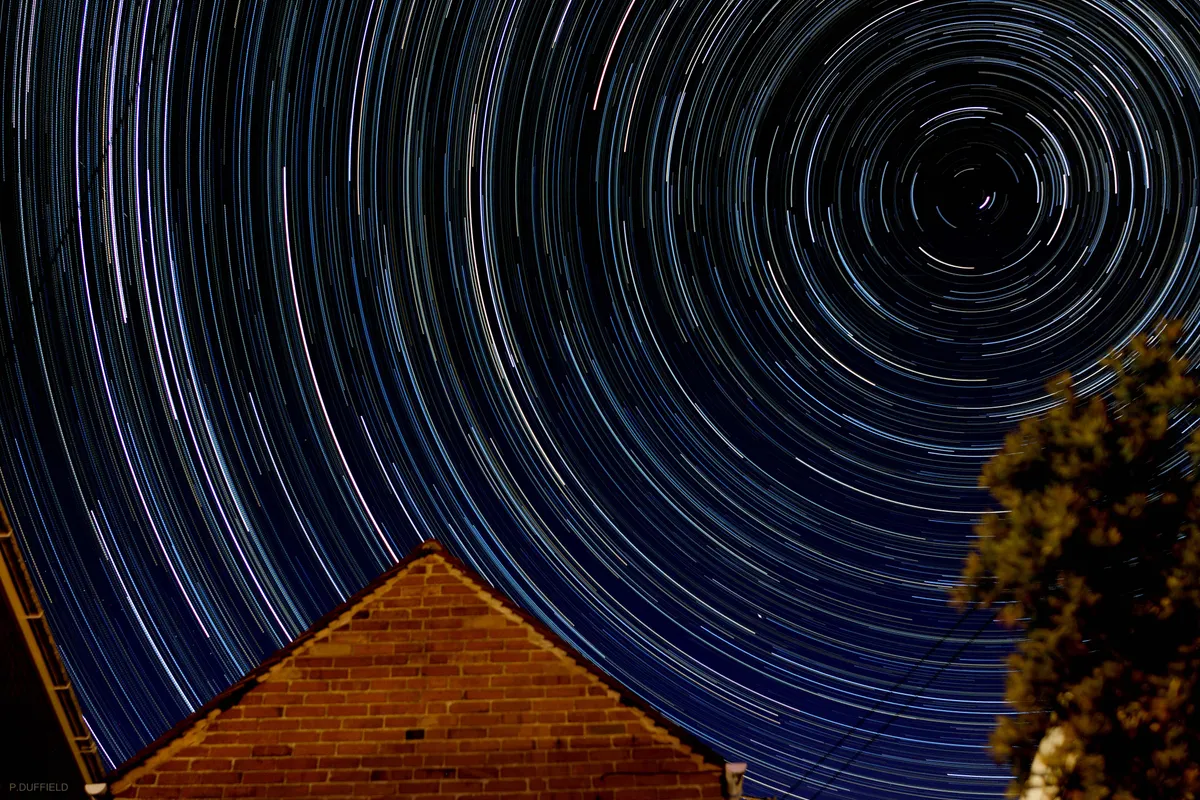
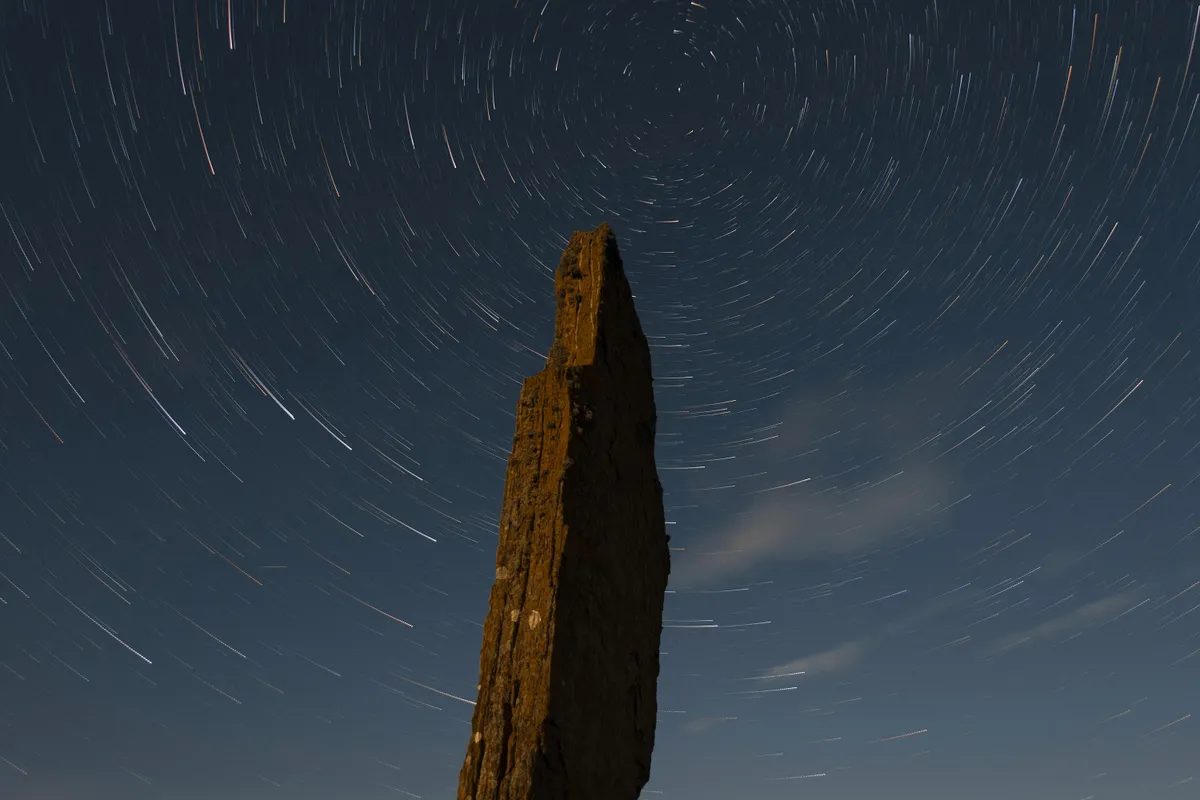
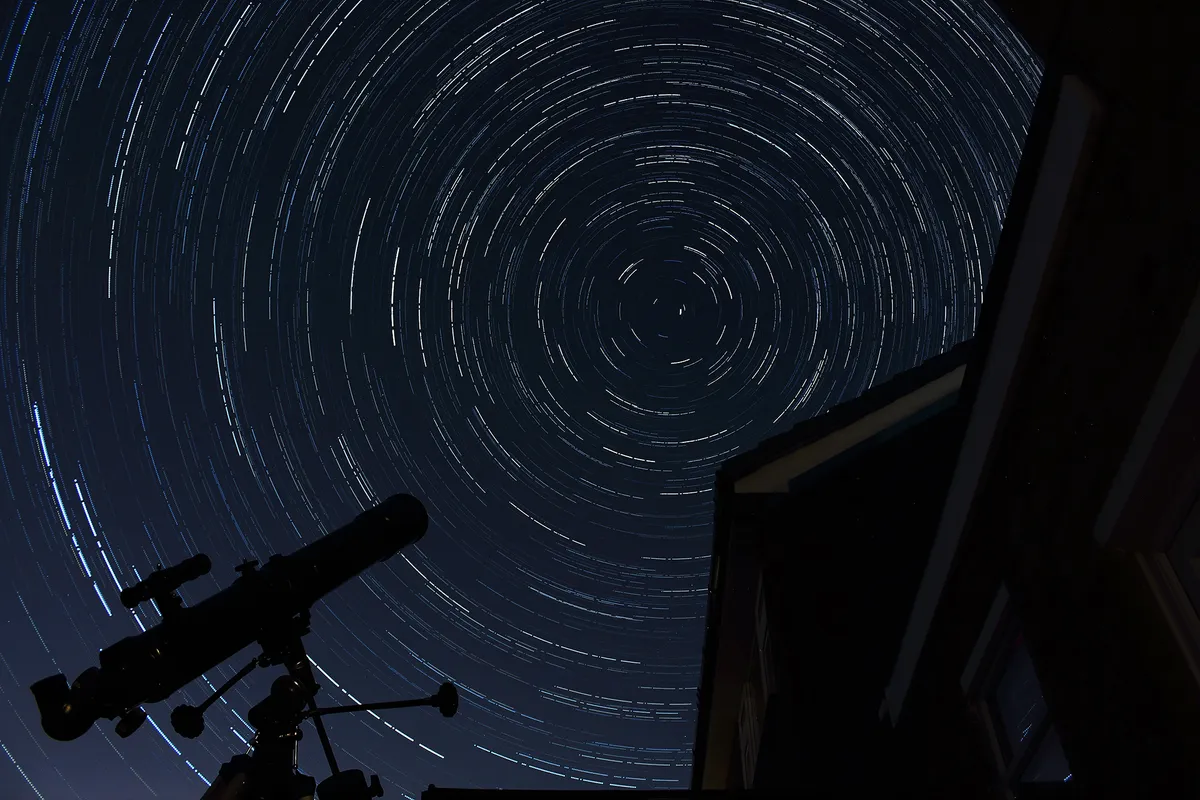
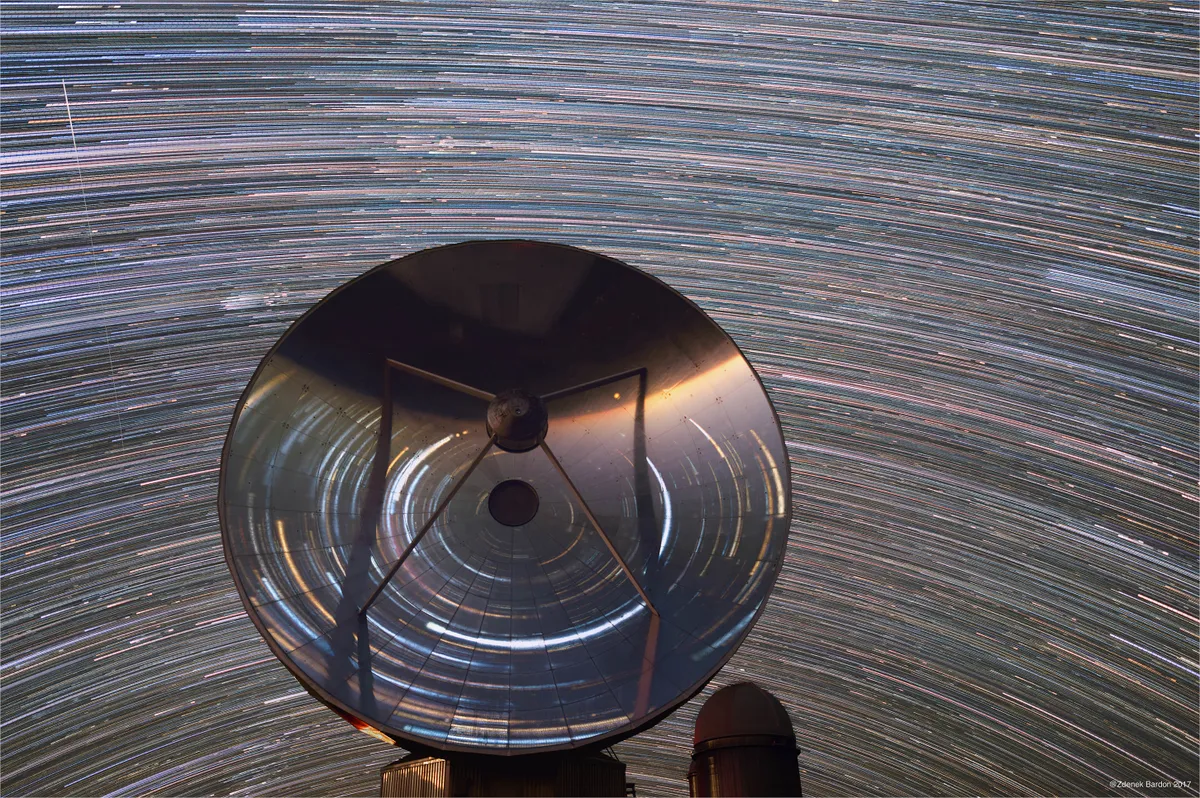
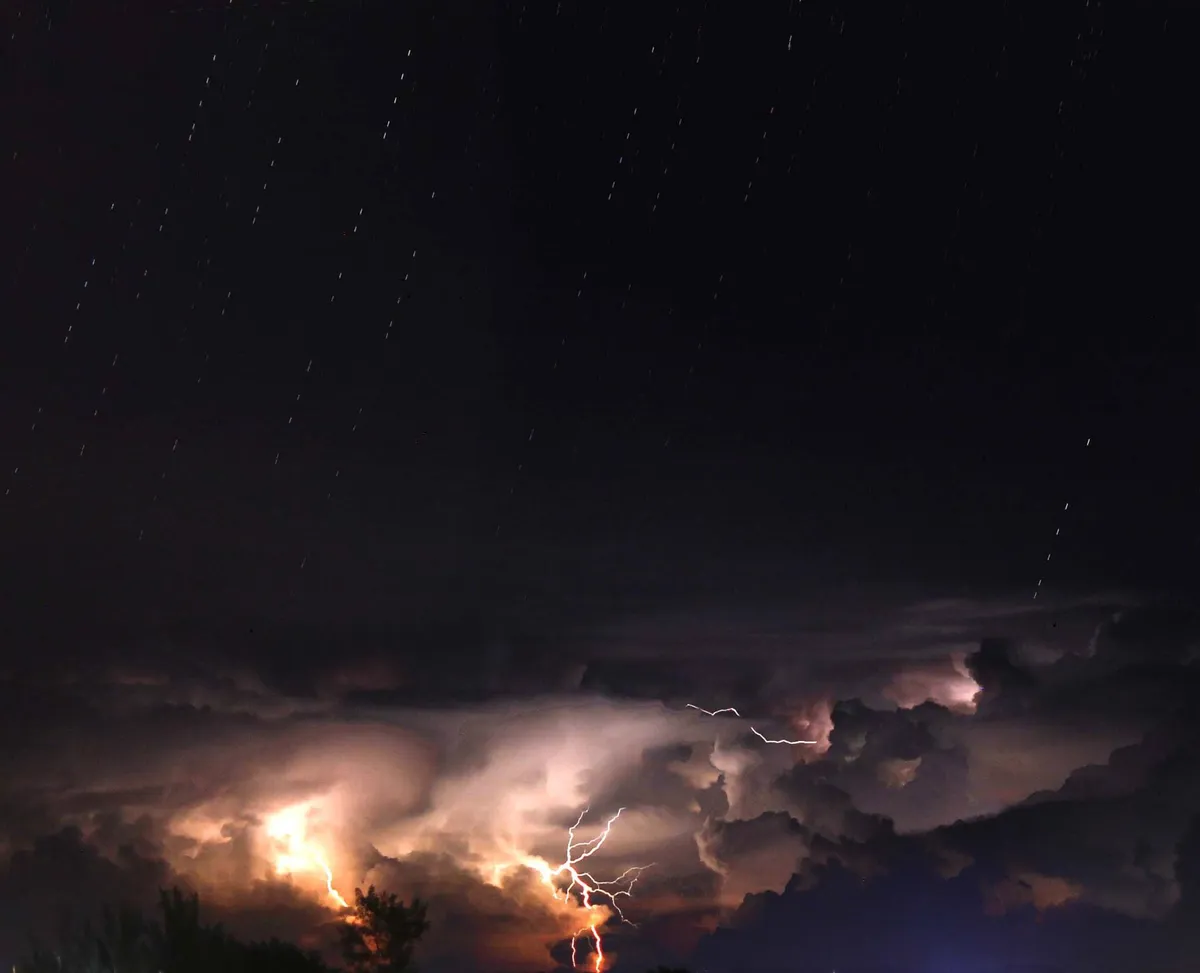
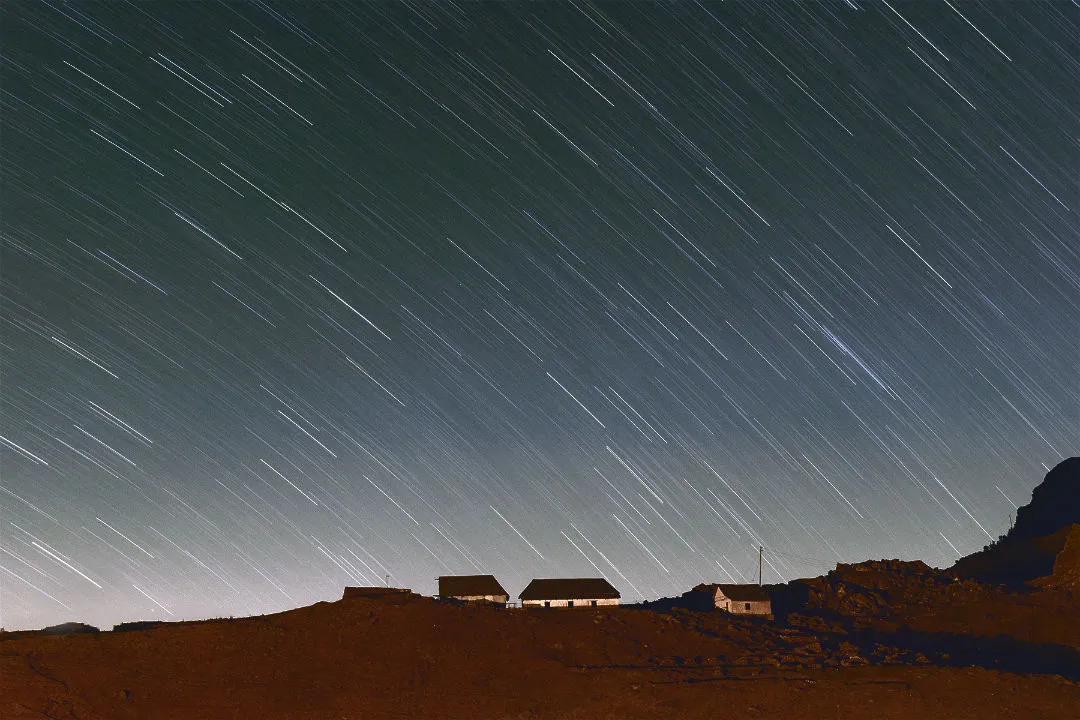
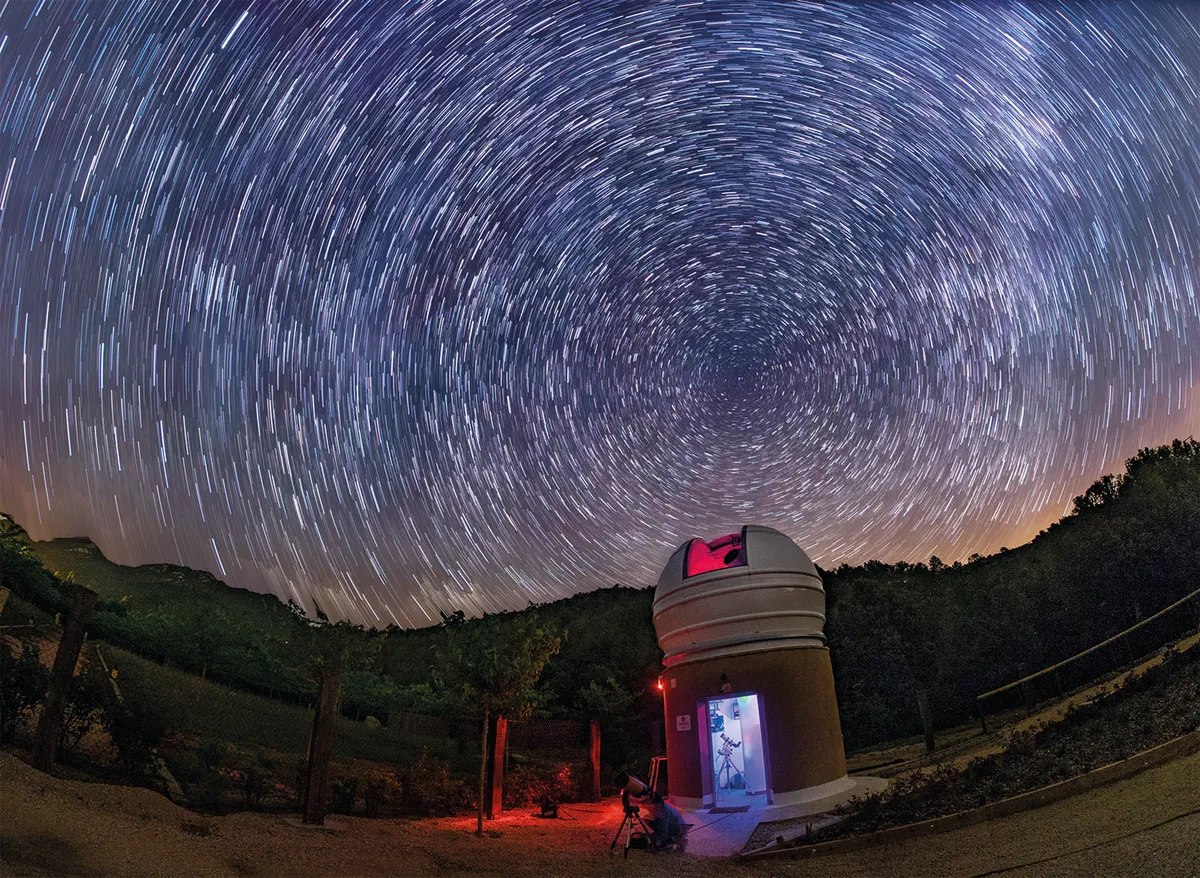
A star trail photo is a long-exposure image that shows the apparent motion of the stars across the night sky, producing a pattern of light trails stretching across the image.
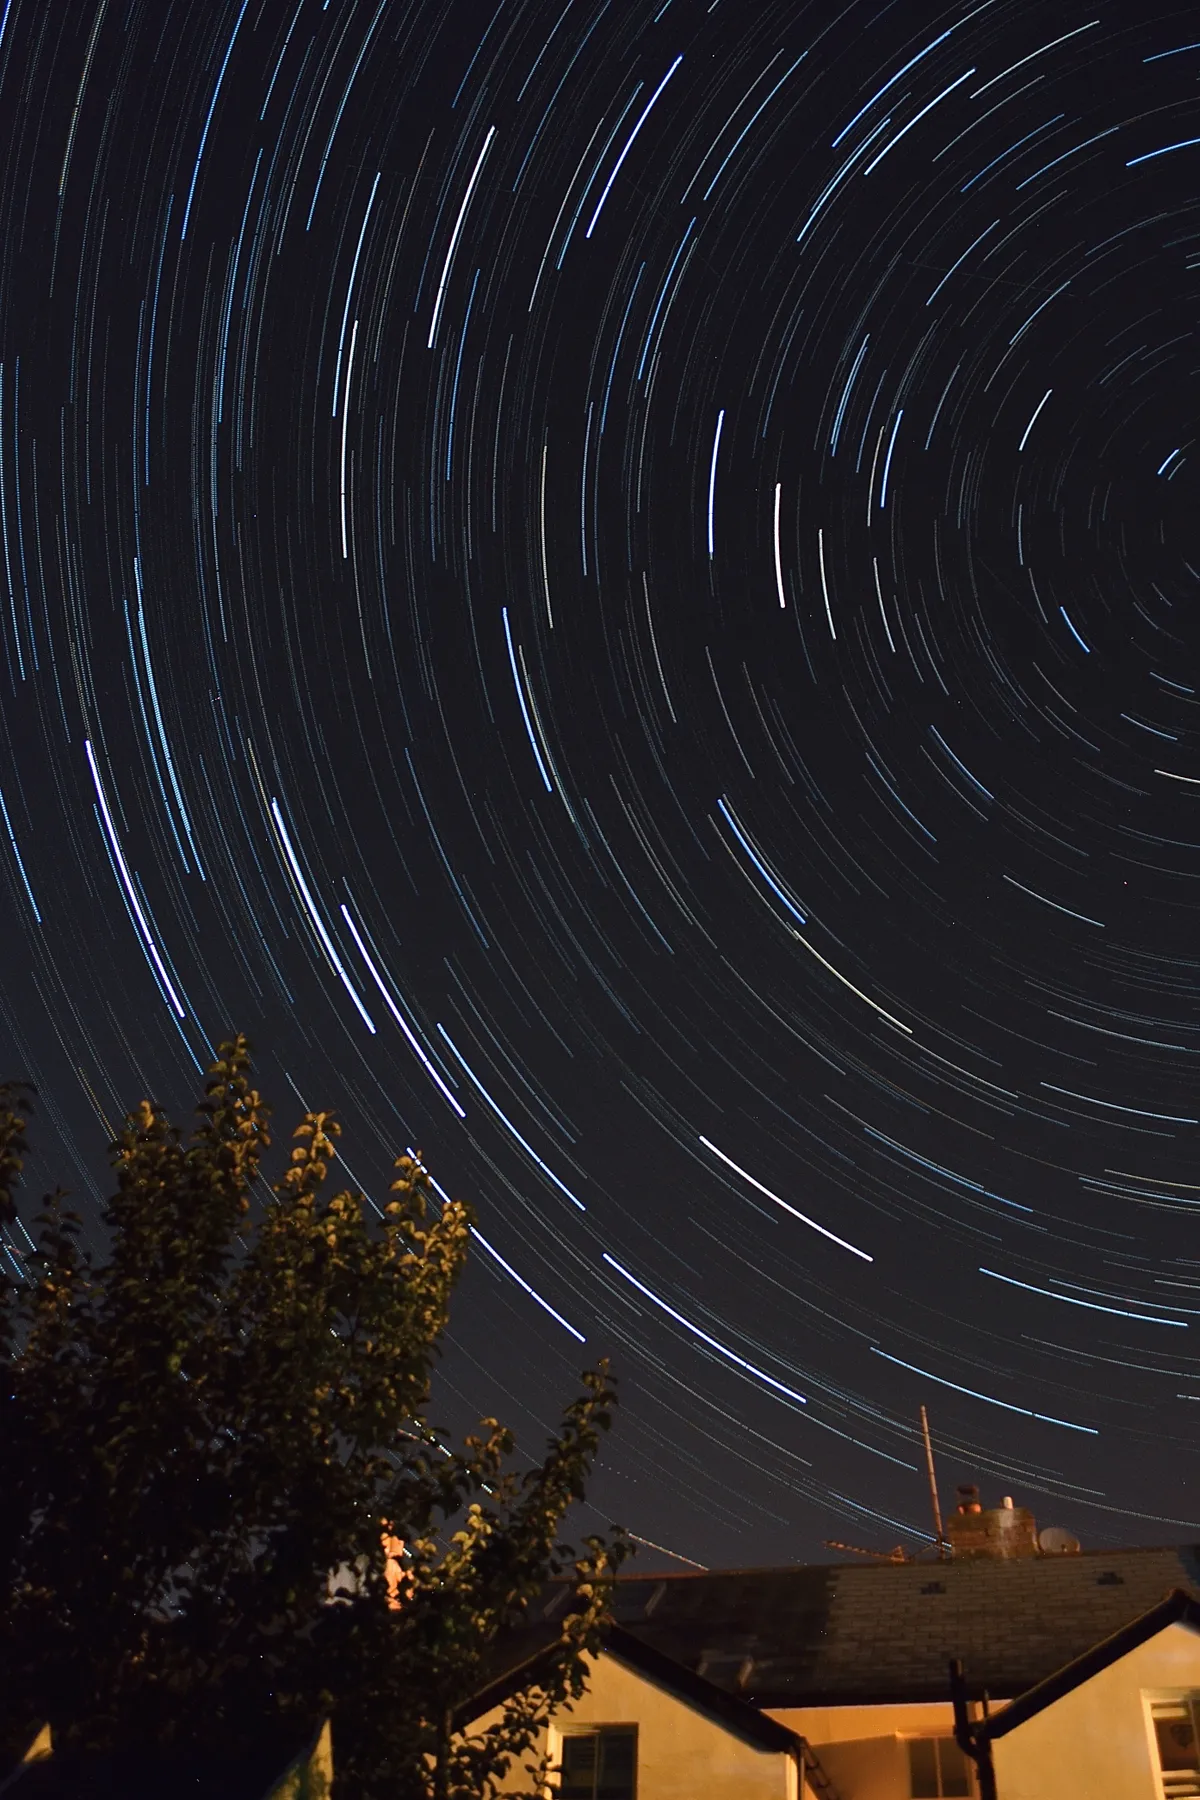
A good star trail can be mesmerising, the circular pattern offering up a new perspective on the rhythms of the night sky.
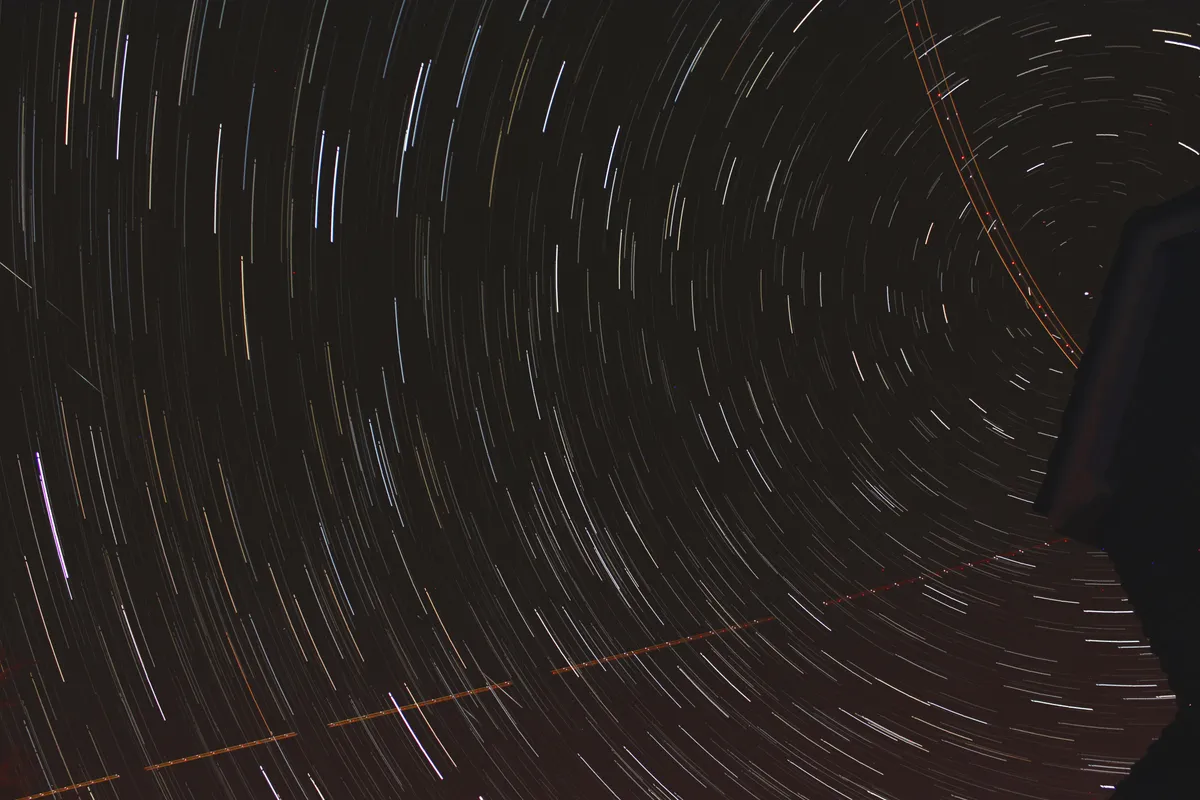
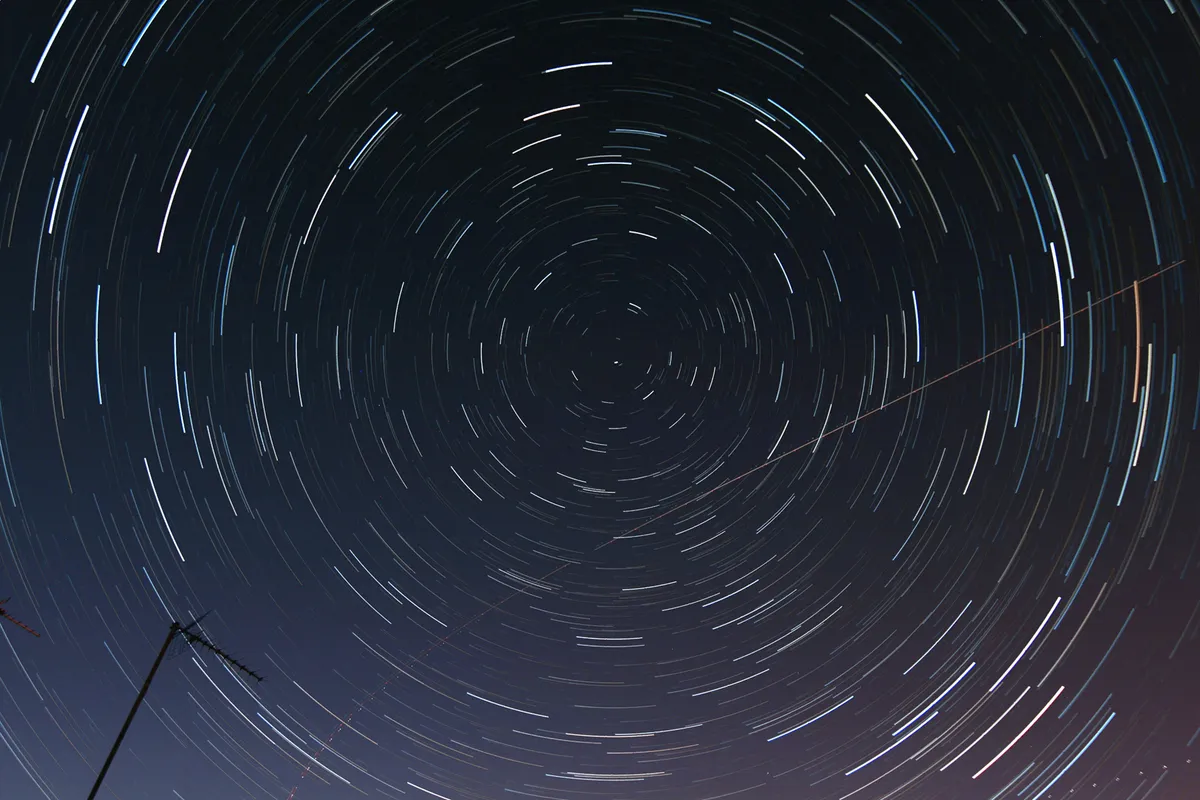
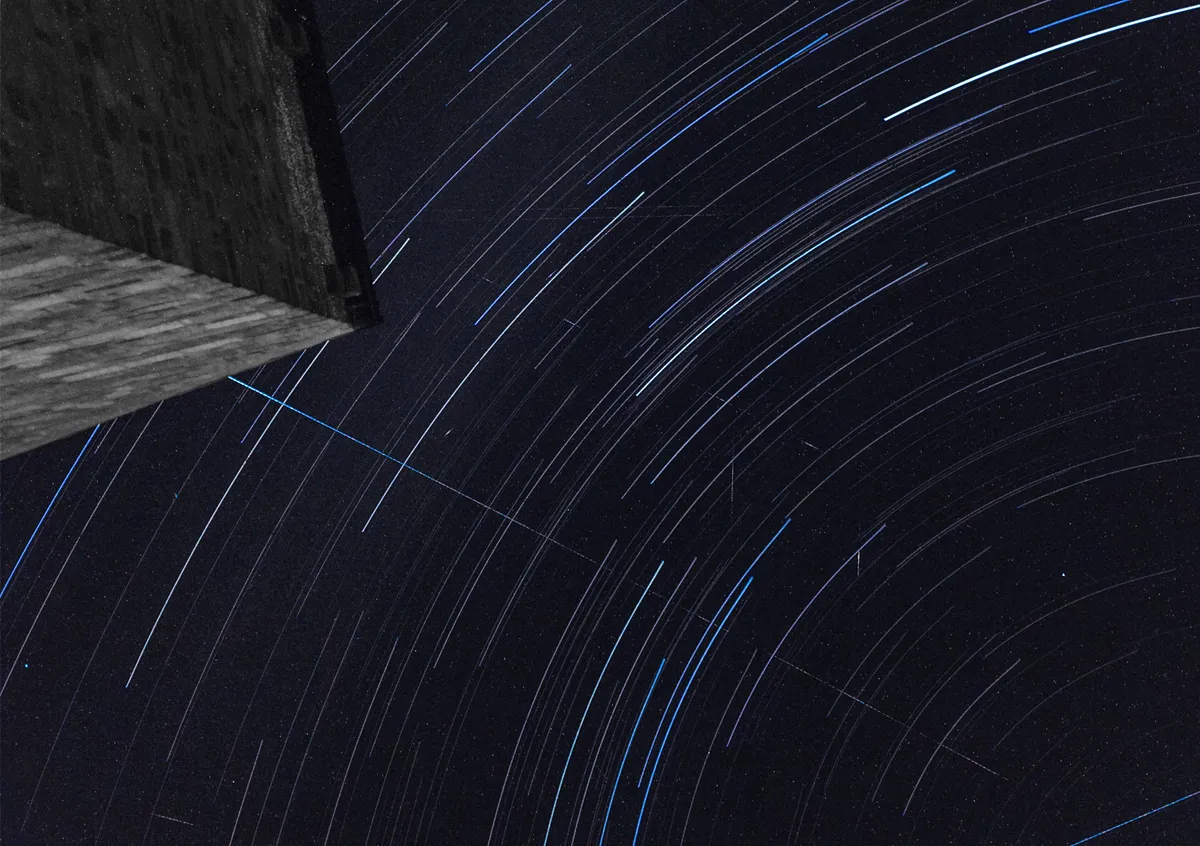
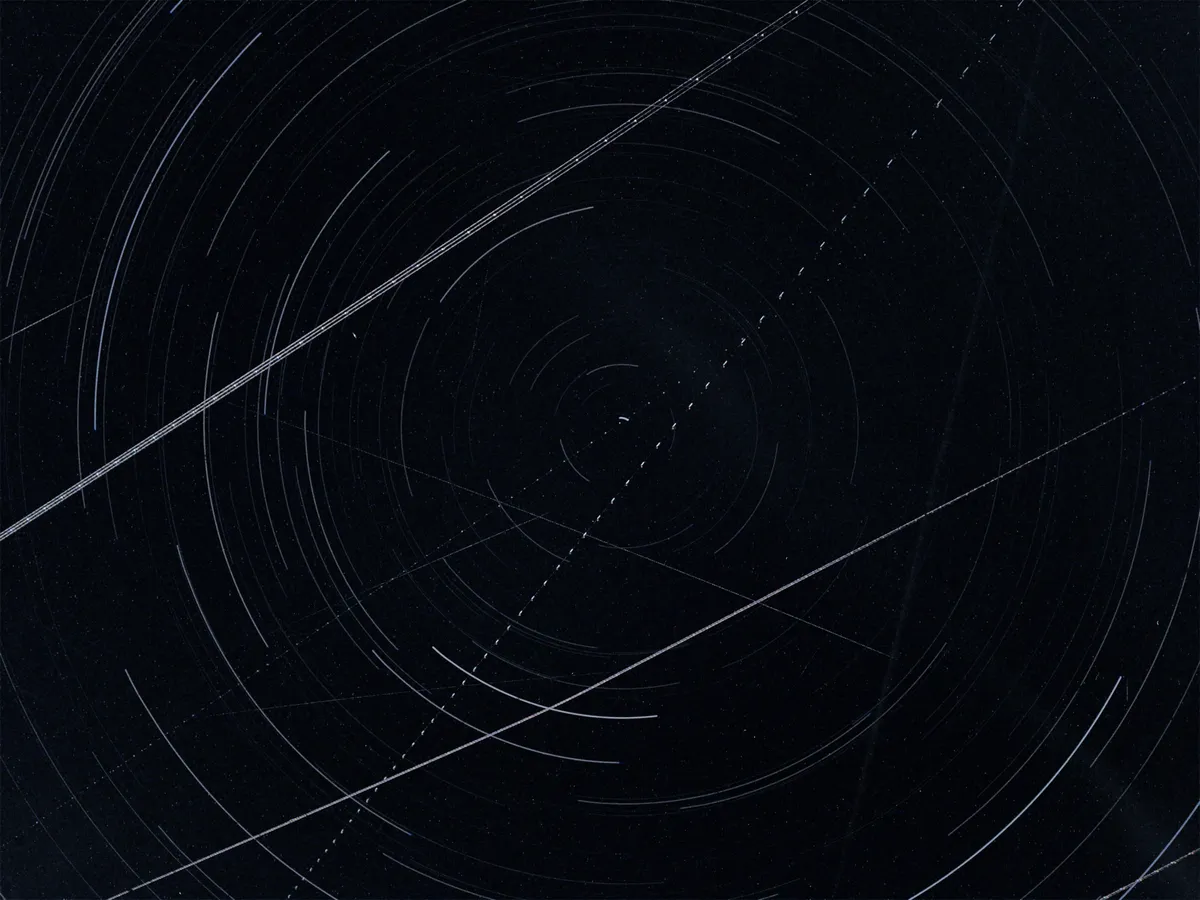
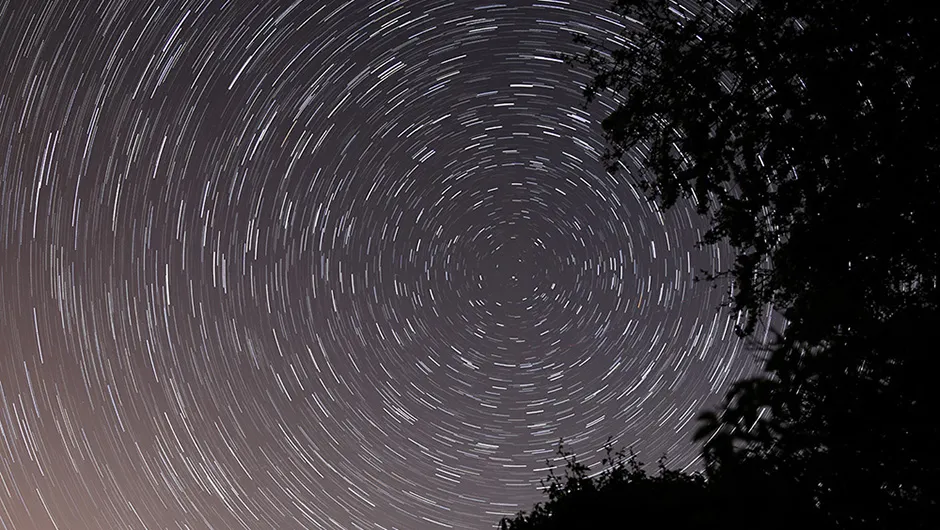
The reason star trails are circular is is caused by the rotation of the Earth.
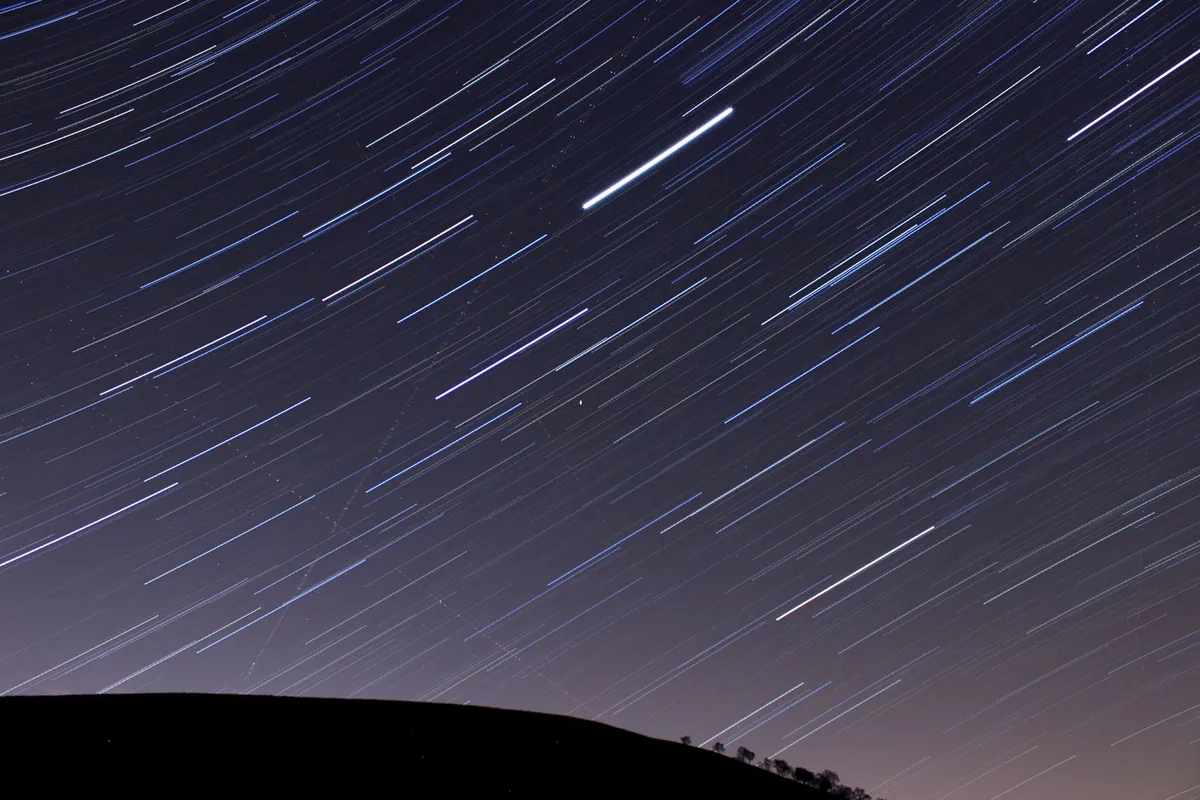
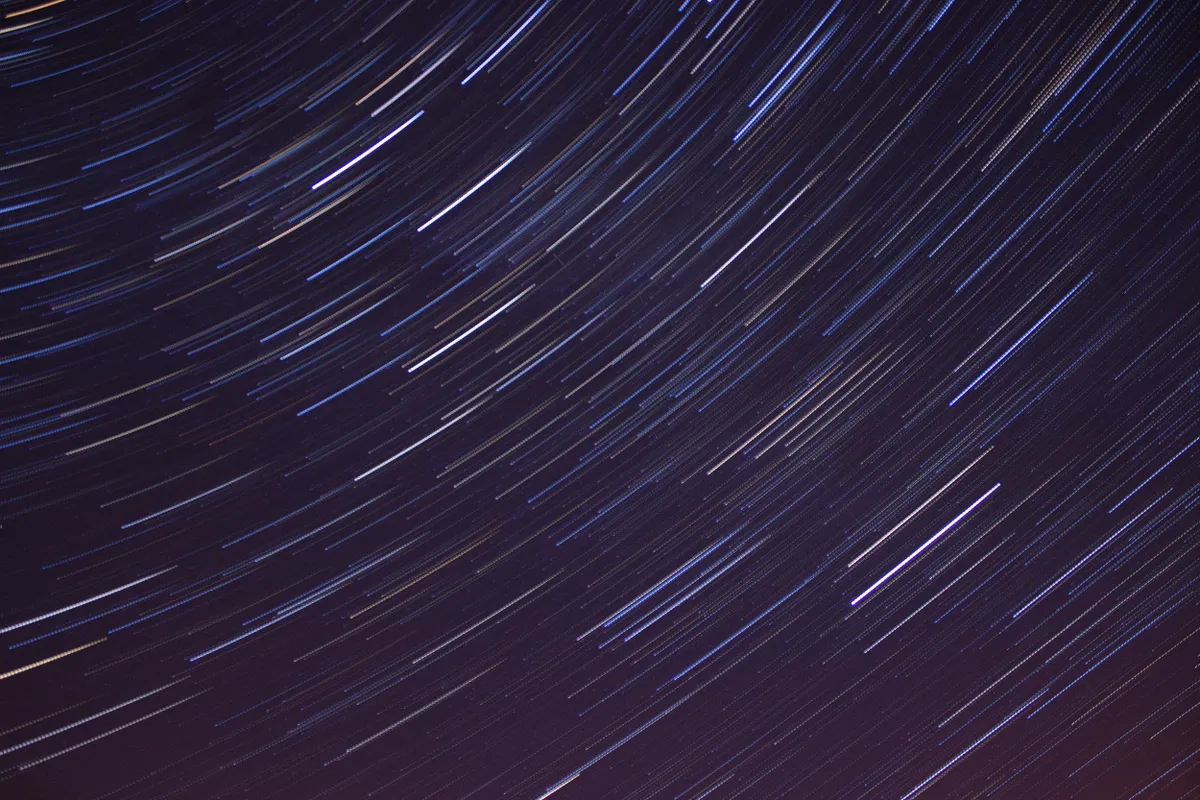
For any given exposure time these trails appear longer and less curved nearer the celestial equator, while nearer the celestial pole the paths are shorter and more strongly curved.
Star trails are all perfectly centred on the celestial pole, and are the arcs of full circles whose diameters increase with distance from the pole.
Careful measurement of a star trail image may reveal that the curves aren’t perfect arcs of a circle.
This is usually because the image was taken with a wide-angle or fish-eye lens, which wasn’t perfectly centred on the north celestial pole.
Although some will gaze at star trail images photos with awe, producing an image that shows the apparent movement of the night sky over an hour or so is a relatively simple technique, and is as much about planning and commitment as it is about skill.
For more on equipment, setting and techniques, read our guide on how to photograph the stars or our beginner's guide to astrophotography.
As with any night-sky photography, too much light will wash out the stars.To maximise the number of stars in the final image, you need to take your astrophoto from somewhere dark, away from artificial light.
However, this doesn’t mean you can’t create a star trail from a back garden in the middle of the city. Indeed it is possible to do astrophotography from a light-polluted city.
You can, and the finished image can still be impressive, but it won’t have as many stars as one taken in the countryside.

If you want to capture the classic ‘rotating sky’ effect like in the image above, in the northern hemisphere you will have to shoot north at Polaris. For more on this, read our guide on how to find the North Star.
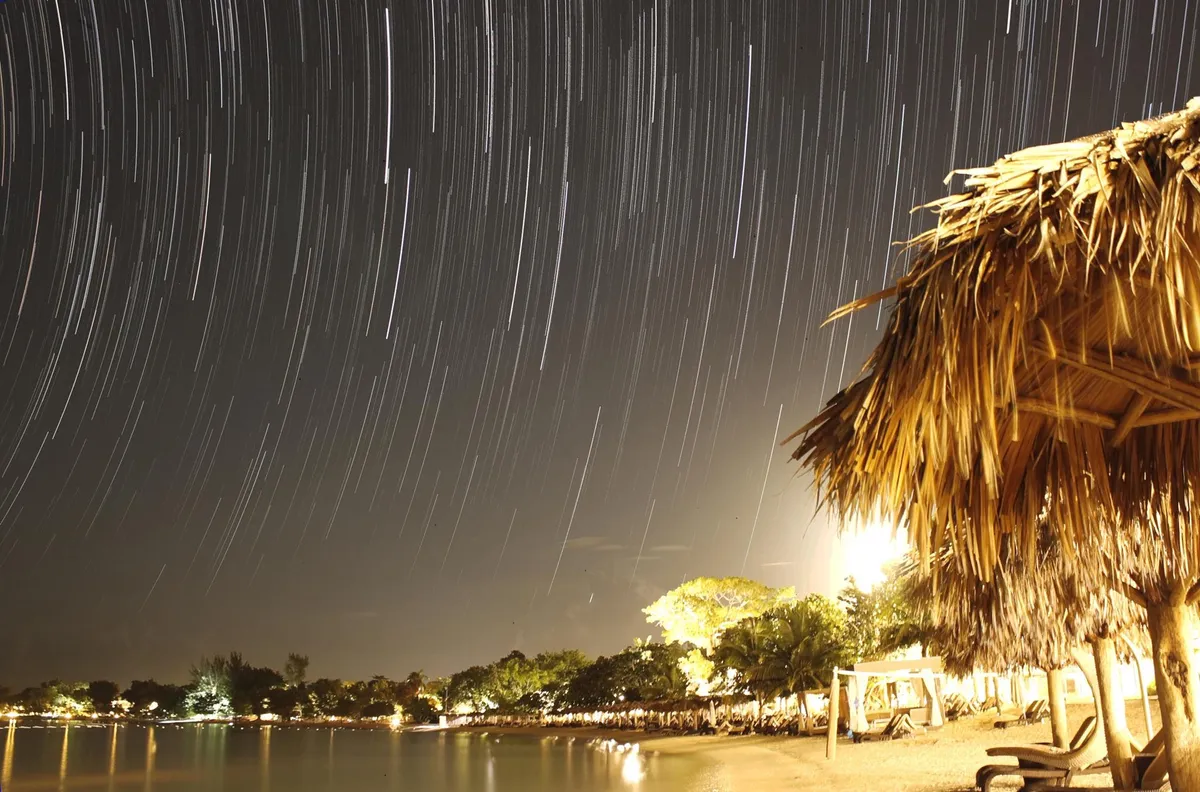
If you're shooting under a southern hemisphere sky, point south at the Southern Cross (from March to September) or near bright stars Achernar or Canopus (from October to February).
Take a compass with you in daylight and you can plan your shot before it even gets dark. Remember to follow current travel restrictions wherever you are, and stay safe at all times.
Just as important as avoiding light pollution is the position of the Moon. A lot of astro imagers have three weeks off every month and only venture outside during the week of a new Moon, when the slim lunar crescent rises late and sets early.
However, while a bright Moon does wash out a lot of stars, it’s perfectly possible to capture good-looking star trails even near the full phase.
Moonlight causes a bluish night sky, but it can illuminate the foreground nicely – it all depends on your shot.
For weekly Moon phases delivered directly to your email inbox, sign up to the BBC Sky at Night Magazine e-newsletter.
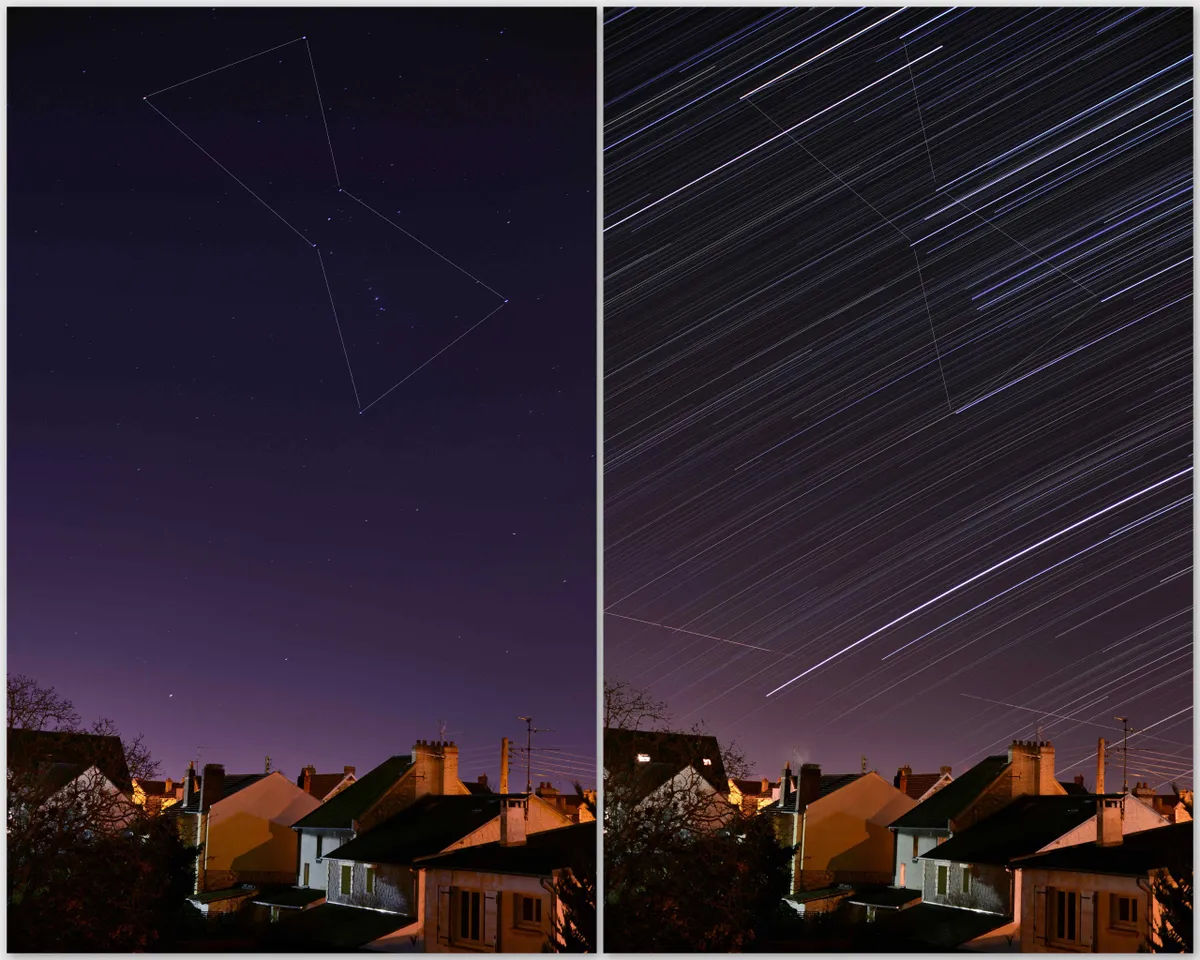
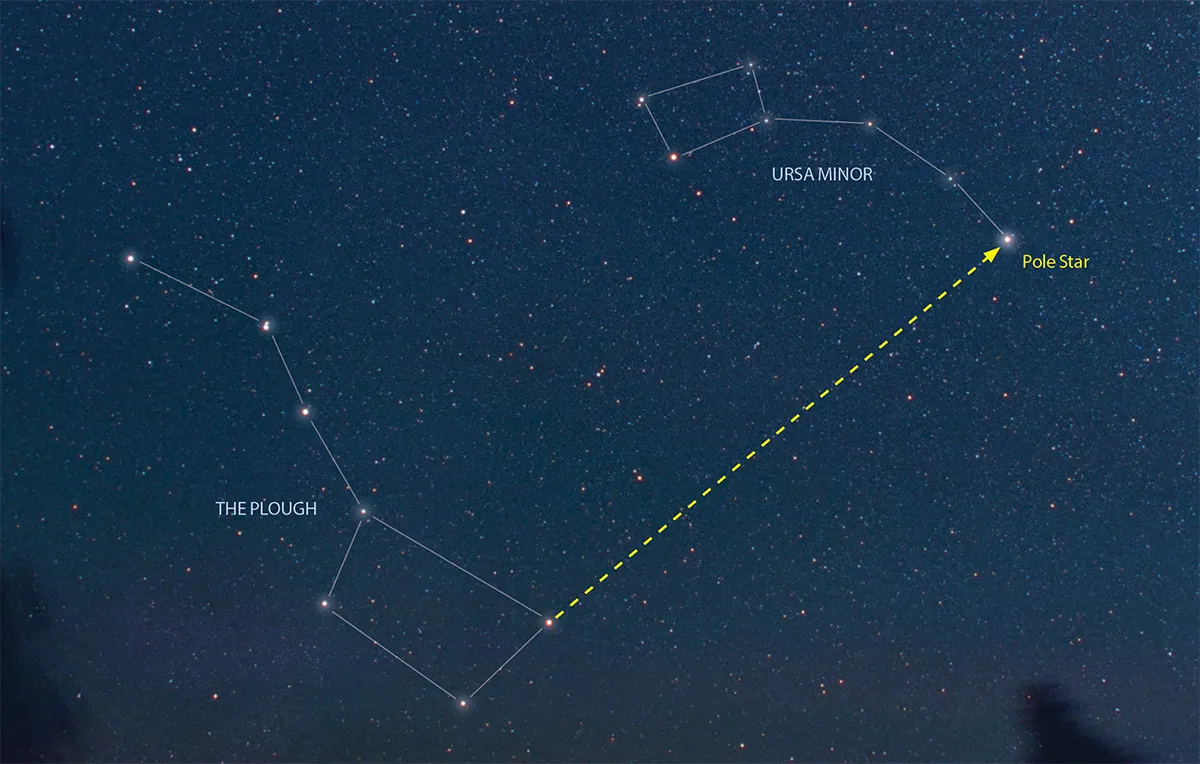
How to find Polaris
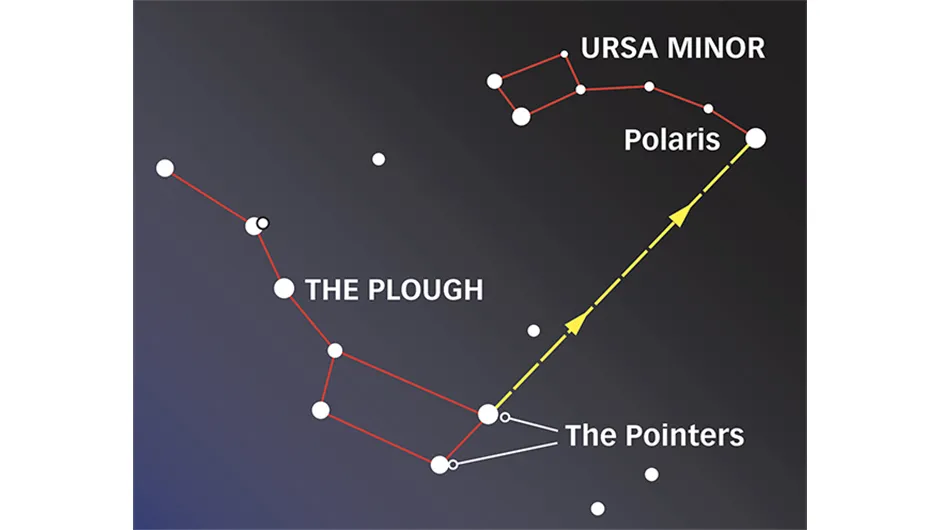
If you’re going to shoot star trails from the northern hemisphere, you need to know exactly where to find Polaris, the pole star.
Earth’s axis points almost directly at it, so it sits permanently above the north pole in the northern sky. The rest of the stars appear to revolve around it as Earth rotates.
Locating Polaris is easy if you star-hop from the pointer stars in the Plough asterism, Merak and Dubhe.
These are the two stars on the outside of the Plough’s bowl. Imagine a line from Merak to Dubhe, and carry on for about five times the distance between those two stars.
Although Polaris is only the 48th brightest star, it is fairly prominent in its surroundings.It appears higher in the sky the farther north you travel (and vice versa): from the UK, it’s between 50° and 59° altitude.
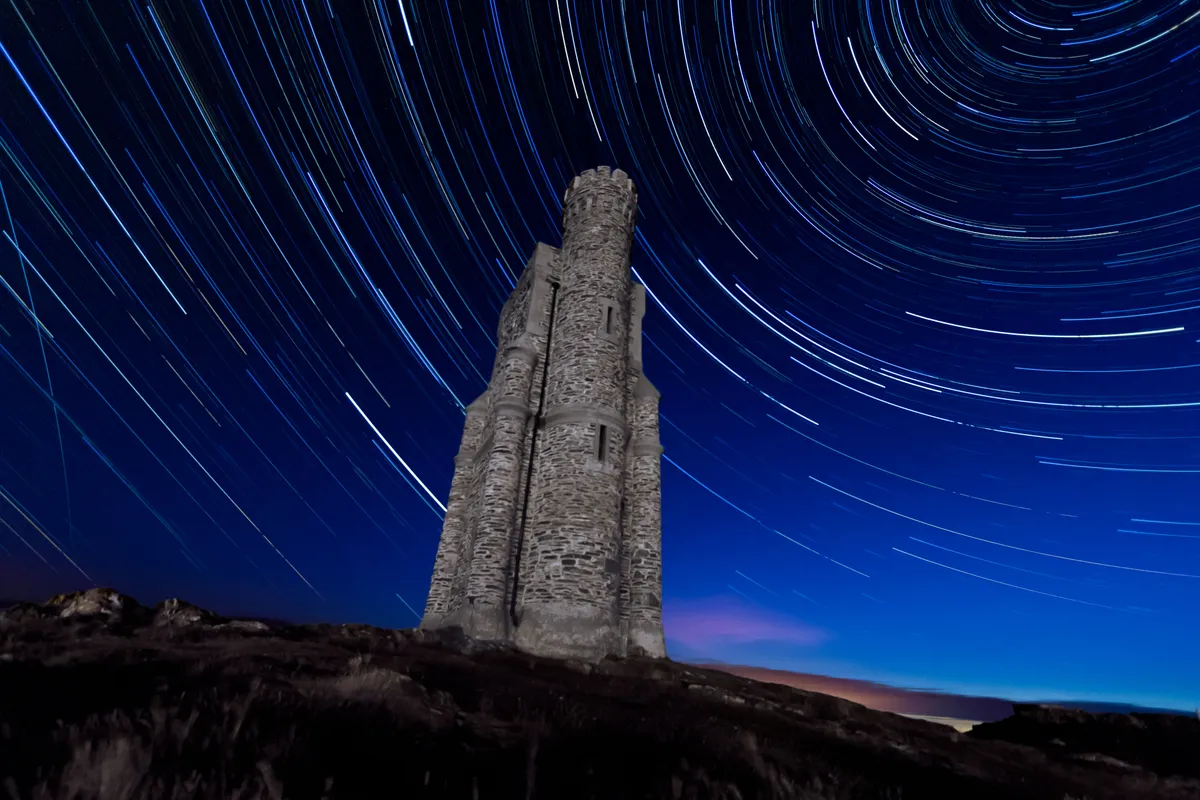
Exactly where Polaris sits in the night sky from where you are on the planet can dramatically alter your composition choices.
For instance, in the UK it’s likely that Polaris will sit way above any building you want to include unless you get in close, and it can be tricky getting much foreground in.
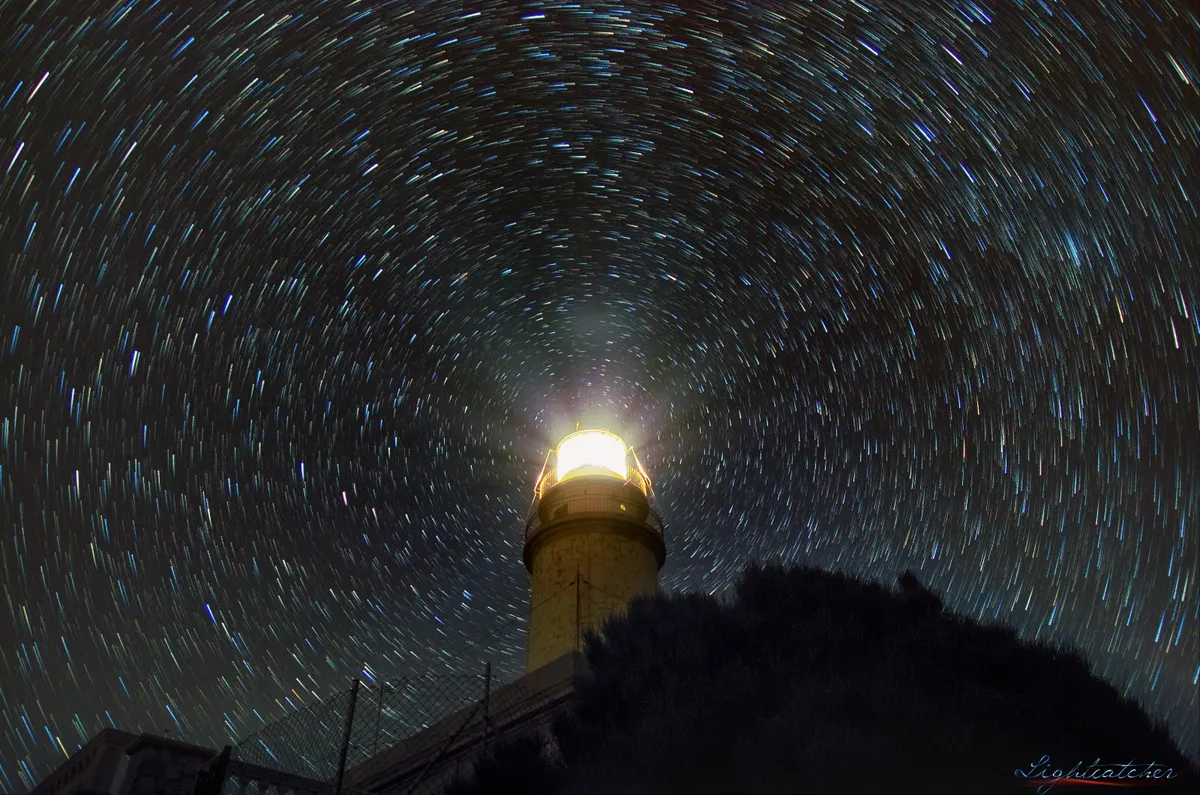
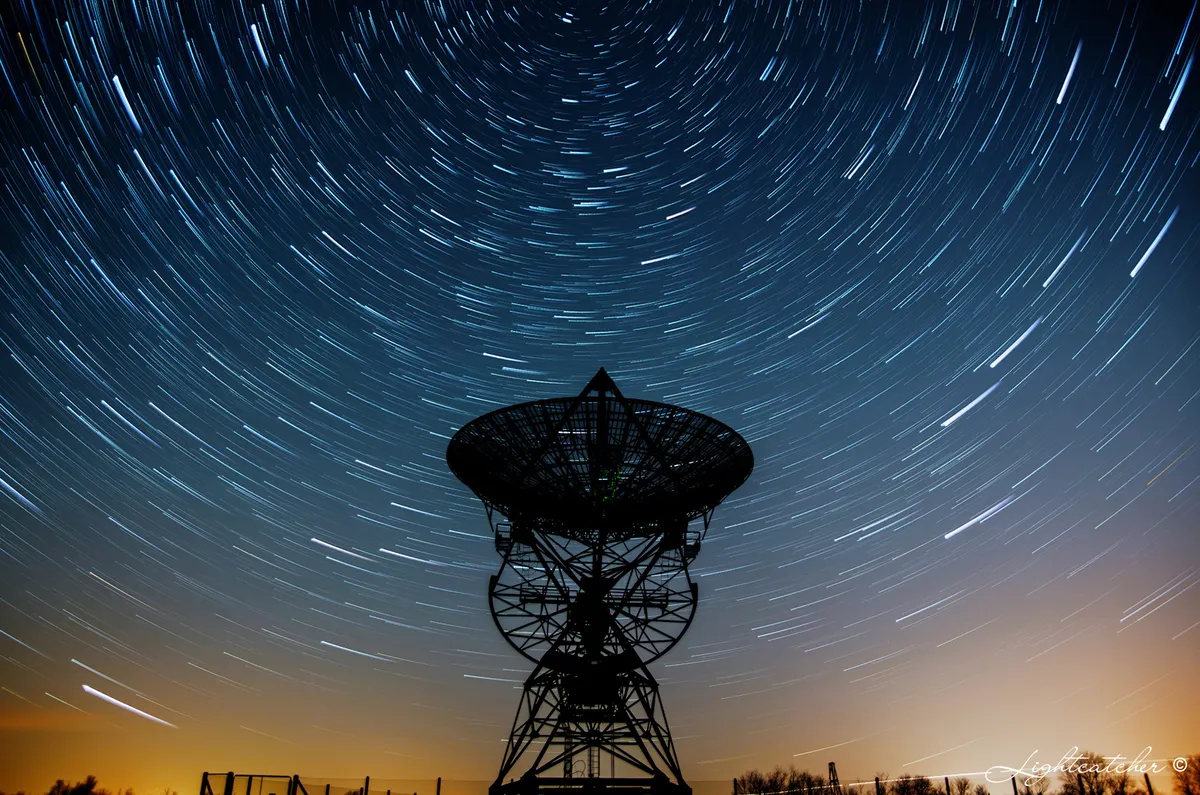
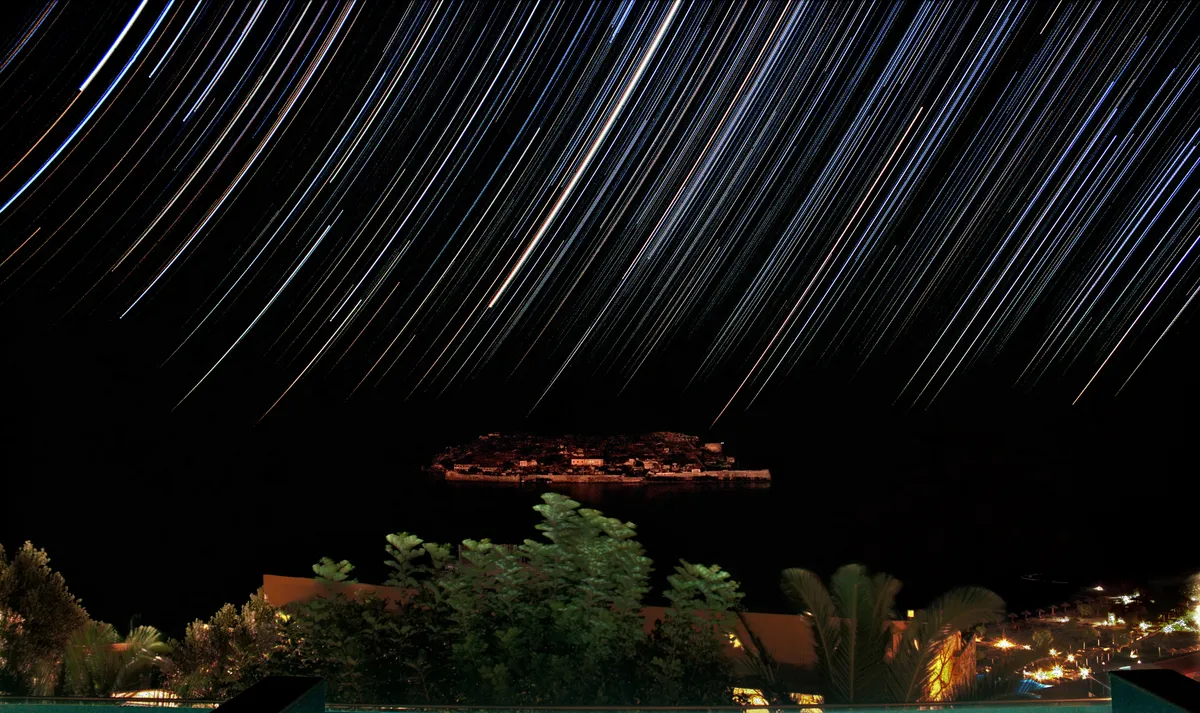
However, you must get something in the foreground since the presence of star trails alone will not produce an eye-catching photograph.
The ‘rule of thirds’ applies; imagine a noughts and crosses board on your viewfinder and put something on one or more of the four corners of the middle square.
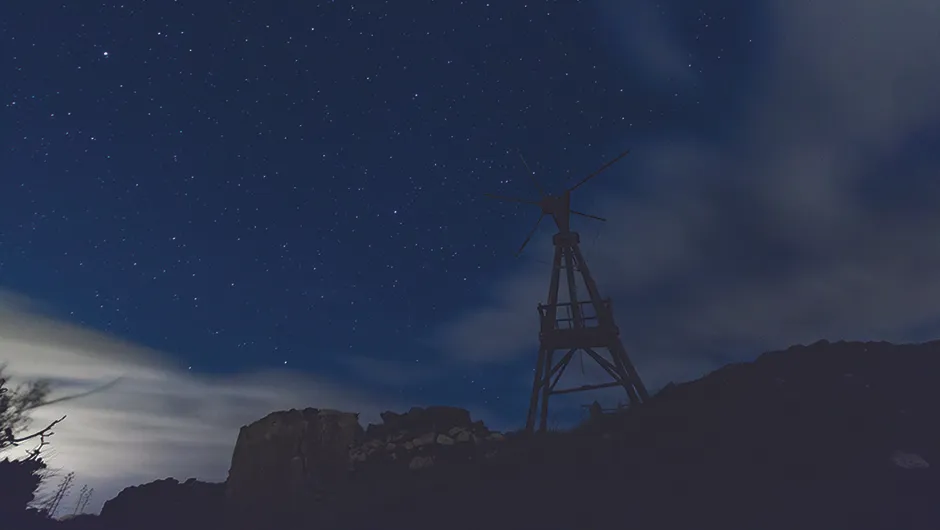
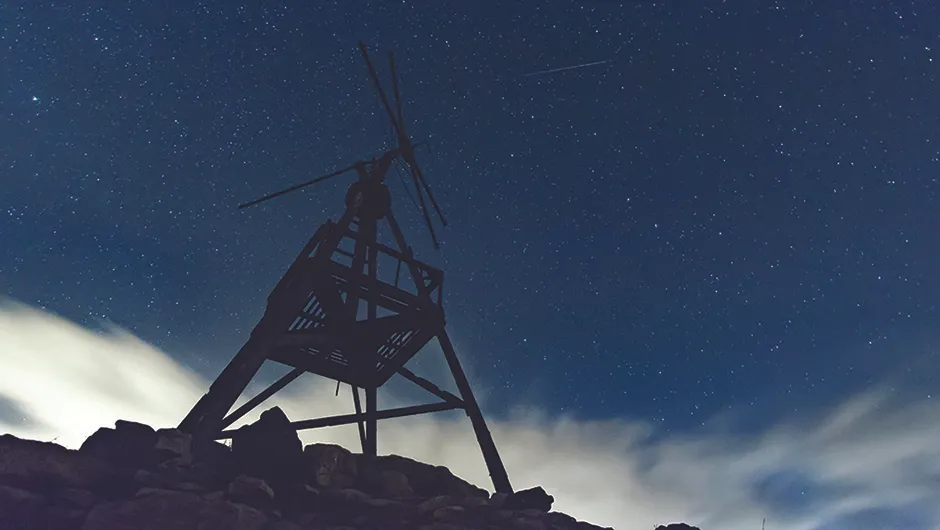
Landscapes with a lot of depth work well with star trails, but so do derelict or grand buildings, mountains, striking rock formations and unusual urban landscapes.
There are two ways to produce a star trail; the first is to open the shutter on your camera for a long period, and the second is to take multiple short exposures and stack them into one image.The ‘old’ way of opening the shutter for over an hour is now best avoided.
“It was fine when using film cameras, but digital cameras’ sensors just get too hot, so it’s best to take lots of 30-second exposures, about 15 seconds apart, and stack them together,” says Simon Waldram, star trail tutor for Stars By Night in Fuerteventura.
However, you can also choose between shooting about 10-20 three-minute exposures or 50-100 exposures of about 30 seconds.The latter is easier.
How to shoot star trails
If you’re shooting multiple 30-second images to stack later – which you should if you’re using a digital camera – then the settings are the same as for any night-sky shot.
Use a tripod, a wide-angle lens on the lowest aperture setting possible, and shoot at around IS0 800 to avoid too much noise.
“Always shoot in RAW format,” says Simon.“That way you can use Photoshop to reduce the noise and any light pollution.”
Set the lens to manual focus, then either pre-focus it to infinity (some cameras have a ∞ symbol on the lens), or shine a torch on something 20m or so away and focus on it using autofocus (then switch back to manual).
Tungsten white balance can help reduce the effects of any light pollution.
You can experiment with light, too. Once you have finished capturing your star trail images, consider taking a couple more using one-second bursts of torchlight on your subject to create different lighting effects.
You can then either use them or discard them when you come to stack your images, thus creating a few different versions of your final shot.
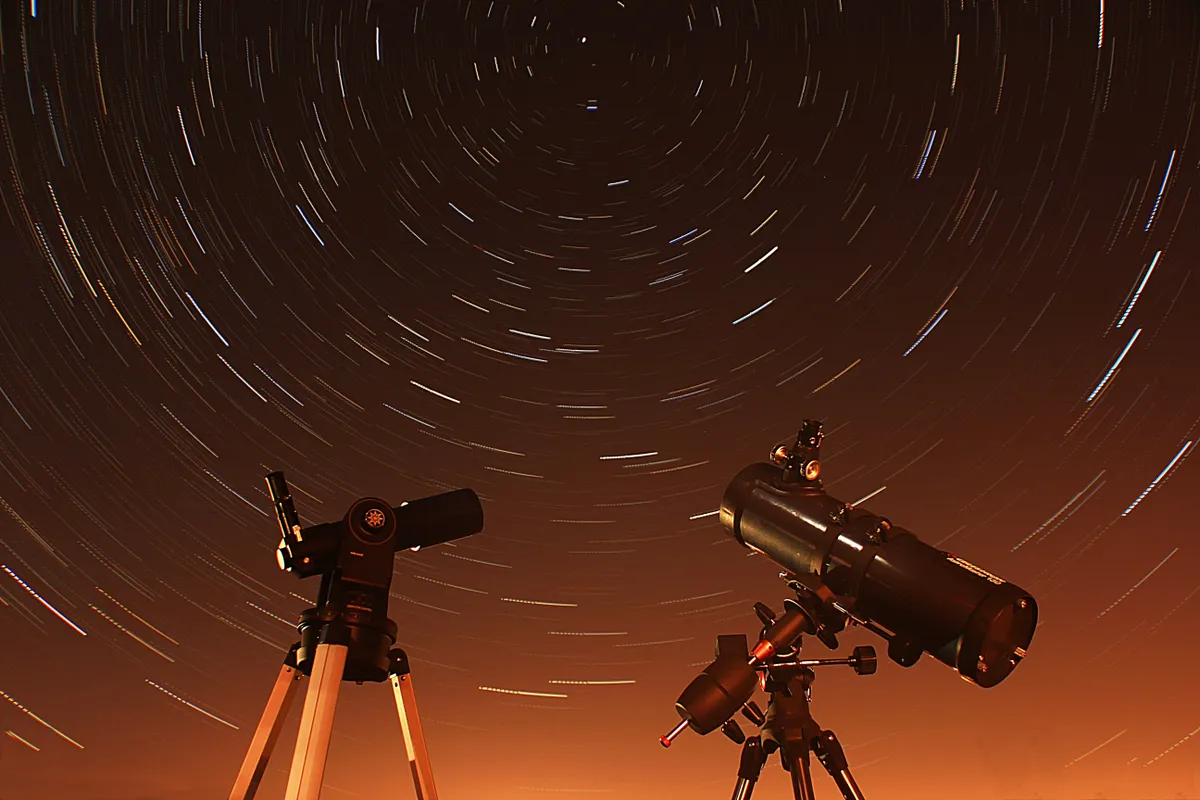
Equipment for star trail photos
A planetarium or other stargazing app is useful if you’re not confident in finding Polaris (or the celestial south pole if you’re near to or beyond the equator).
For the star trail photograph you’ll need a DSLR (a full frame model is best, but a crop-sensor works fine) on a tripod, ideally with a wide-angle lens. Keep yours in pristine condition with our guide on how to clean a DSLR camera.For settings and techniques, read our DSLR guide.
A torch is also handy for ‘light painting’, though the old fashioned incandescent bulbs are better than LED models, which create a very cool light.
To avoid any camera shake, which can easily ruin a star trail, use a remote shutter release cable, which attaches to the side of your camera.
A remotely operated intervalometer will make your camera completely autonomous, which makes our final accessories essential: a blanket, a chair and a like-minded friend to keep you company.
Software for producing star trails
Few of us want to spend hours editing photos, but it’s crucial for producing a good, clean image.
Photographers all have their favourite photo-editing suite, but it’s hard to beat Adobe Photoshop (paid) for night-sky images.
It’s possible to batch-process the 80-200 images you might have from a star trail shoot relatively quickly, though a computer with 16GB RAM helps enormously, so an average laptop will be slow.
Another capable software option is StarStaX (free).
This is a small application that lets you drag in multiple images that it then merges into a single star-trail image before your very eyes.
Photographing star trails: step-by-step
1
Identify a subject
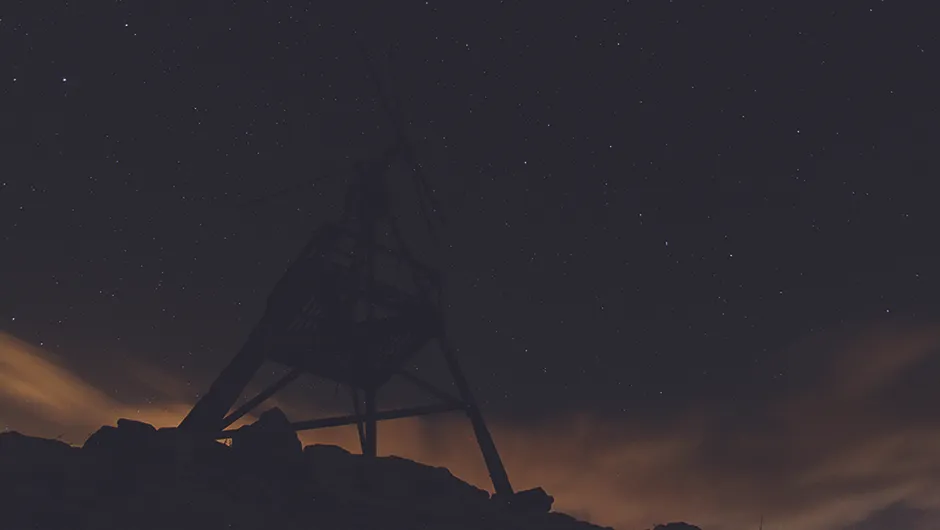
Think about composition. Look around for a subject in the foreground that will help you to give the final image an unusual point of interest, and photograph it from various positions both near and far.Identify where Polaris is and decide where you want it in your image.If it’s cloudy, wait until conditions improve.
2
Take some test shots
Zoom in to check that your focus is sharp.Don’t rush this.
Decide how many shots you’re going to take and begin shooting, leaving 15 seconds between each shot for the sensor to cool down.If you wait less than 15 seconds you will be left with hot pixels and noise.Any longer and you will start to see gaps in the trail lines.
3
Begin shooting
Insert a fresh battery. If you’re using an intervalometer to take the images, you can sit back and relax while the camera captures the images.If you’re pressing the shutter release button manually for each shot, don’t touch or kick the tripod while doing so; the slightest nudge will ruin a trail halfway through.
4
Batch-process your images
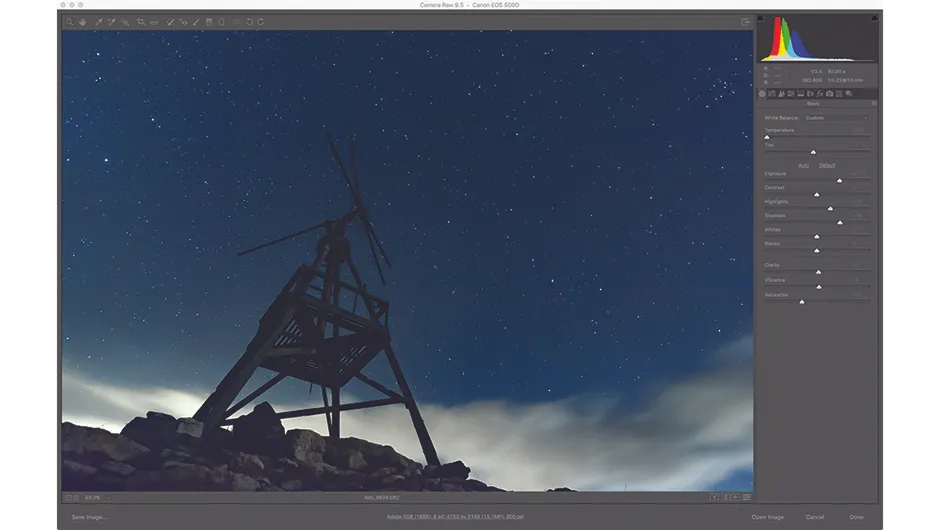
Photoshop lets you process one single image then apply all your changes to every image, a technique called batch processing. This is best done on a desktop computer with at least 16GB RAM.Cool the colour temperature, increase the exposure and sharpness, use the luminance slider to reduce noise and experiment with the de-haze tool.
5
Layer the images
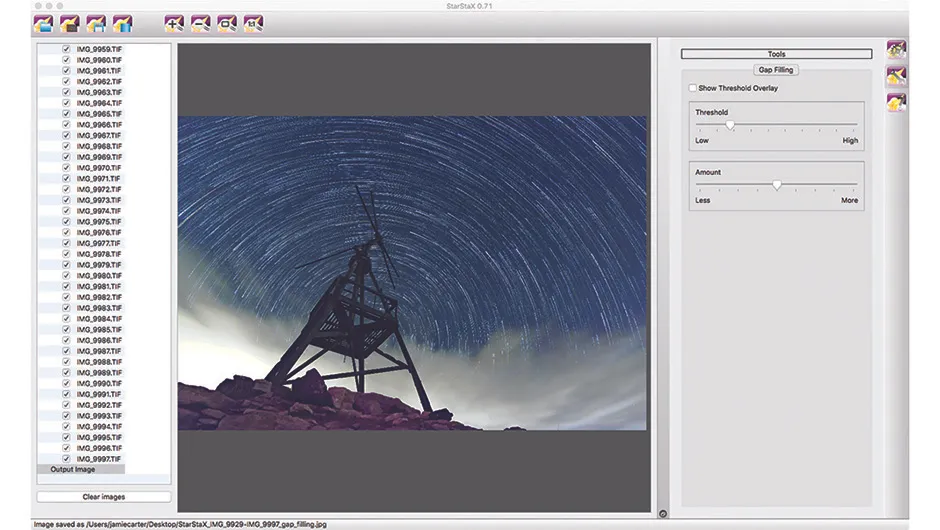
Drag the processed RAW images into StarStaX and watch as a trail image is produced; the process takes about five minutes, with options to create ‘comet tails’.If you have aircraft tail-lights in some shots, identify which frames they are and delete them before re-doing the StarStaX step and checking the box marked ‘gap-filling’.
6
Admire the finished image
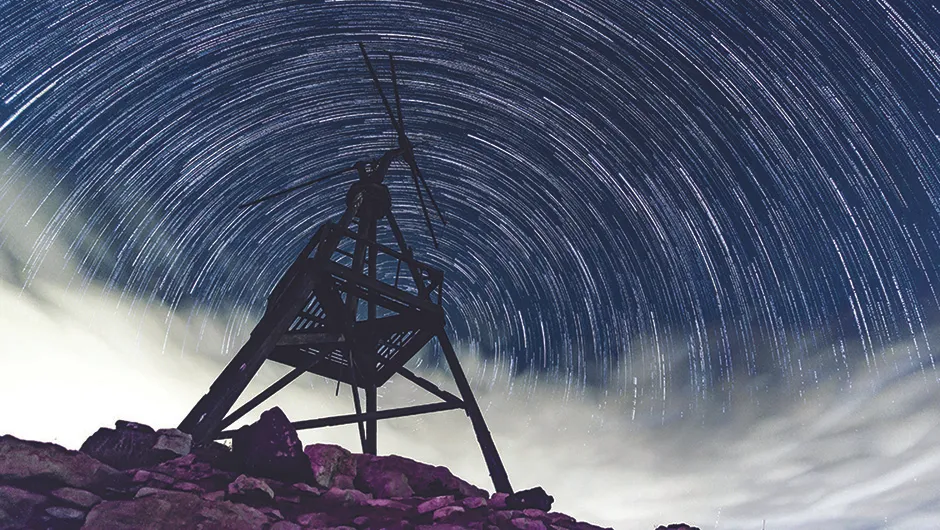
When StarStaX has finished layering the photos, you are done!If you timed your shots correctly, your trails should be free of gaps.All that is left is to save the finished image. Although StarStaX can only generate a compressed Jpeg for the final result, it is high resolution – and a great result for a few hours’ work.
Have you managed to captured a star trail image? We'd love to see it! get in touch via contactus@skyatnightmagazne.com or on Facebook, Twitter and Instagram.
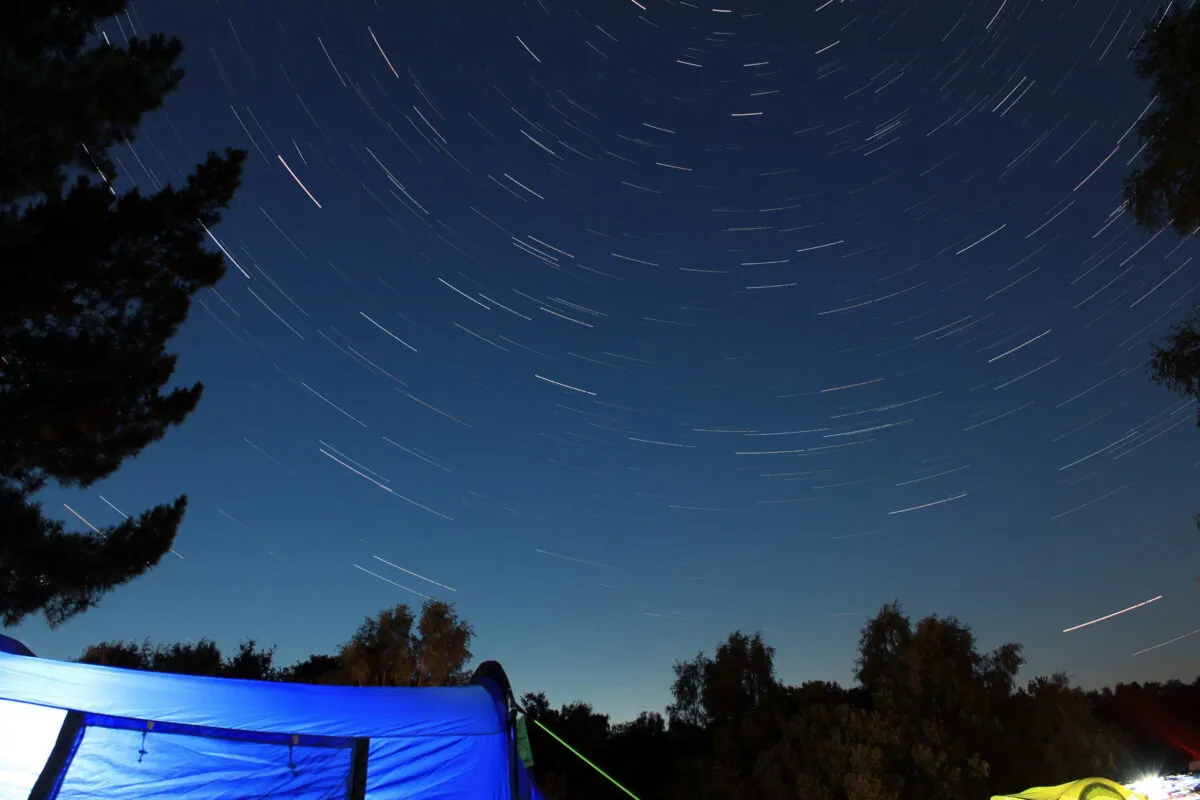
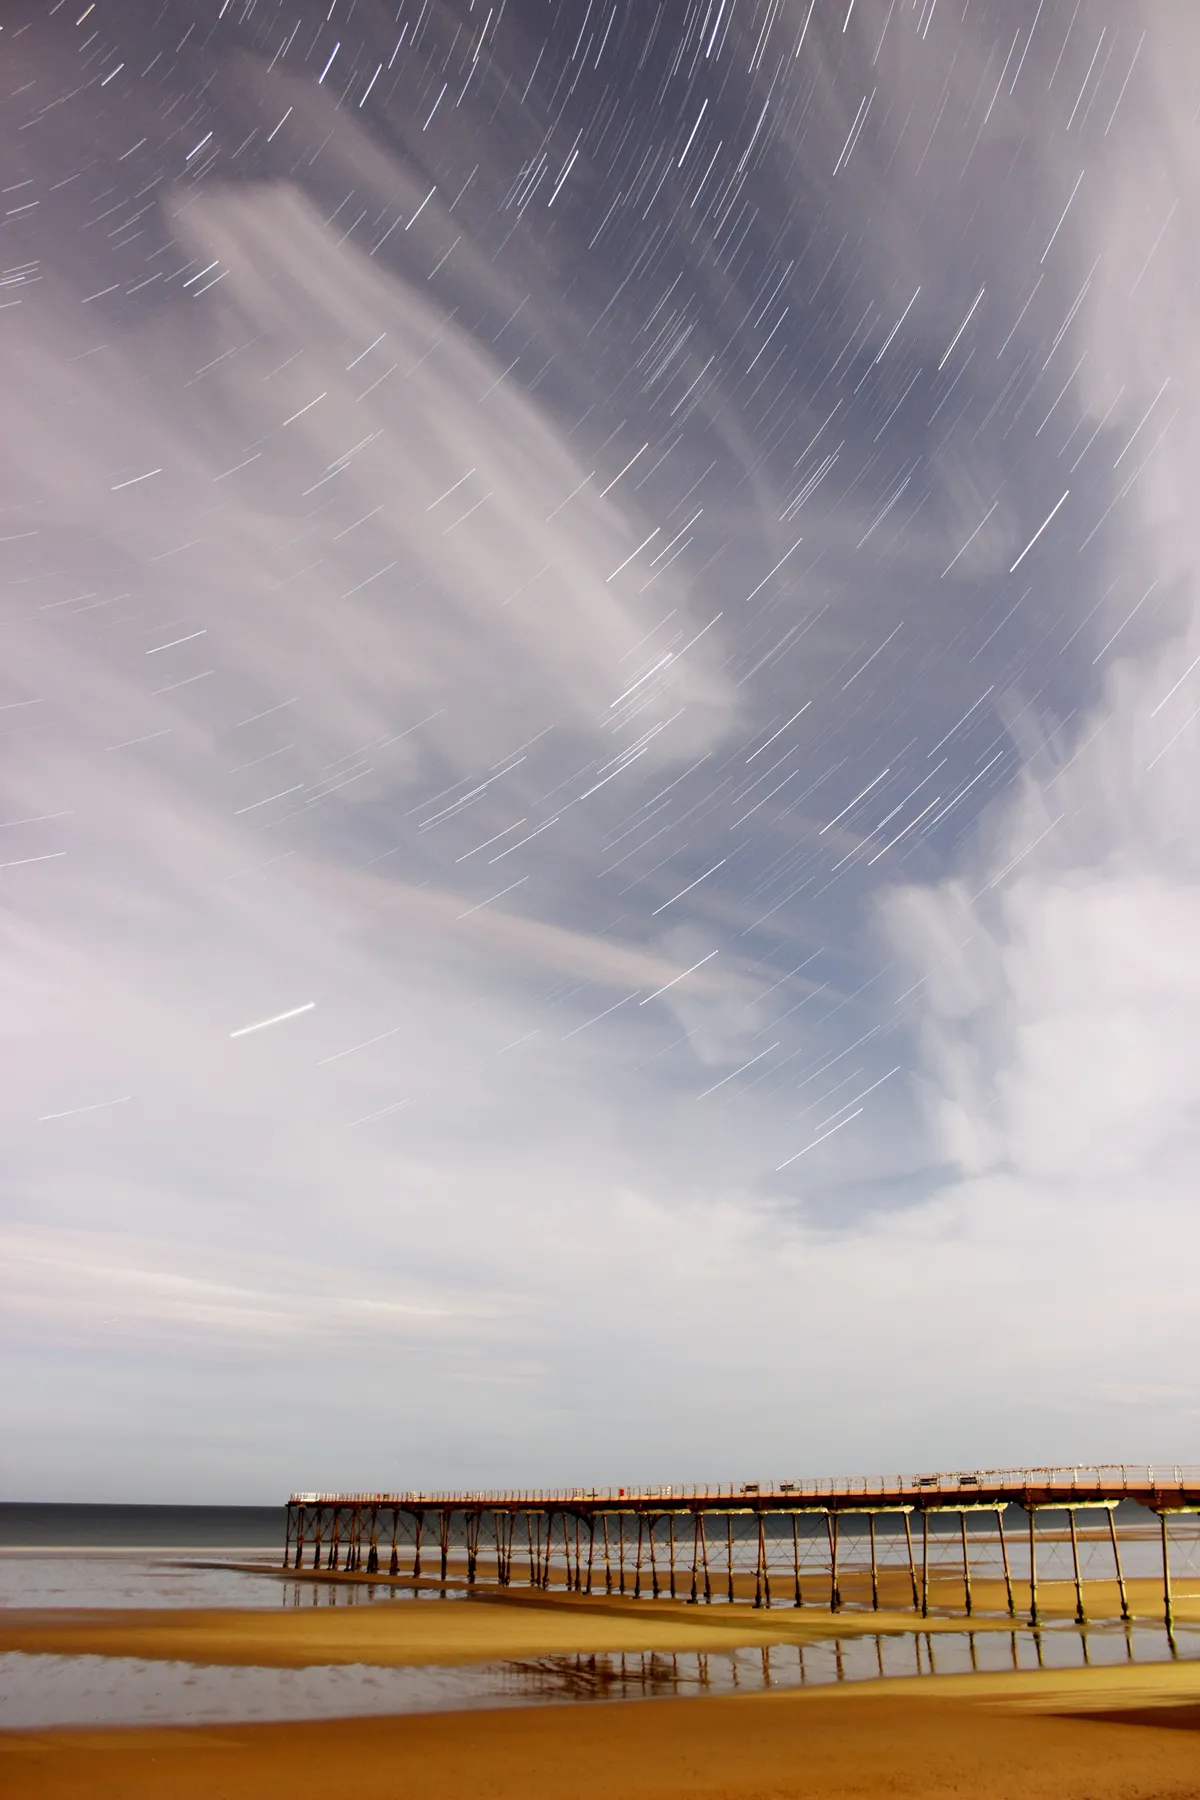
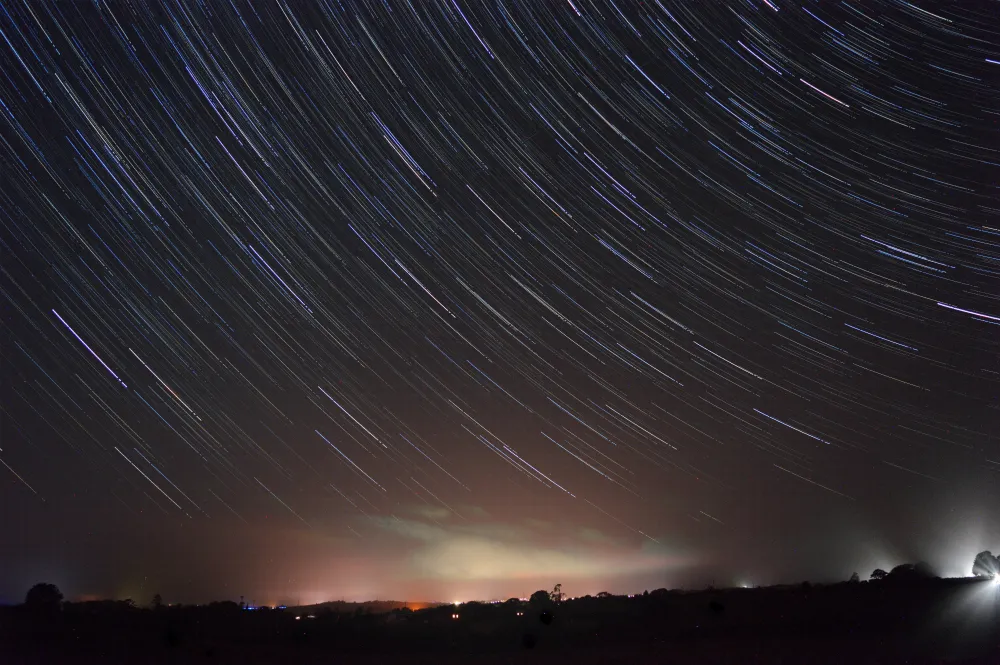
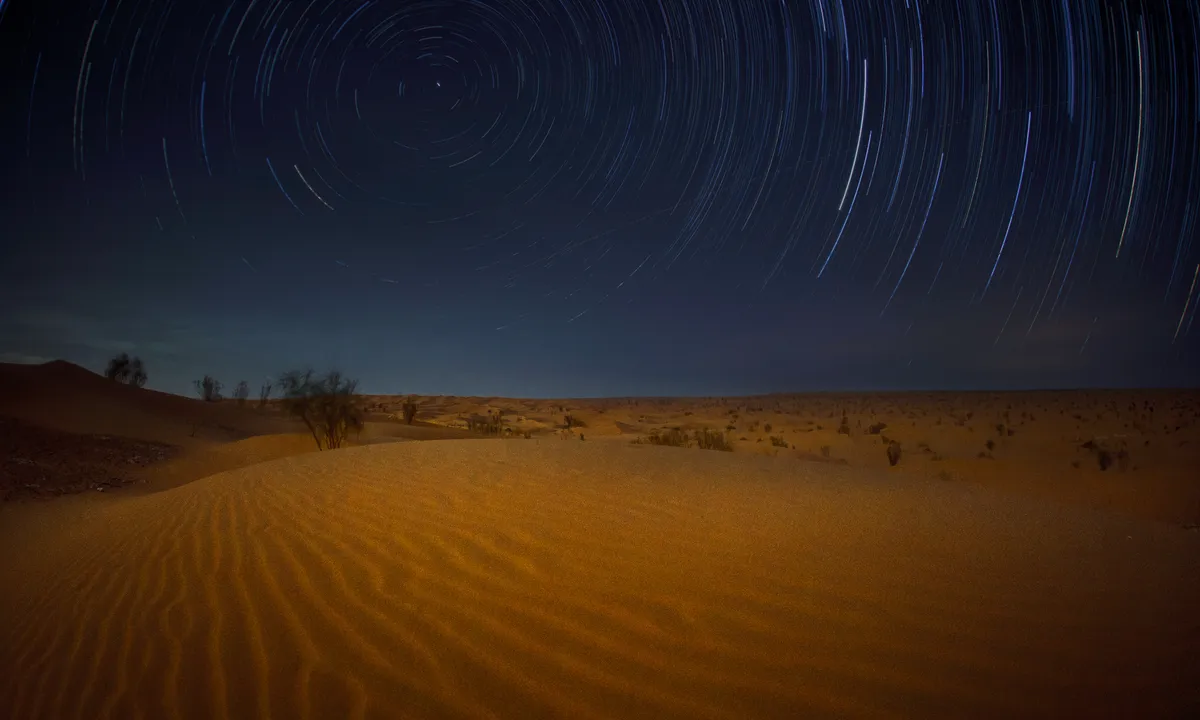
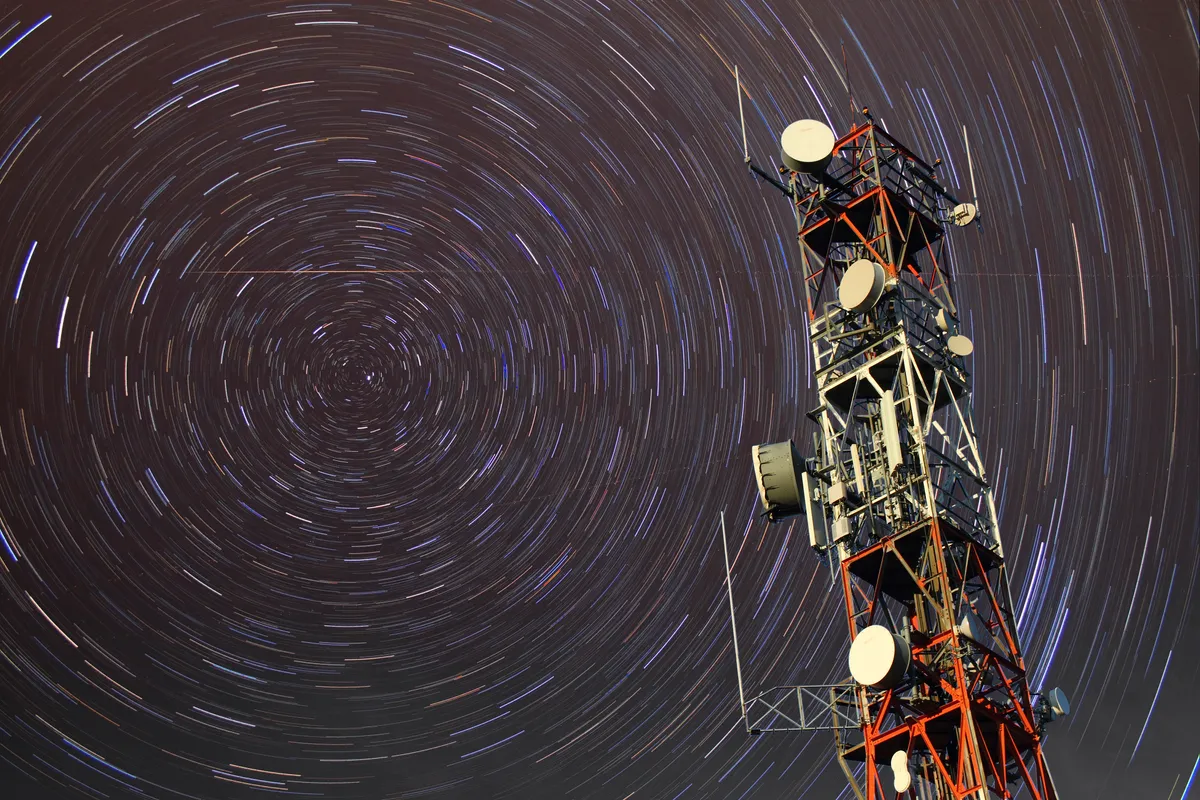
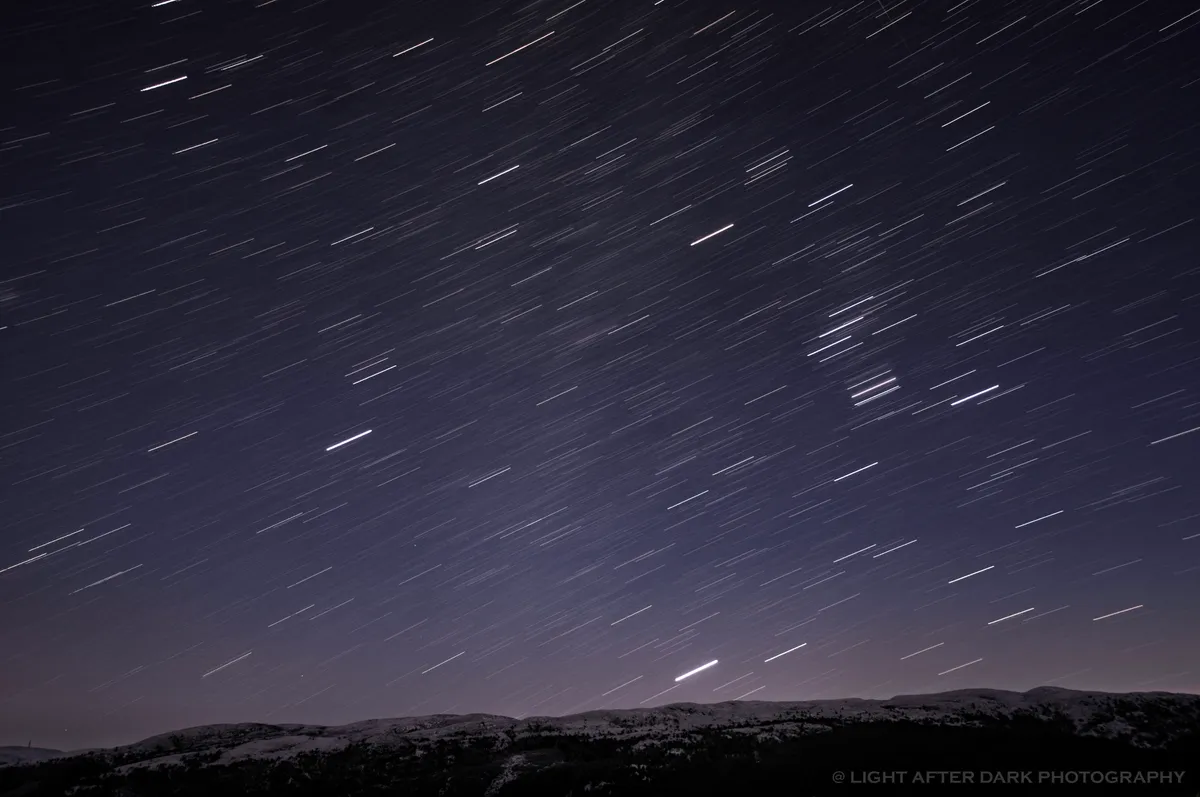
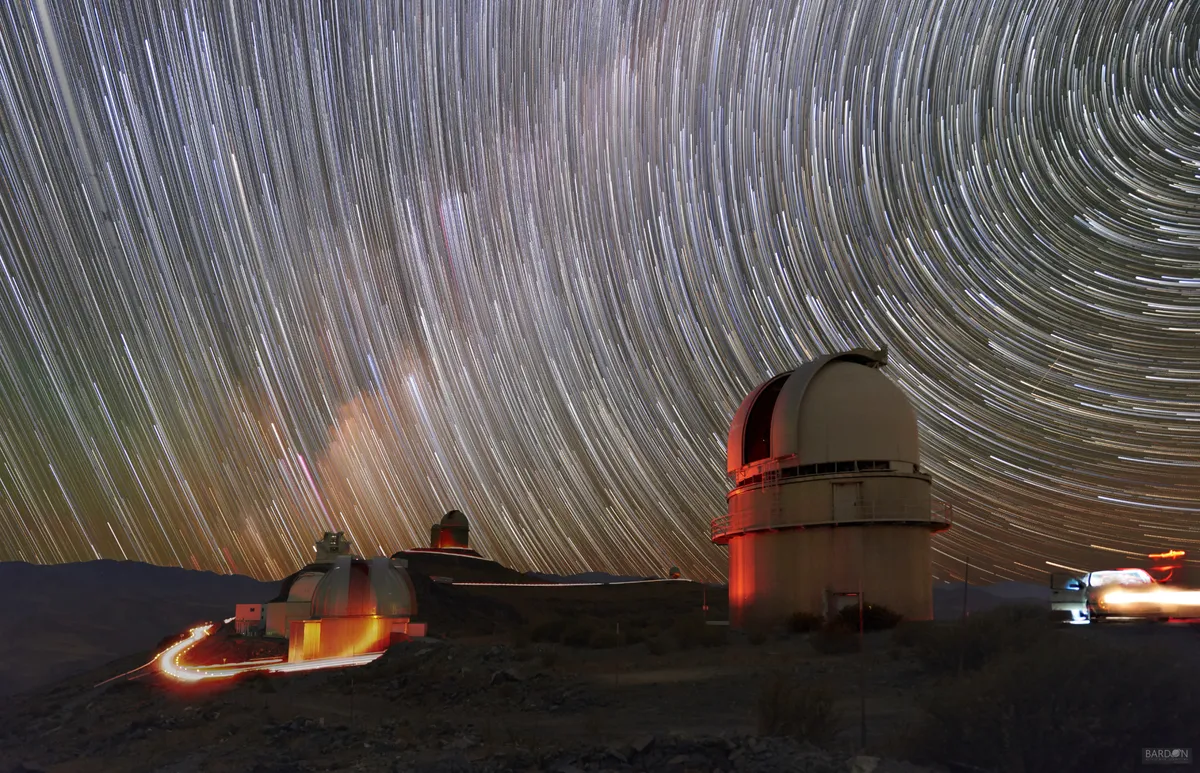
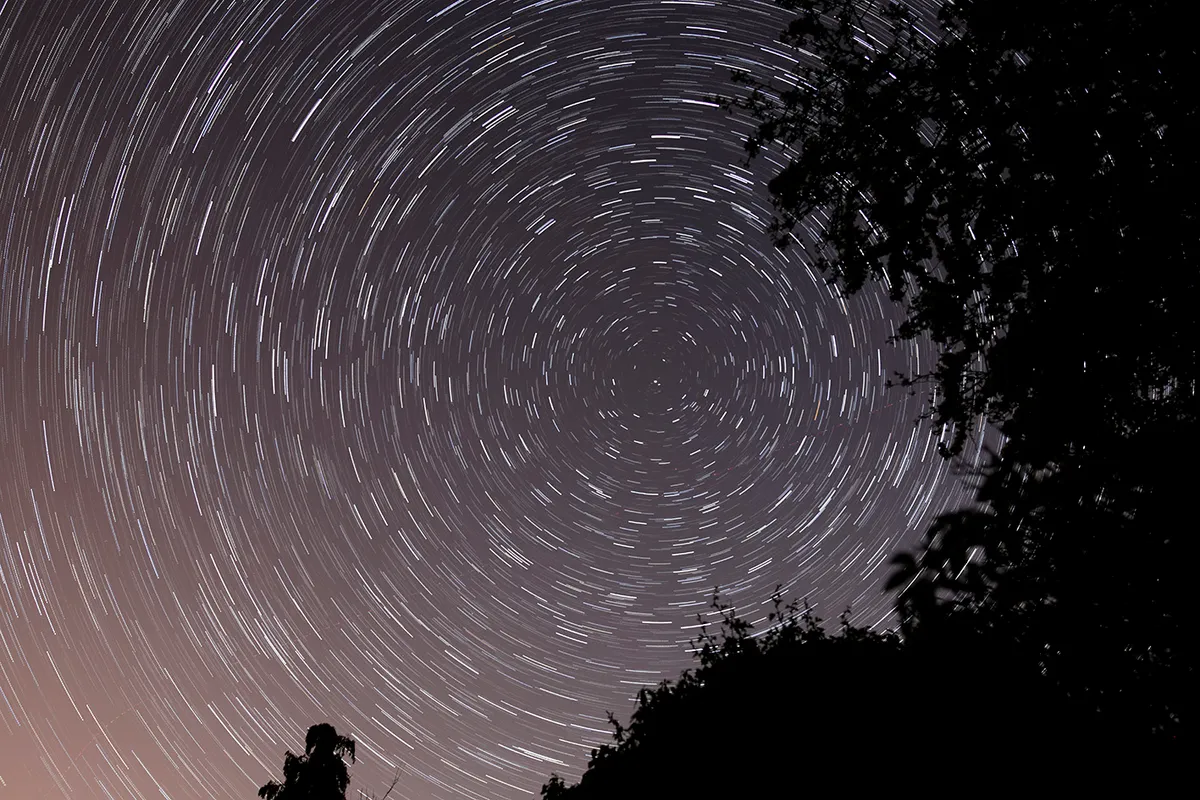
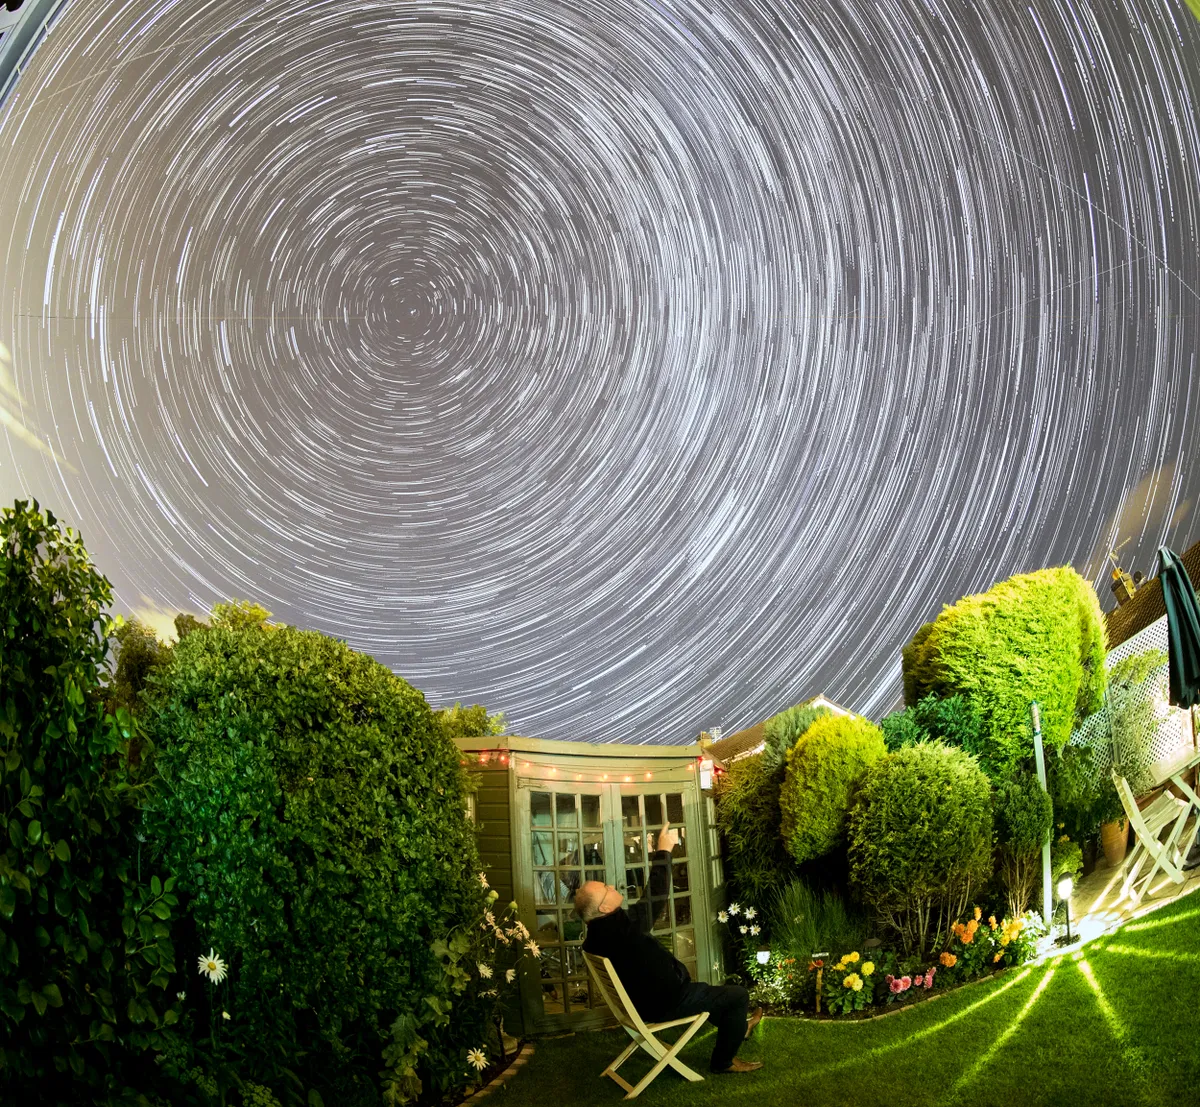
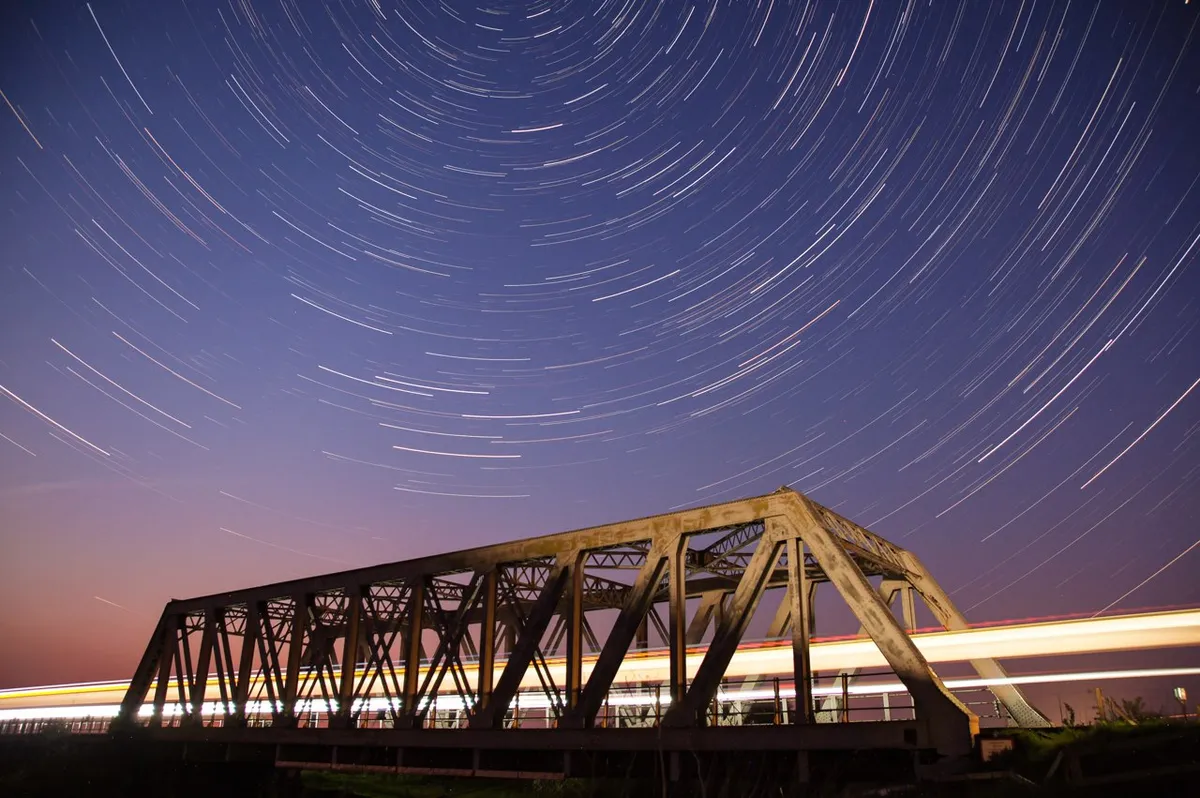
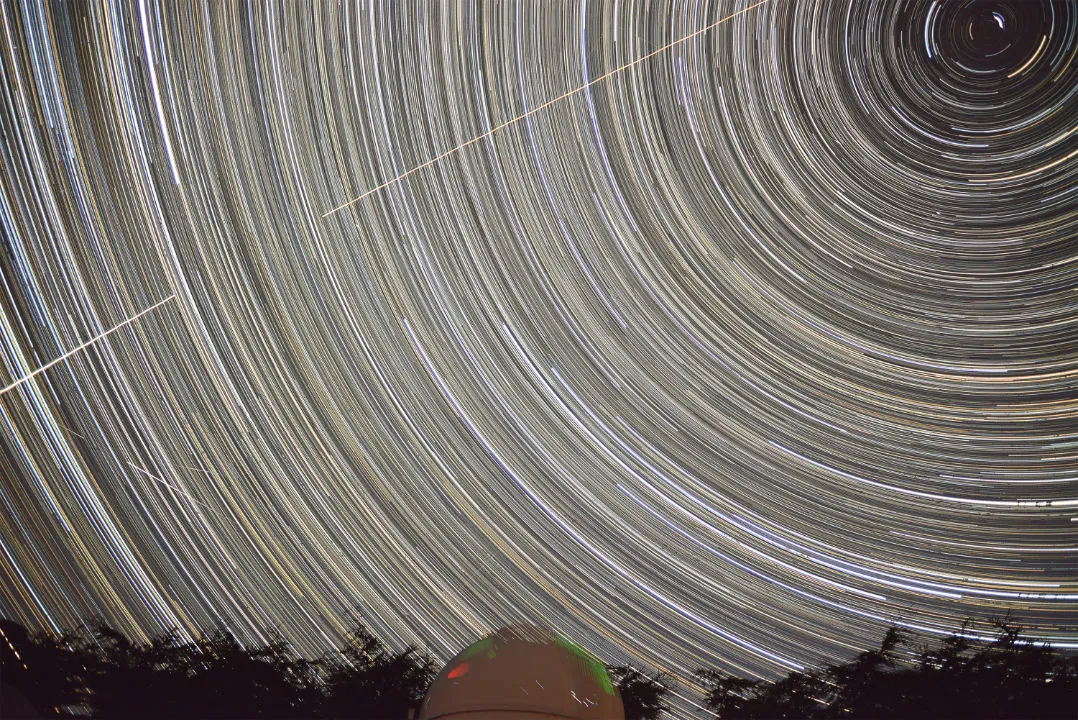
Photos of star trails
Here are some of the best images of star trails captured by BBC Sky at Night Magazine readers and astrophotographers from around the world.