To get the most out of your first night’s observing with a telescope, there are a few things you should take time out to do before simply carrying your new scope outside and pointing it starwards, expecting to see the night sky in all its glory.
You can divide these into three categories – getting to know your equipment, getting to know your observing site and getting to know the night sky.
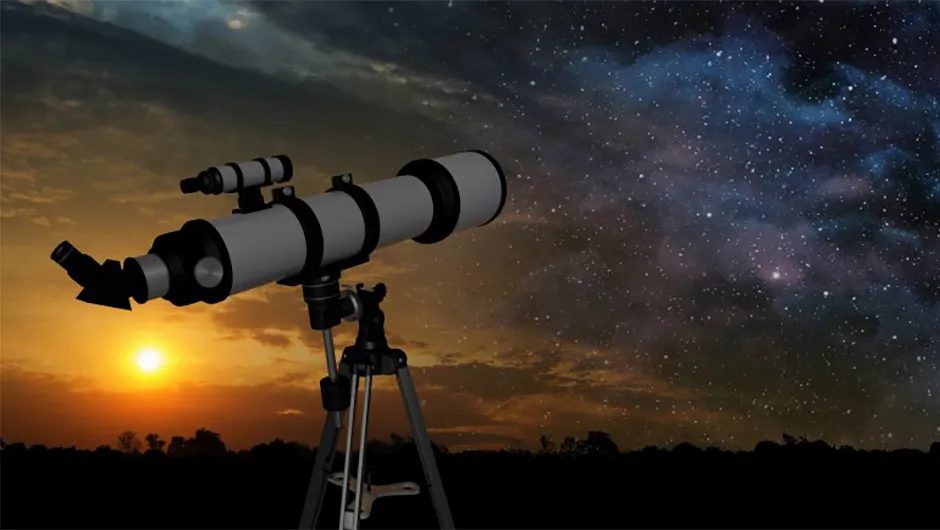
First of all, have a go at setting up your new scope in the light of day, to get the feel for it and how all the parts fit together.
You don’t want to spend any more time than is necessary working out how to fit the finderscope, how to find the best focus, or where the eyepieces are while those starry skies are glistening above you.
Read more beginners' guides:

When you come to setting up the mount and the tripod, you should make sure you know how to make the setup sturdy and secure.
It’s also a good idea to work out how you should be orientating the mount for observing – on some tripods, one of the legs needs to be pointing north.
This leads on to the place you intend to observe from. If that’s from your garden, then it’s worth finding out which direction is which with a compass, and considering whether the view in any direction is affected by tall trees or bright lights.
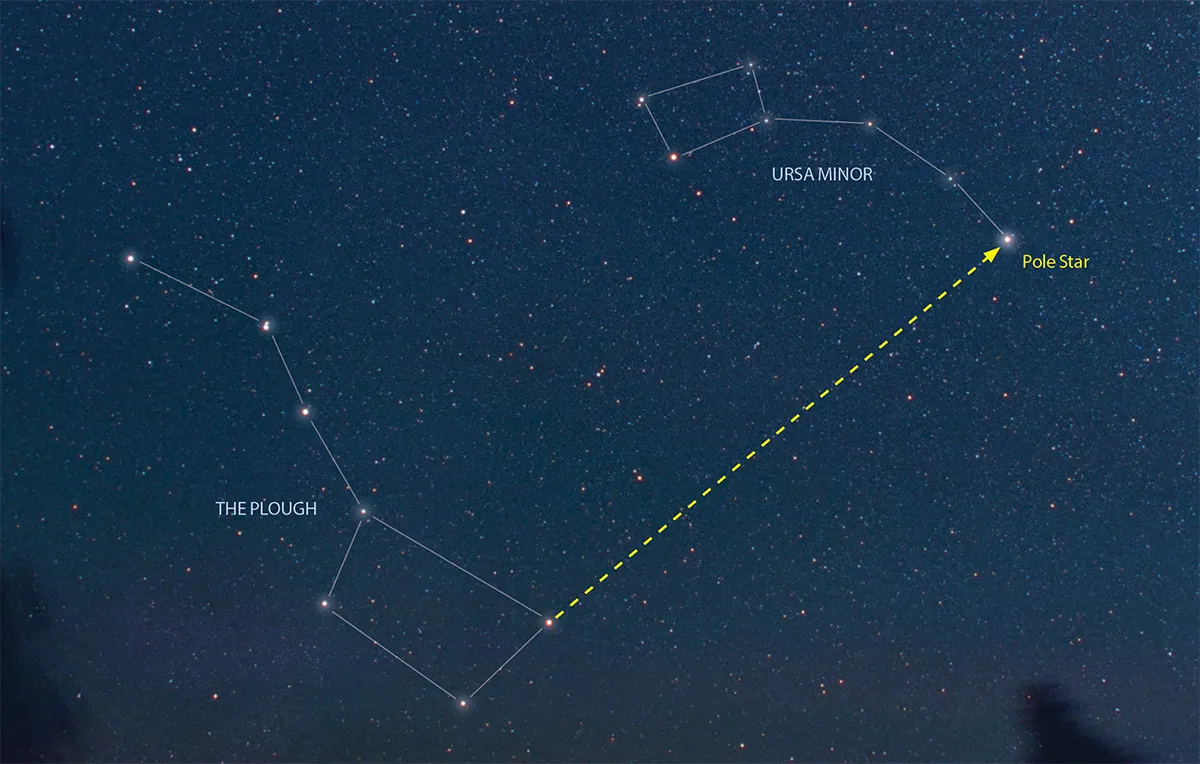
If these do affect the view, find a location where the effect is minimised. It’s also worth remembering that while a clear northern view is useful for aligning on the Pole Star, the best horizon to have clear is a southerly one.
Do some star hopping

You may already have some knowledge of the stars and constellations, through naked-eye stargazing or from using binoculars.
But while it’s useful to know something about the sky before you start observing, your first scope can be a great way to get to know the night sky better.
Find out what's going to be in the night sky using a smartphone astronomy app or downloading free software such as Stellarium. Try to star-hop from one constellation to another.
At this early stage of using a small telescope, don’t expect to see views like the ones you see in those wonderful coffee table books of Hubble images. Even with high magnifications, planets, galaxies and nebulae will still look small.
But just remember that you are looking at them through your telescope, which is picking up photons of light that have been travelling lightyears through space to get to you, and that sense of wonder and satisfaction won’t be far behind.

Your first night with a telescope: dos and don'ts
Do
- The Moon is a great first target. Through a telescope the barren landscape becomes filled with craters, mountain ranges, rilles and other amazing features. Read our guide on how to observe the Moon.
- Always start with a low magnification eyepiece. The larger the millimetre number (eg 25mm) printed on the eyepiece, the lower the magnification. Lower magnification gives you a wider view of the sky and a better chance of locating objects. For more on this, read our beginner's guide to eyepieces.
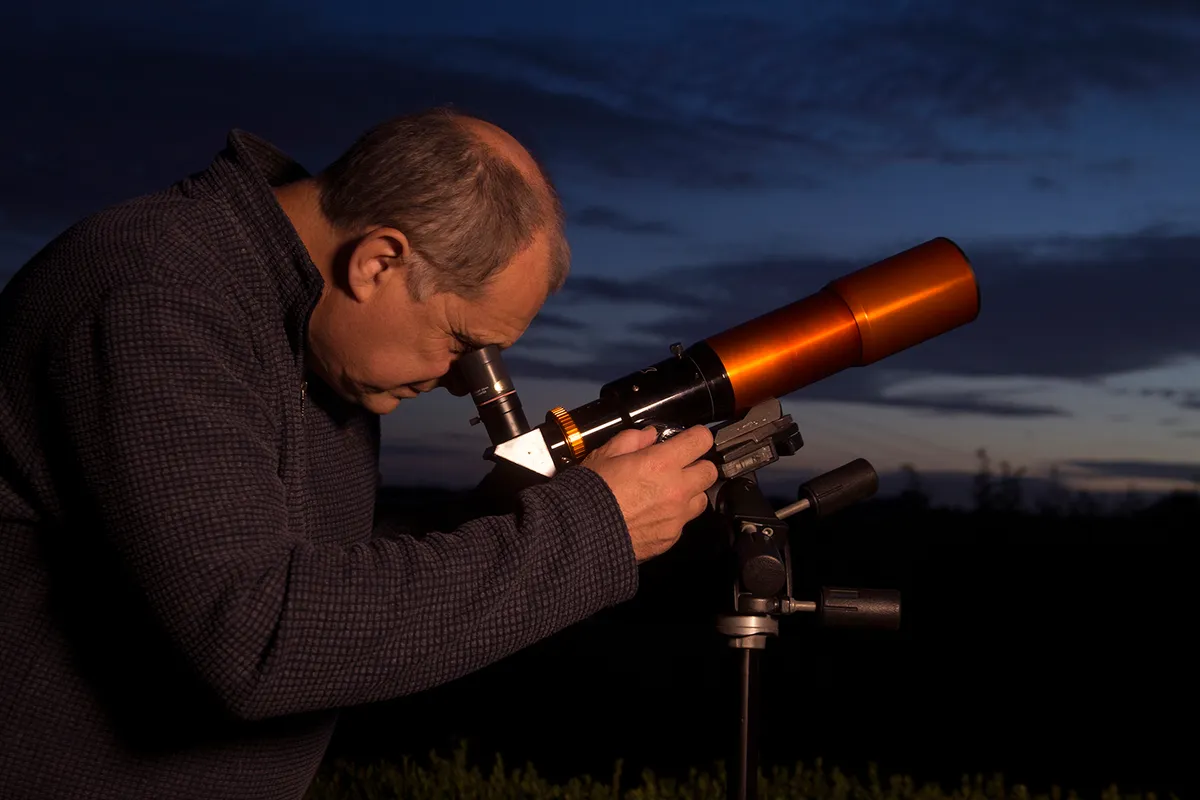
- Avoid neckache when using a refractor by using a star diagonal. This is an accessory that turns the eyepiece through 90º, allowing you to observe much more comfortably because you’ll be looking downwards.
- Before going outside, get your eyes used to the dark by turning the house lights off while you’re inside in the warm. This means you’re ready for action once you get outside. And remember to use a red-light torch!
Don’t
- Don’t use a Barlow lens to start with. This handy piece of kit is used to double the magnification of an eyepiece, but novices may have trouble finding objects and they will often look faint and blurry.
- Similarly, high magnification eyepieces are like using a Barlow. Use them only for close-up observing, once you have located an object using lower magnifications.
- You might be tempted to do some observing out of the window if it’s cold outside, but don’t. The difference in air temperature means that your views will be turbulent due to the mixing air currents, and the glass of a closed window will also produce distorted views.
- Even if you are outside, try not to observe something that is over a chimney or even a house. The heat rising from the building will be mixing with the cooler night air and the views will not be sharp and steady.
This guide originally appeared in the February 2012 issue of BBC Sky at Night Magazine.
