Capturing the splendours of the night sky is one of the most rewarding aspects of astronomy, and it’s available to anyone with a camera or smartphone coupled to a telescope.
However, to achieve highly detailed photos of deep-sky targets, the mount of choice is invariably an equatorial.
But here we’re going to show you how to photograph deep-sky objects like galaxies and nebulae with a Go-To altazimuth mount, more normally used for imaging the Solar System and our Moon.
Why use an equatorial mount for deep-sky astrophotography?
Traditionally, capturing deep-sky objects like nebulae and galaxies requires long-exposure images, and to facilitate this an equatorial mount is the ideal choice.
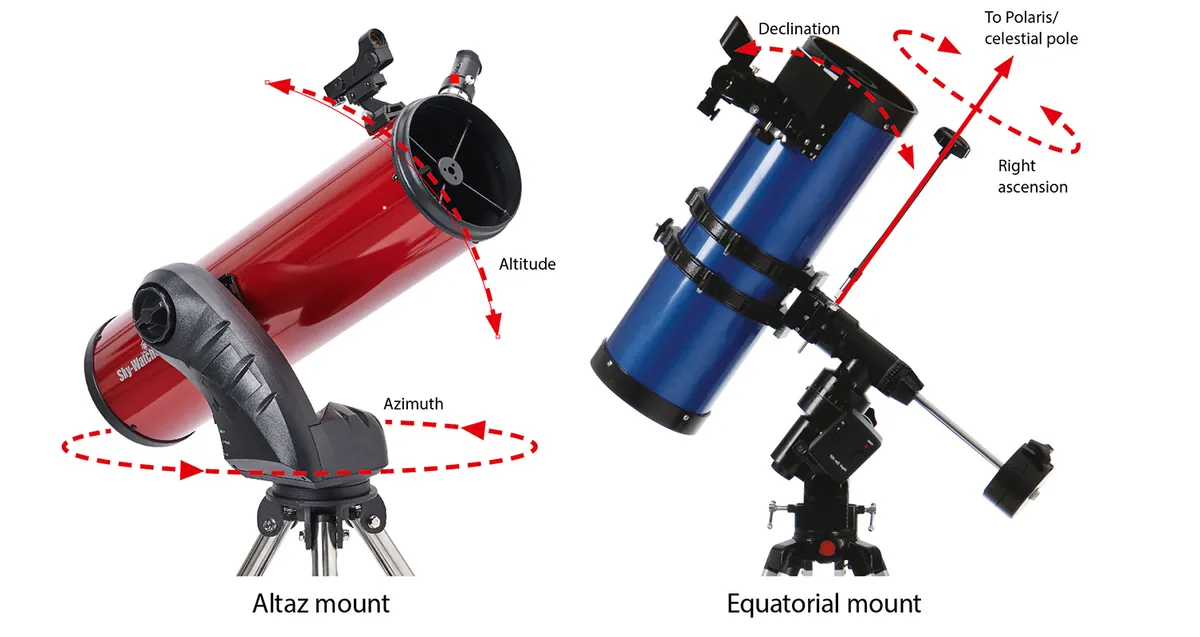
Equatorial mounts have one axis aligned with the celestial pole, which allows you to follow a target smoothly across the sky in an arc, keeping the object in the same orientation in either the eyepiece or image frame.
A mount that’s accurately polar-aligned lets you take exposures several minutes long or, by adding a guidescope and camera, even longer.
These images are often taken at relatively low ISO values for a DSLR (or a low gain setting for a dedicated astro camera) and have a lot of data in them to provide a good final stacked image.
Solving the rotation problem with altaz mounts
It’s usually understood that a Go-To altaz setup can’t be used for deep-sky astrophotography, as you can’t get the minutes-long exposures with such systems.
The computer that controls them tracks the selected target across the sky and keeps it reasonably centred, but exposures need to be kept short, usually under a minute, because of an effect known as field rotation.
This effect is down to the nature of the mount.
Altaz systems don’t have an axis that’s aligned with the celestial pole, but instead work in the same way as a standard photographic tripod set level with the horizon.
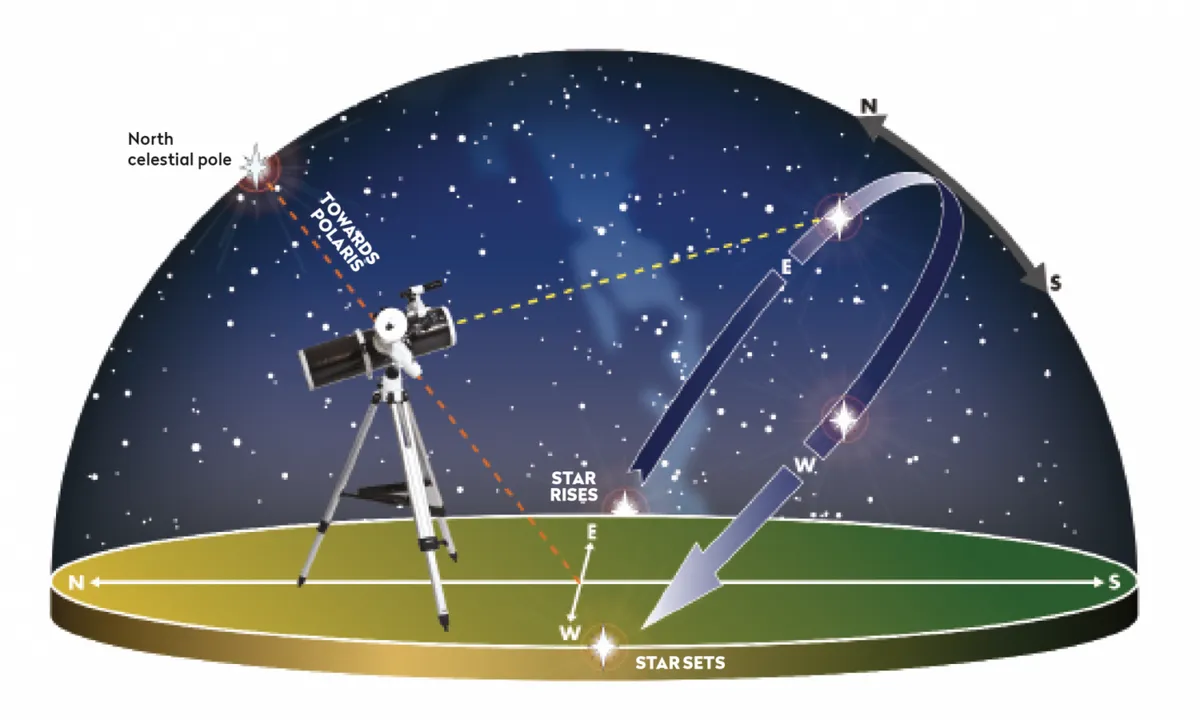
So as the telescope tracks a target, the field of view of the eyepiece or camera remains oriented with the horizon regardless of where it is in the sky, and the view slowly rotates in the frame.
Thus, very long exposures will show the stars in slight curves instead of nice pinpricks. No amount of postprocessing wizardry will help with this.
Altaz mount imaging exposure lengths
The maximum duration of Go-To altaz exposures also varies with the location of the target in the sky.
Aim towards the polar regions and you can expose for longer.
aim towards the celestial equator and you have to cut down the exposure to avoid any trailing.
You have to contend with the same effect when you take untracked photos of the constellations.
But the good news for those who own them is that several factors in the last few years have helped Go-To altaz systems overcome their limitations when it comes to imaging the deep sky and getting acceptable results.
Crucially, the software used for stacking and derotating images has taken great strides, so that suitable data can be aligned and stacked.
DeepSkyStacker is a free program that will do this, while paid-for software such as PixInsight, Astro Pixel Processor and MaxIm DL do it too, and have a vast array of other image processing abilities that can be applied.
For help with this, read our guide on how to stack and derotate images with Astro Pixel Processor.
That takes care of the field rotation problem, but deep-sky targets are often faint and require long exposures to capture well.
Until recently this was one of the main factors ruling out a Go-To altaz setup.Happily, these days it is less of an issue.
Modern DSLR cameras now have much higher ISO settings – the sensitivity of the camera sensor to detecting the photons striking it – and you can now go as high as ISO 3,200, 6,400 or 10,000 (and even, under very dark skies, up to 20,000!).
This is compared with the much lower ISO values found on past models, typically in the region of 800 or 1,600, when you had to take long exposures to capture the faint light of deep-sky objects.
Today’s higher ISO values make it possible to cut down the exposure time to something that still gives you worthwhile raw image data suitable for stacking, but doesn’t introduce any star trailing.
Collecting and stacking data
While ISO numbers apply to the DSLRs and mirrorless cameras often used by those starting out in astrophotography, astro imagers also use dedicated cameras where the sensitivity is referred to as ‘gain’.
These dedicated astro cameras – from the likes of Atik, ZWO and Altair Astro, among others – have also seen a dramatic increase in sensor sensitivity.
The upshot of higher ISO and gain is that you can capture data-rich images of between one second, five seconds and 30 seconds’ exposure without having to worry about the effects of field rotation.
Of course, in the world of deep-sky imaging, even a 30-second exposure won’t capture much of a target’s faint data.
You need to take many more images than if you were imaging with a guided setup on an equatorial mount that could expose for longer.
There are a couple of considerations when it comes to processing these images.
Firstly, all of your captures taken together may be many megabytes in size.
It’s advisable to have a fast laptop or computer system capable of capturing and downloading them all, and then stacking them together to enhance the target.
Note that when capturing your data, you should still capture flat and dark frames, which further add to the processing your computer has to perform.
A second consideration is that all this processing requires a computer with a relatively high specification.
Yours may not take long to process a small number of images, but when you’re taking several hundred images, each of 10MB, 20MB or even 60MB, your system’s processor, memory and graphics capability is really put to the test!
If you have an average spec computer, you should prepare to be patient – but the good news is that the results are often worth the wait.
Key software to use
Programs that will derotate and stack your captured data
Freeware
Used for: Stacking and derotating software with basic image processing.
Used for: Image calibration, stacking, processing and other capabilities.
Used for: Basic Windows-only image stacking and some postprocessing features.
Paid-for
Used for: An advanced and complex image processing program that can derotate, stack and process images.
Used for: Feature-rich software for derotating, stacking and processing images.
Used for: A sophisticated image processing program that comes in a variety of versions.
Used for: The latest version of this all-inclusive image capture and processing software package.
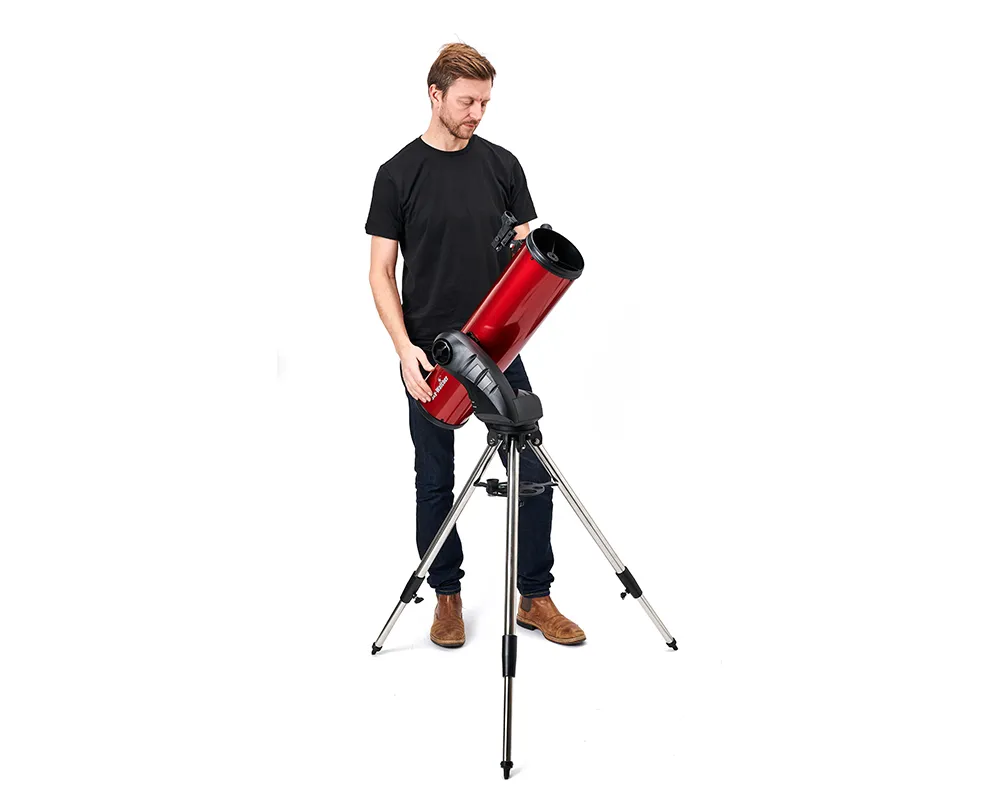
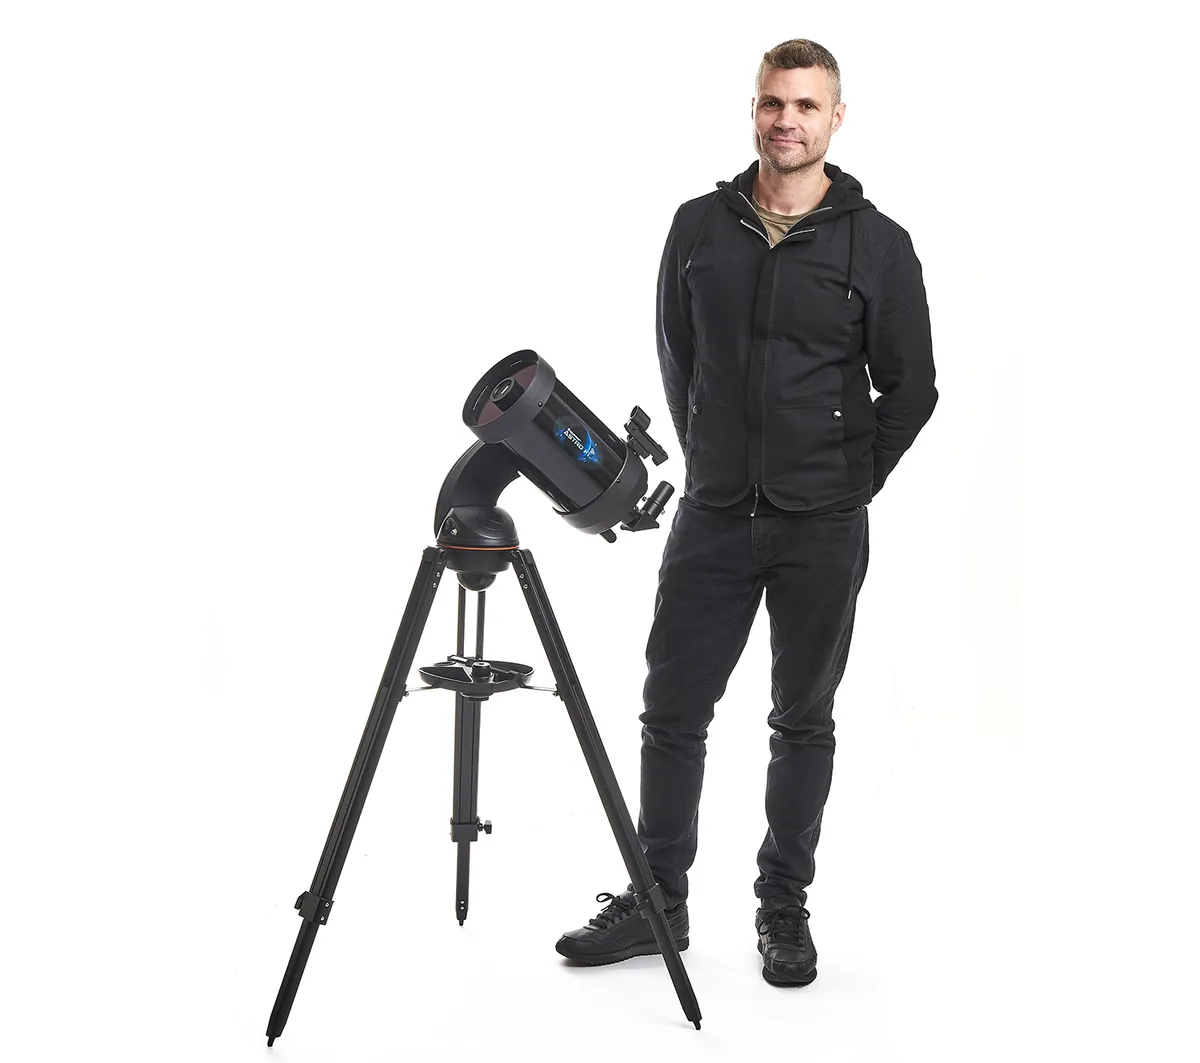
Which telescope to use for altaz astrophotography
There is an old adage in astronomy circles: bigger is better.
When it comes to the best aperture telescope for a Go-To altaz setup, this is still true.
However, these days it’s not such a crucial issue, thanks again to the increase in ISO and gain sensitivity of modern cameras.
This factor allows relatively small- and medium-aperture systems to obtain good results.
Recent successful examples include the Sky-Watcher Star Discovery P150i Wi-Fi telescope, the Celestron Astro Fi 6 Schmidt-Cassegrain telescope and the Meade LX65 Series 8-inch ACF telescope.
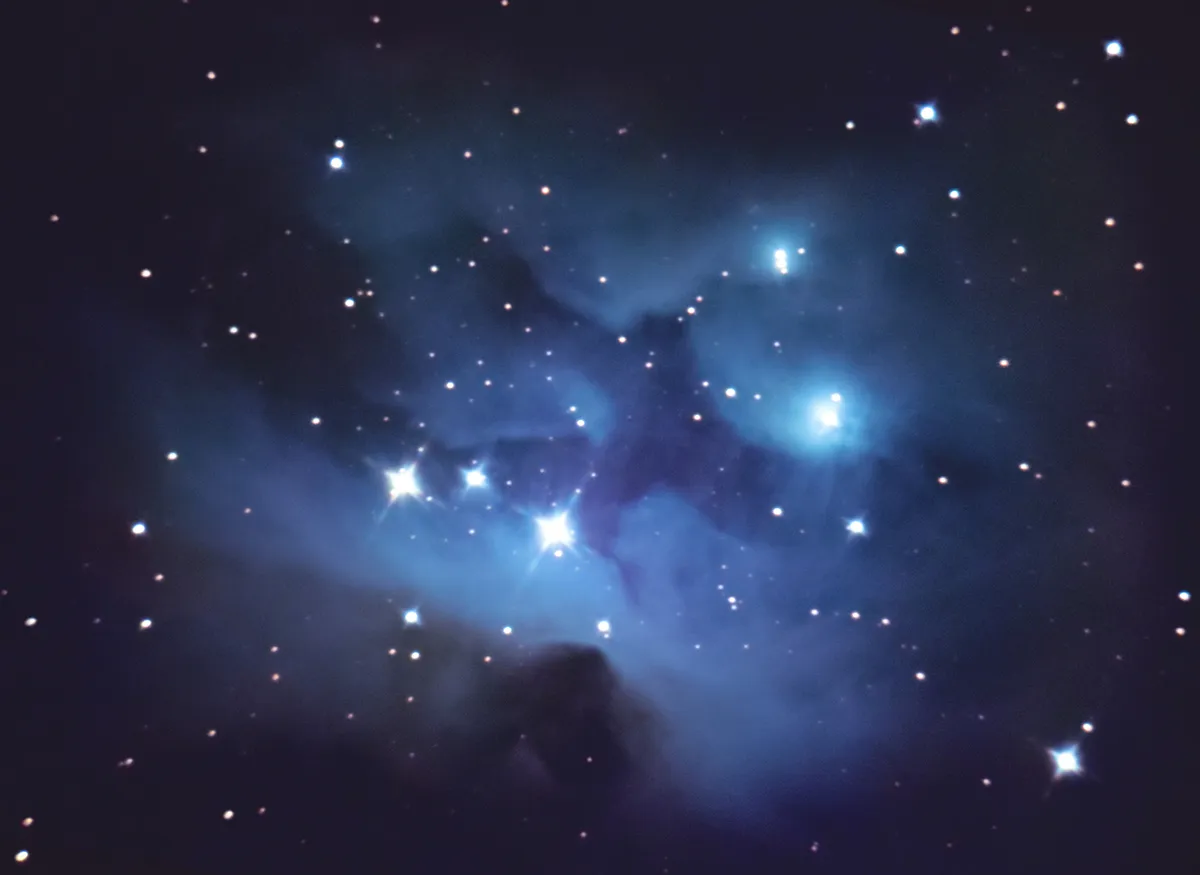
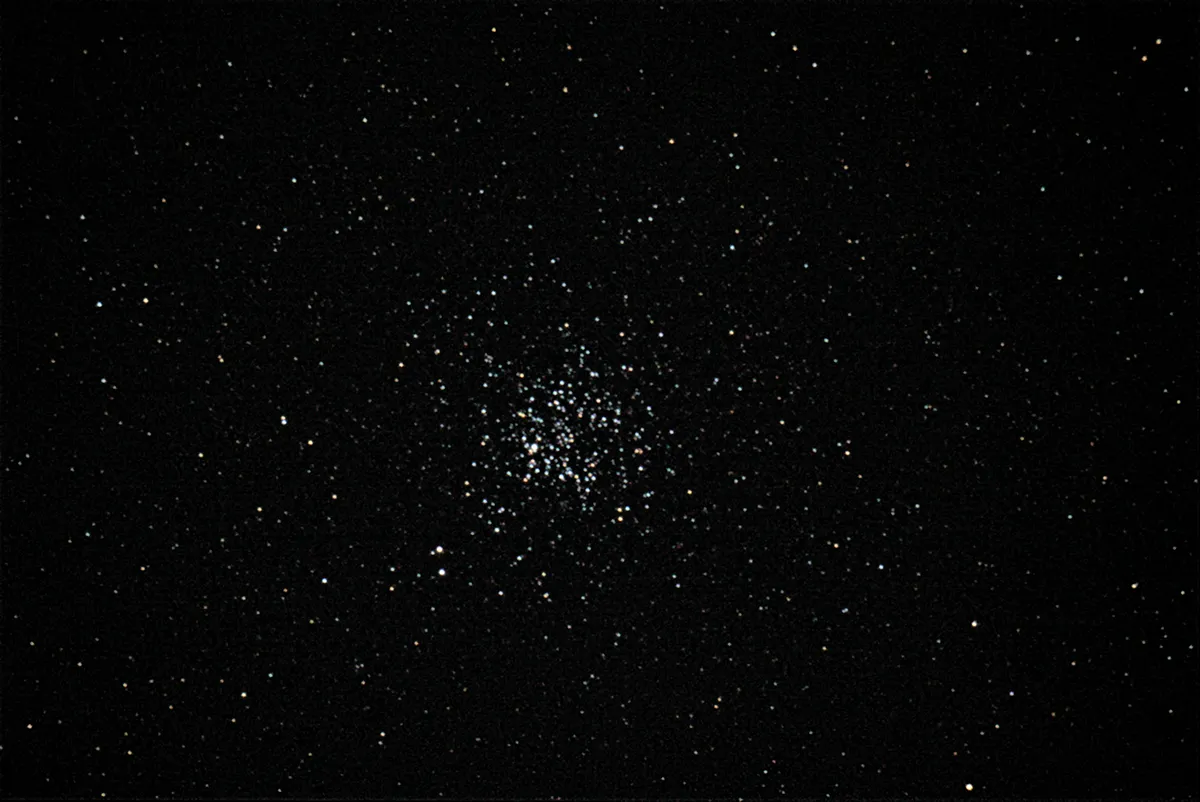
These performed well during our reviews (which you can find by clicking on the links above) with short exposures of 1–10 seconds on targets such as the Ring Nebula, M57, the Double Cluster, NGC 869 and NGC 884, globular cluster M3, and M45, the Pleiades open cluster.
In recent years we have also seen high-quality altaz tracking mounts such as the TTS-160 Panther come on the market, which, when coupled with a field rotator, can produce stunning results too.
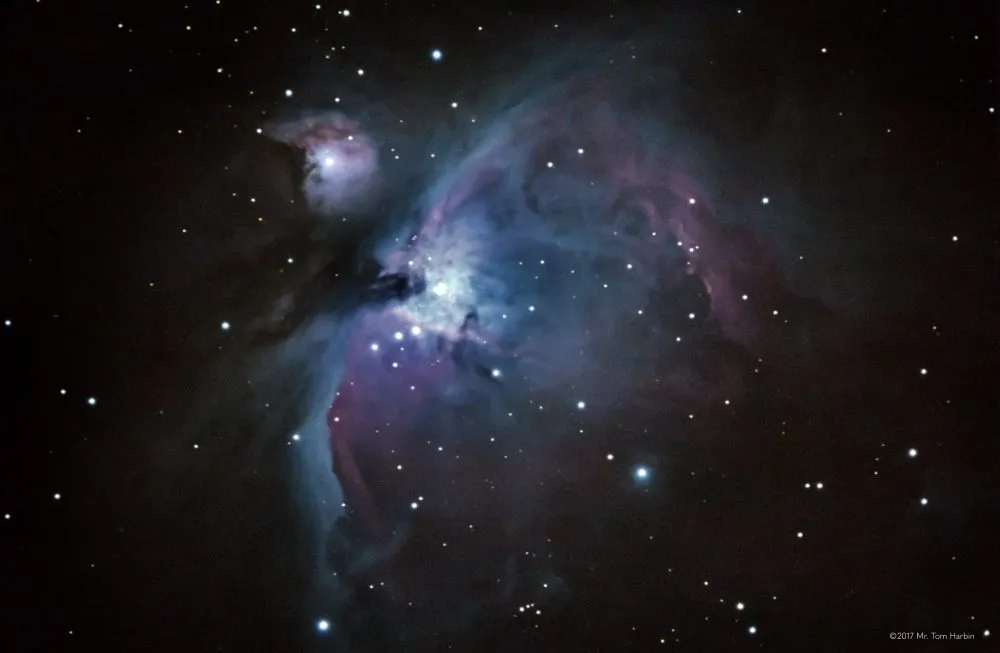
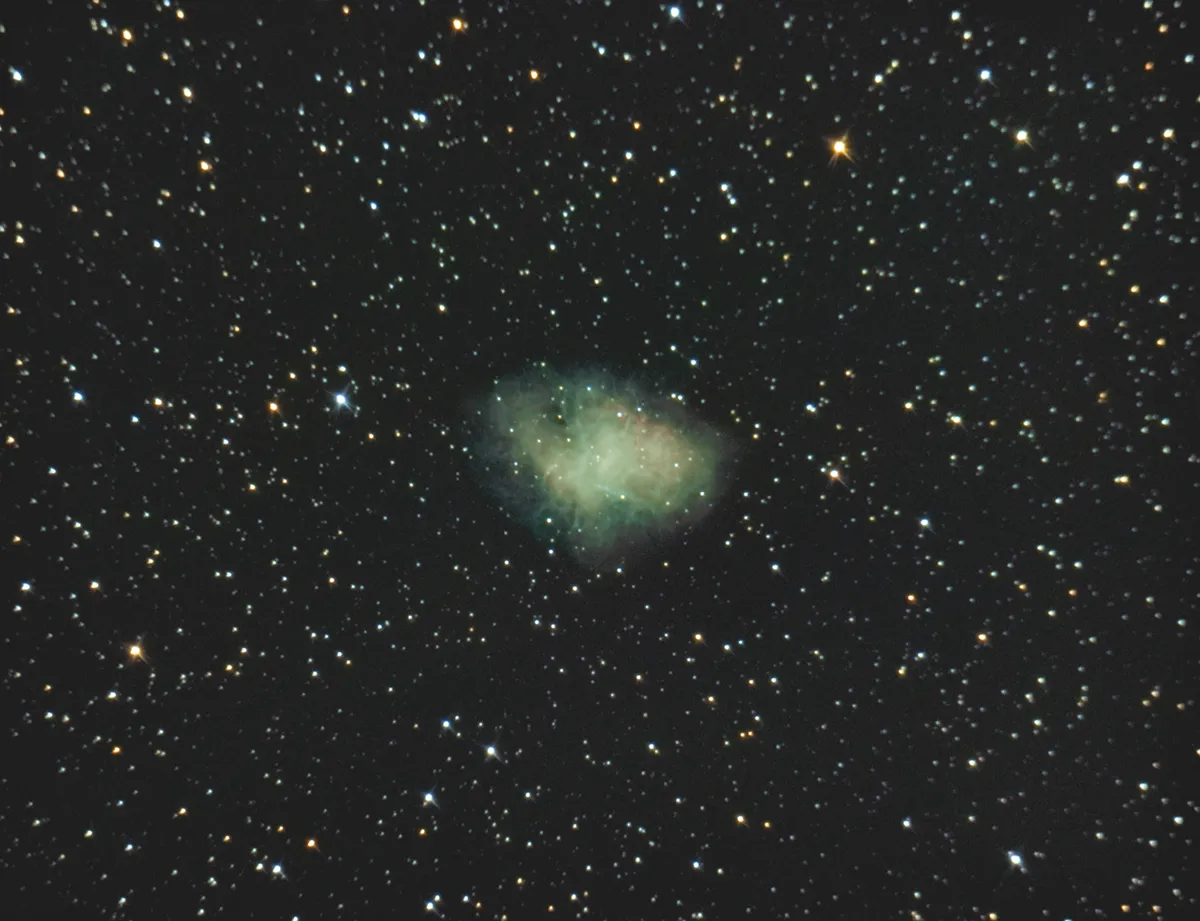
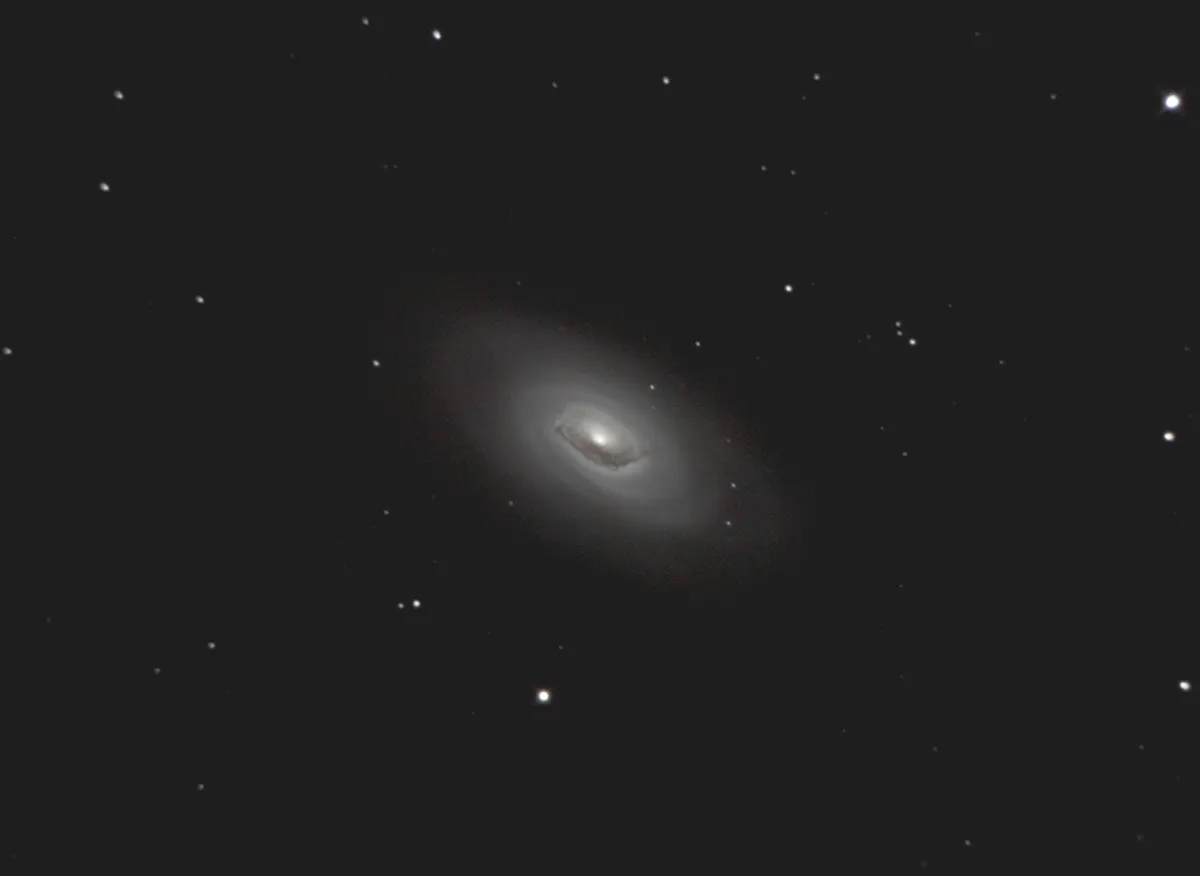
Stepping up the scale to the larger ‘light buckets’, we have achieved good results with systems like Sky-Watcher’s StarGate 500 Go-To Dobsonian, imaging such targets as M1, the Crab Nebula, the double-shelled planetary nebula NGC 2392, M64, the Black Eye Galaxy and even the famed Pillars of Creation in M16, the Eagle Nebula.
But there is a caveat here.
Large aperture, coupled with very high ISO or gain settings, can mean you surpass the sky brightness levels for the amount of light pollution in your location, and wash detail out.
So, although some DSLR and mirrorless cameras can be set to ISO values of more than 100,000, you will always have to experiment with your settings accordingly, unless of course you are imaging under an exceptionally dark sky.
Altaz imaging with smartphones and tablets
Another relevant development is the advent of fully automated altaz smart systems able to take, process and display images live, on the fly, via your smartphone or tablet. These include the Stellina, Vespera and Hyperia systems from Vaonis, and the eVscope 2 and eQuinox smart telescopes from UniStellar.
It’s a trend that is set to continue, giving us perhaps a glimpse of the telescopes of the future.
Although altaz systems may not seem like obvious deep-sky imaging setups, with modern advances in the computer control of these mounts, coupled with today’s highly sensitive cameras and latest processing software, you can produce images of galaxies, nebulae and clusters that are both pleasing and rewarding to capture.
Just as many of the world’s professional observatories use computerised altaz mounts, perhaps Go-To altaz setups will catch on for amateur astro imaging.