We love an astrophotography challenge. One summer evening, while we were at a ‘relatively’ dark site, we realised that the star clusters M6 and M7 were low in the south and the sky was fairly clear – almost down to the horizon.
Normally, photos of deep-sky targets so low down and close to the horizon have a poor appearance, due to haze and the thicker cross-section of atmosphere they are being viewed through, but it piqued our interest to see if we could improve the images taken of them so low.
Read more astrophotography guides and discover the best cameras for astrophotography.
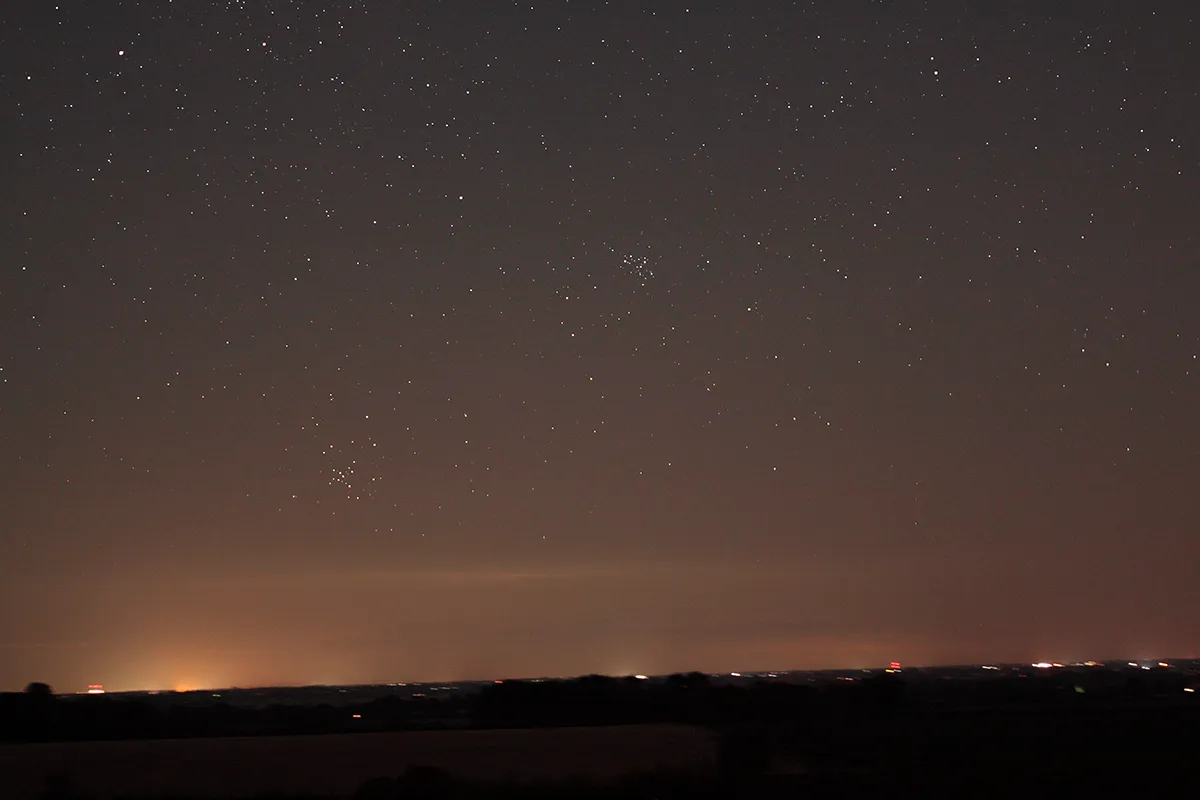
Using a tracking telescope mount and a camera with a 100–400mm zoom lens set at 100mm and f/4.5, we took a set of 34x 20-second exposures at ISO 1000 to see if the clusters could be imaged reasonably well while being so low.
They could barely be seen on the RAW images, due to that thicker amount of atmosphere we were imaging through and the haze.
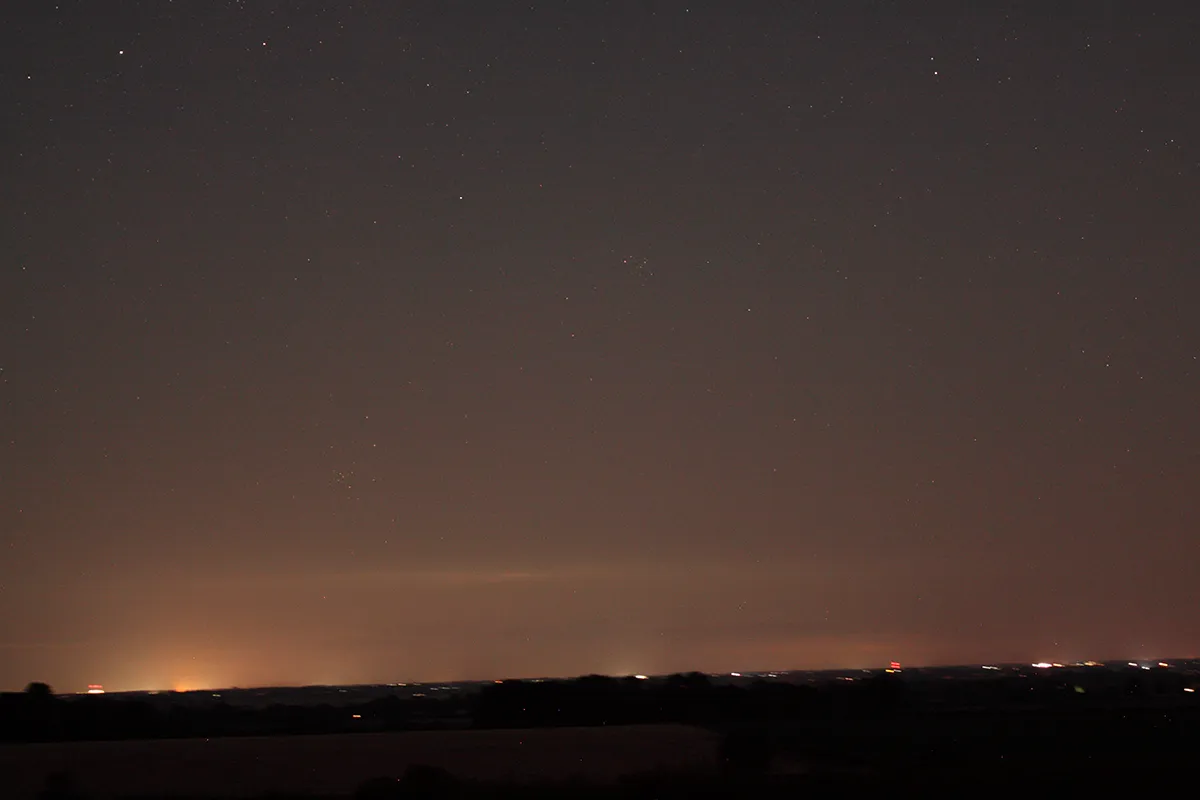
However, it was possible to bring out the detail of both star clusters against the hazy view by stacking the images and doing a little image processing magic, and the final result (see at the top of this article) surpassed our expectations.
First, we took the set of 34 images and stacked them (you can use your favourite stacking program).
We used Astro Pixel Processor (APP) to produce the initial stacked image (see below) ready for processing.
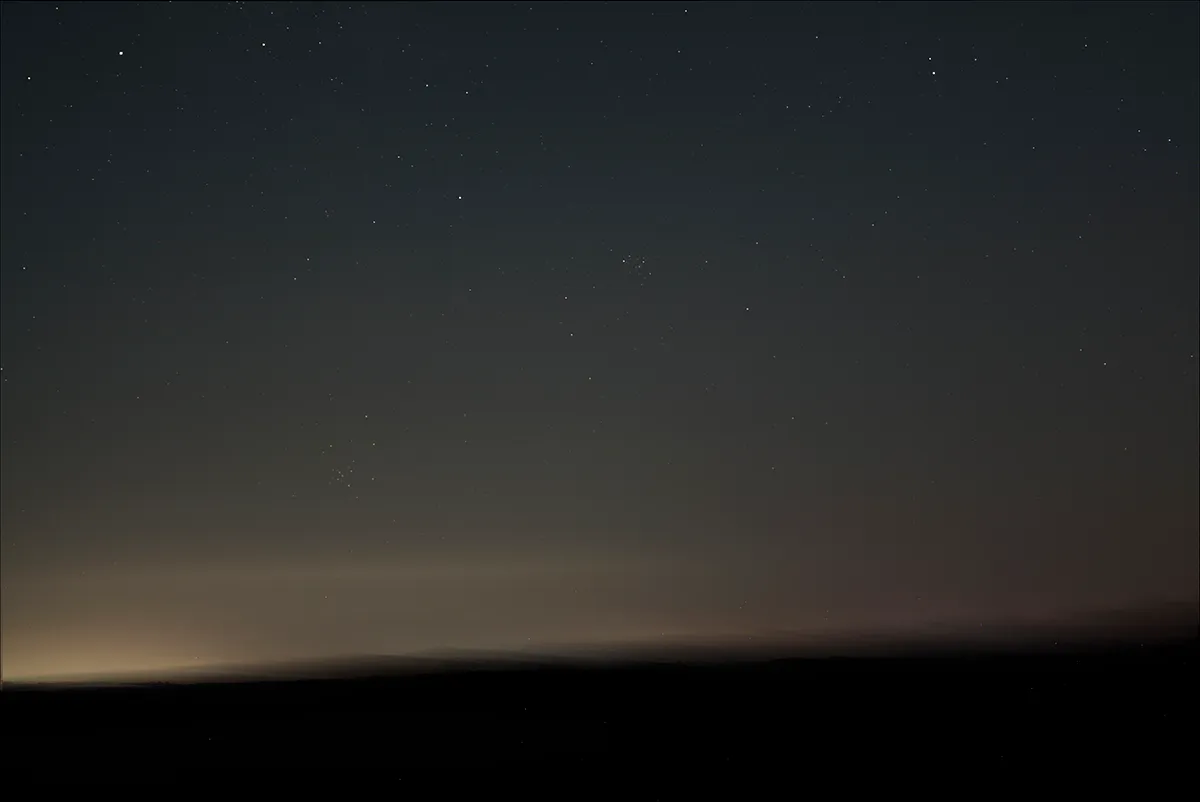
Because of the background calibration in APP, it produced a slightly greener image and, as it was stacked on the stars, the horizon naturally became smeared out, along with the low bank of haze.
This doesn’t matter, however, as it’s something that post-processing can fix.
Using photo-editing software, in our case PaintShop Pro 2019, we clicked File > Openand found the stacked image file we saved from APP for editing.
Using the Crop tool, we selected the majority of the image, excluding the lower haze and horizon.
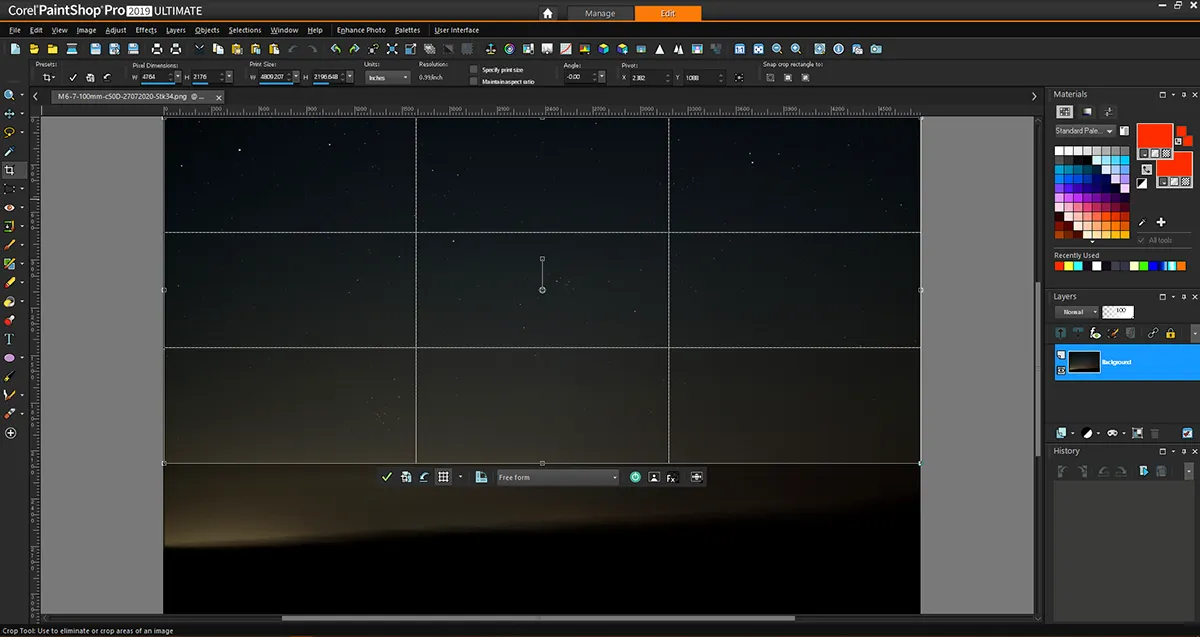
We then double-clicked within that area to automatically crop to that selection. Because the haze band wasn’t too bad we did a simple crop, but you can use a point-to-point selection if you want more control over what is selected for cropping.
The next step can be done in one of two ways. You can either use the AstroFlat plug-in, if you have it installed, to remove the gradient across the image or, as in our example here, you can use the Histogram Adjustmenttool to adjust the black point to decrease the effect of the gradient, while sliding the middle slider to the right and bringing the white point slider in a little too.
Remember, adjust to your own taste, but don’t overdo it. Then click OKto perform the adjustment.
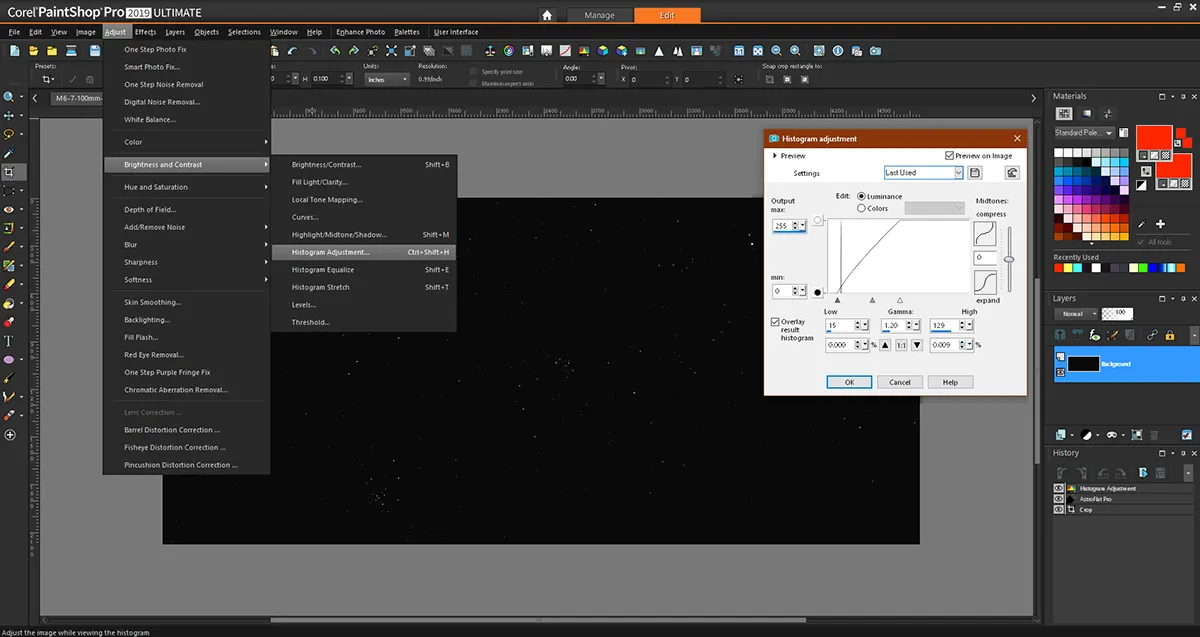
Our image shows the stars well and, in theory, we could leave it there, but we can merge this image with one of our original single exposures to bring back the haze and horizon for an atmospheric effect.
To do this we chose the first image of the sequence and opened it as a new one in a separate tab. Next, we clicked on the earlier cropped image tab, and from the main menu chose Edit > Copyto copy it to the clipboard.
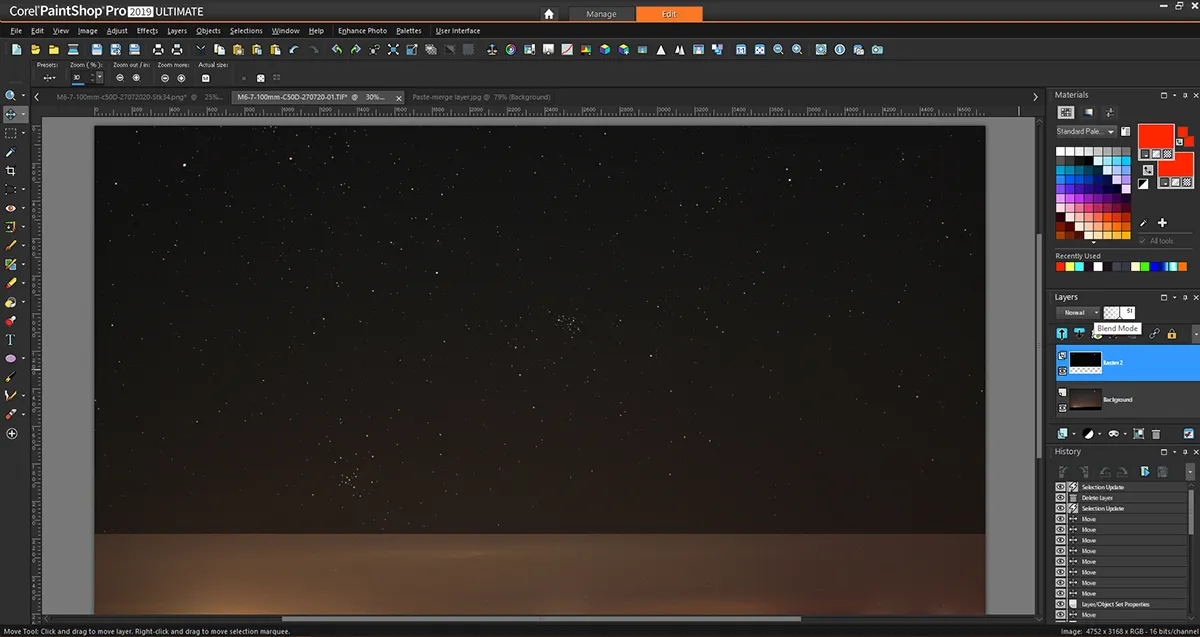
Next, we clicked on the unprocessed initial image, selecting Edit > Pasteas a new layer. The new layer’s properties were set to 50% so the stars were visible in both images. We then nudged the cropped image layer until the stars were aligned.
Once happy with the alignment we put the cropped image layer back to 100% and set the Blend Mode to Lighten in the Layersproperties.
This shows the cropped layer with the enhanced stars along with the underlying original image. If it’s done well it can still look natural, as if the sky was clear almost to the horizon.
Clicking Layers > Merge > Merge allto flatten the layers into one image, we finally saved our processed image. The result is an enhanced view of the stars, bringing out both star clusters nicely along with the horizon too.
3 tips for capturing astronomy targets near the horizon
1. Try to pick a night that has the best seeing conditions as low to the horizon as possible.
2. For a more accurate crop use the point-to-point selection tool.
3. Take small steps when adjusting the histogram of the cropped image so as not to overprocess it.
