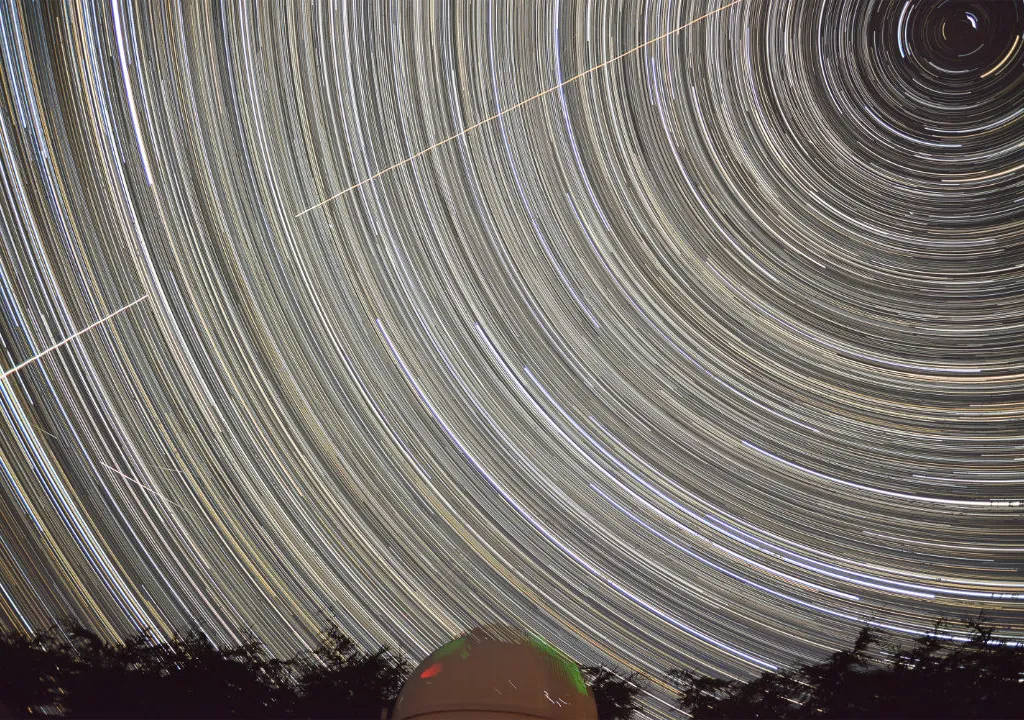
Star trails are relatively simple to do yet produce very striking results, especially when centred around the north or south celestial poles.
These images capture the movement of Earth as it rotates on its axis, producing star trails that are comprised of fragments of concentric rings.
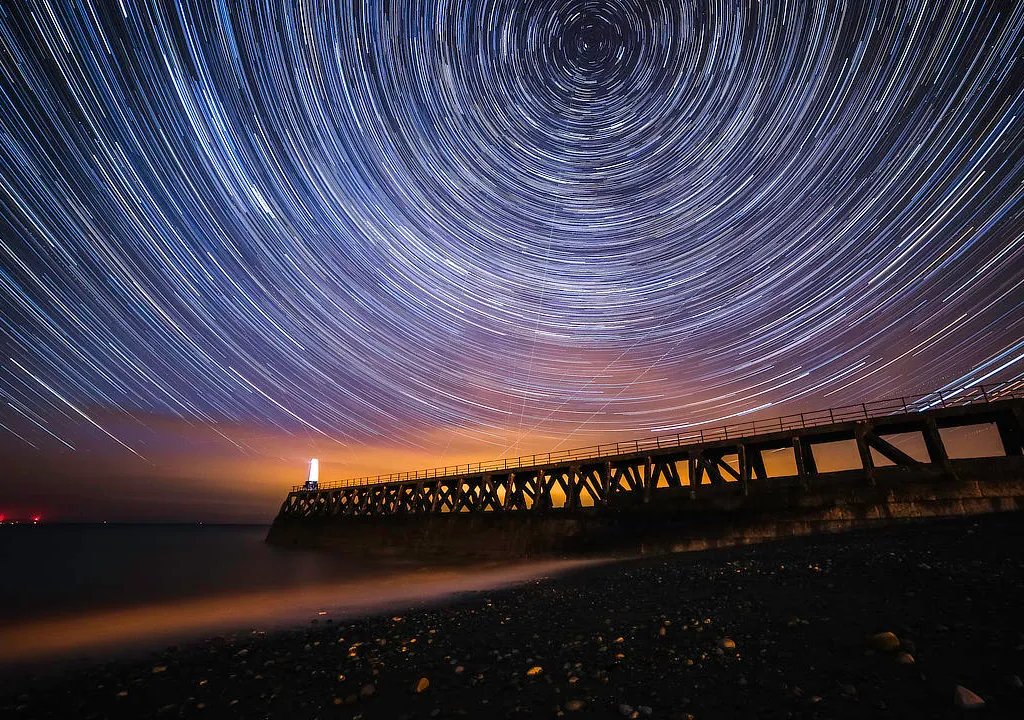
If you are in the polar regions during the winter and have clear, dark skies for 24 hours, the trails will form complete circles, including the pole star Polaris - also known as the North Star - because it is not perfectly aligned with the celestial pole.
However, you don't need 24 hours of darkness to create a 24-hour star trails image.
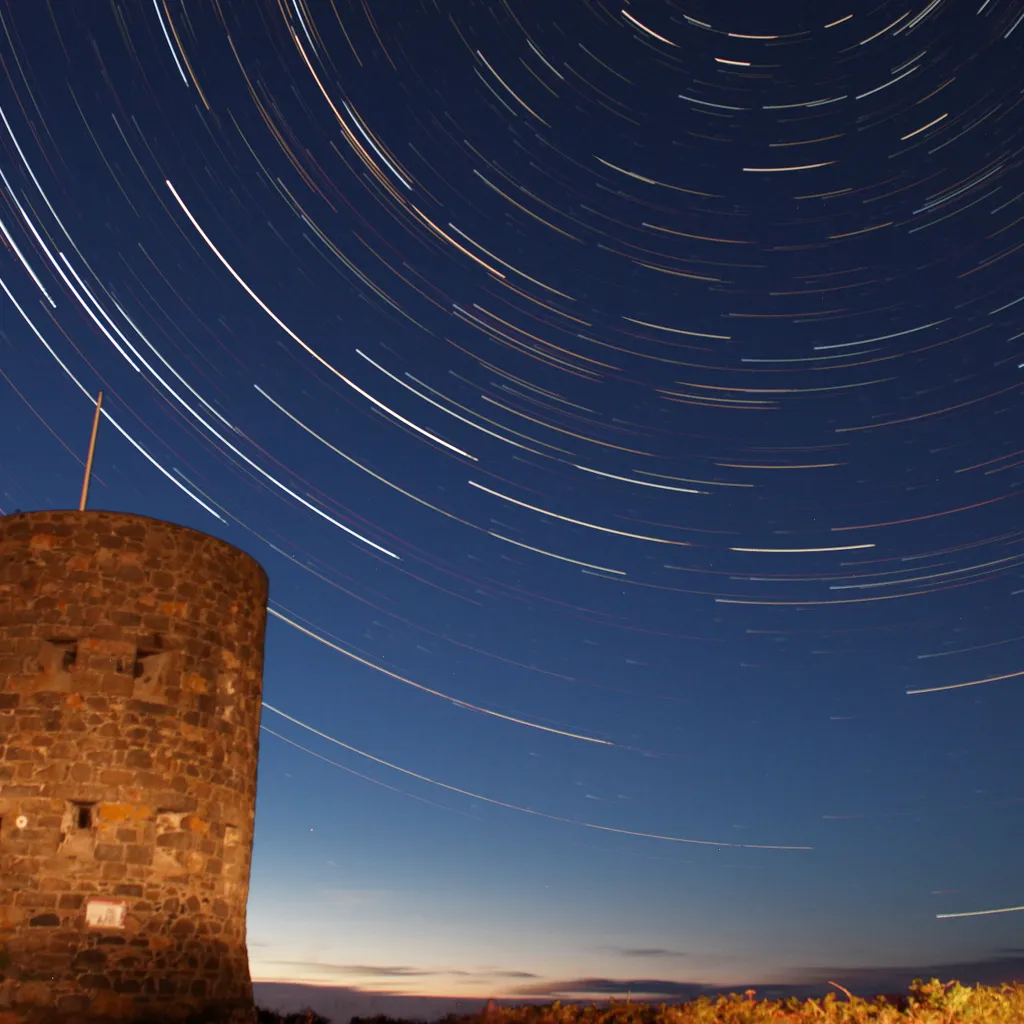
The above image was captured from the UK, and is effectively a 24-hour star trails image.
In this guide, we'll show you exactly how we did it.
For more advice, read our guide on how to use a DSLR camera or our beginner's guide to astrophotography.
What is a 24-hour star trails image?
Most of us will never experience a polar winter, but it is still possible to create a 24-hour star trail photograph by merging together a stack of many images taken with the same setup, from exactly the same spot, on different nights throughout the year.
Although taking a star trail image on a single night is straightforward, replicating it exactly on multiple dates, then merging them together successfully, is the challenge here.
First, the camera location must be identical.
We placed marks on the ground to ensure the tripod was in exactly the same spot, but attaching the camera to a fixed structure would be even better.
Focus must also be the same, otherwise the width of the star trails will differ, and they won’t line up perfectly.
Circumpolar star trails can be created under moonlight, but doing so will affect the fainter stars, so try to ensure the Moon’s brightness – its phase – is consistent between sessions.
Also, when you blend your final stacked images, the overlapping regions will be brighter, so only stack what’s necessary to complete the full circle.
Pick your foreground wisely
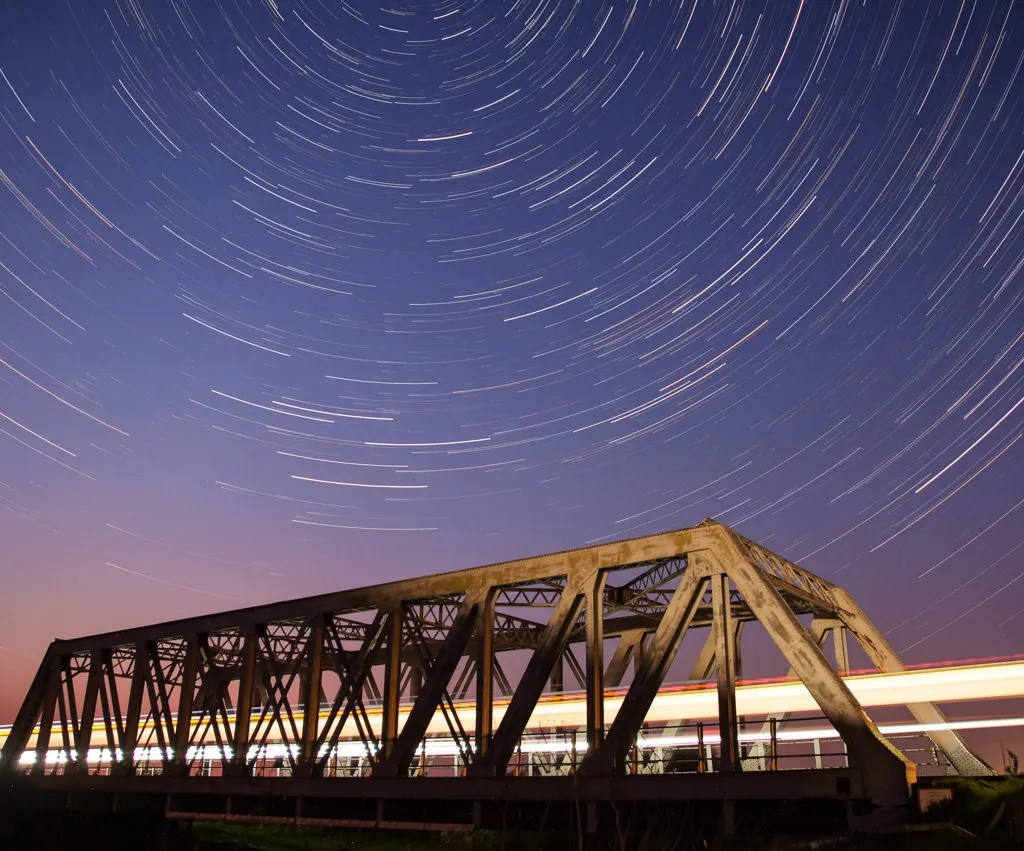
Another consideration is the foreground. It’s important to have something in the foreground for context and scale.
I had a large tree in mine, which grew during the year and then required an extra layer-masking step at the end to compensate for the different tree size.
You might want to opt for a non-organic foreground object!
Choose some potential imaging dates that are spread across the whole year and if you have a clear sky forecast, be ready on those nights (for help, read our guide to weather forecasting for astronomy).
I took images on seven nights during the year, but only used the photos taken in February, April, July and November.
During the winter months you will have many more hours of imaging available to you, but in the summer you need to grab every minute of darkness.
If thin cloud moves through your field of view, don’t worry; the stars will still shine through.

Issues such as aircraft lights can be omitted from the image stack by using a program called StarStaX, which can fill the gaps.
Before you attempt to merge the stacked images, adjust the brightness and colour balance to make them as similar to each other as possible.
You may also have to apply a lens distortion correction to successfully line up the images. But all this effort is well worth it for the end result.
What you'll need
- A DSLR camera with a widefield lens and a high-power battery or mains power lead
- A remote shutter release cable that locks in place
- A sturdy tripod
- A dew heater to prevent the lens from fogging up during long imaging sessions
- Software for image stacking and processing, eg StarStaX for stacking, and Photoshop or GIMP for merging and processing the stacked images