It's hardly surprising it's possible to photograph the Moon with a smartphone camera, given the speed with which phone tech has developed over the past few years.
The Moon is a great target for photography, whatever your level of experience. Being bright and having a tangible size in the sky, it doesn’t call for specialised or expensive equipment.
This means you can easily photograph events like a lunar eclipse or a supermoon with your smartphone.
Get moon phases and dates delivered directly to your inbox by signing up to the BBC Sky at Night Magazine e-newsletter.
Discover the best astronomy apps and gadgets to turn your phone into an astrophotography camera.
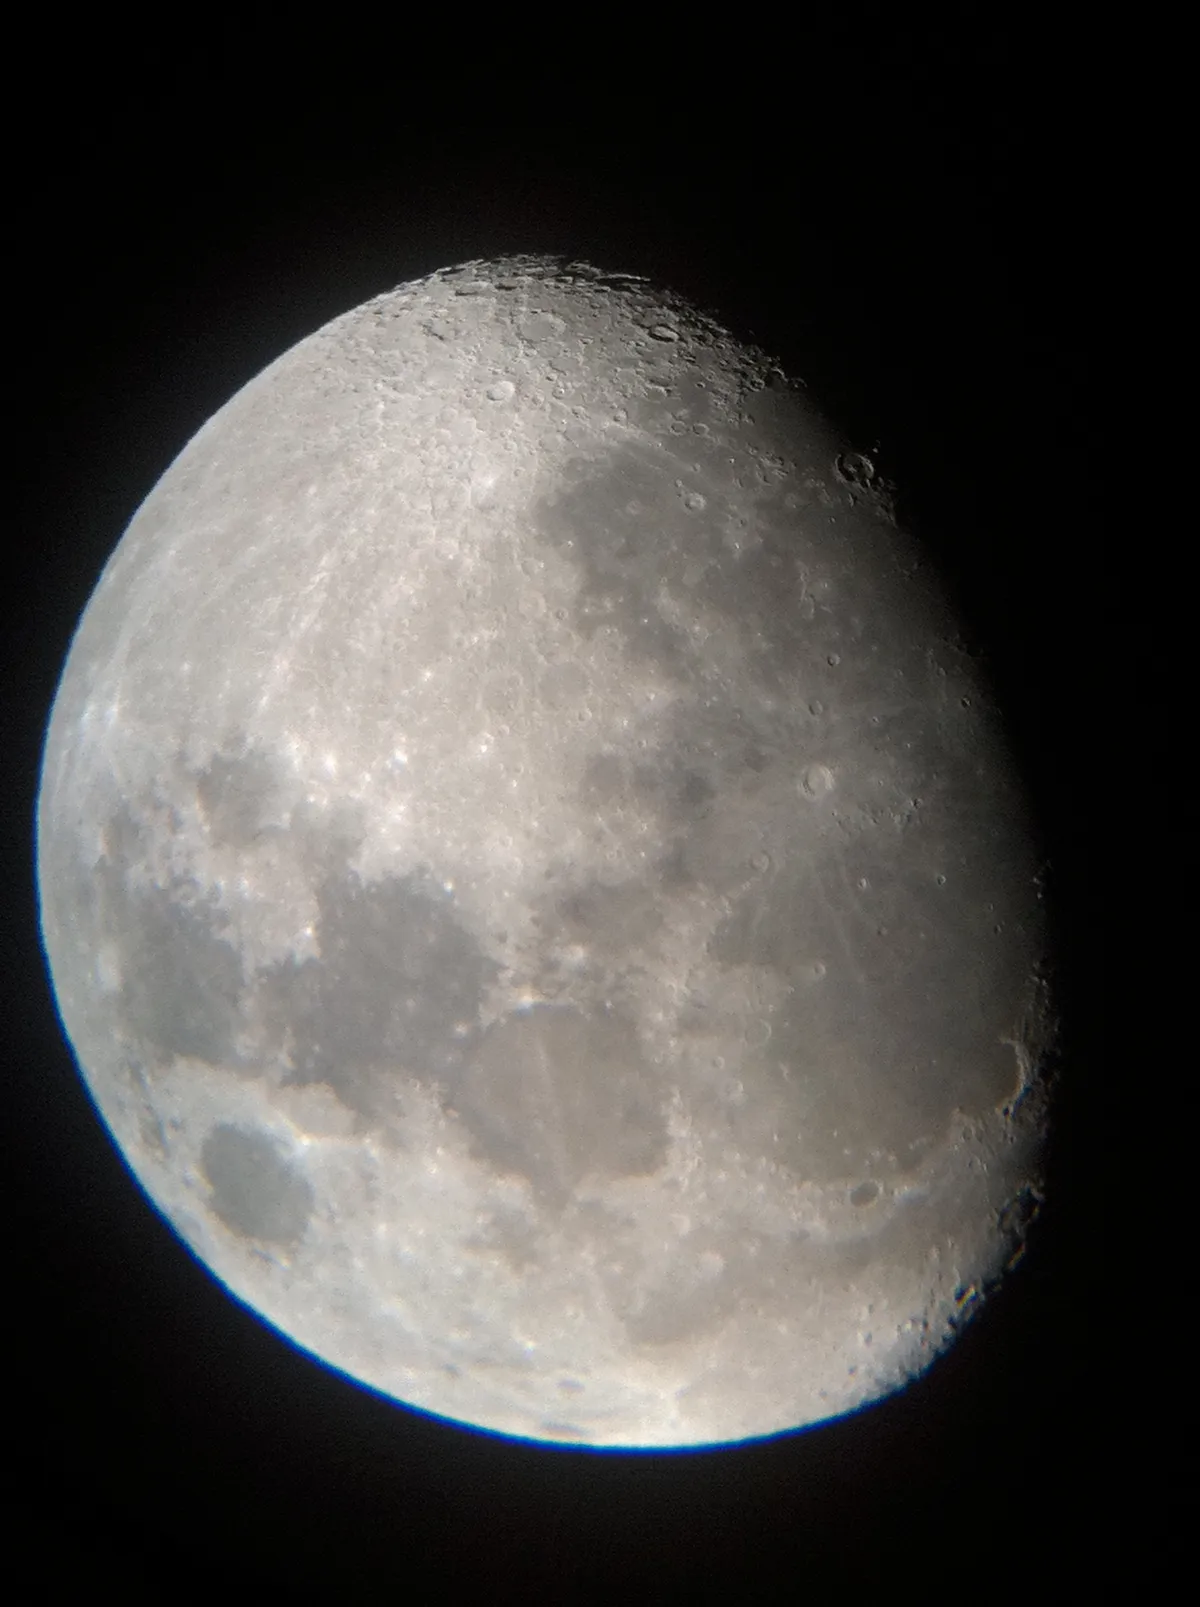
Although it’s bright enough to photograph with a smartphone, the Moon may cause disappointment because, despite how it looks to your eye, it’s actually pretty small.
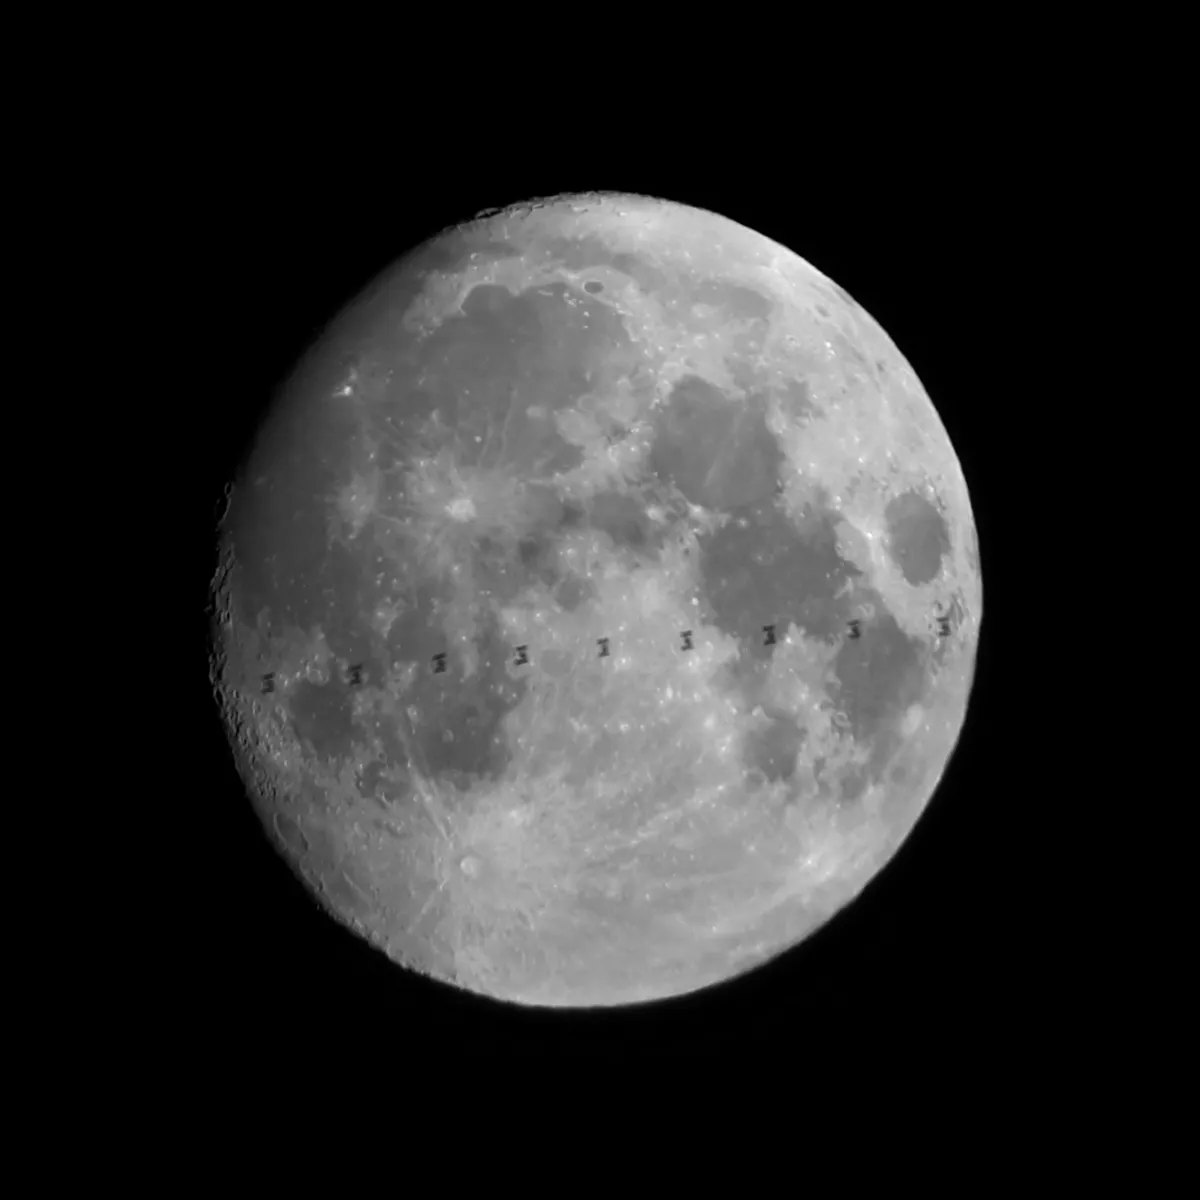
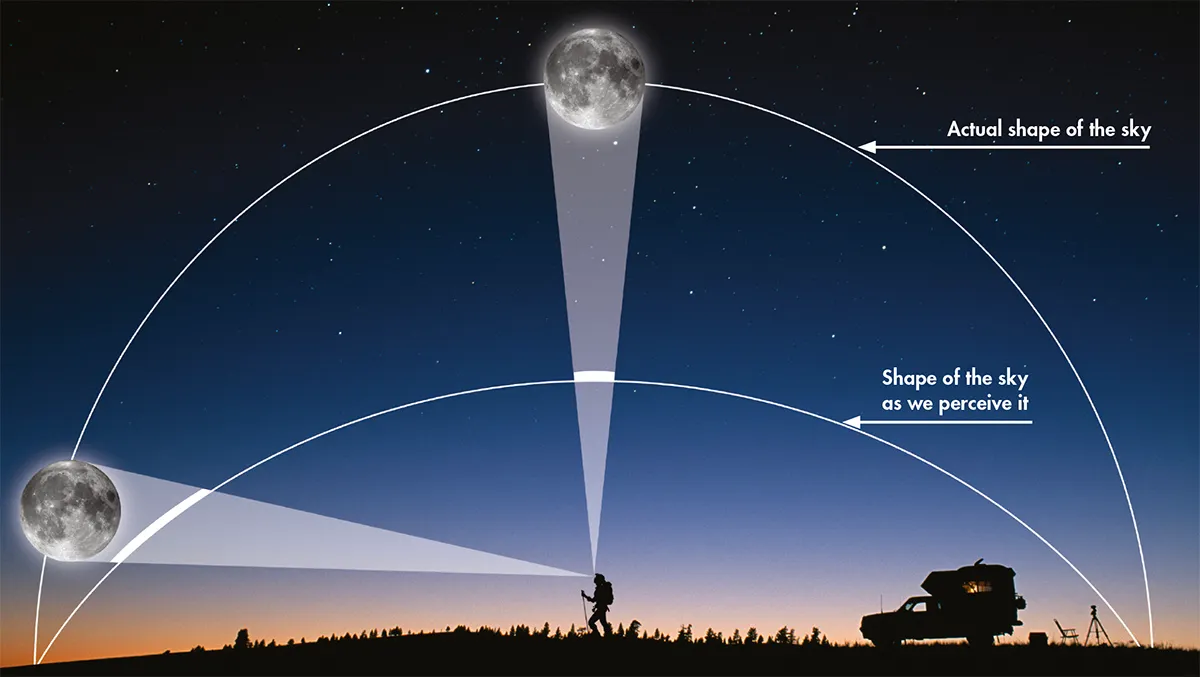
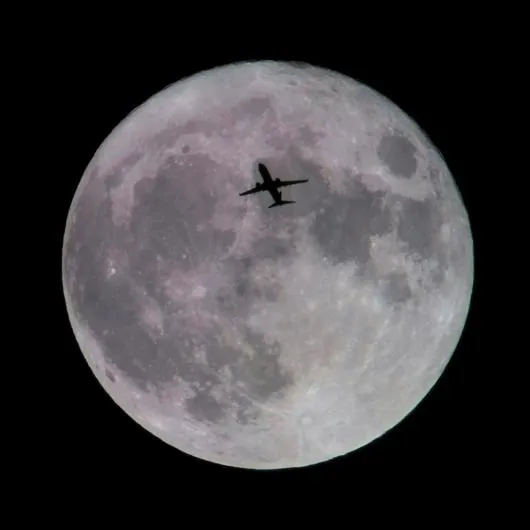
When fuller phases of the Moon are seen rising or setting, its proximity to the horizon makes it appear huge, an effect known as the Moon illusion.
Try taking a photo of a Moon like this and you’ll see just how small it really is.
A bright, fuller-phase Moon against a dark sky may also cause exposure issues.
Attempting to capture the Moon against a foreground horizon, an automatic camera typically either favours the Moon, losing the foreground, or else the foreground, over-exposing the Moon.
One way around this is to try to catch the larger gibbous phases of the Moon during daylight conditions.
The waxing gibbous phases can be seen in daylight in the afternoon to evening period before sunset, while the waning gibbous Moon appears in the morning sky after sunrise.
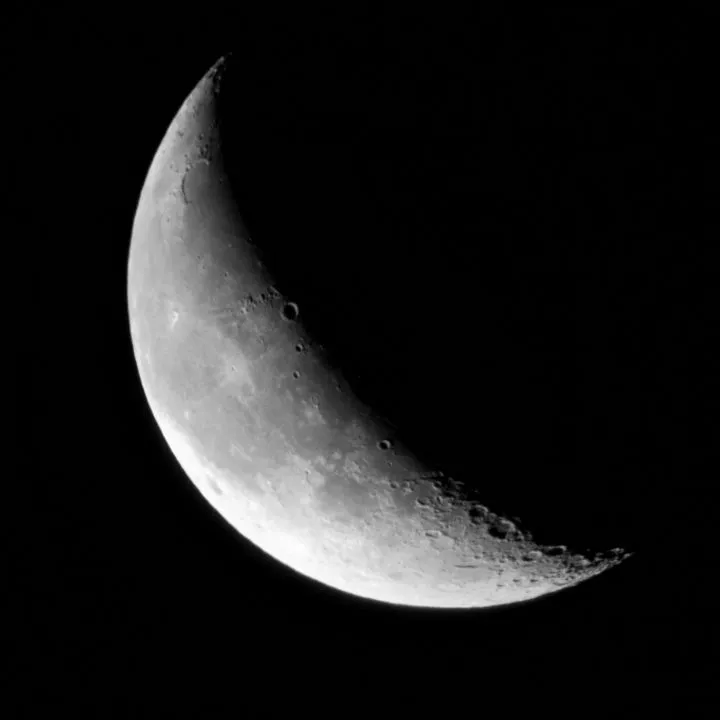
The waxing and waning crescent moon phases are even better, as these can be caught under twilight conditions either after sunset or before sunrise respectively.
Being less bright than a full Moon, a humble smartphone can often capture the shape of these beautiful crescents well.
Zoom in to get a better view
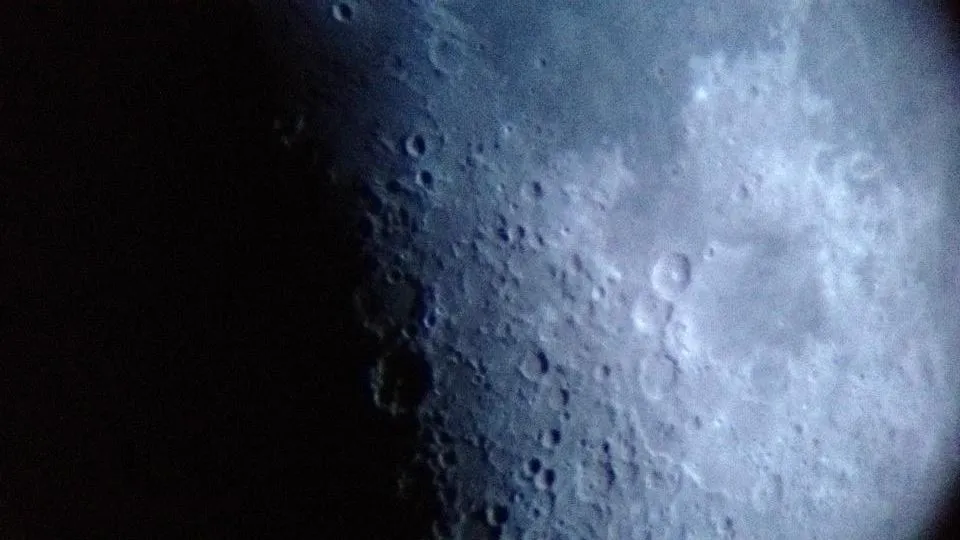
More detail is gained by zooming into the Moon’s disc. Here it pays to know your phone’s spec.
Typical smartphone cameras have optical and digital zoom capabilities, so it's good to explore this if capturing a photograph of the Moon with a smartphone.
Optical zoom uses lenses to increase magnification; digital zoom uses software to stretch an optical result.
Consequently, digital zoom doesn’t really give you any more than the maximum optical zoom of your camera.
You’d be better off using the maximum optical zoom setting then downloading and resizing the image yourself with photo-editing software.
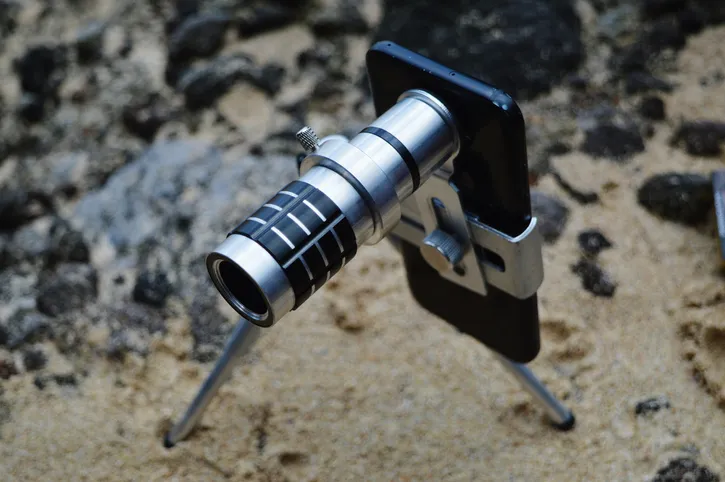
Greater magnification can be obtained by using a smartphone zoom lens, or by coupling your phone to a telescope.
The technique, known as afocal imaging, takes a bit of getting used to, but can produce surprisingly good results.
Take a look at our guide further below and try it for yourself.
You can also use a smartphone telescope adapter to help you.
Using a digital camera

Equipment: Nikon D5600 DSLR camera, Nikon 70-300mm lens, Digitek tripod
If you're really interested in exploring how to phtotograph the Moon with a smartphone, it's worth touching on the use of digital cameras for a bit.
Because, of course, another way to show lunar details is to use a more sophisticated camera.
A DSLR, MILC or equivalent is ideal for this because you can switch the lens out for something that will give you a better image scale.
Basically, the longer the focal length, the larger the image scale.
Use a lens beyond 200mm focal length and you’ll start to see convincing detail in the Moon’s disc.
With a 1,000mm telephoto lens you’ll see lunar maria, mountain ranges and, of course, craters.
If you have a telescope, it’s possible to couple your camera directly to the eyepiece holder to use the telescope as the telephoto lens.
All you need is to use an adaptor ring specific to your camera make and model that has a T-thread, into which you can screw a nosepiece.
Readily available from telescope stockists, these inexpensive adaptors will open up all sorts of photographic adventures for you.
Find out more in our guides on how to photograph the Moon or how to do astrophotography with a DSLR camera.
Gallery: smartphone images of the Moon


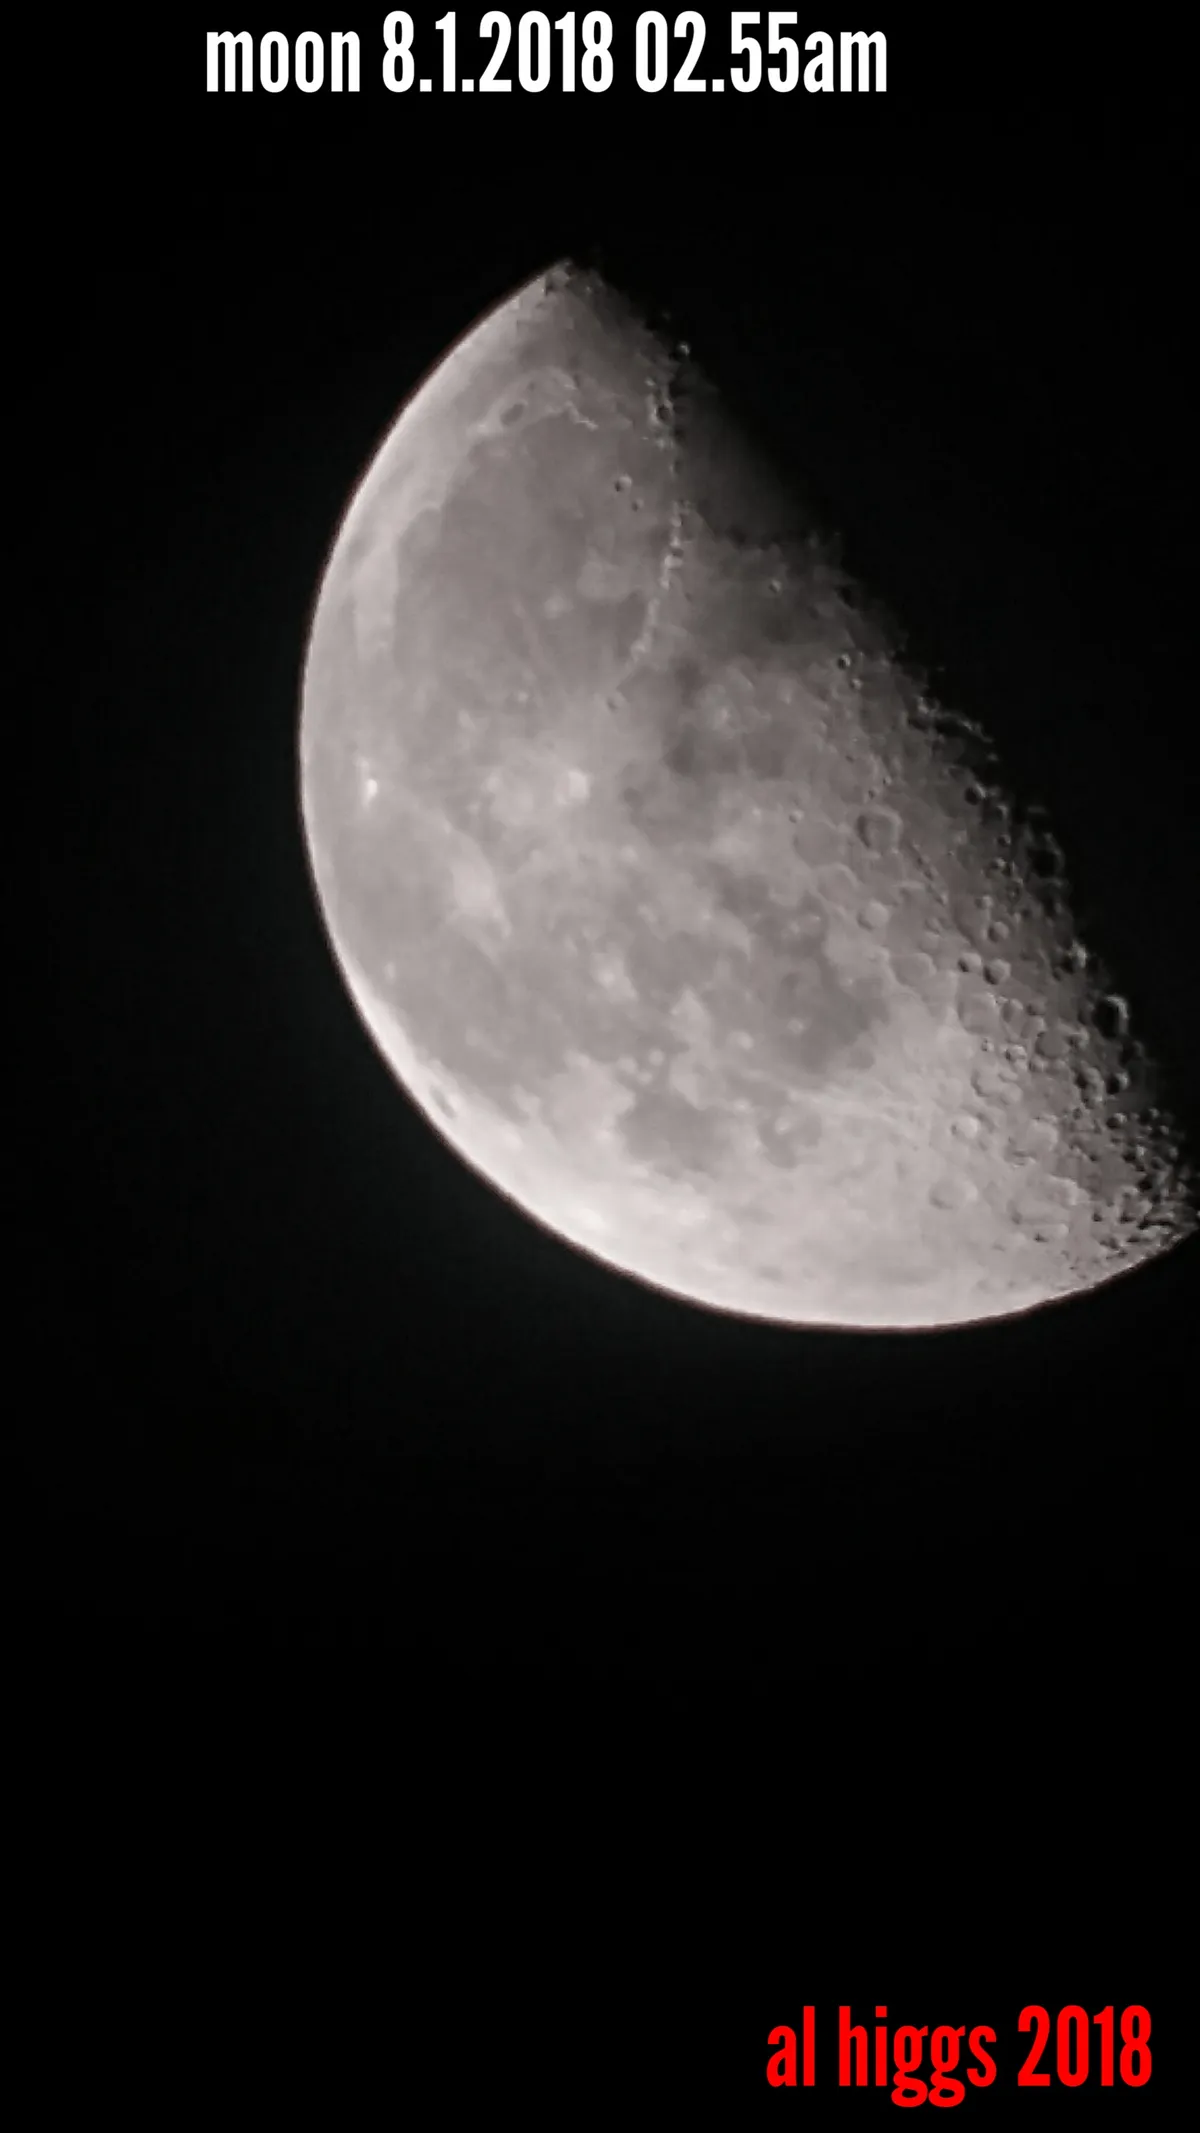
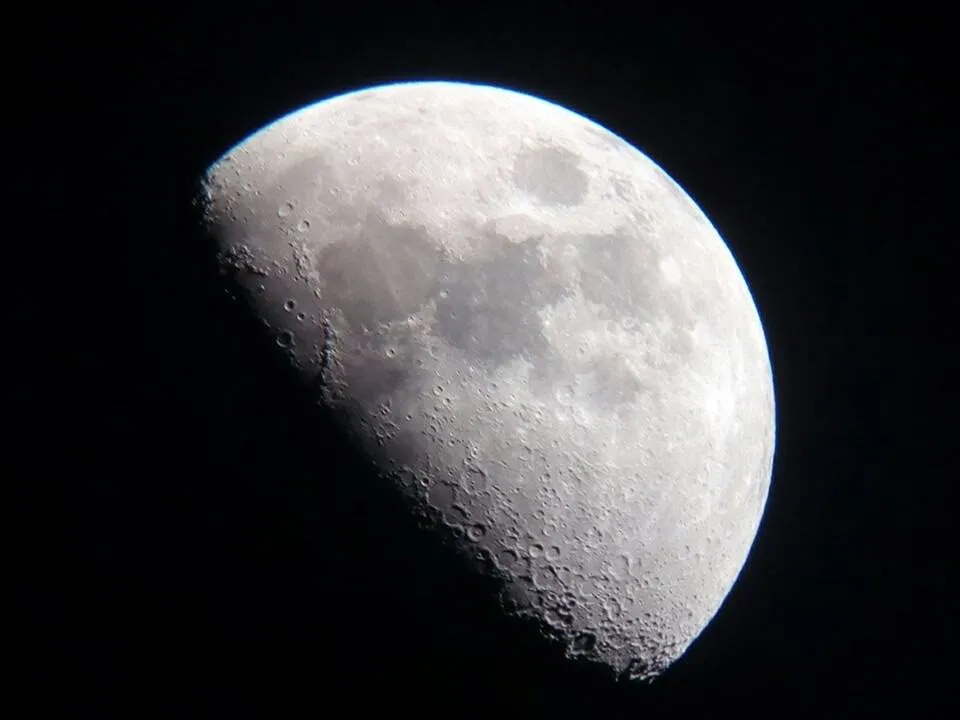
Rosie Lines, Distington, Cumbria, 7 March 2023
Equipment: Huawei P30 Pro smartphone
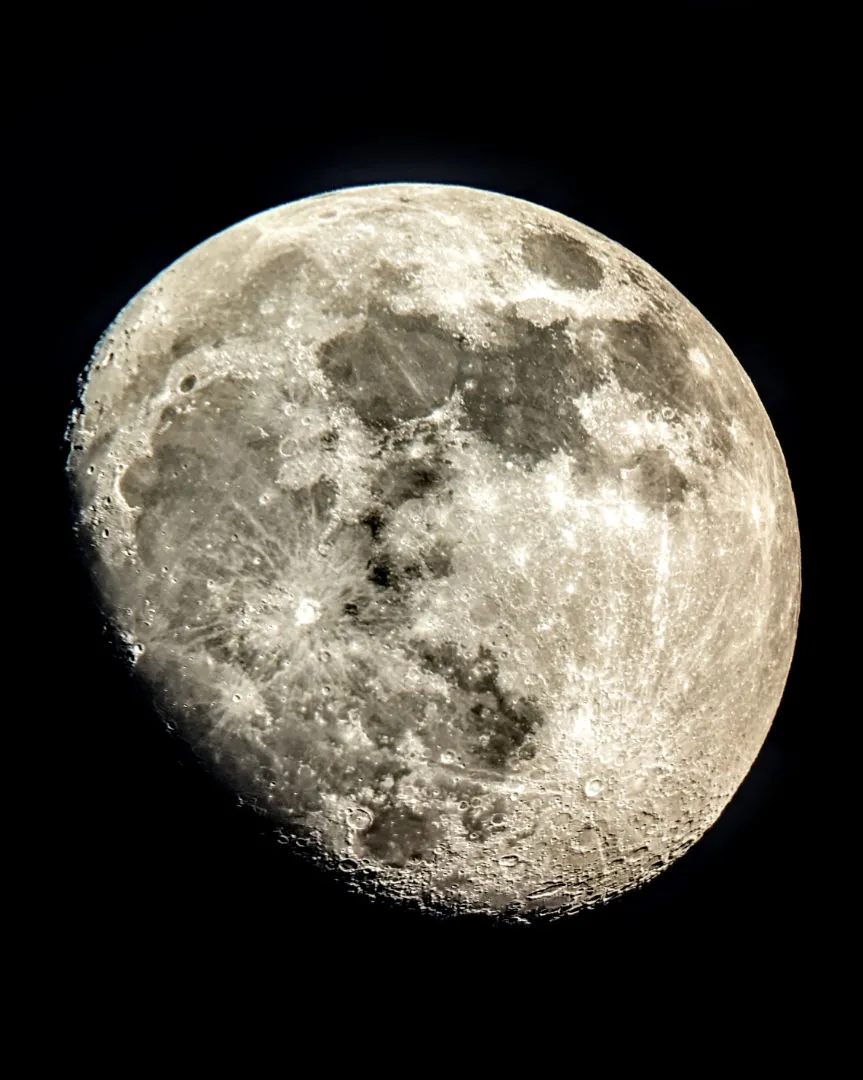
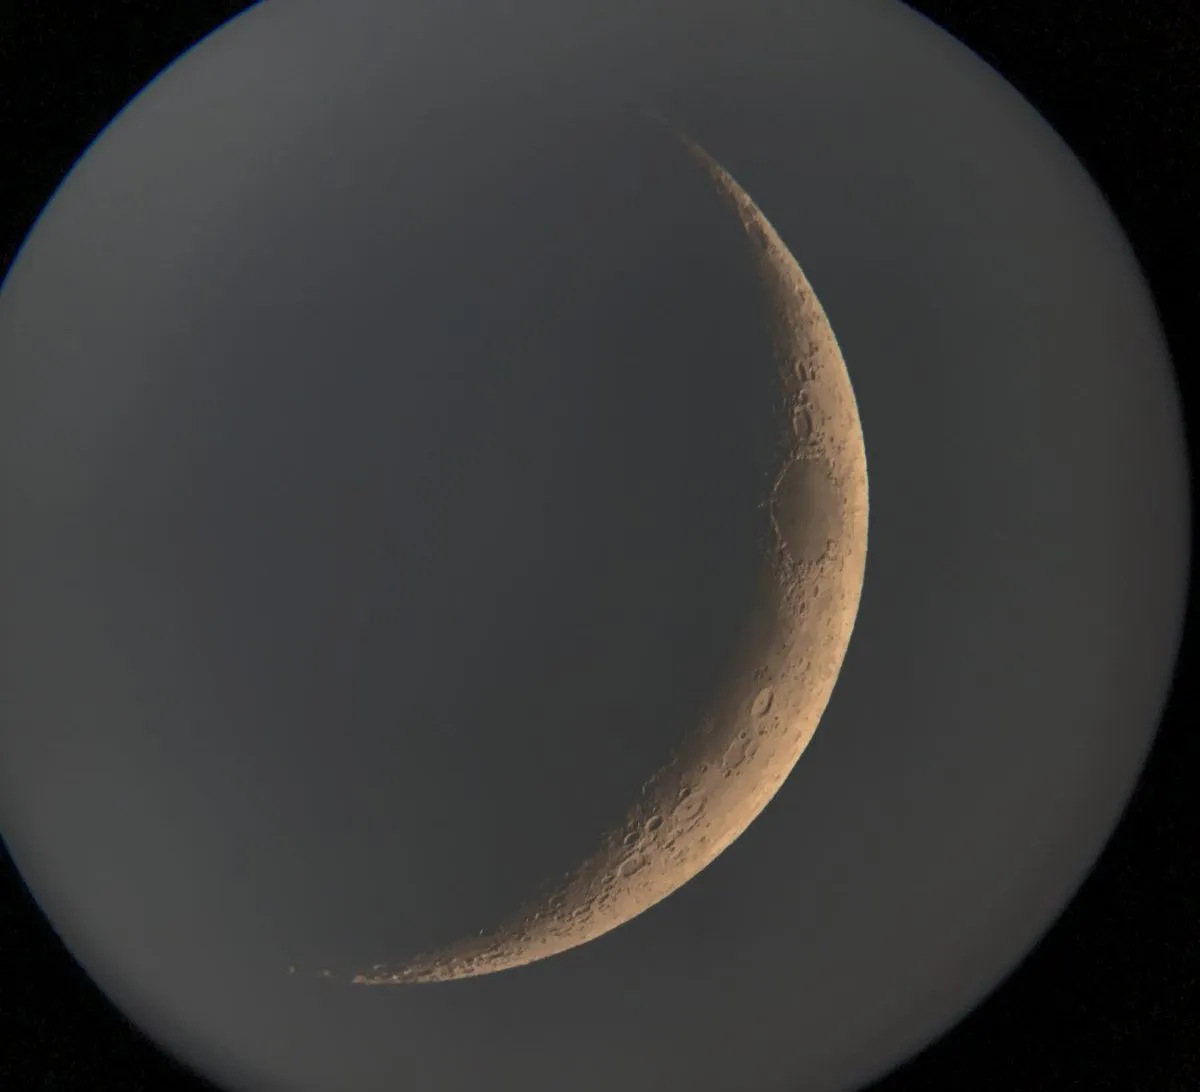
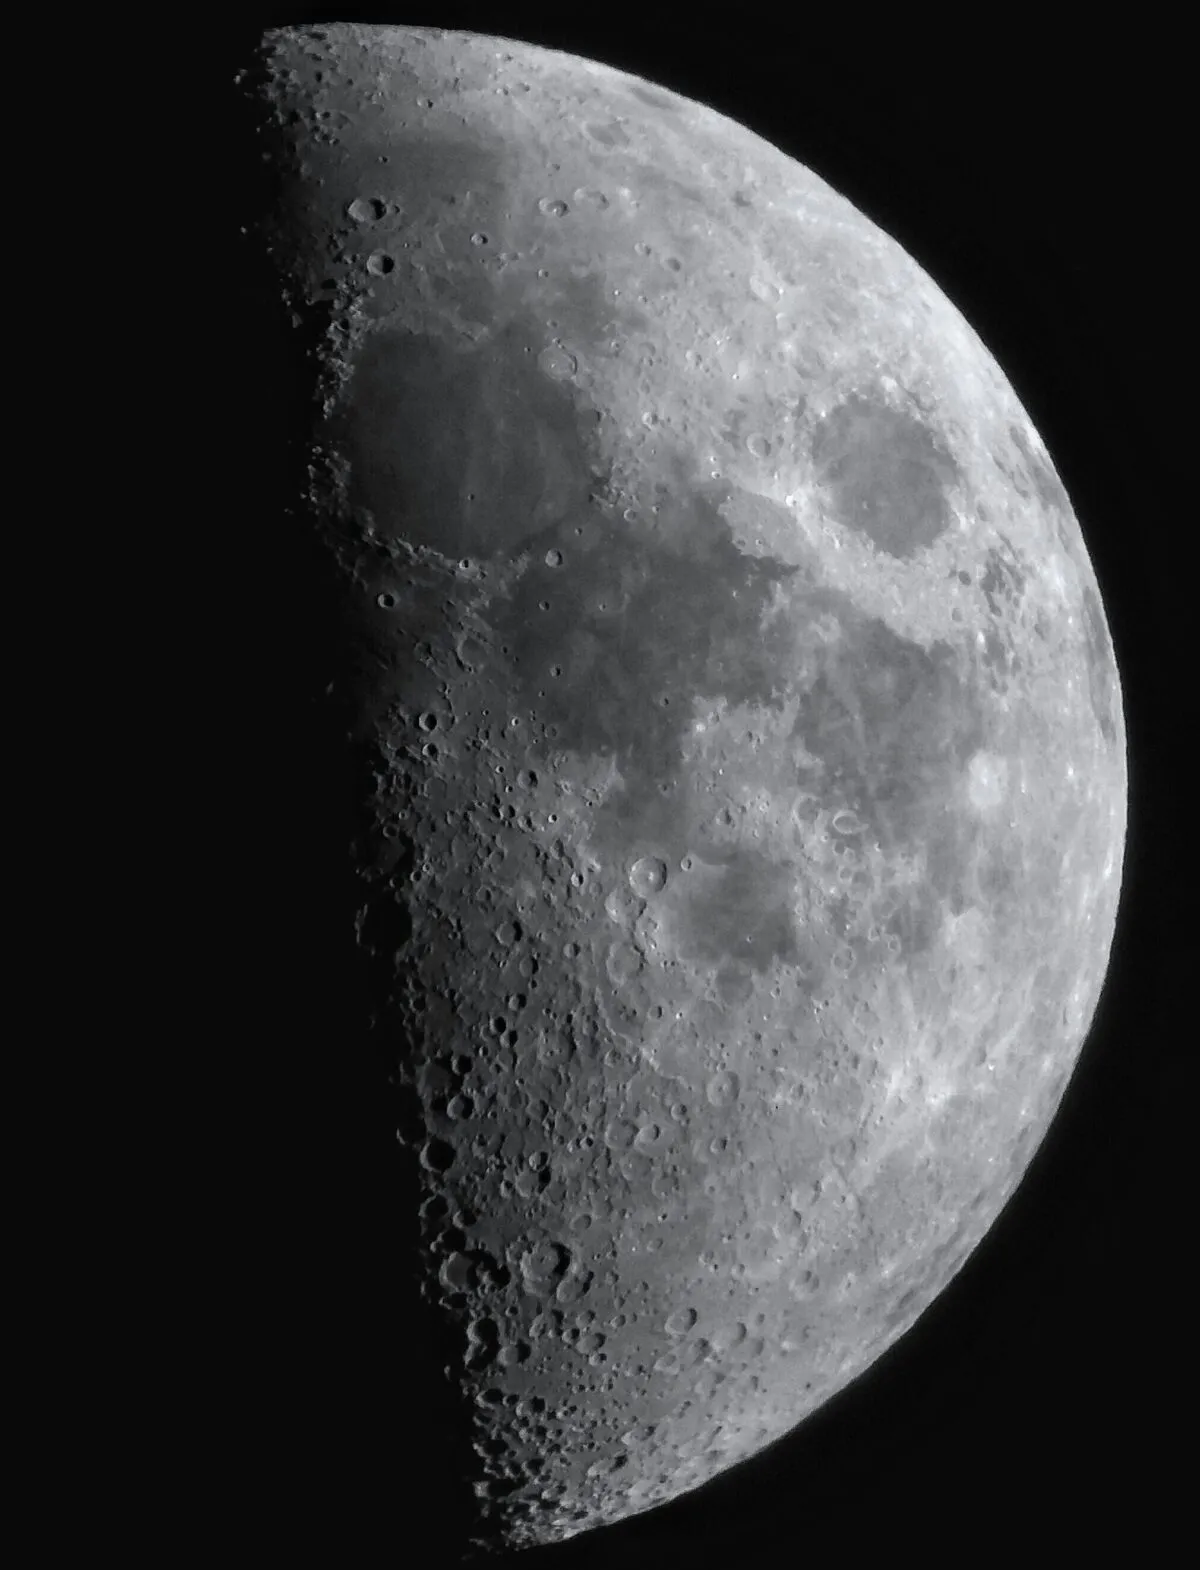
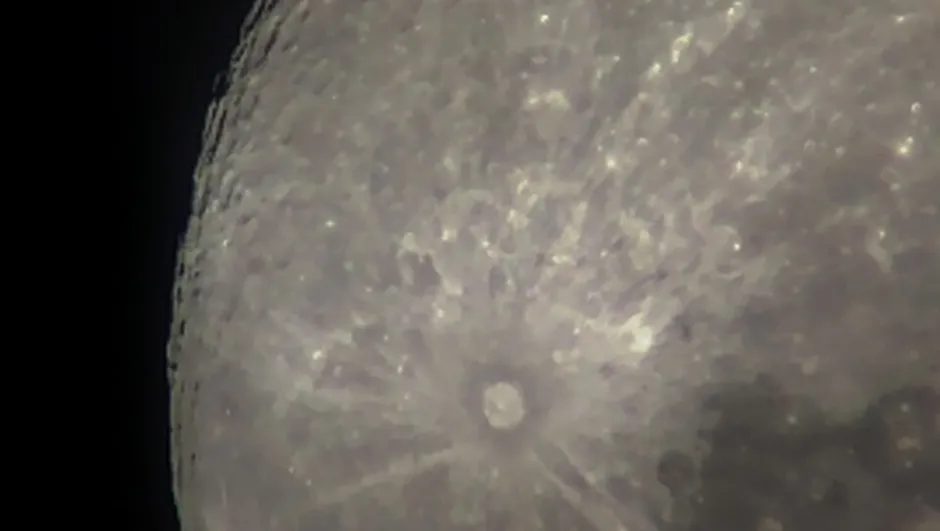
Sonia Turkington, North Reddish, Greater Manchester, 25 January 2023
Equipment: Google Pixel 6 smartphone, Sky-Watcher Skyliner 250PX 10-inch Dobsonian
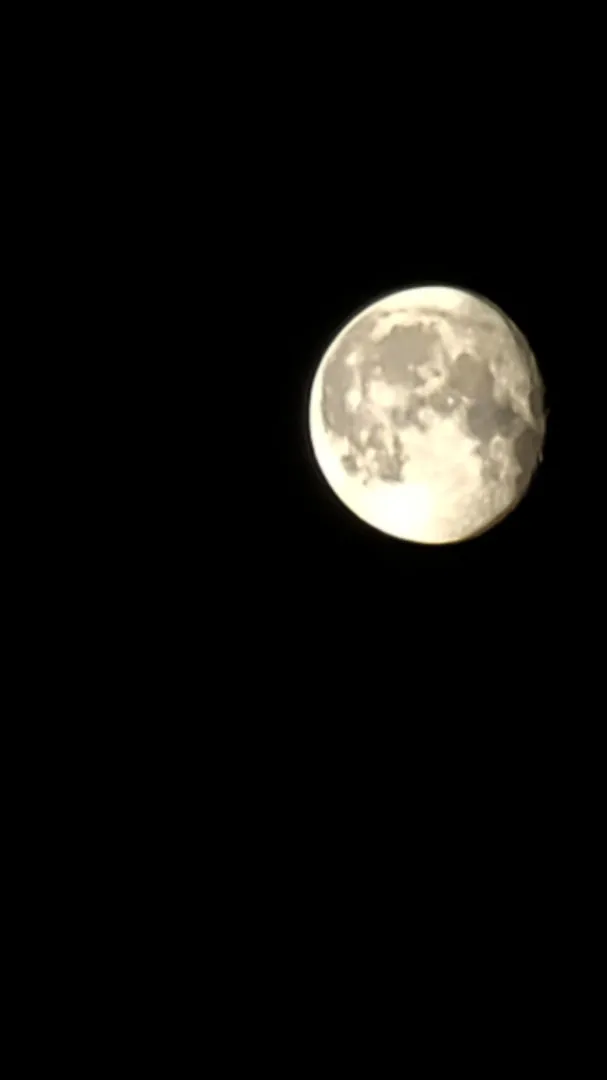
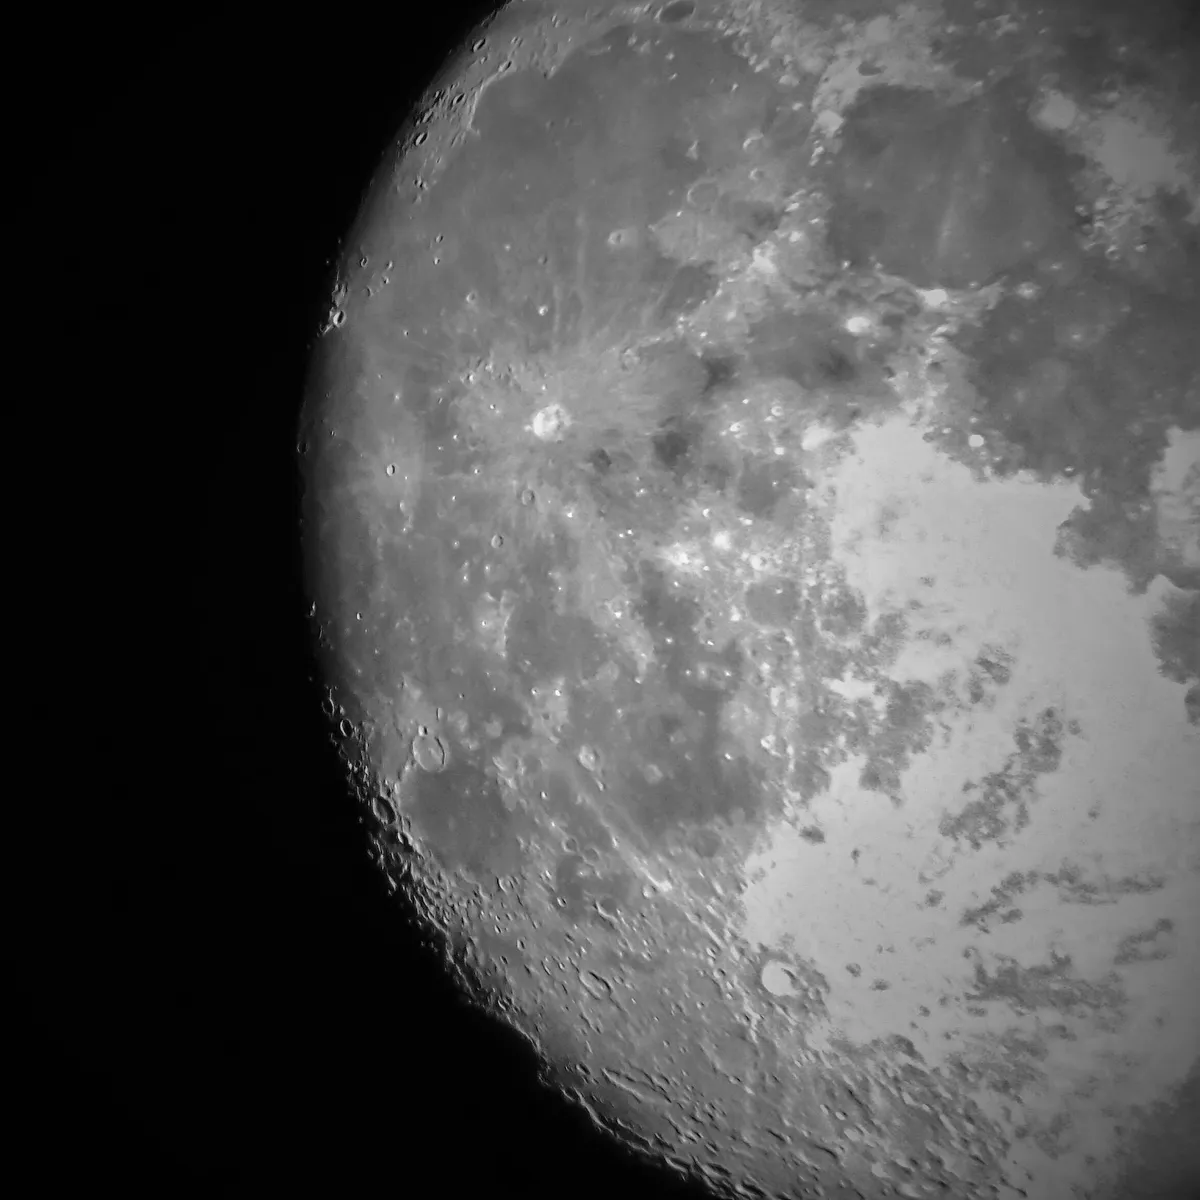
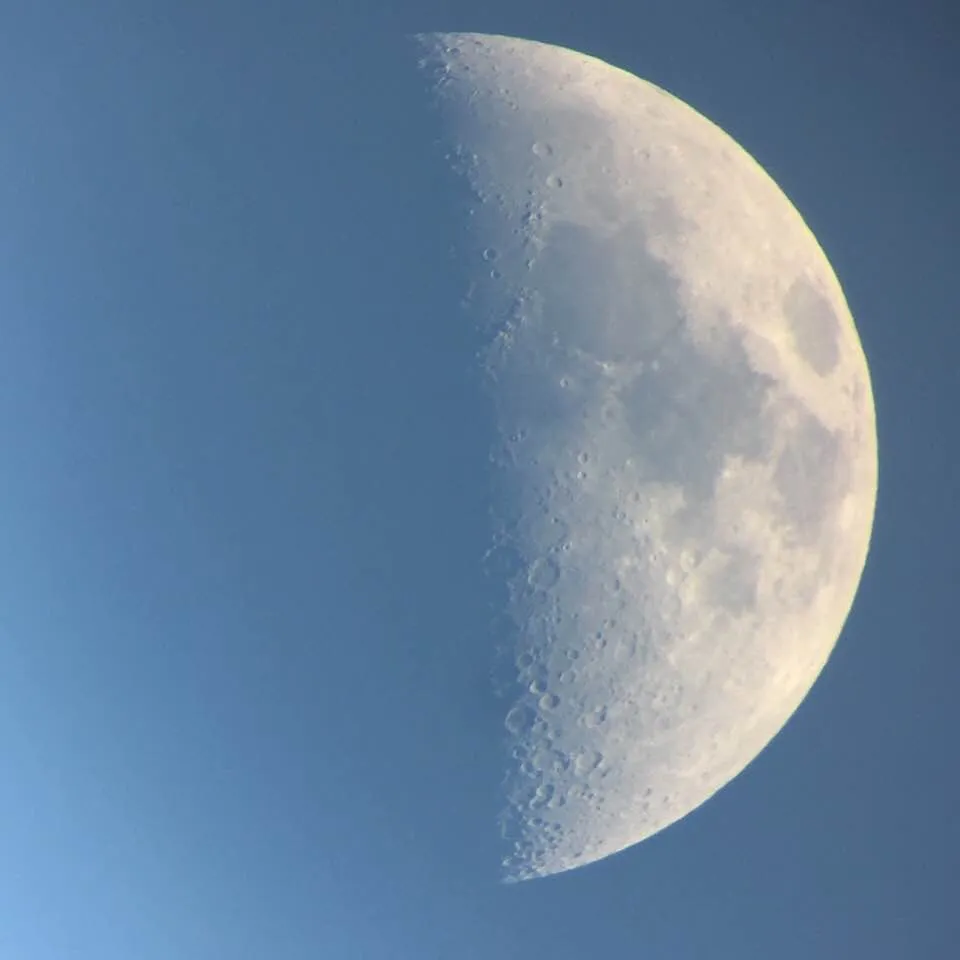
Matt Harwood, Belvedere, Kent, July 2022
Equipment: Oppo Reno 10x Zoom smartphone, handheld
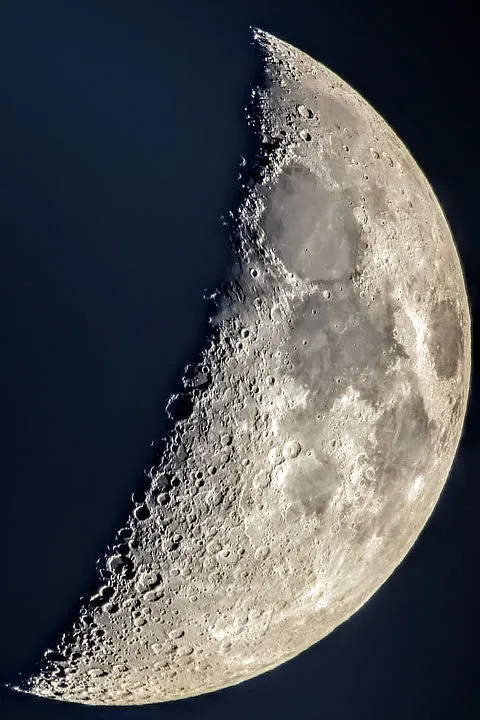
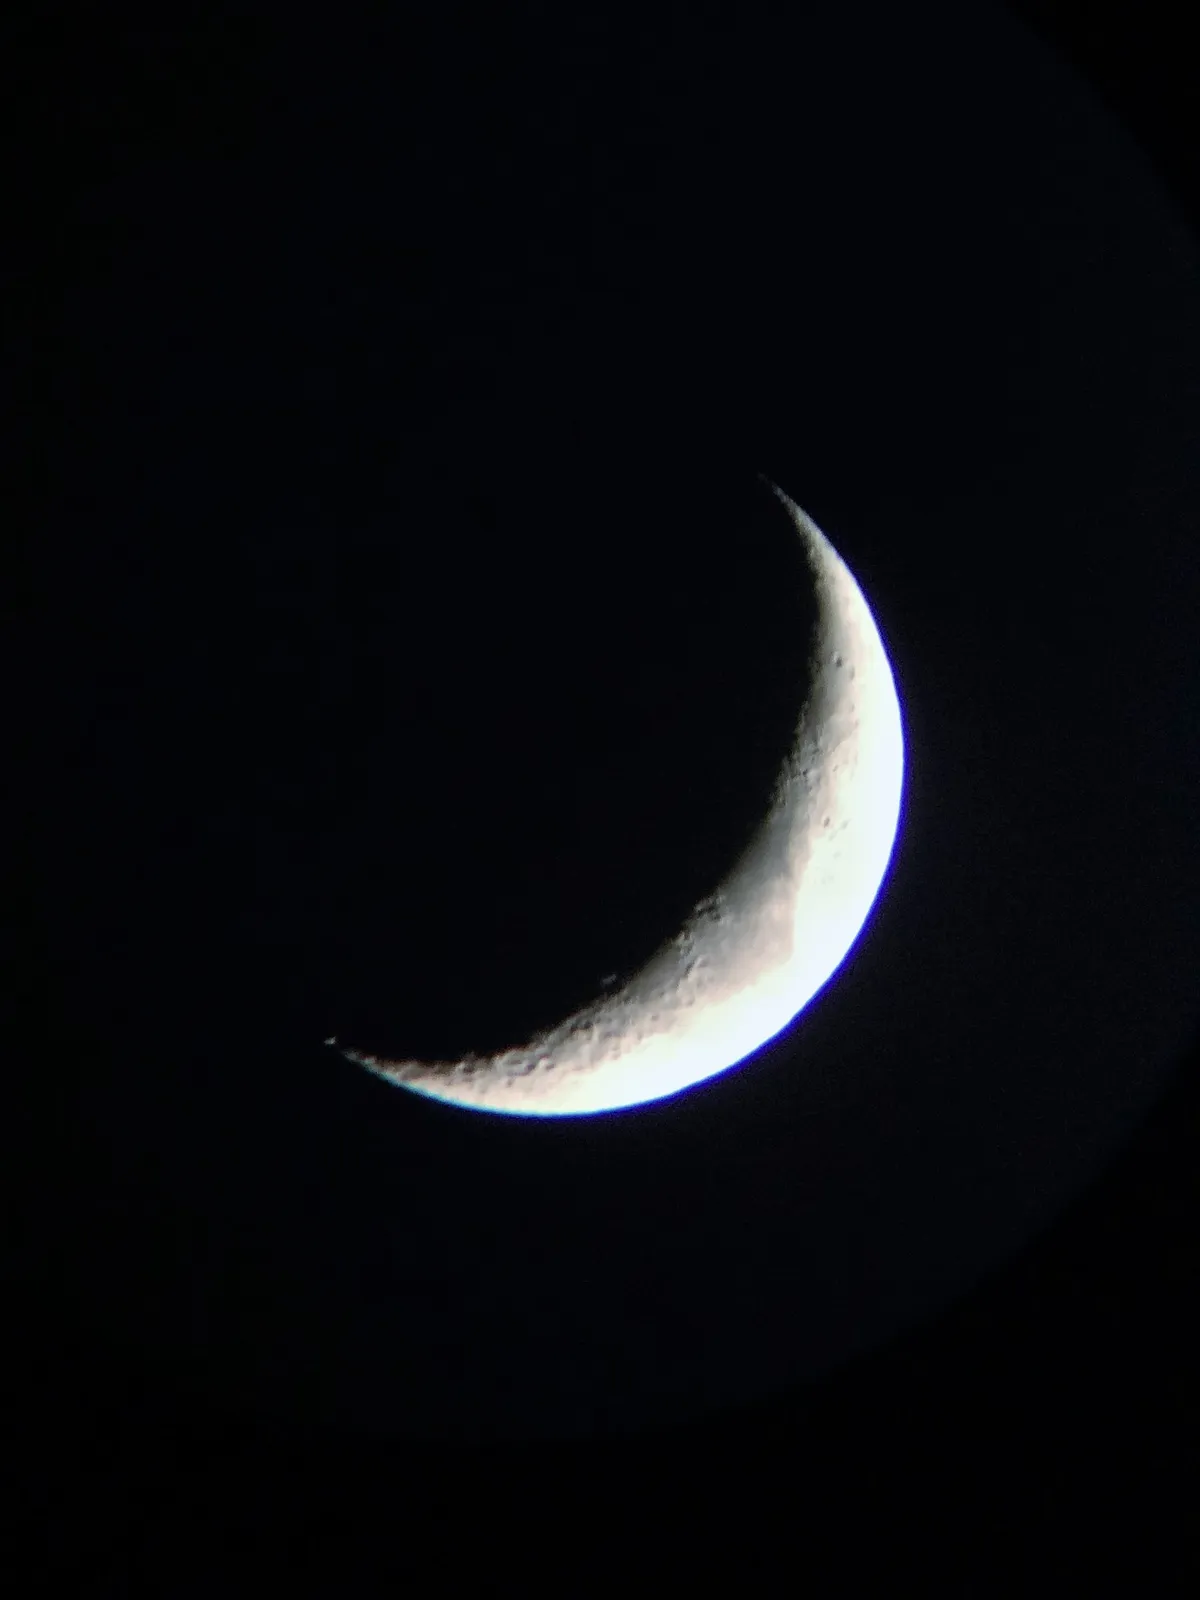
Sonia Turkington, North Reddish, Stockport, 10th July 2022
Equipment: Google Pixel 6 smartphone, SkyWatcher Skyliner 250PX, Dobsonian mount
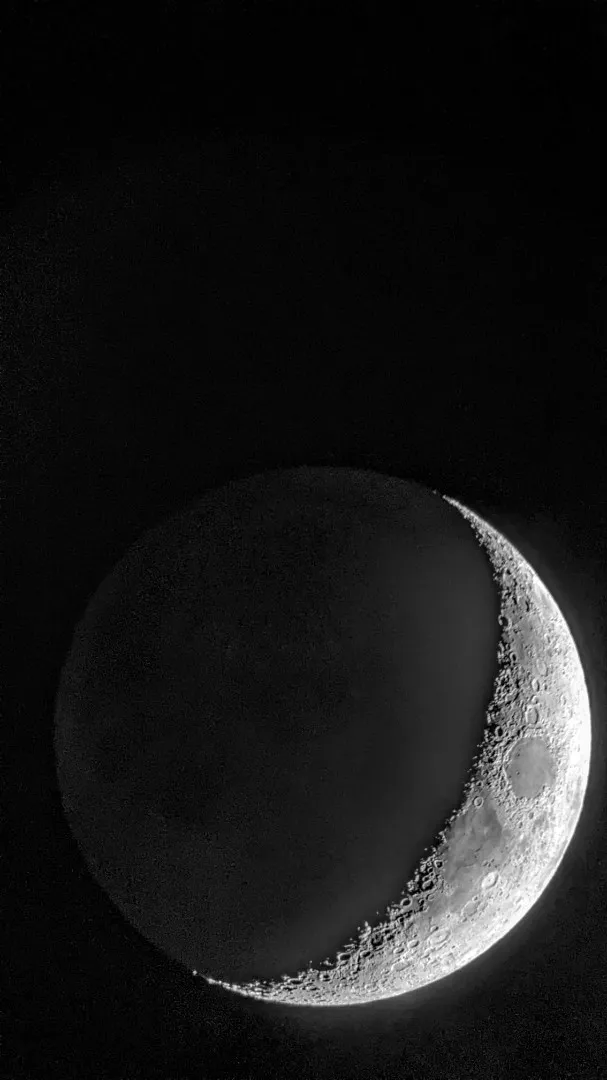
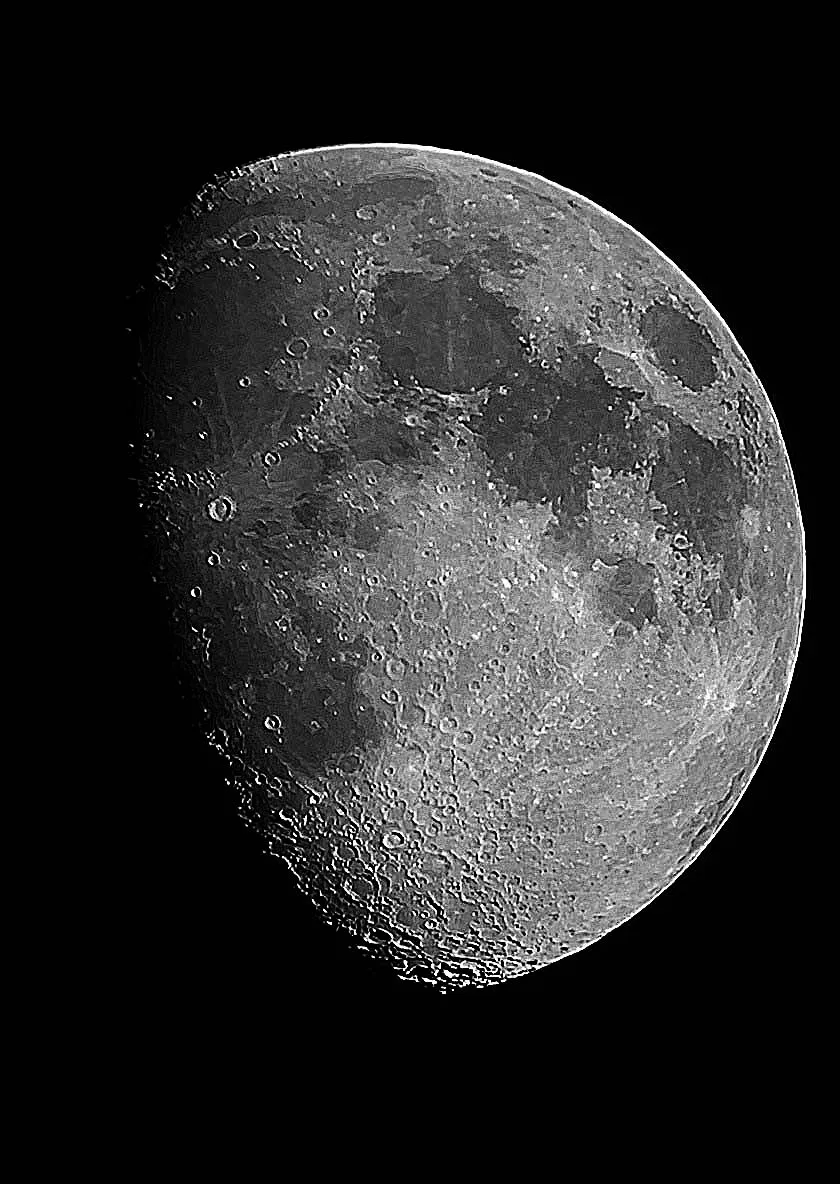
Michael Cassidy, County Meath, Ireland, 19 January 2020
Equipment: Samsung S10e smartphone, Sky-Watcher 200P Skyliner Dobsonian


Photograph the Moon with a smartphone, step-by-step
Step 1

Check the maximum optical zoom of your phone. Googling its make and model should tell you this.
On a night when the Moon is present, point the camera at it and let it make automatic exposure adjustments.
Press the shutter button. If you have some, wired headphones with volume controls may work as a remote shutter release, the volume control activating the shutter.
Step 2

If your camera over-exposes the Moon into a bright blob of light, see if it offers a pro mode where you can control the settings.
If so, hold the camera to the Moon so auto-exposure settings are made, then switch to pro mode, which should retain those settings.
Reduce the ISO or exposure so the Moon’s disc isn’t over-exposed.
Step 3

To retain foreground detail as well as the Moon, the easiest way is to photograph the Moon when the sky is still bright and the foreground illuminated.
This can be done with gibbous and full Moons during the day.
Alternatively, crescent Moons will appear in the evening or morning twilight, after sunset or before sunrise.
Step 4

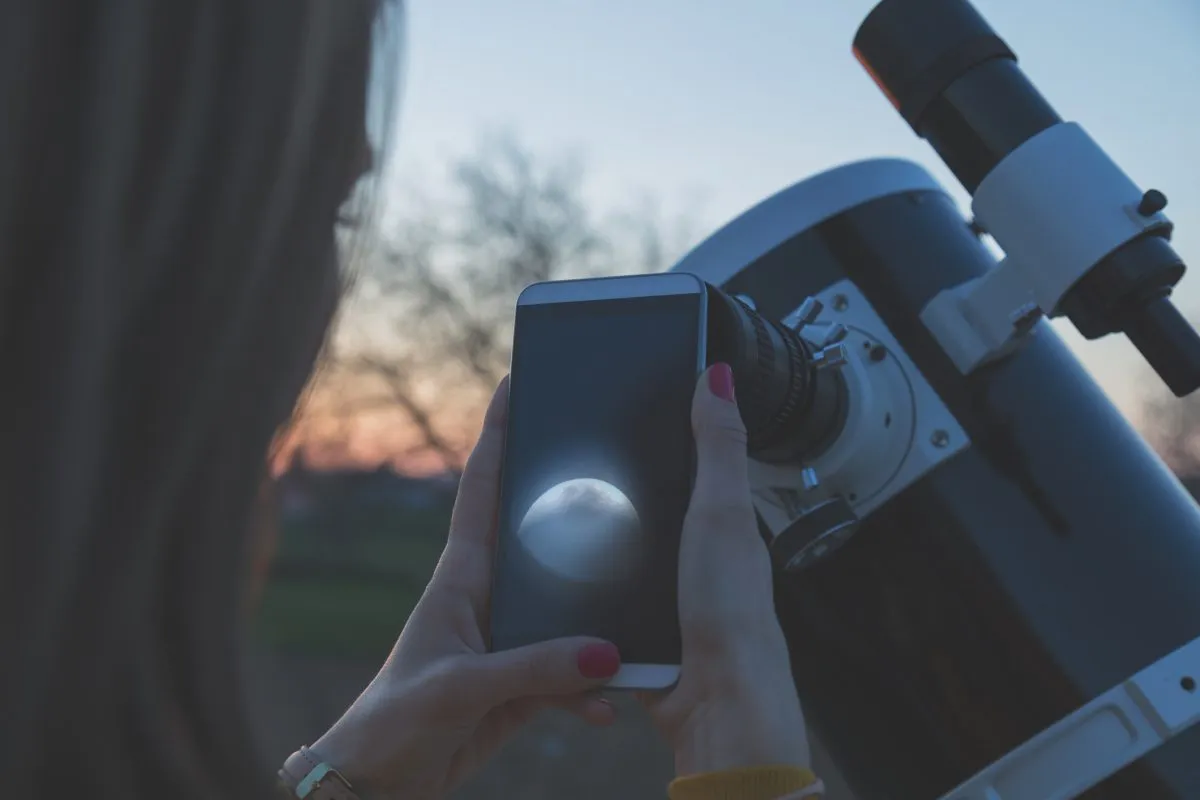
For more detail, consider pointing your phone’s camera down a telescope’s eyepiece.
The telescope needs to be pointing at the Moon and properly focused.
It helps if the mount is driven, to avoid the Moon drifting out of view.
If you wear glasses or contact lenses to correct your vision, they need to be in place.
Step 5

Bring the phone close to the eyepiece, keeping the bright light emanating from the eyepiece in view.
When as close as possible, make a final adjustment to the position of the phone so the Moon’s image pops into view.
Carefully press the button to take the shot. The headphone trick mentioned in step 1 is very helpful here.
Step 6

If you fail the first time, keep trying. It takes a while to get it right.
This technique is known as afocal imaging and works with other bright objects too.
If you like taking photos this way, consider buying a mount to attach your phone to your telescope.
They can be bought at relatively little cost, but they make holding the phone in position a great deal easier!
Have you captured a beautiful photograph of the Moon, with a smartphone or otherwise? Send us your images! We’d love to see them.
This guide appeared in the March 2023 issue of BBC Sky at Night Magazine.
