
If you've ever seen a photograph of two planets – such as Venus and Jupiter – together in the sky, or a bright planet beside a crescent Moon, you'll know how beautiful conjunctions can be.
Conjunctions occur when two or more heavenly bodies appear close to each other in the night sky.
That could be a conjunction of two or more planets, or planets and the Moon, or Solar System objects near deep-sky objects.
Solar System conjunctions are great targets for astrophotography because they often involve bright subjects. The planets Mercury, Venus, Mars, Jupiter and Saturn fall into this category.
Add the Moon and you have objects bright enough to be captured on a smartphone or a digital camera.
In this guide, we'll show you how.
More astrophoto guides

The Moon is a great conjunction maker. It passes around a narrow corridor of sky centred on the ecliptic once every 27.3 days relative to the background stars and encounters each planet.
This means there is often a good opportunity for a conjunction image.
Capturing the Moon with a wide-field camera can be a humbling experience as the Moon’s apparent size in the sky is just half a degree across.
If you want to do this as well a catch a nearby planet, a longer focal length is often required.

How to make your conjunction photo stand out
There are various ways to make your conjunction photo stand out.
One is to predict where the conjunction objects are going to appear in the sky relative to a foreground object like a tree or a building.
The motion of everyday life below the conjunction can also add an extra dimension to a shot: set the camera’s sensitivity a bit lower than normal and try an extended exposure.
A shot set up with a road or street between you and the camera will show the conjunction with human movement below it.

Stopping a lens down on bright objects can add drama. The aperture blades in some lenses produce dramatic diffraction spikes, but stopping down does mean less light is entering the camera.
This means that either the ISO needs to be set higher, introducing more noise, or the exposure lengthened, risking motion blur. For more on this, read our DSLR photography guide.
To get round this set the camera up on a tracking mount. Piggybacking on an equatorially mounted and driven scope will achieve this. A dedicated equatorial camera mount also works.
For more astrophoto tips, read our tutorial on how to photograph the stars.
Equipment
- Smartphone
- DSLR or MILC camera
- Tripod mount
Step 1
Pre-planning is essential for conjunction photography.
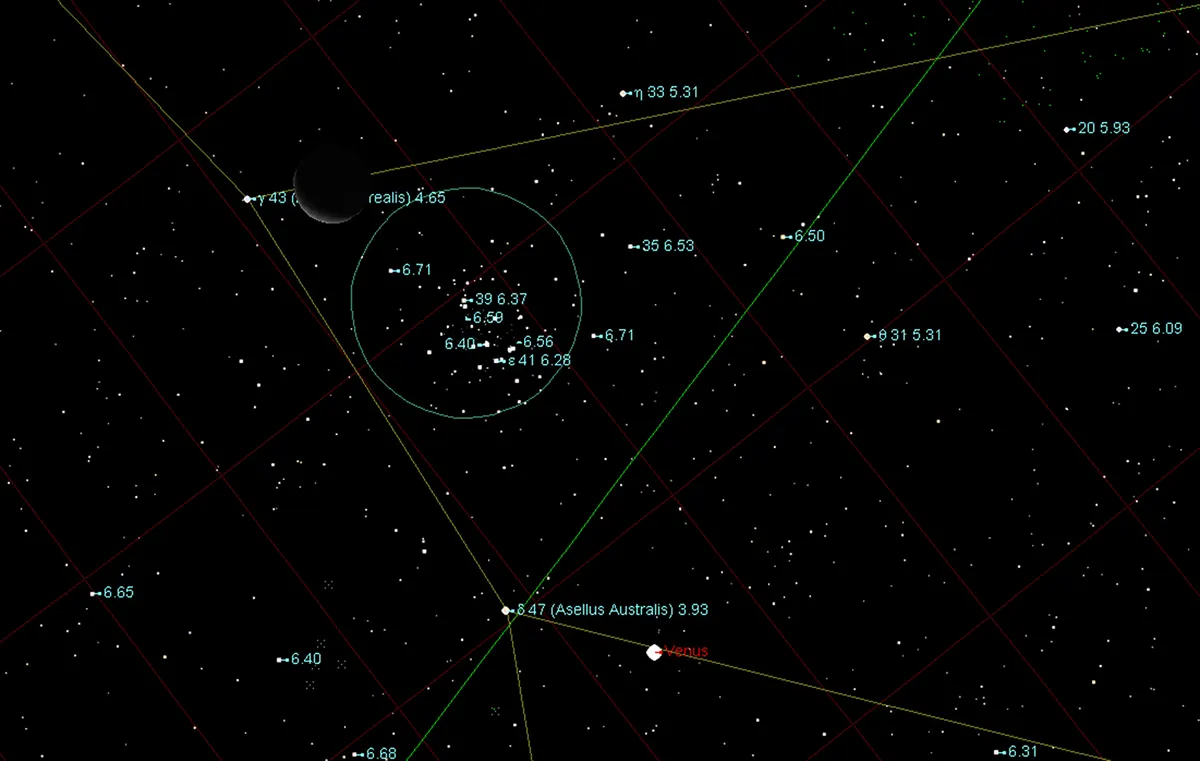
One of the first things to work out is how far apart the objects will be, and whether it’s possible to bring something else into the shot, typically a foreground target, to give some context. Here, a stargazing app will be vital.
Step 2
First, determine the apparent separation of the conjunction targets and the altitude of the scene using your stargazing app.
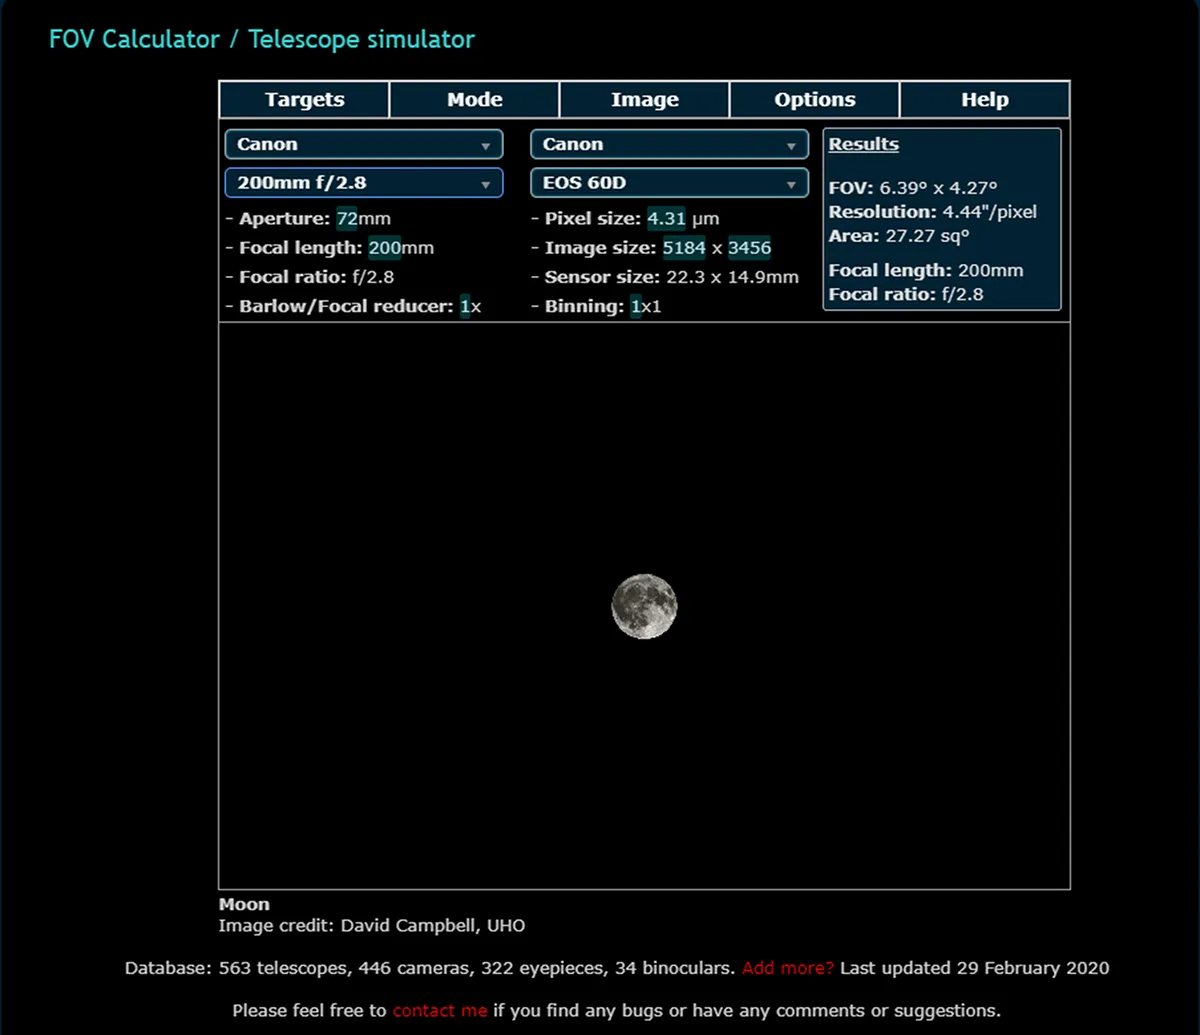
Then determine a rectangle big enough to contain everything you want in the shot with a bit of leeway. Next, use the field of view calculator to find the correct lens size to give you this coverage.
Step 3
Determine a good location to photograph the conjunction from. It may sound obvious, but check to make sure there are no foreground objects in the way.
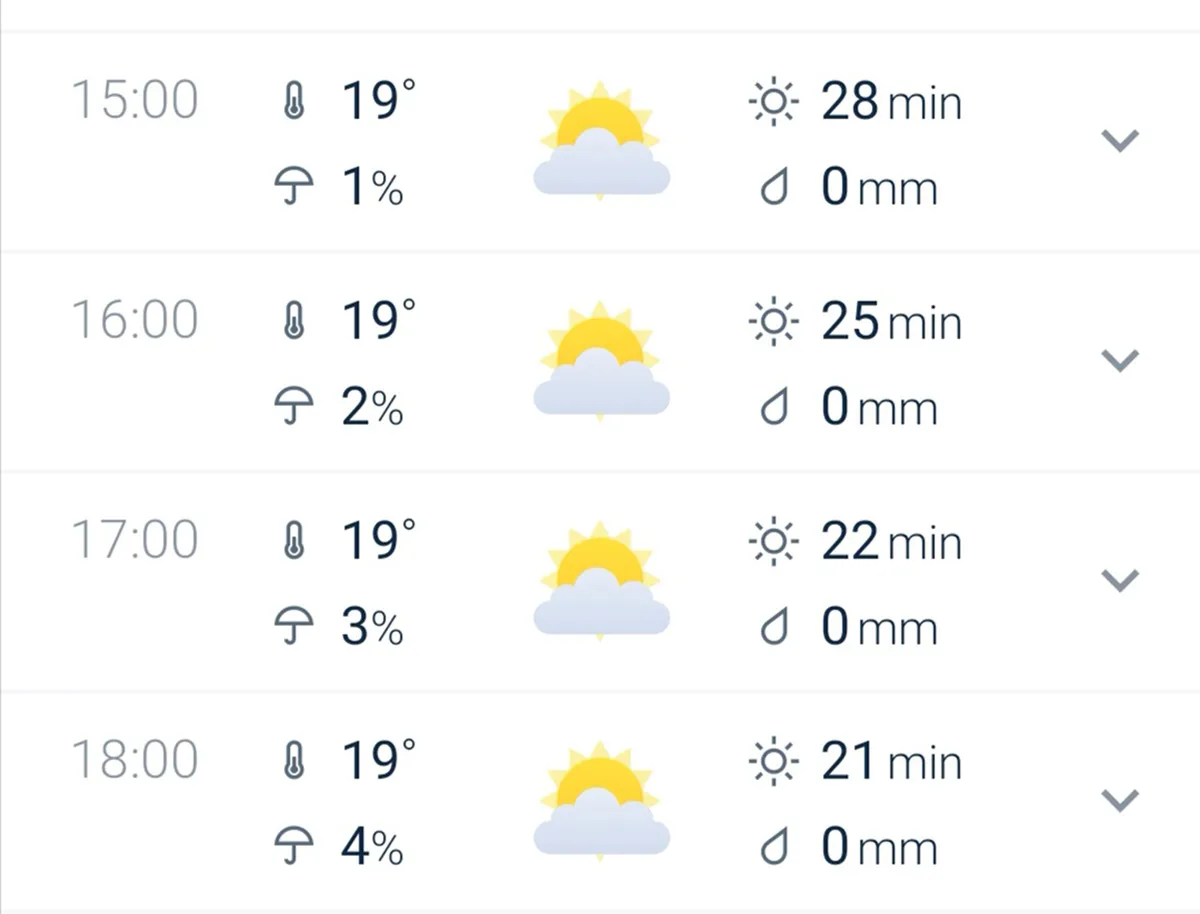
Check the weather forecasts for the conjunction date. If the forecast is poor, check how close the objects concerned will be before and after the closest date. For the planets, the difference may not be that significant.
Step 4
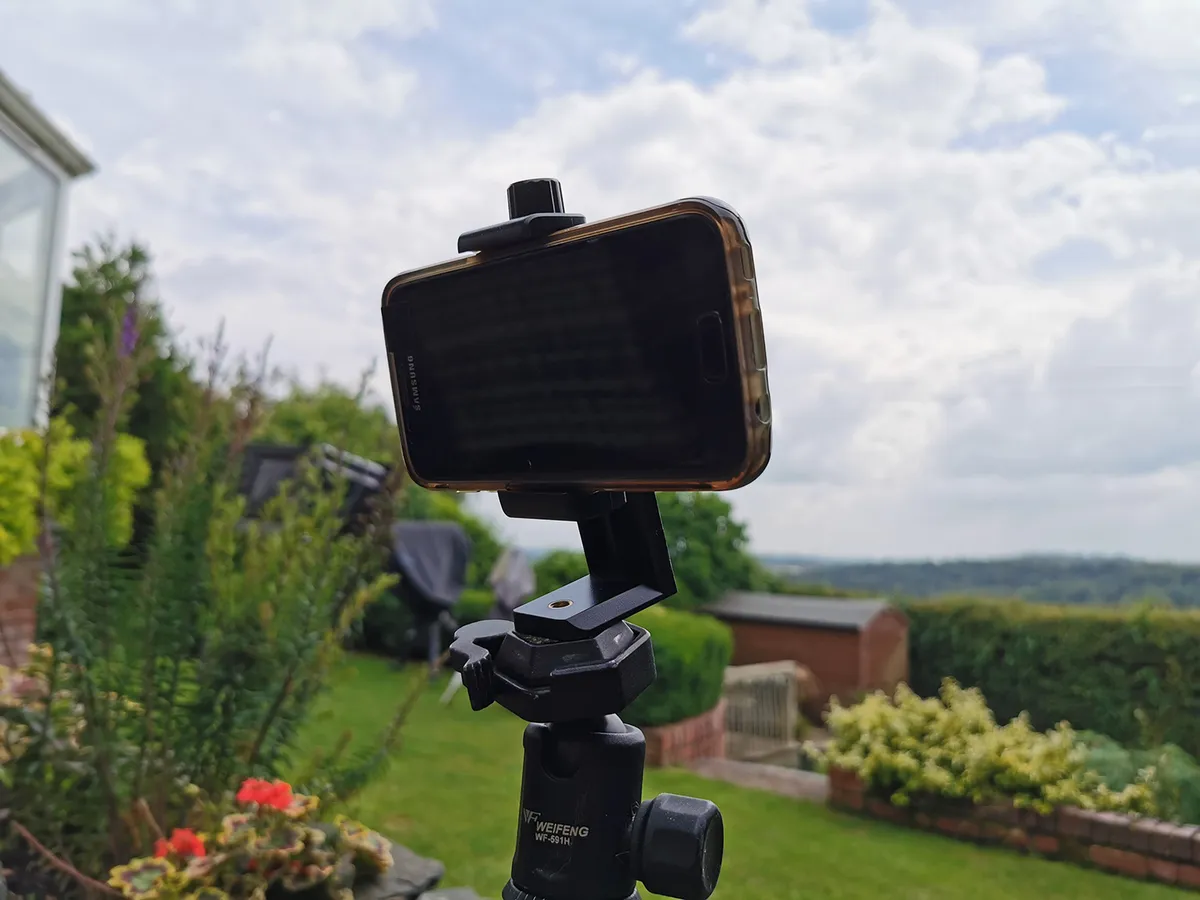
If you plan on capturing a wide-field shot, a tripod mount will often suffice.
Use the ‘500 rule’ if you want to avoid trailing; divide 500 by your focal length to work out the longest exposure you can take without trailing being noticeable. If you use a smartphone, place it on a static platform or use a tripod mount and this will help too.
Step 5
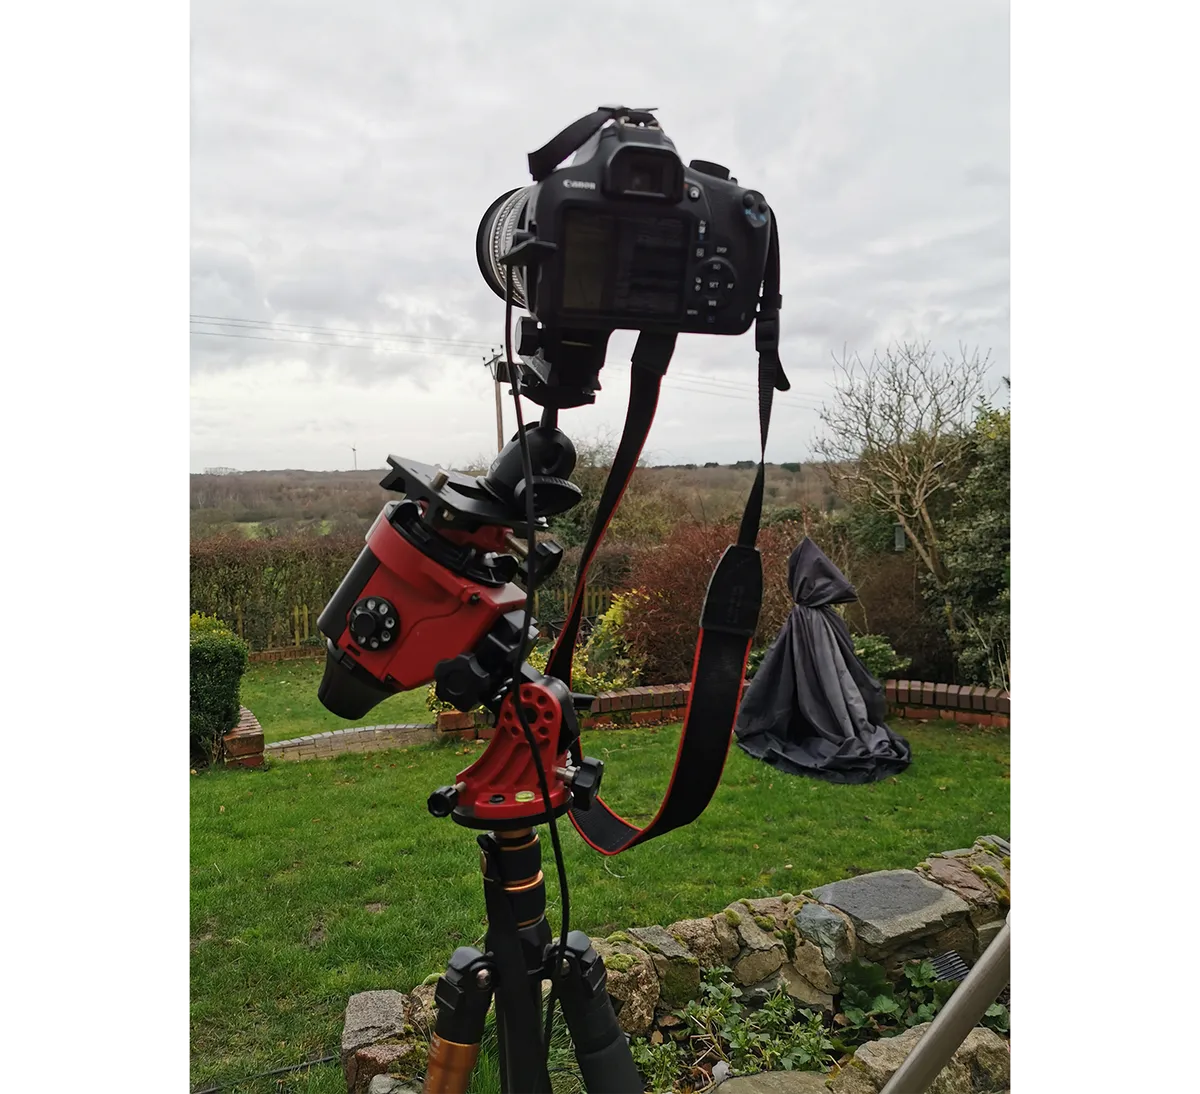
For conjunctions with fainter objects, for example Venus and the M35 open cluster, a tracking mount is recommended.
This allows you to keep ISO settings at the low- to mid-range, avoiding noise and maintaining tonal integrity in the image. Depending on how accurate your polar alignment is, a tracking mount will allow you to expose for several seconds without motion blur.
Step 6
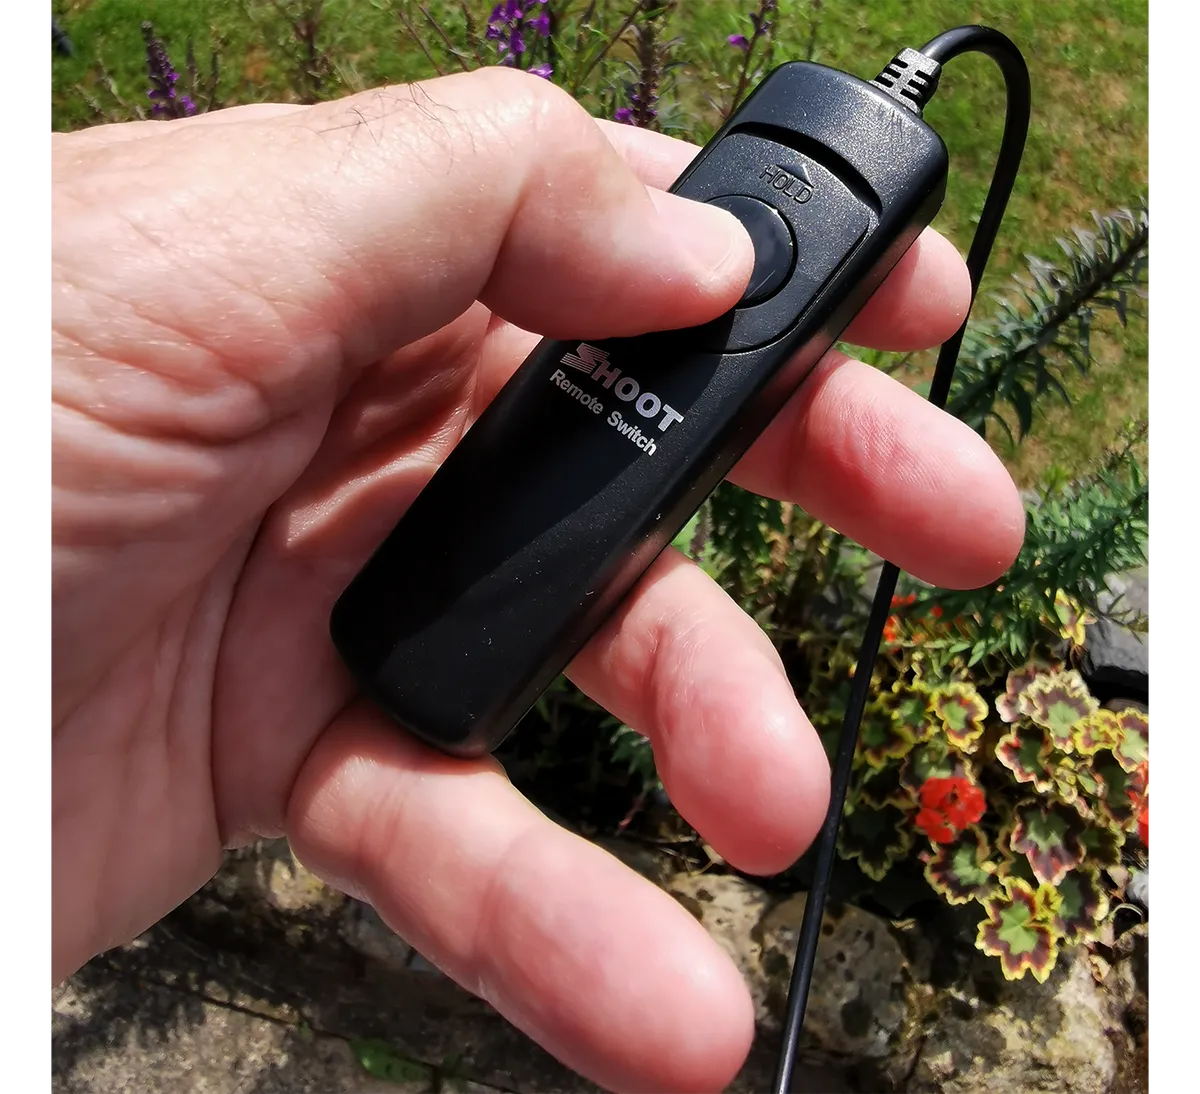
Use a remote shutter release to take your shots without vibrations.
On many smartphones you can use the volume control on wired earphones as a remote shutter release button. Take shots on the nights before and after conjunction to use as reference images to show just how the scene has changed over time.
If you do manage to photograph a conjunction, we'd love to see you images. Send them to us by emailing contactus@skyatnightmagazine.com or get in touch via Facebook, Twitter and Instagram.

