How to photograph Mars at opposition

Whatever equipment you have, Mars is an irresistible subject as it approaches opposition.

Try out a subscription to BBC Sky At Night Magazine and pay just £9.99 for 6 issues today!
Published: November 23, 2022 at 11:30 am

The excitement is increasing as Mars approaches opposition on 8 December. This is because Mars oppositions are a big deal.

The term opposition describes when a planet appears on the other side of the sky to the Sun.

Geometrically, this also means we’re closer to a planet at opposition than at any other time.

For more distant worlds, the difference that makes to its appearance isn’t so significant.

Positioned on the opposite side of the Earth to the Sun, here Jupiter is shown at opposition. Credit: Steve Marsh

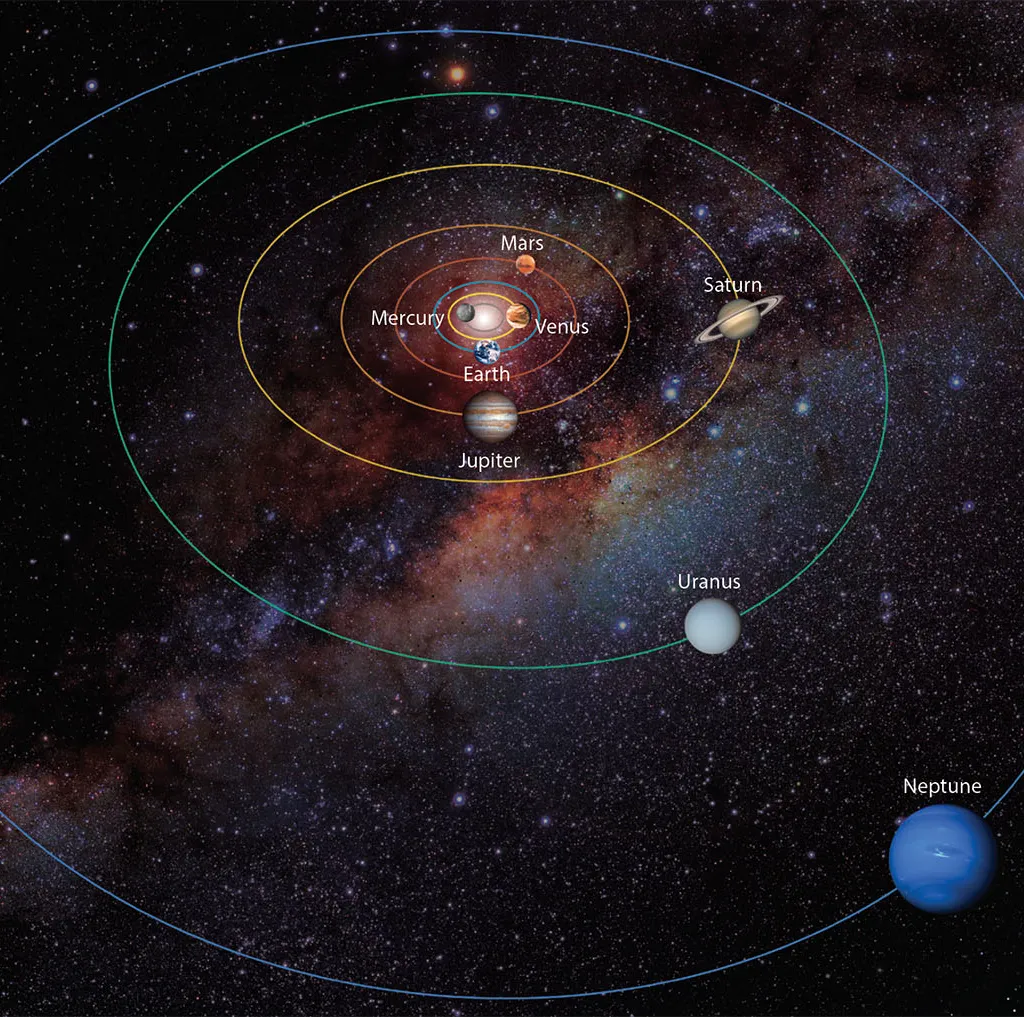
An exception is Saturn, but only because of the ‘opposition effect’, a phenomenon that makes Saturn's rings glow brighter at opposition than at other times.

However, Mars is a nearer world and its opposition appearance is considerably better than at other times.

When are Mars oppositions?

The difference in the apparent size of Mars when it’s at its most favourable opposition and when at its most distant from Earth. Credit: Pete Lawrence

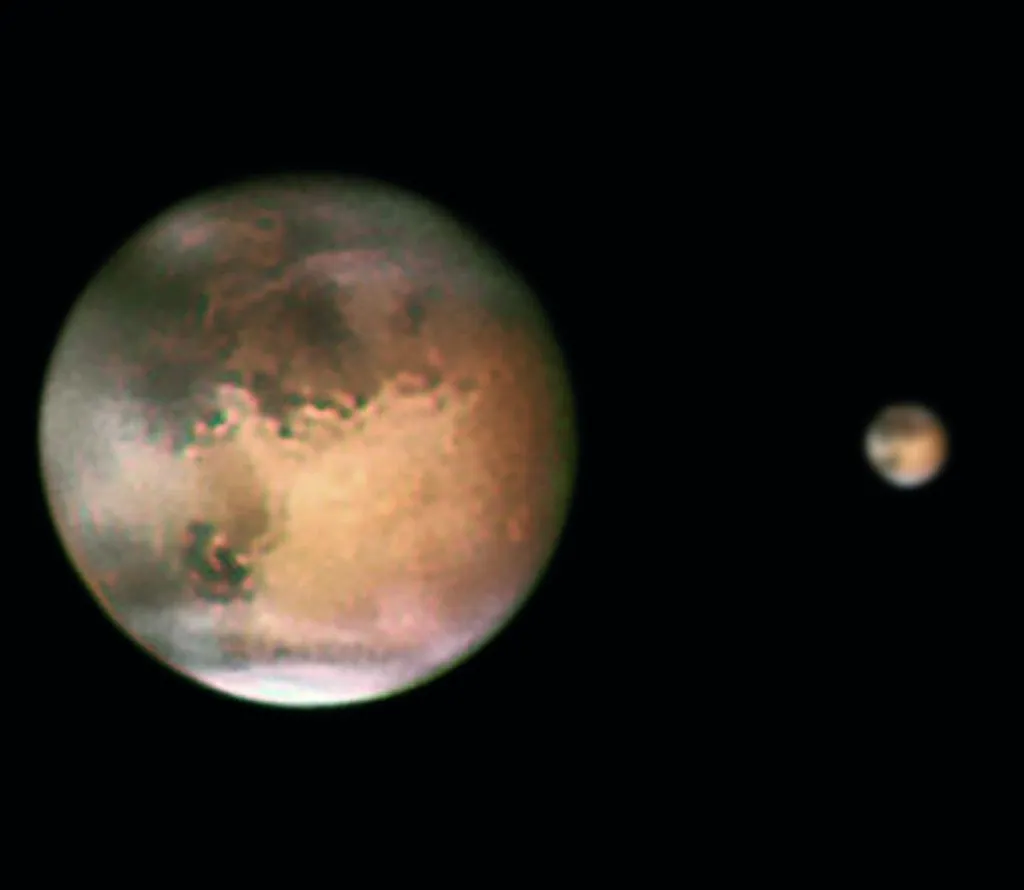
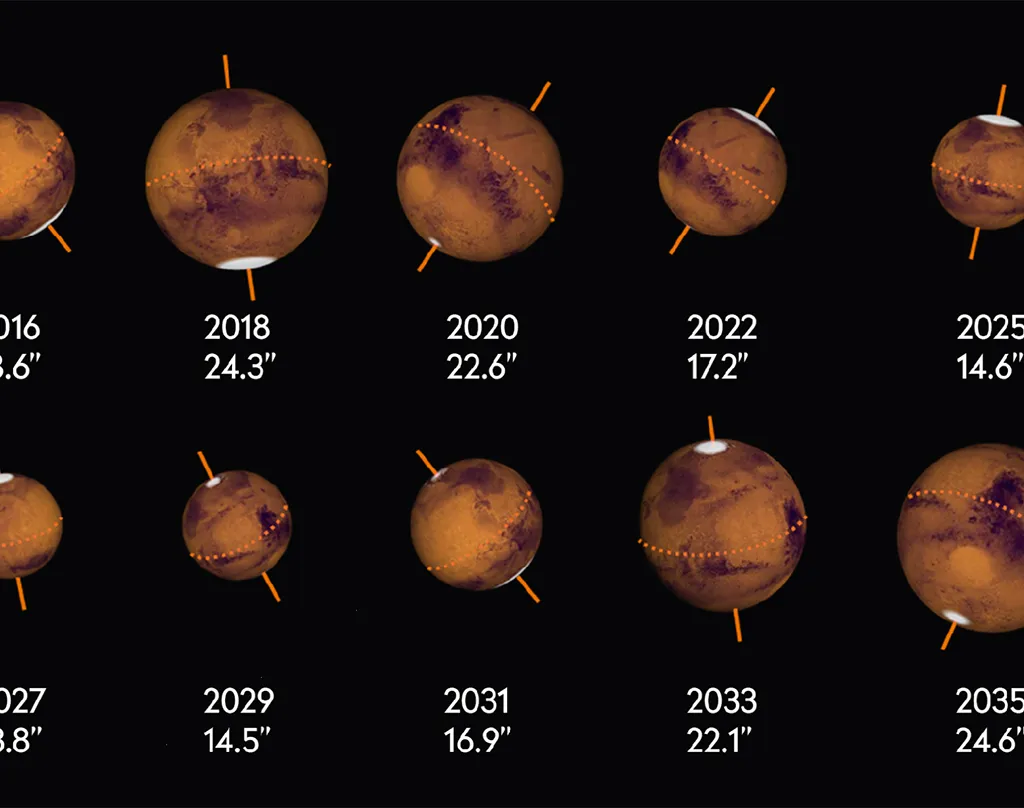
Mars oppositions occur every 2.1 years. At optimal oppositions it appears to have an apparent diameter over 20 arcseconds across.

As well as appearing to expand in size through the eyepiece, to the naked eye Mars also brightens impressively around opposition.

Less favourable oppositions may present the planet with an apparent arcsecond diameter in the low-teens.

The 2022 Mars opposition has the Red Planet reaching a maximum apparent diameter of 17.2 arcseconds on 1 December, when Mars is closest to Earth. At this time it’ll appear to shine at mag. –1.8.

Photographing Mars at opposition

A comparison of Mars’s apparent diameter when at opposition from 2016–35. Credit: Pete Lawrence

If you’re wondering what the best way is to image Mars around opposition, the answer depends on what kit you have available.

Smartphone

Mars, three ways: captured with (left to right) a smartphone, a DSLR and then a high-frame-rate camera with a large telescope. Credit: Pete Lawrence

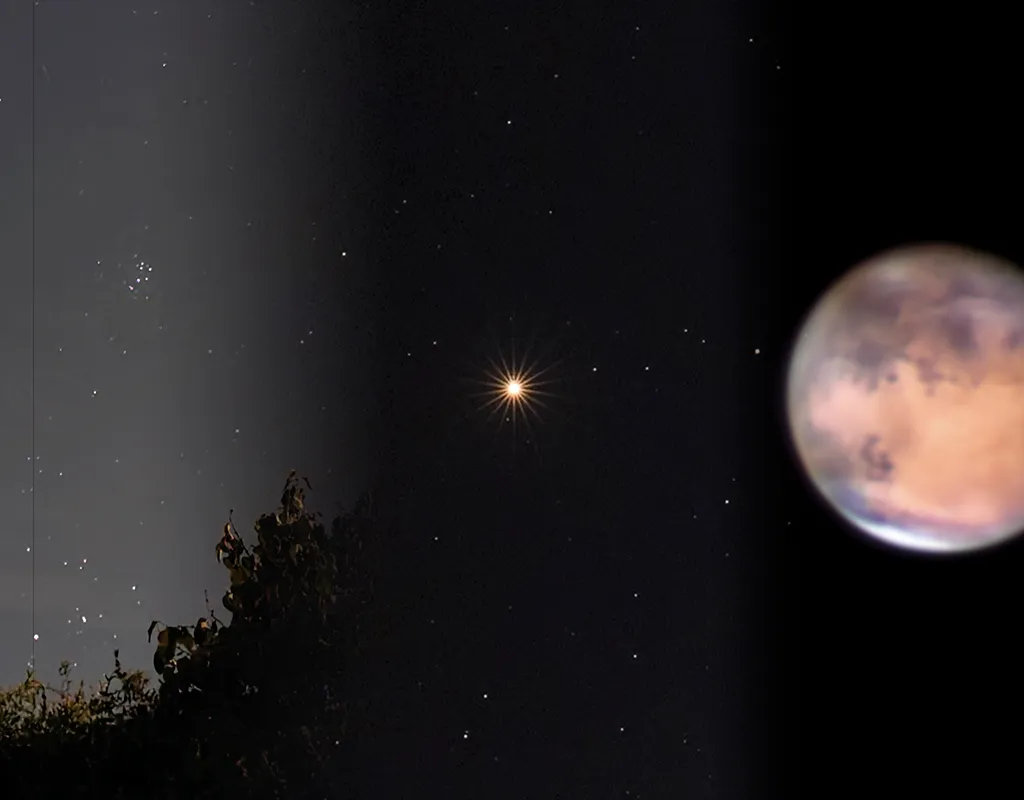
The planet’s impressive orange-hued, star-like dot should be relatively easy to photograph with a modern smartphone, even if it doesn’t pick up many surrounding stars.

Here, a good strategy is to catch Mars low in the sky, bringing foreground objects into the view to give the planet context.

A bright Moon can be used to set the scene too. Grab a show of the full Moon near bright Mars, low above a visible horizon and you’ll have a winning shot.

Dates when this will happen are 10 and 11 November, and the nights of 7 and 8 December.

Mars is occulted by the Moon early on 8 December, so prepare to extend the evening session on 7 December into the early hours of the following morning for some real Moon–Mars drama.

For more advice, read our guide on how to photograph the night sky with a smartphone.

DSLR camera

Mars and the Pleiades, photographed by Gábor Szendrői, Hungary, 30 March 2019. Equipment: Canon EOS 700D DSLR camera, Leica APO-Telyt-R 3.4 / 180mm lens.

A DSLR or equivalent camera with a mid- to wide-angle lens will be able to capture some serious shots of Mars, with or without the Moon.

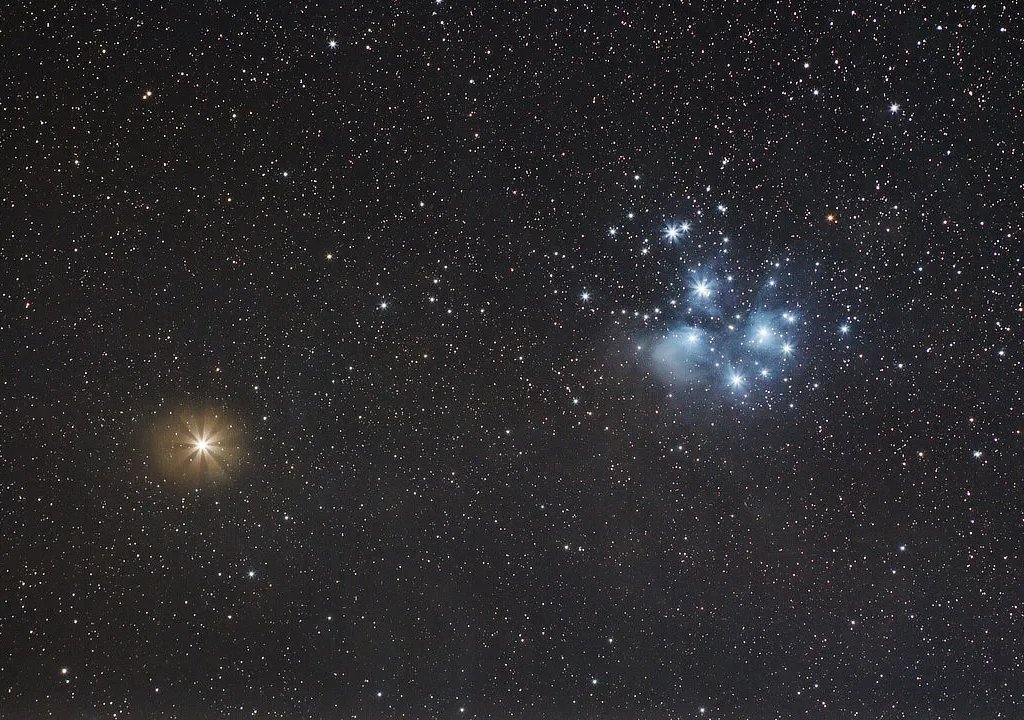
The planet is currently moving fairly slowly through Taurus, a feature-rich part of the sky.

Mid-angle lenses should capture the planet and most, if not all, of the stars surrounding it.

This includes the beautiful Pleiades and Hyades open clusters, as well as bright Aldebaran (Alpha (α) Tauri) which conveniently, for comparison purposes, also appears orange.

A wide-angle lens could extend the sky coverage to include the Orion constellation too.

A DSLR or equivalent allows you to get a great shot of the general star-scene with Mars, using relatively short exposures on a fixed tripod.

From a dark-sky site, consider using a tracking mount to extend exposure time.

This will allow you to reduce ISO, producing better colour tone and less noise in your images.

It will also allow you to go deeper in terms of the stars and nebulosity that are revealed.

Photograph Mars at opposition: step-by-step

Equipment

  • Camera
  • Fixed or tracking mount

Step 1

photograph mars opposition step 01

A smartphone will record Mars as a dot. Catch the planet shortly after rising or before setting; include foreground objects for more drama or the Moon if it’s nearby. Even a cheap tripod phone holder will help with stability. The volume control on a headphone lead can act as a remote shutter release for many phones. 

Step 2

polar align star tracker mount step 06

A DSLR or equivalent with a mid- to wide-angle lens opens up many possibilities. Taurus is feature-rich, with strong patterns and two large and bright naked-eye open clusters. Frame your shot to include the Pleiades and Hyades and you’ll be onto a winner. A tracking mount allows you to use a lower ISO and longer exposure to preserve tonal colour. 

Step 3

photograph mars opposition step 03

Shoot Mars against the stars in Taurus over several nights, keeping similar framing and settings. Load them into a layer-based editor, one image per layer. Align the shots by their stars. Set the blend mode of all layers except the base one to lighten,
to show Mars moving through Taurus. 

Step 4

using an atmospheric dispersion corrector step 01

Larger scopes can use a high-frame-rate camera to image Mars’s surface. A one-shot colour camera can be used when it is highest in the sky. When lower, an atmospheric dispersion corrector may be required to remove colour fringing. Keep capture times below 90 seconds to avoid motion blur due to the planet’s rotation. IR/UV blocking filters (L) will prevent infrared bleed.

Step 5

photograph mars opposition step 05

A mono high-frame-rate camera with an infrared (IR) pass filter will give high-contrast results. Full RGB colour captures require imaging through red (R), green (G) and blue (B) filters, again keeping the entire sequence capture time below 90 seconds. It may help to capture R+B and synthesise G using a 50:50 R+B mix. 

Step 6

photograph mars opposition step 06

Accurate focus and steady seeing give best results. Use a stacking program such as AutoStakkert! to process. Assemble RGB images in a graphics editor, each colour image in the appropriate colour channel of an RGB blank. Freeware like WinJupos offers this, as well as advanced measurement and derotation options.

Have you captured an image of Mars, at opposition or otherwise? We’d love to see it? Find out how to send us your images or share them with us via Facebook, Twitter and Instagram.

This website is owned and published by Our Media Ltd. www.ourmedia.co.uk
© Our Media 2024